How to Cook Chicken in a Pan: The Ultimate Guide to Juicy & Flavorful Breasts
Few culinary frustrations compare to the moment you slice into what you believed was a perfectly cooked chicken breast, only to discover an unwelcome hint of pink in the center. It’s a common kitchen dilemma that can lead to overcooked, dry chicken or, worse, an unsafe meal. But what if there was a simple, foolproof method to achieve consistently juicy, golden-brown chicken breasts in a pan, every single time? This comprehensive guide will transform your chicken-cooking experience, ensuring succulent results that will impress both your family and guests.
Why Pan-Frying is Your Go-To Method for Perfect Chicken Breasts
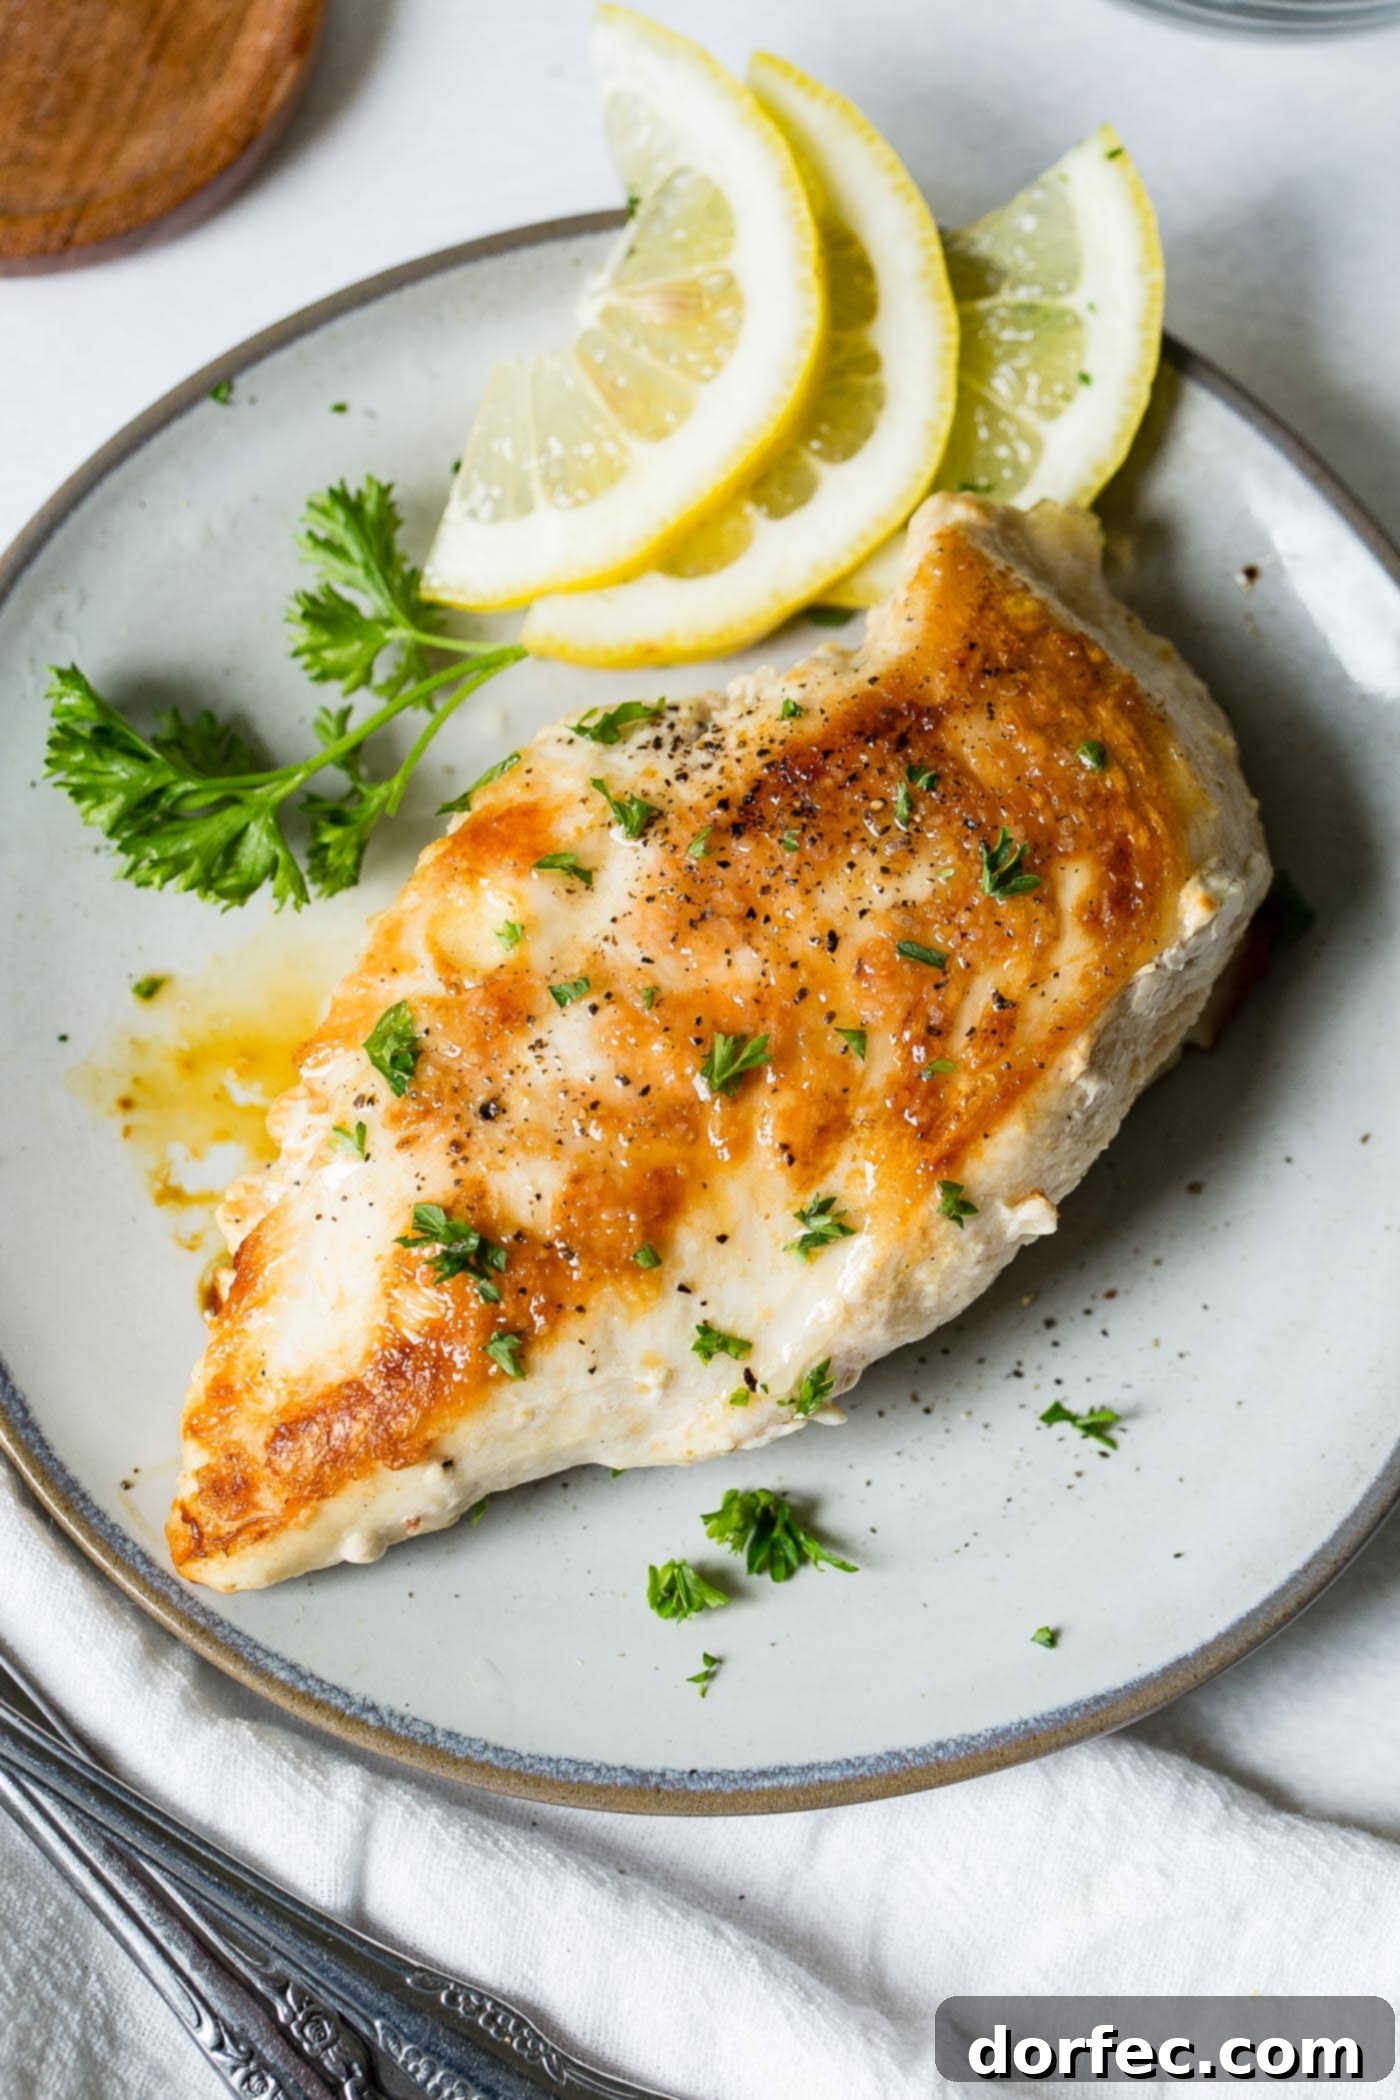
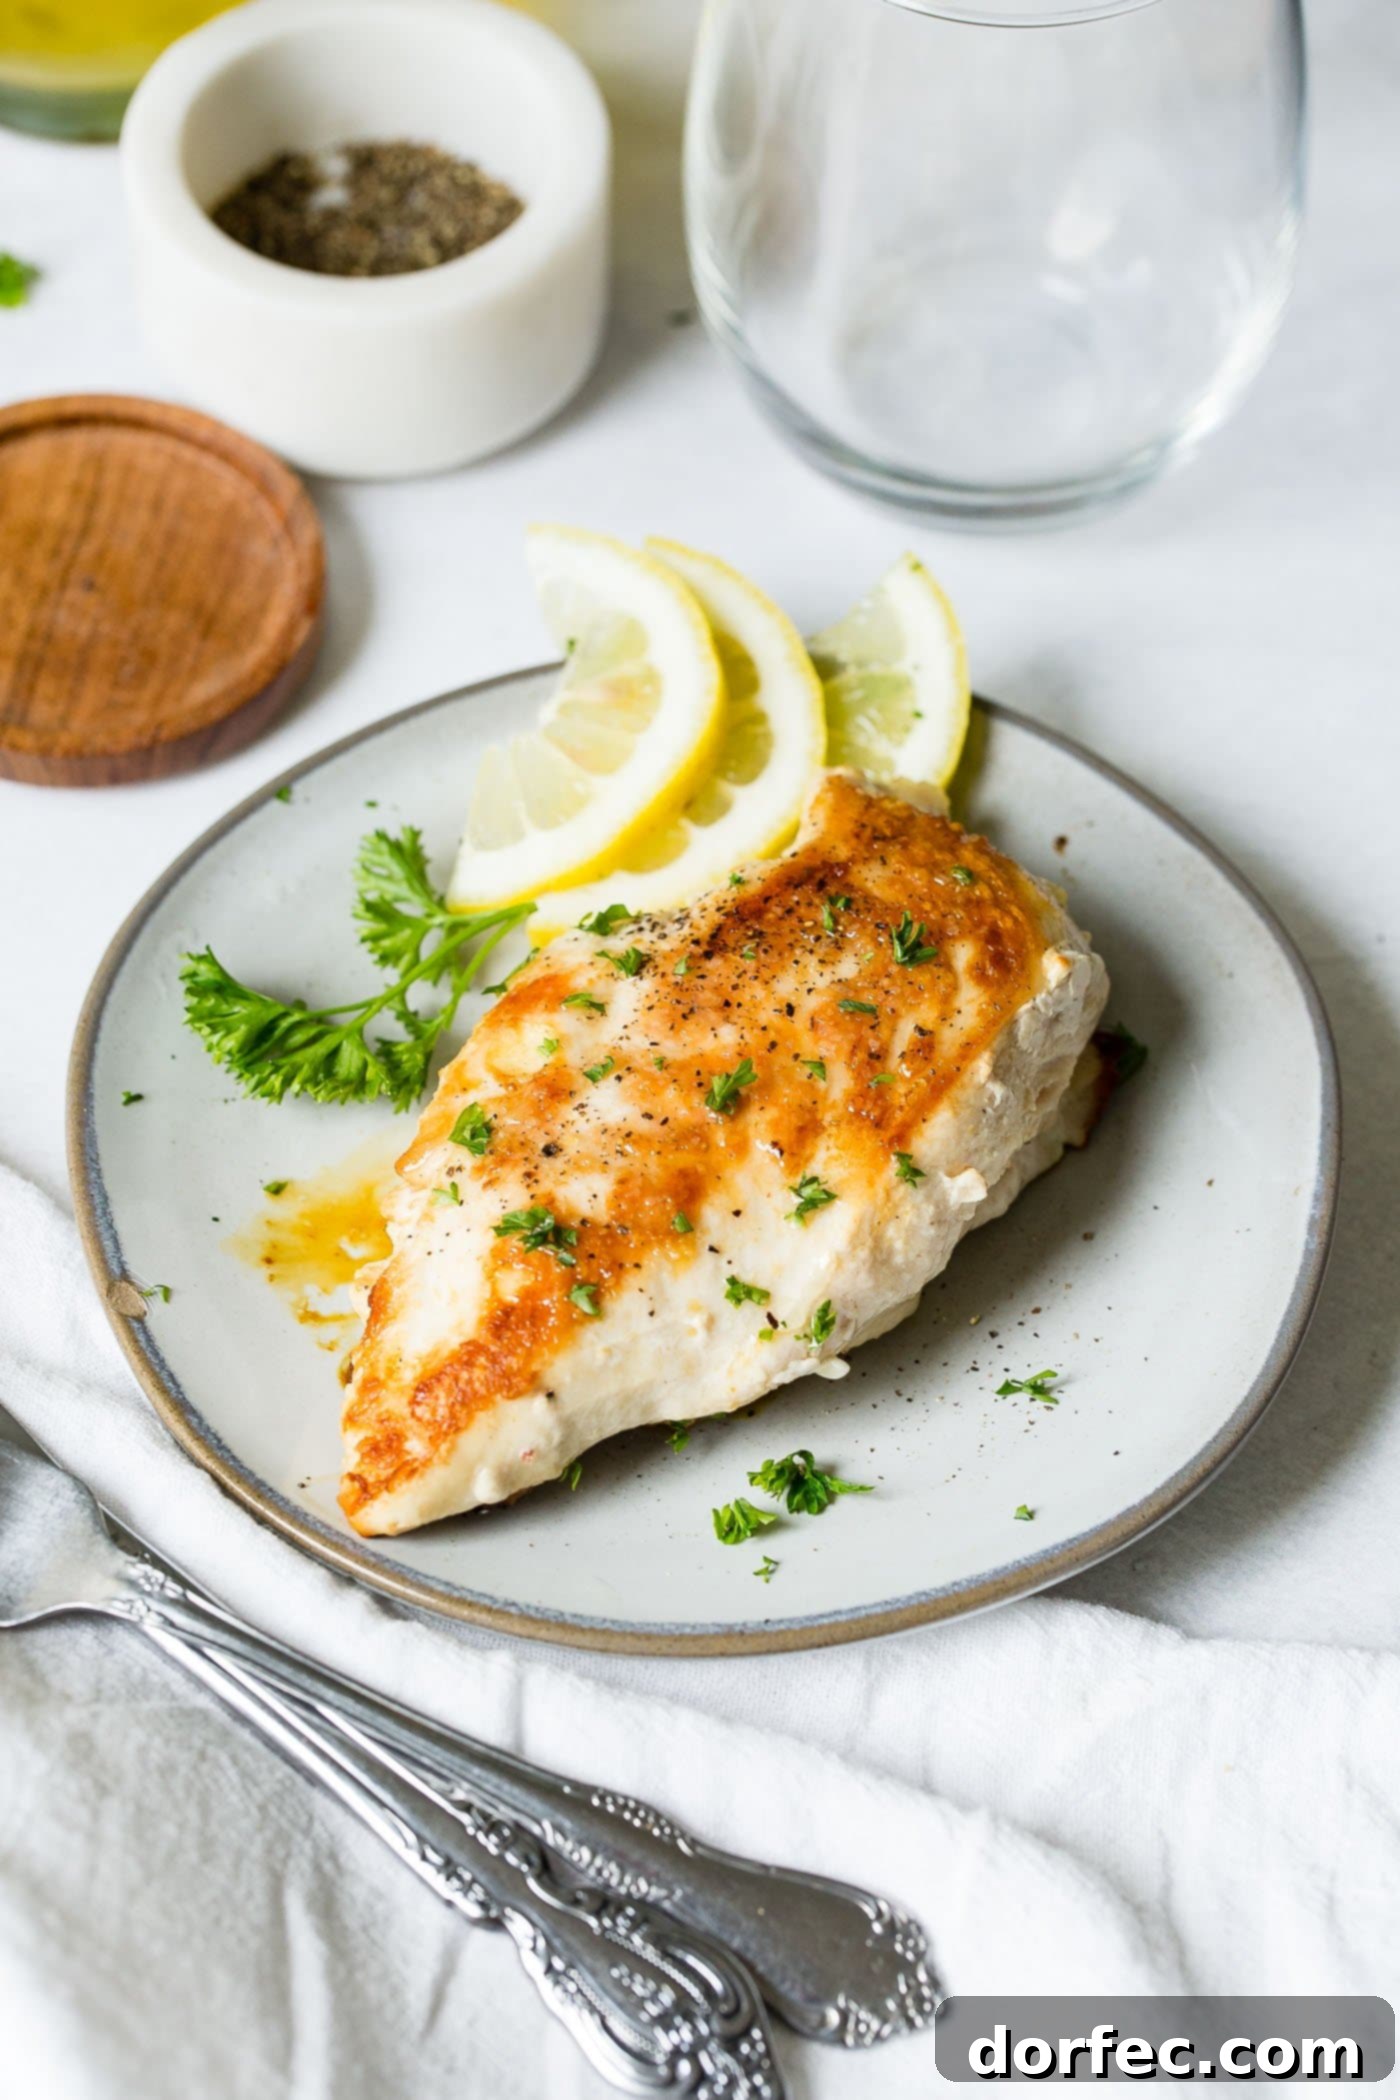
Pan-frying chicken breasts is a culinary classic for good reason. It’s a quick, versatile, and relatively simple technique that yields incredibly flavorful results. Unlike baking or grilling, pan-frying creates a beautiful, caramelized crust that locks in moisture, ensuring a tender and juicy interior. It’s ideal for weeknight dinners when time is short, but you still crave a satisfying and healthy meal. Moreover, pan-frying allows for easy experimentation with different seasonings and sauces, making it a favorite for countless recipes.
Essential Tools for Pan-Frying Success
While the process is straightforward, having the right tools can make a significant difference in your pan-frying journey:
- Heavy-Bottomed Skillet: A good quality skillet, such as cast iron, stainless steel, or a heavy non-stick pan, is crucial. It distributes heat evenly, preventing hot spots that can lead to uneven cooking and burning.
- Meat Mallet or Rolling Pin: Essential for flattening chicken breasts to an even thickness, ensuring uniform cooking. If you don’t have one, the bottom of a small, heavy pot works too!
- Instant-Read Thermometer: Your ultimate weapon against undercooked or overcooked chicken. While visual cues are helpful, an internal temperature of 165°F (74°C) is the only truly reliable indicator of doneness for food safety.
- Tongs: For easy flipping without piercing the chicken, which can cause precious juices to escape.
- Cutting Board: For preparing the chicken and, importantly, for resting it after cooking.
- Wax Paper or Plastic Wrap: To prevent a mess when flattening chicken and for easy cleanup.
Step-by-Step: How to Cook Chicken Breast in a Pan to Perfection
1. Preparing Your Chicken Breasts for Even Cooking
The secret to evenly cooked, moist chicken breast begins before it even touches the pan. Chicken breasts are often thicker at one end and thinner at the other, which can lead to one part drying out while the other remains undercooked. To prevent this:
Place each boneless, skinless chicken breast between two sheets of wax paper or plastic wrap. Using a meat mallet, the flat side of a heavy cleaver, or even a rolling pin, gently pound the chicken until it is of a uniform thickness, about 1/2 to 3/4 inch (1.2-1.9 cm). This technique, known as butterflying or pounding, ensures that the entire breast cooks at the same rate, resulting in a consistently tender and juicy piece of meat. After flattening, season generously with salt, black pepper, and any other desired spices or herbs. Patting the chicken dry with paper towels is another critical step, as it promotes a better sear and a crispier exterior.
2. Choosing the Right Fat and Heating Your Skillet
Selecting the right cooking fat and heating your pan correctly are vital for a successful pan-fry. You’ll want a fat with a relatively high smoke point, such as olive oil, vegetable oil, grapeseed oil, or ghee. Butter can also be used for flavor, but it has a lower smoke point, so a combination of butter and oil often works best.
Add about two tablespoons of your chosen oil, butter, or cooking spray to a heavy-bottomed skillet over high heat. Allow the pan and oil to heat sufficiently. You’ll know it’s ready when the oil begins to shimmer and perhaps lightly smoke. This initial high heat is essential for creating that desirable golden-brown crust, known as the Maillard reaction, which adds immense flavor.
3. The Searing and Cooking Process
Once the pan is hot, carefully add the seasoned chicken breasts. Don’t overcrowd the pan; if necessary, cook in batches to avoid lowering the pan’s temperature too much, which would steam the chicken instead of searing it. You should hear an immediate, satisfying sizzle (a distinct “psshhhhh”) upon contact with the hot pan. This is exactly what you want!
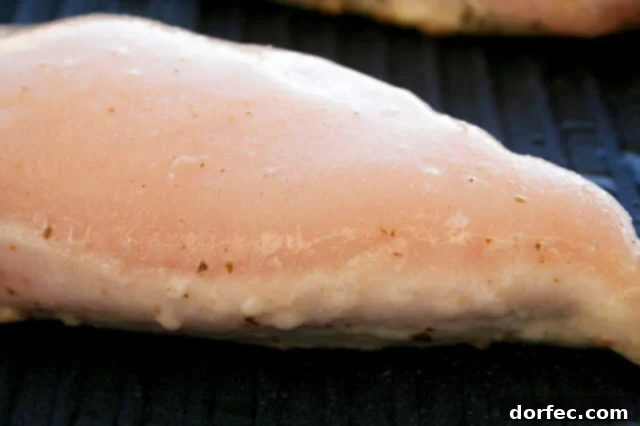
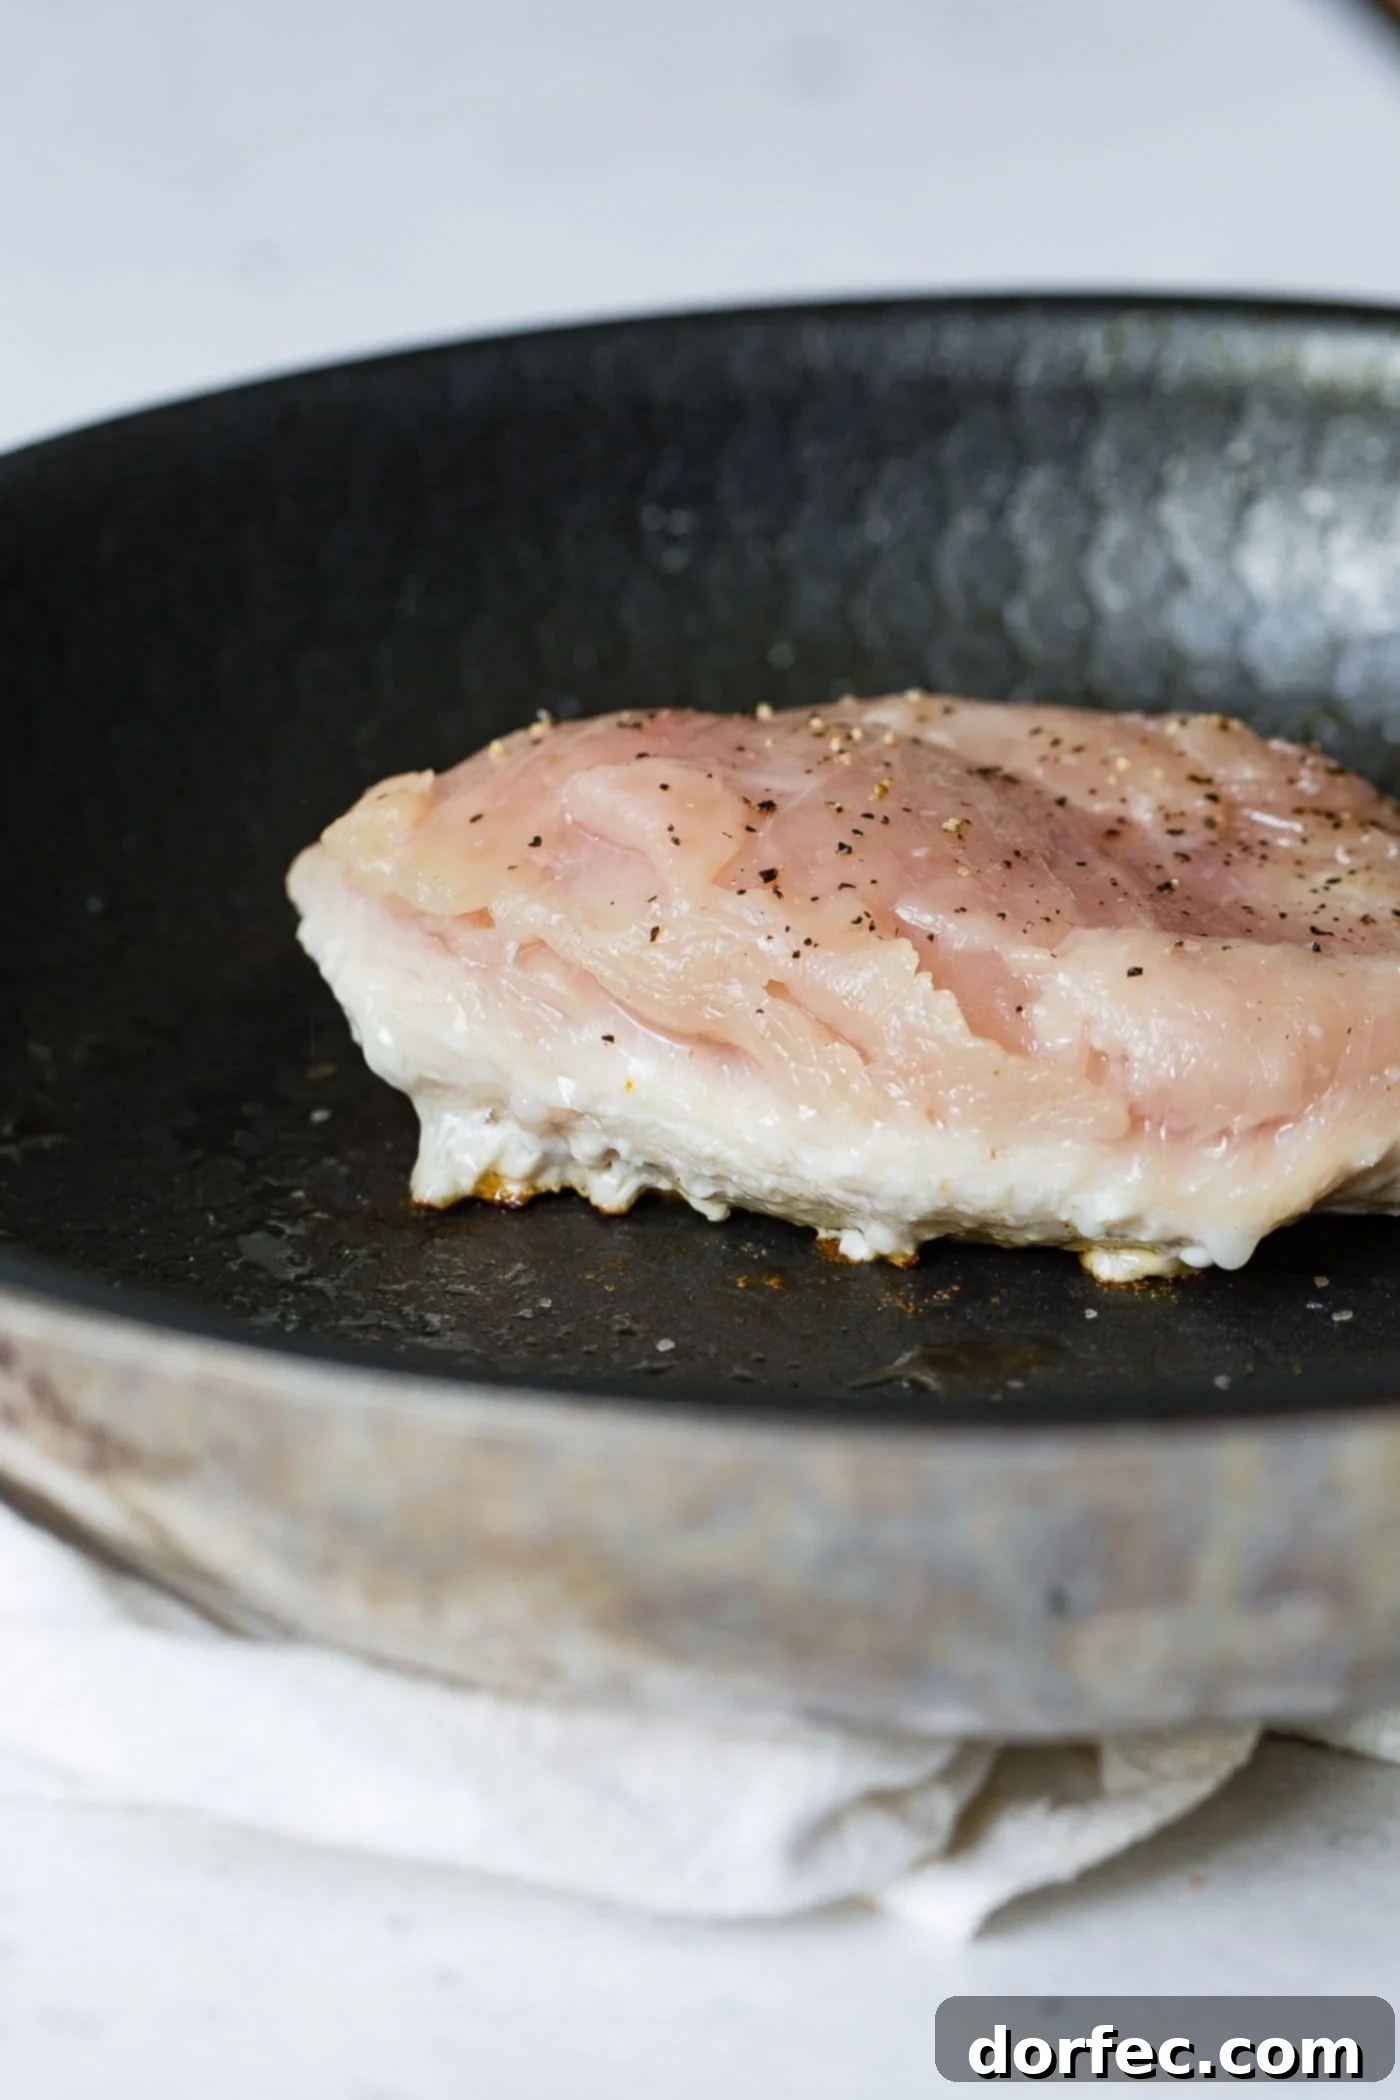
Immediately after placing the chicken in the hot pan, reduce the heat to low. This allows the chicken to cook through gently without burning the exterior. Cook for approximately 5-7 minutes on the first side. This is where your visual cues come into play: look at the side of the chicken. You’ll notice the white, cooked portion rising halfway up the sides of the breast. This is your signal to flip.
Once flipped, cook for an additional 5-7 minutes on the second side. Continue to observe the sides; the white, cooked portion from the second side should rise up to meet the already cooked portion, indicating that the chicken is cooked through from edge to edge. When there is no longer a pink rim visible around the edges, and the entire breast appears opaque, it’s a strong indicator of doneness. For absolute certainty, insert an instant-read thermometer into the thickest part of the chicken. The internal temperature should register 165°F (74°C).
4. The Importance of Resting Your Chicken
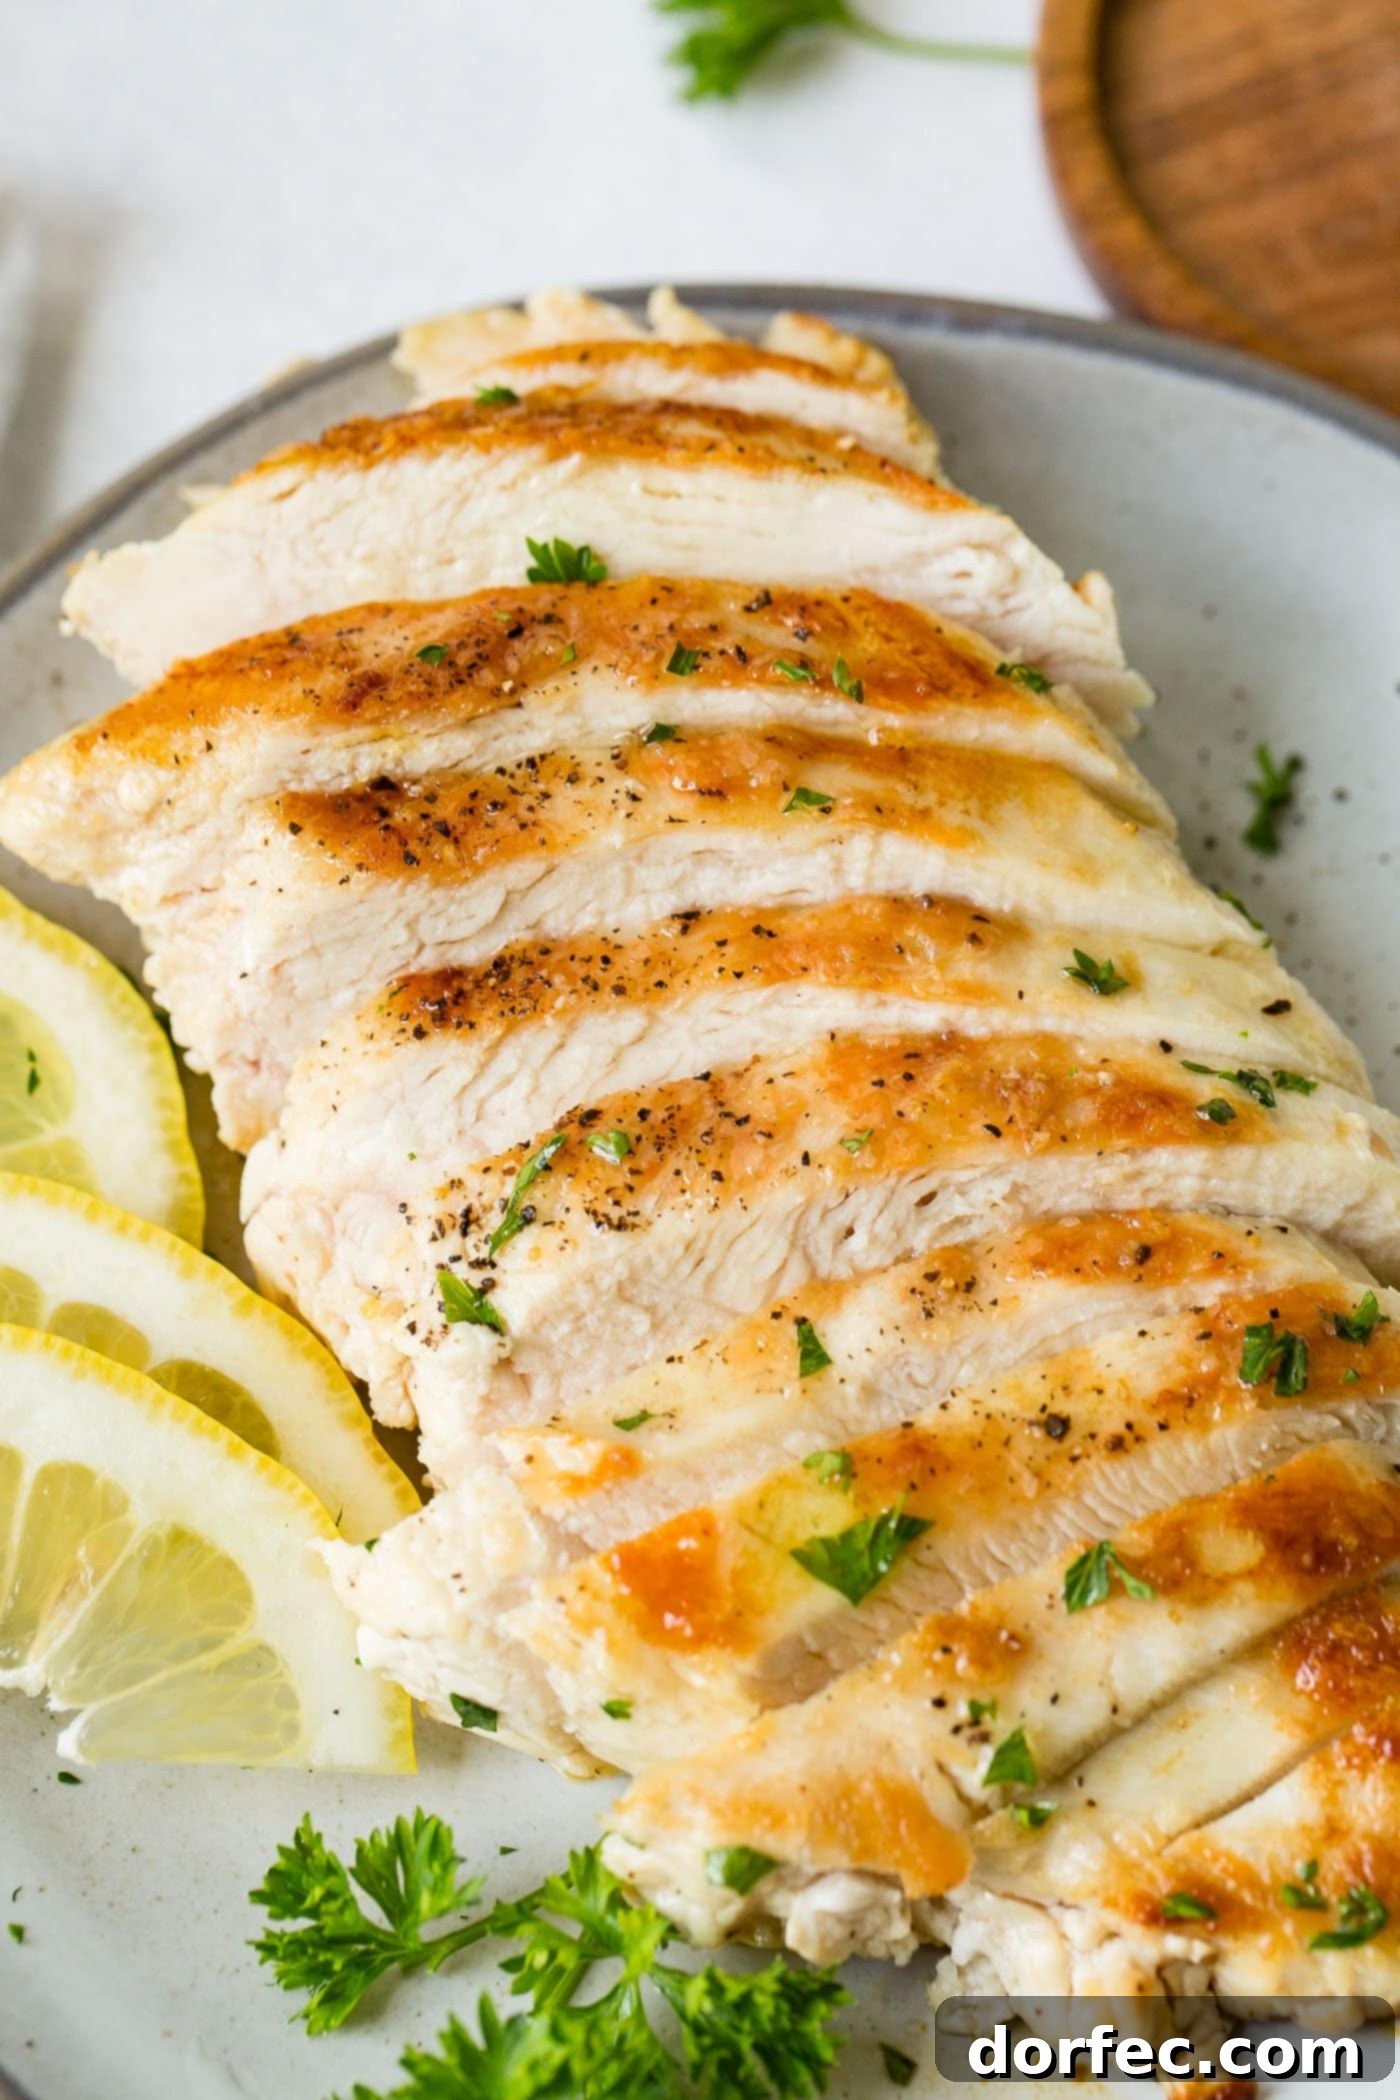
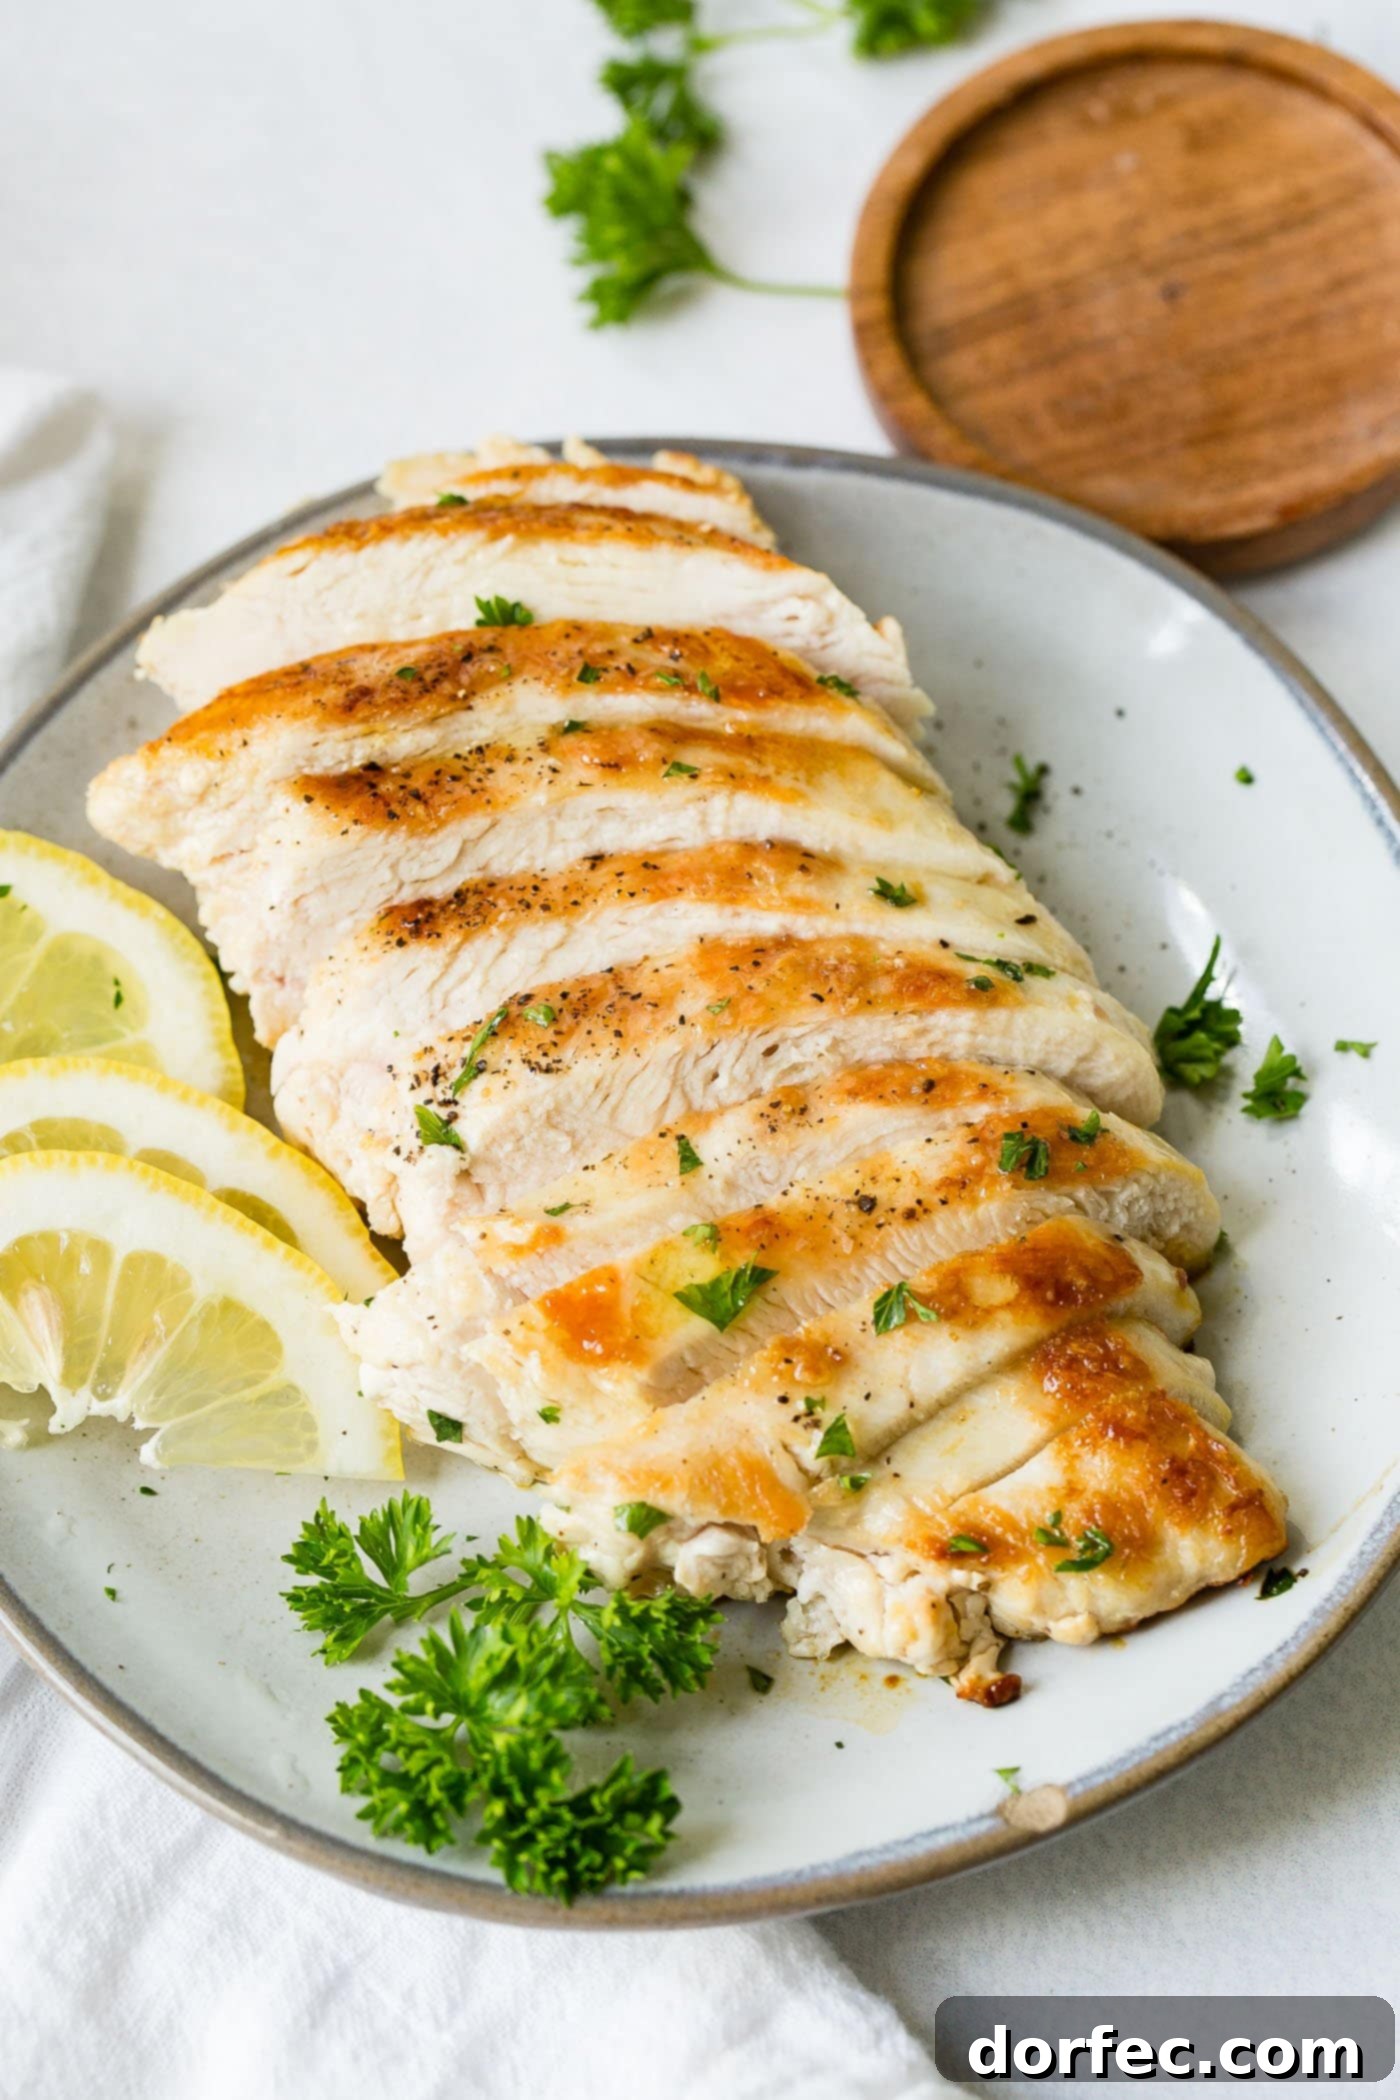
Many home cooks overlook this crucial step, but resting your chicken is paramount for achieving maximum juiciness. Once cooked, immediately remove the chicken breasts from the skillet and transfer them to a clean cutting board or plate. Tent them loosely with foil and let them rest for 5-10 minutes. This allows the muscle fibers to relax and the internal juices, which have migrated to the center during cooking, to redistribute evenly throughout the meat. Skipping this step means all those delicious juices will run out onto your cutting board when you slice, leaving you with dry chicken.
Foolproof Visual and Tactile Doneness Tests
Beyond a thermometer, here are additional ways to gauge if your pan-fried chicken is perfectly cooked:
- The “White Rising Up” Method: As described above, observe the opaque white color extending from the bottom of the chicken breast towards the top. When the white meets in the middle from both sides, it’s a reliable sign that the chicken is cooked through.
- The Firmness Test: Gently press on the center of the chicken breast with your finger or tongs. If it feels firm with a slight give, it’s likely done. If it feels soft and jiggly, it needs more cooking time. Overcooked chicken will feel very firm and hard. This test requires practice to master, but becomes incredibly intuitive over time.
- Clear Juices: If you lightly pierce the thickest part of the chicken with a knife or fork, the juices that run out should be clear, not pink or cloudy.
Beyond the Basics: Tips for the Juiciest Pan-Fried Chicken
- Don’t Overcrowd the Pan: Give each chicken breast enough space to sear properly. Overcrowding lowers the pan’s temperature, leading to steaming instead of searing, and a pale, less flavorful crust.
- Avoid Constant Flipping: Resist the urge to constantly flip the chicken. Let it develop a good crust on one side before turning. Generally, two flips (one for each side) are sufficient.
- Use a Lid (Optional): If your chicken breasts are particularly thick, after the initial sear, you can cover the pan with a lid for the last few minutes of cooking. This traps steam and helps the chicken cook through more quickly and gently, enhancing juiciness.
- Marinades and Brining: For even more flavor and moisture, consider marinating your chicken for at least 30 minutes (or up to a few hours) before cooking. A simple brine (salt water solution) can also dramatically increase juiciness.
- Adjust Heat as Needed: While starting with high heat is important, don’t be afraid to adjust the heat to medium-low or even lower if you notice the chicken browning too quickly on the outside before it’s cooked through.
Common Pan-Frying Mistakes to Avoid
Even with a simple dish like pan-fried chicken, a few common pitfalls can lead to less-than-perfect results:
- Overcooking: This is the number one culprit for dry, tough chicken. Always rely on an instant-read thermometer to avoid exceeding 165°F (74°C). Remember, the chicken continues to cook slightly while resting.
- Not Flattening the Chicken: Unevenly thick chicken breasts will inevitably cook unevenly. Take the time to pound them for consistent results.
- Insufficient Pan Heat: Adding chicken to a cold or lukewarm pan will result in a pale, flabby exterior instead of a golden, crispy crust. Ensure your pan and oil are hot before adding the chicken.
- Too Low Heat for Searing: If the initial heat is too low, the chicken won’t develop a good sear. However, immediately reducing the heat after searing is crucial to prevent burning and ensure the interior cooks properly.
- Not Resting the Chicken: As mentioned, resting allows the juices to redistribute. Cutting into the chicken too soon will cause those precious juices to escape, leaving you with dry meat.
Serving Suggestions for Your Delicious Pan-Fried Chicken
Perfectly pan-fried chicken breasts are incredibly versatile and can be paired with a wide array of sides. Here are a few ideas to inspire your next meal:
- Vegetables: Roasted asparagus, steamed broccoli, a fresh garden salad, or sautéed green beans complement chicken beautifully.
- Starches: Creamy mashed potatoes, fluffy rice pilaf, quinoa, or roasted sweet potatoes make excellent accompaniments.
- Sauces: A simple pan sauce made with the chicken drippings, white wine, and butter; a fresh lemon-herb sauce; or a creamy mushroom sauce can elevate your dish.
- Pasta: Slice the chicken and toss it with your favorite pasta and a light sauce for a complete meal.
How to Cook Chicken in a Pan
Ingredients
- 4 Skinless Chicken Breasts
- 2 Tablespoons Oil, or butter or cooking spray
Instructions
-
Using a meat mallet, place the chicken between pieces of wax paper and pound out each chicken breast so they are an even width.4 Skinless Chicken Breasts
-
Bring the oil (or butter or cooking spray) to heat over high heat in a skillet.2 Tablespoons Oil
-
When the oil starts to shimmer and smoke, add the chicken. It should pop and sizzle.
-
Immediately turn the heat down to low and cook for 5-7 minutes.
-
When the chicken is white halfway up the chicken breast, flip it and cook an additional 5-7 minutes.
-
Remove the chicken to a cutting board for 1-3 minutes to rest.
Recipe Notes
Nutrition
Protein: 24g
Fat: 10g
Saturated Fat: 1g
Polyunsaturated Fat: 2g
Monounsaturated Fat: 5g
Trans Fat: 1g
Cholesterol: 72mg
Sodium: 131mg
Potassium: 418mg
Vitamin A: 34IU
Vitamin C: 1mg
Calcium: 6mg
Iron: 1mg
Nutrition information is automatically calculated, so should only be used as an approximation.
Frequently Asked Questions About Pan-Frying Chicken
Q: How can I ensure my chicken is cooked through without drying it out?
A: The most reliable way is to use an instant-read meat thermometer. Chicken breast is fully cooked and safe to eat when its internal temperature reaches 165°F (74°C). To prevent drying, remove it from heat immediately upon reaching this temperature and allow it to rest for 5-10 minutes. Pounding the chicken to an even thickness also helps significantly.
Q: Can I use frozen chicken breasts for pan-frying?
A: It’s best to thaw frozen chicken breasts completely before pan-frying. Thawing ensures even cooking and prevents the exterior from burning while the interior remains cold or undercooked. You can thaw chicken in the refrigerator overnight, or more quickly in cold water.
Q: What kind of pan is best for pan-frying chicken?
A: A heavy-bottomed skillet is ideal. Cast iron skillets are excellent for even heat distribution and retention, resulting in a superior sear. Stainless steel pans also work very well. While non-stick pans are convenient for easy cleanup, they may not achieve as deep a sear as cast iron or stainless steel.
Q: Do I need to add flour or breading to the chicken?
A: No, you don’t need to add flour or breading unless you’re making a specific breaded chicken recipe. For a simple pan-fried chicken breast, just seasoning with salt and pepper (and other spices if desired) is sufficient. The natural proteins in the chicken will create a delicious crust when seared properly.
Q: How can I make a quick pan sauce with the drippings?
A: After cooking the chicken and removing it to rest, you can often make a quick pan sauce. Deglaze the pan with a splash of chicken broth, white wine, or water, scraping up any browned bits from the bottom of the pan. Stir in a knob of butter, fresh herbs, or a squeeze of lemon juice, and let it simmer for a minute until slightly thickened. Pour over your rested chicken for extra flavor.
Conclusion: Master the Art of Pan-Fried Chicken
Cooking chicken breast in a pan doesn’t have to be a source of frustration. By following these simple yet effective techniques – from properly preparing your chicken and managing pan heat to understanding doneness cues and allowing for adequate resting – you can consistently achieve perfectly juicy, flavorful, and safe-to-eat chicken breasts. Embrace the sizzle, trust the process, and soon you’ll be pan-frying chicken like a seasoned pro. Practice truly makes perfect, and with each attempt, you’ll gain confidence in creating delicious, moist chicken that your taste buds will thank you for.