
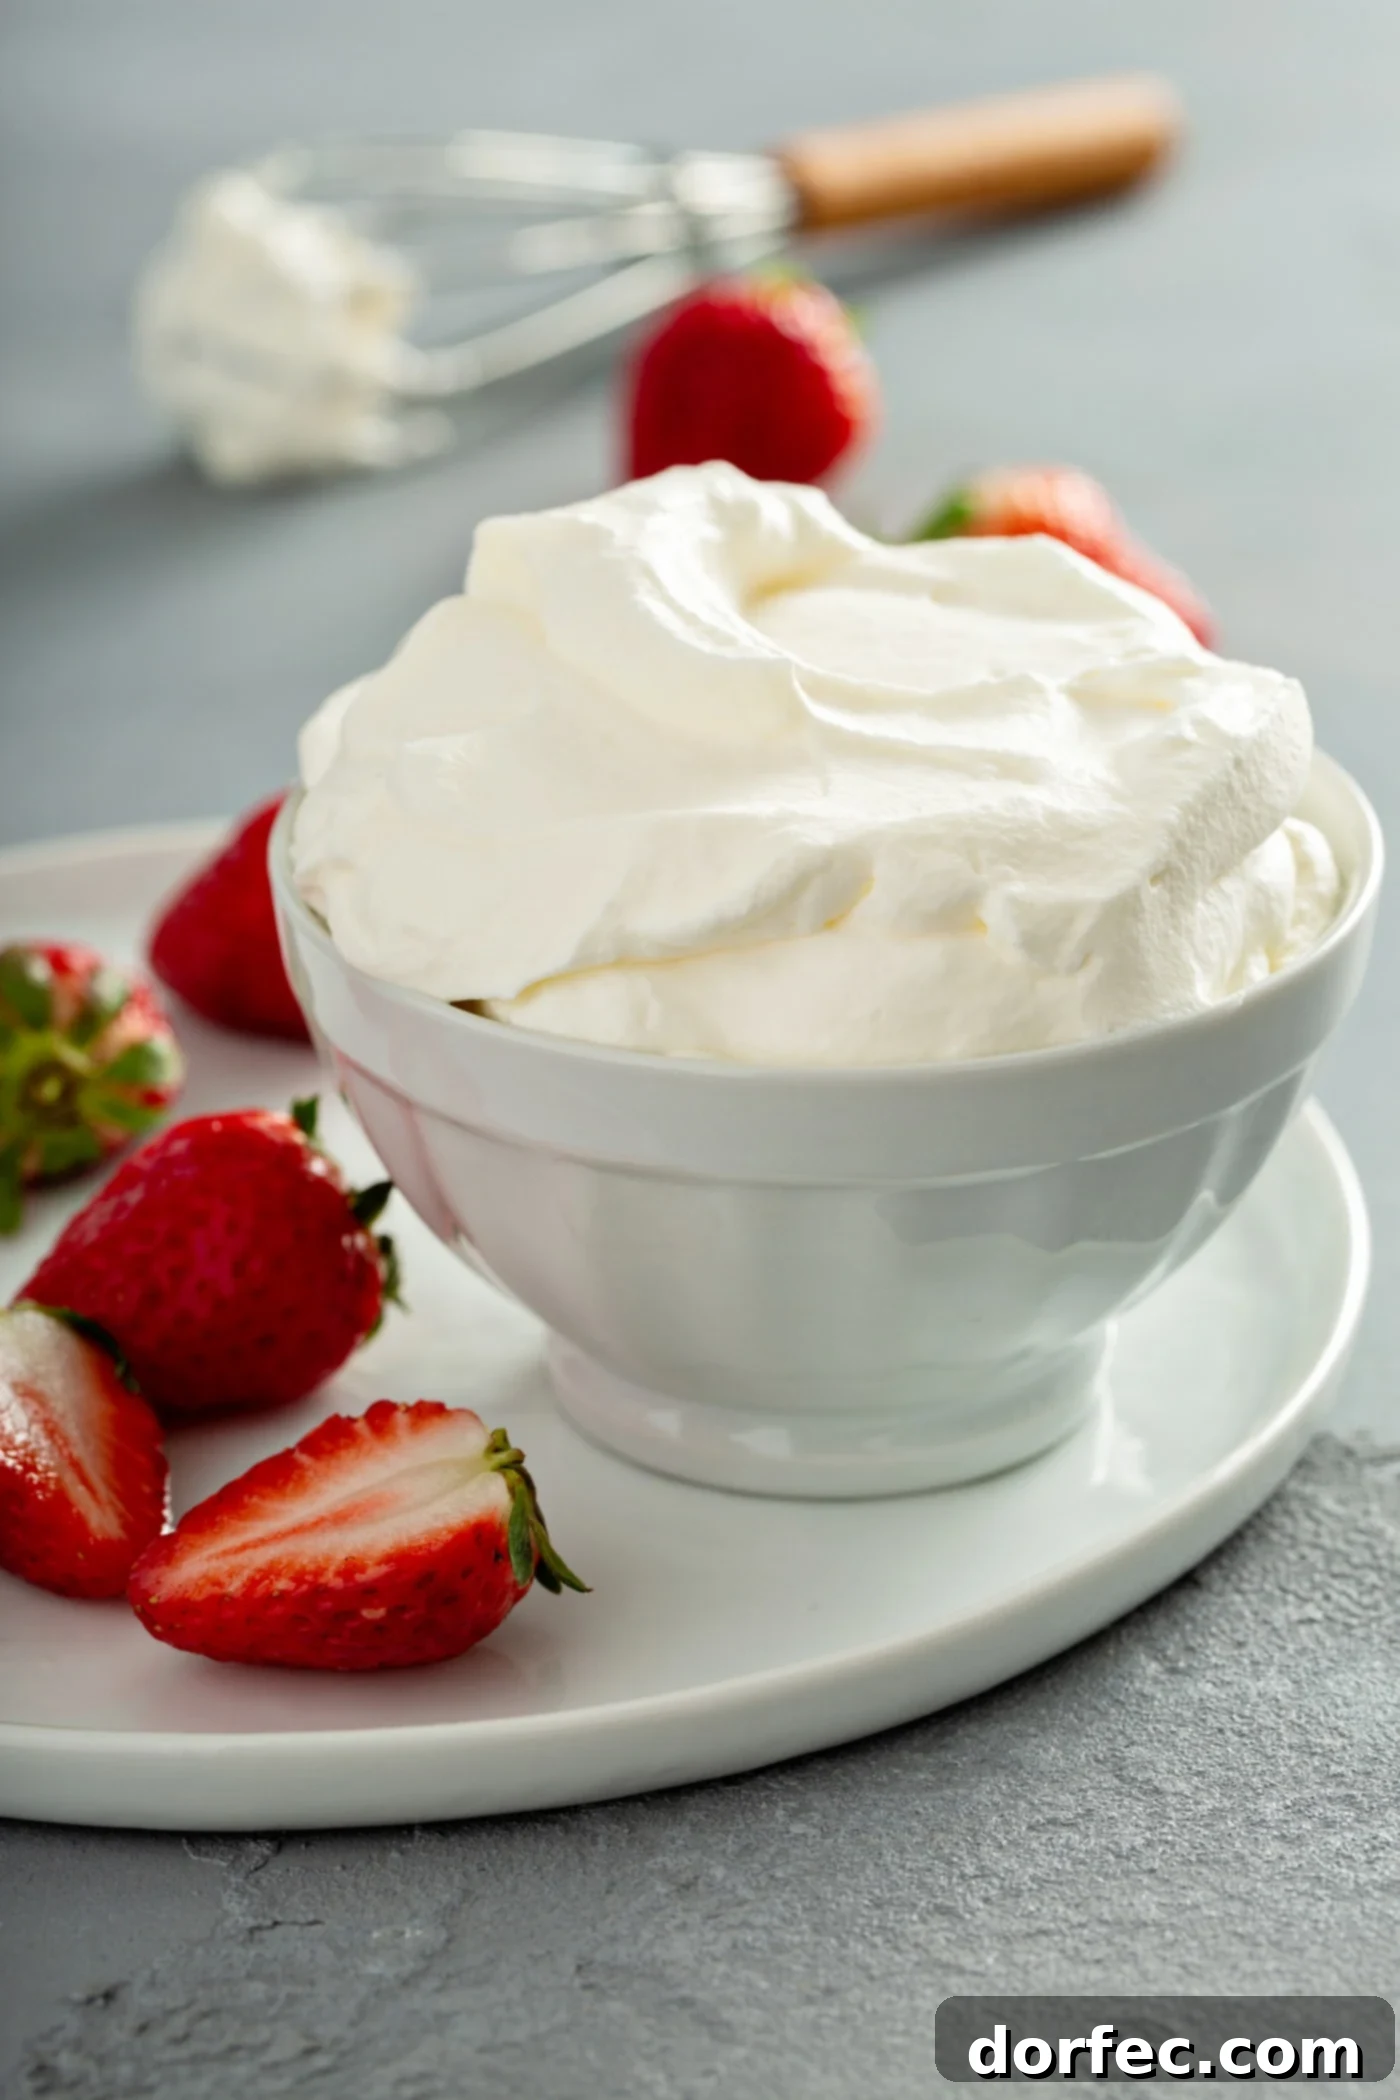
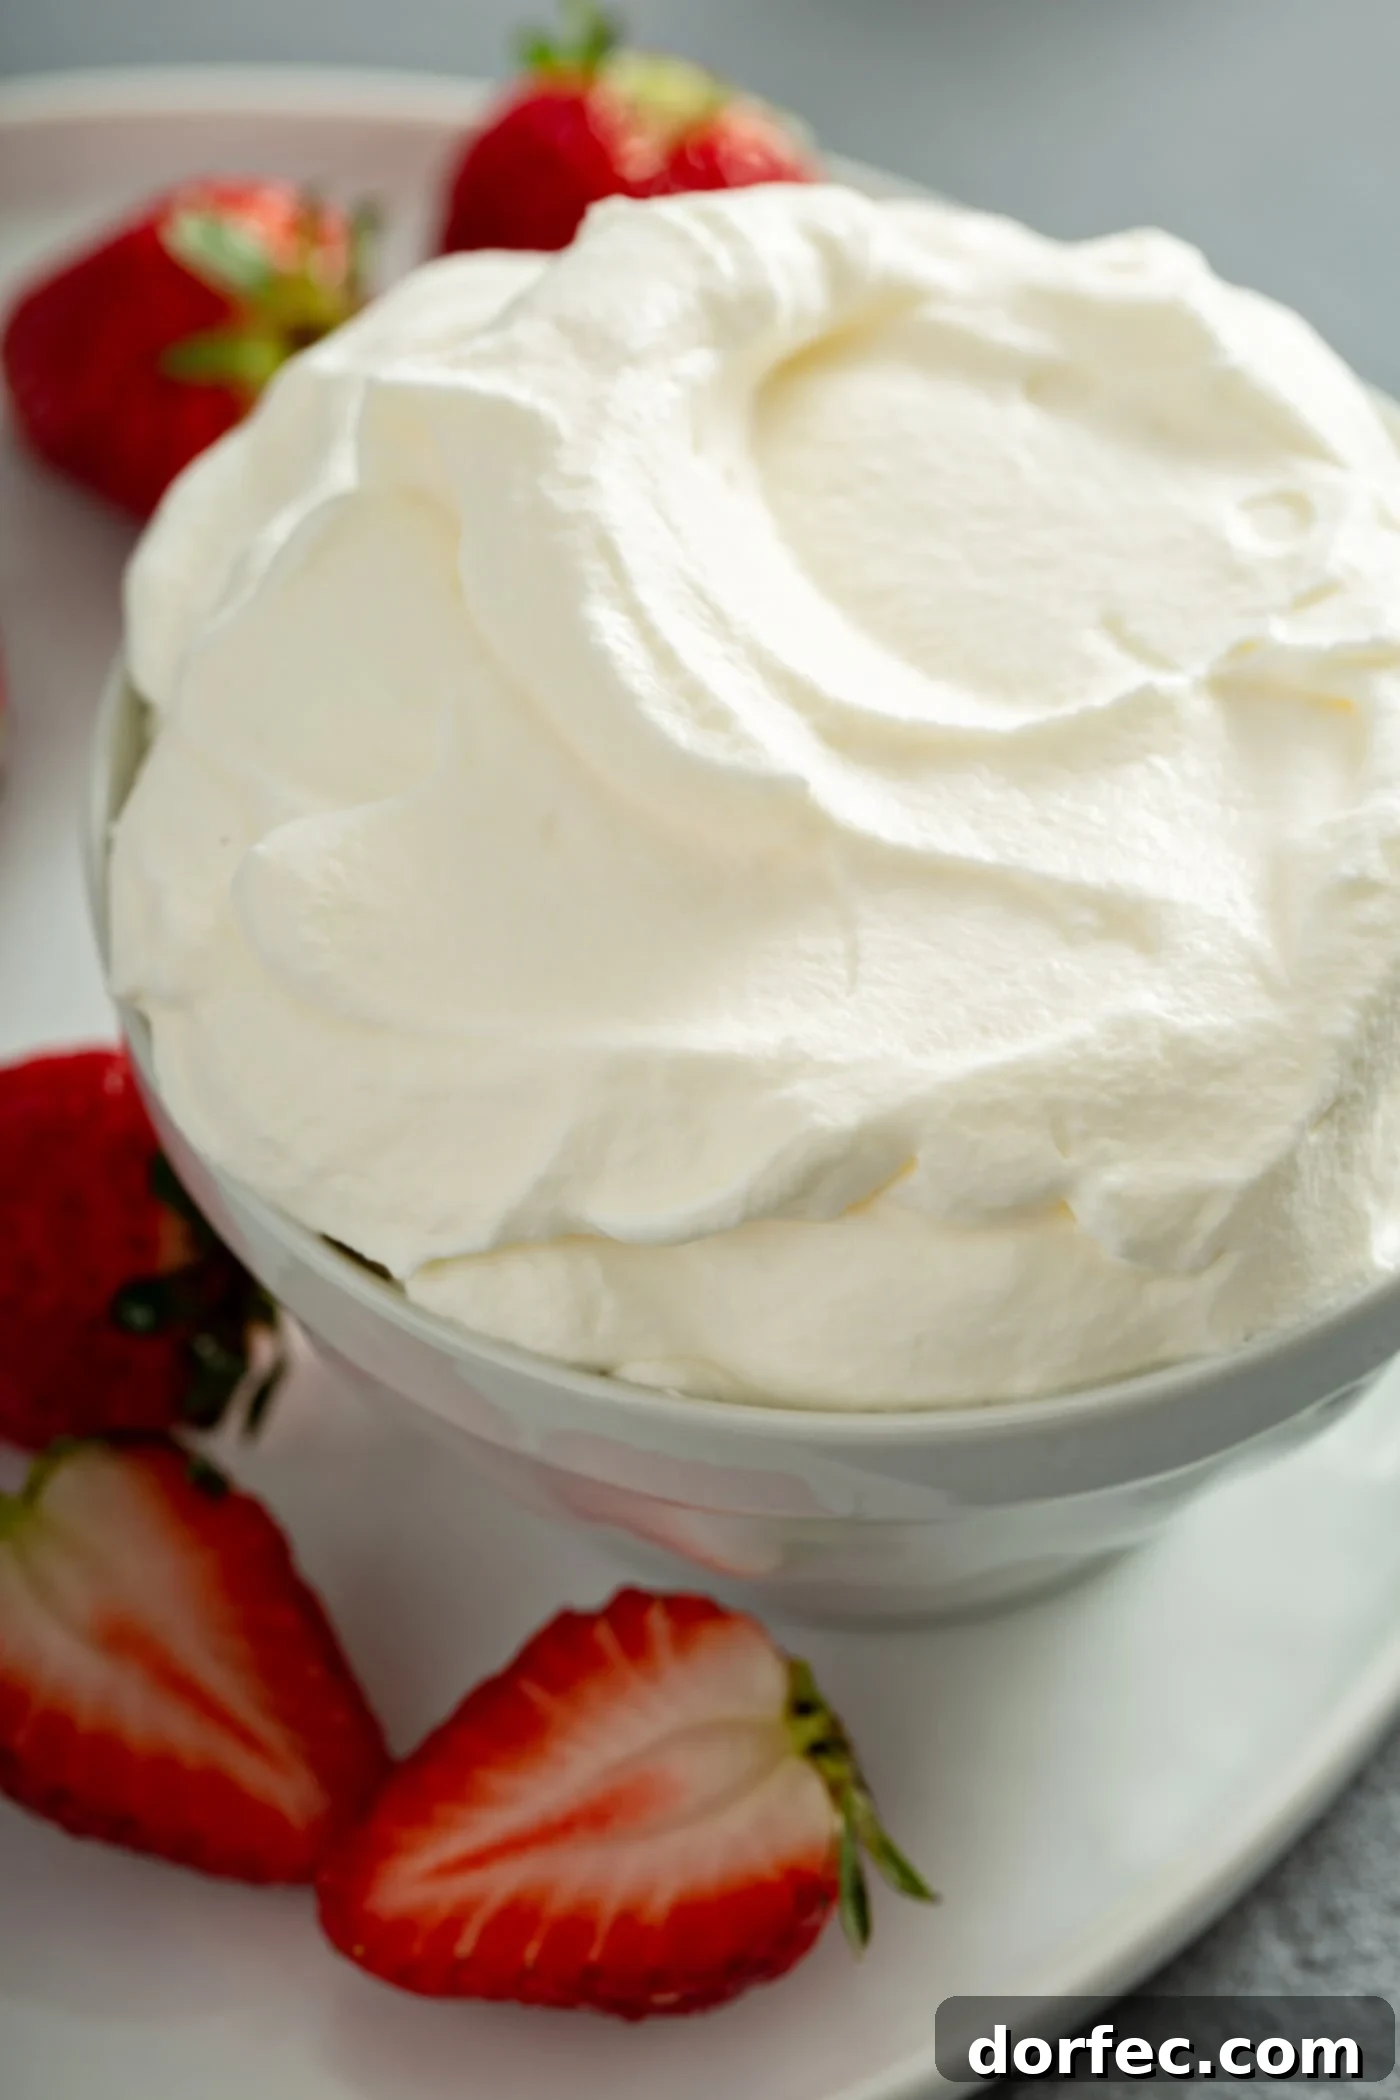
Tired of bland, store-bought aerosols and tubs? It’s time to elevate your desserts and beverages with the rich, ethereal sweetness of Homemade Whipped Cream. This incredibly simple recipe transforms just a few basic ingredients into a luxurious, cloud-like topping in under 5 minutes, offering an unparalleled freshness and flavor that truly enhances any treat.
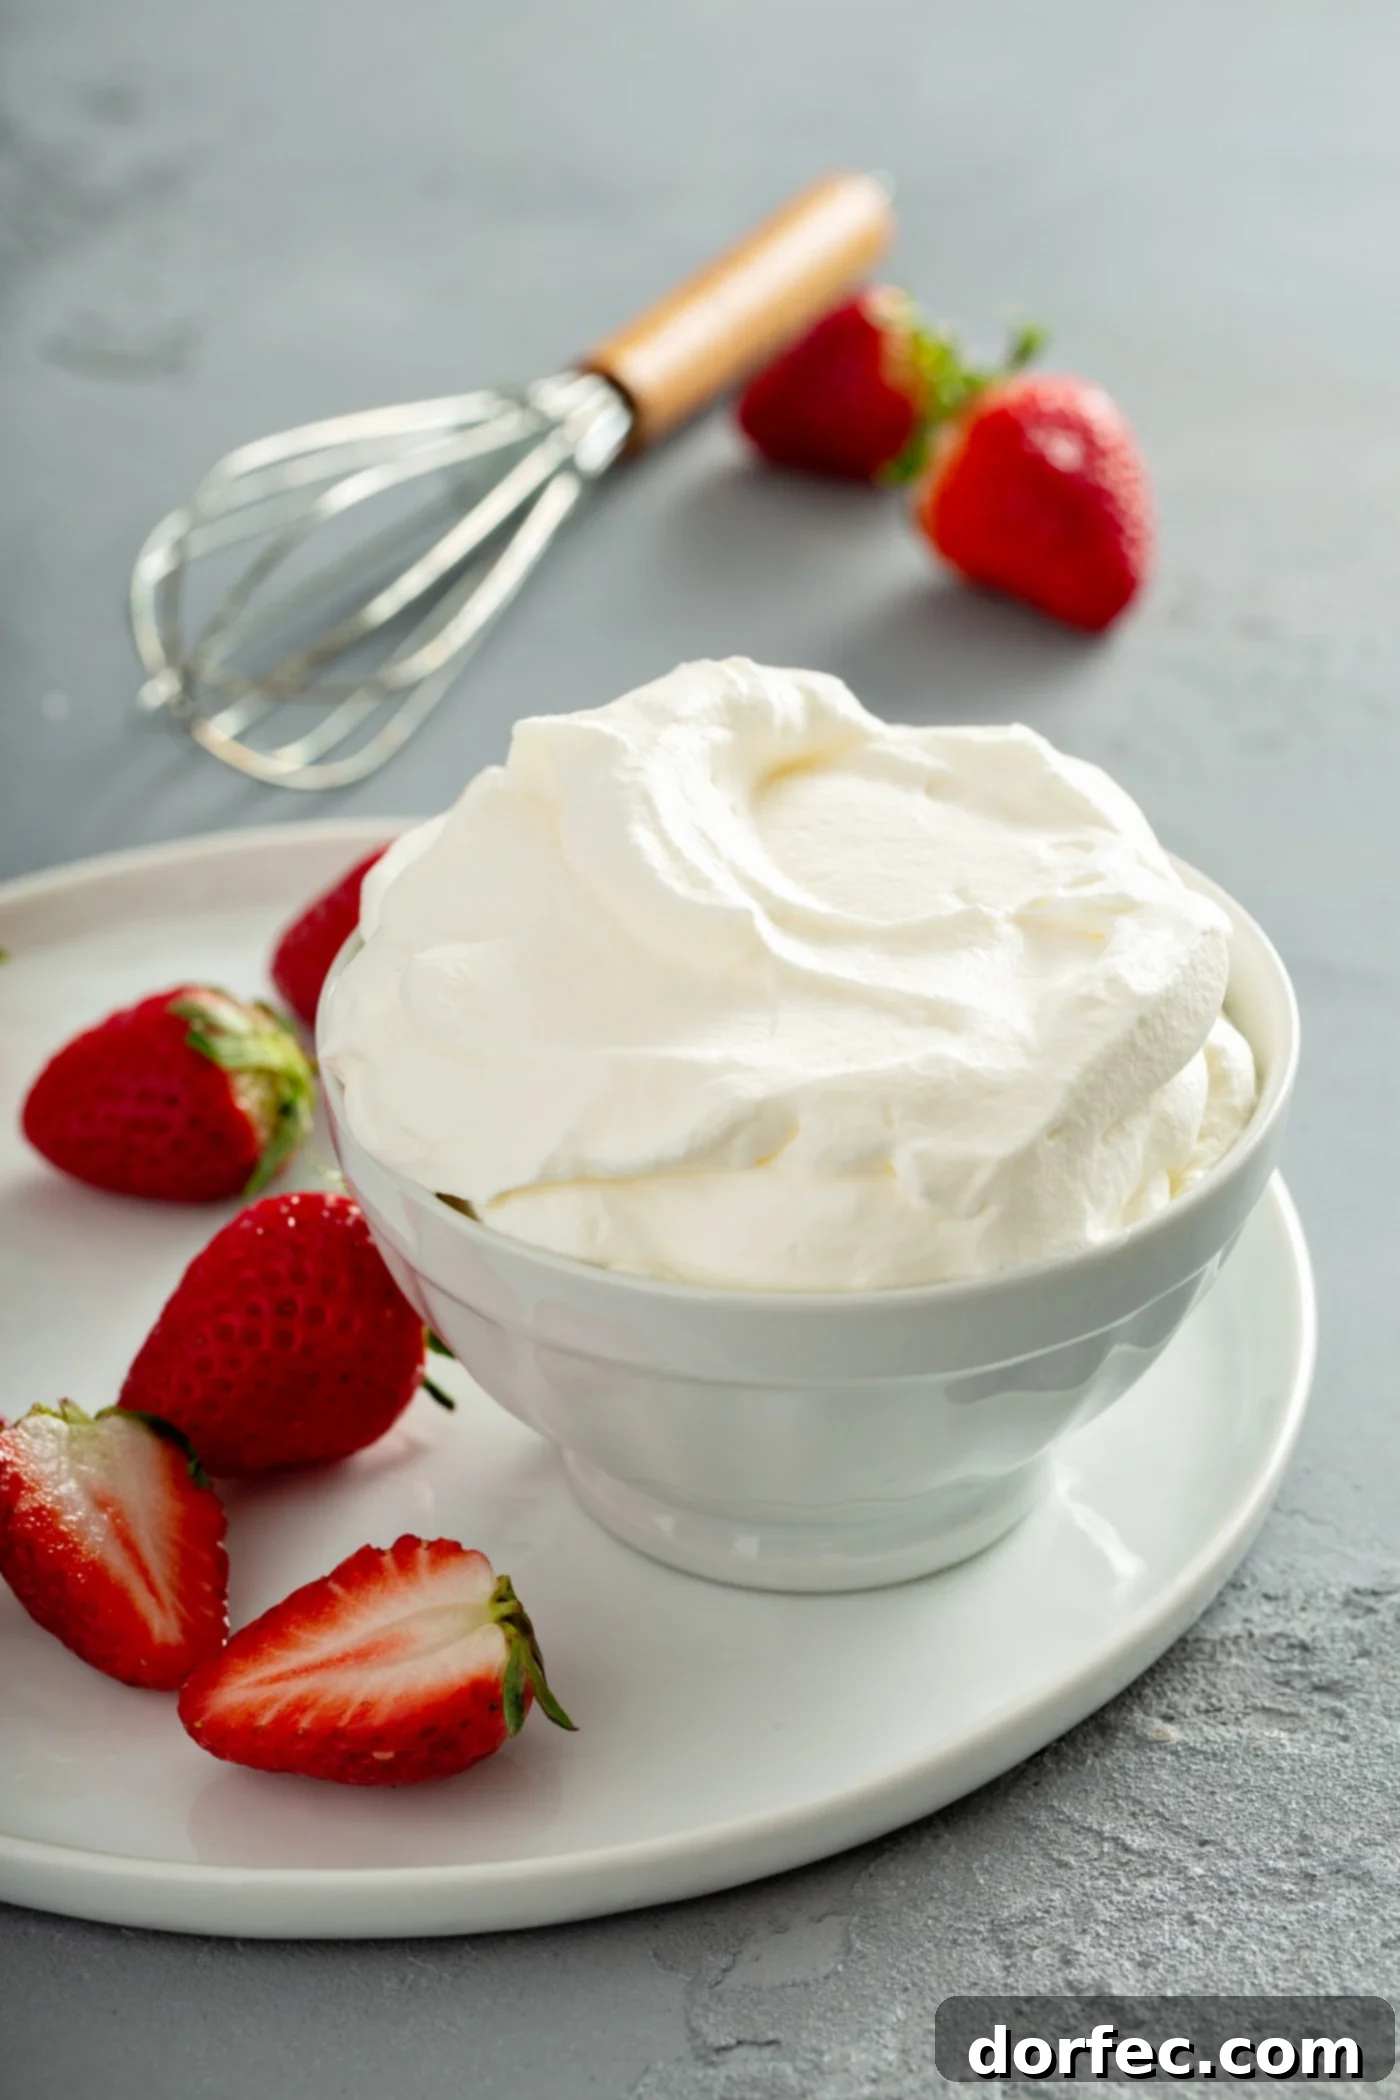
Discover the Unrivaled Joy of Homemade Whipped Cream
For years, I was content with the convenience of frozen whipped toppings, believing there was no compelling reason to venture into making my own. That all changed the moment I tasted homemade whipped cream for the first time. The difference was astonishing! Its creamy, dreamy texture and delicate sweetness instantly converted me, and I’ve never looked back. This simple act of culinary magic brings a lightness and a genuine depth of flavor that simply cannot be replicated by store-bought alternatives.
On a related note, have you ever wondered about the common phrase? Is it “whip cream” or “whipped cream”? While I’ve always referred to it as “whipped cream,” I often hear others, like a friend who recently texted me asking how to make “homemade whip cream.” This fascinating linguistic quirk aside, the method for creating this delightful topping remains universally simple.
This comprehensive guide will demystify the process, showing you how to achieve perfect whipped cream from scratch with just three essential ingredients. We’ll delve into expert tips for optimal whipping, discuss proper storage to maintain its pristine texture, explore delicious variations, and answer all your frequently asked questions about this versatile and beloved dessert accompaniment.
Why Homemade Whipped Cream Reigns Supreme
Beyond the undeniable satisfaction of creating something delicious from scratch, homemade whipped cream offers several distinct advantages over its commercial counterparts:
- Superior Flavor: Made with real heavy cream and your choice of sweetener, homemade whipped cream boasts a pure, rich dairy flavor that artificial toppings can’t match. You control the sweetness level, allowing it to perfectly complement any dish.
- Luxurious Texture: The texture of homemade whipped cream is incomparably light, airy, and truly fluffy. It melts delicately in your mouth, leaving a clean, refreshing finish, unlike the often greasy or overly stable feel of processed versions.
- Fewer Artificial Ingredients: Commercial whipped toppings often contain stabilizers, emulsifiers, and artificial flavors to extend shelf life and maintain shape. When you make it yourself, you avoid these unnecessary additives, ensuring a cleaner, more natural product.
- Versatility: Homemade whipped cream is incredibly adaptable. You can infuse it with different flavors (beyond vanilla!), adjust its consistency for various uses, and truly make it your own.
The Simple Ingredients for Irresistible Whipped Cream
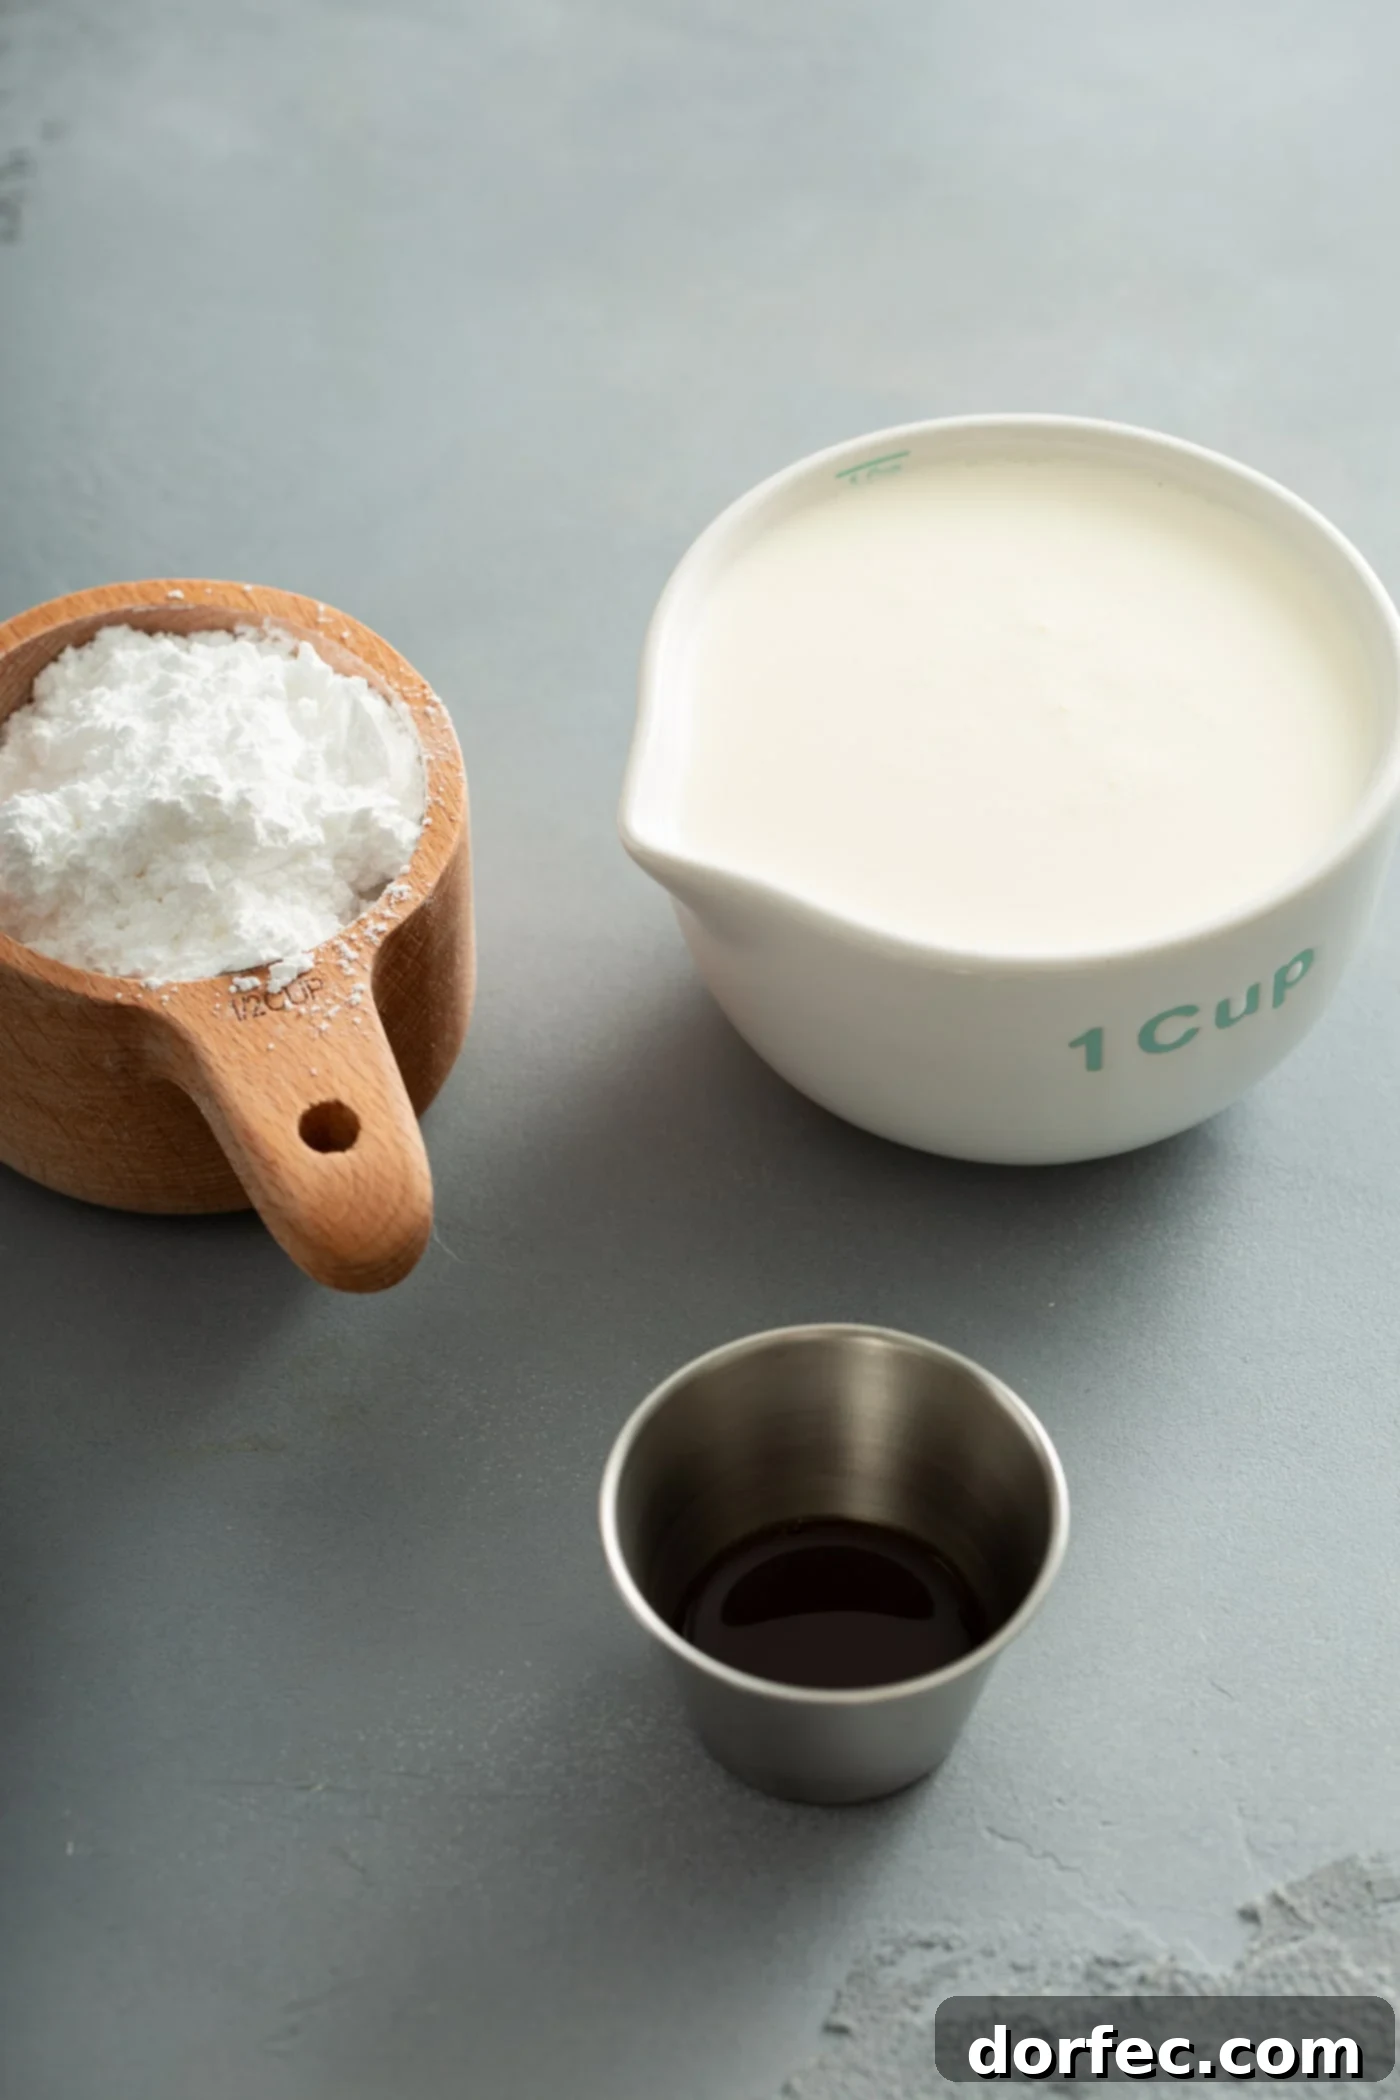
Creating magnificent whipped cream requires surprisingly few ingredients, but the quality of each is key to achieving that perfect light and airy texture. While you might need to make a special trip to the store for heavy whipping cream, we promise, it’s absolutely worth it!
Here’s what you’ll need for this incredibly easy whipped cream recipe:
- Heavy Whipping Cream: This is the star of the show. For best results, ensure it is very cold. The high-fat content (at least 36% milk fat) is crucial for creating stable, fluffy peaks.
- Granulated Sugar or Powdered Sugar: Your choice of sweetener will slightly impact the final texture.
- Vanilla Extract: A touch of pure vanilla extract adds a lovely depth of flavor that complements the richness of the cream.
Powdered Sugar vs. Granulated Sugar: Which is Best for Whipped Cream?
The choice between powdered sugar (confectioners’ sugar) and granulated sugar is ultimately a matter of preference, but I highly recommend powdered sugar. Here’s why:
- Powdered Sugar: Its fine texture dissolves instantly and seamlessly into the cream, resulting in a super smooth and stable whipped cream. It also often contains a small amount of cornstarch, which acts as a stabilizer, helping the whipped cream hold its shape longer. It provides a supremely light and airy mouthfeel without weighing down the cream.
- Granulated Sugar: While it can certainly be used, granulated sugar might require a bit more beating to fully dissolve, and if not completely dissolved, can leave a slightly grainy texture. Some prefer the subtle glisten it can impart, but for maximum smoothness and stability, powdered sugar is generally preferred.
Feel free to experiment with both to discover your personal favorite!
Understanding Heavy Cream vs. Whipping Cream: Are They the Same?
Often, the terms “heavy cream” and “heavy whipping cream” are used interchangeably, and for most recipes, they can be. Both contain a minimum of 36% milk fat, which is essential for successful whipping. However, “light whipping cream” (or simply “whipping cream”) has a slightly lower fat content, typically between 30% and 35%. While it can still be whipped, it generally produces a lighter, less stable foam compared to heavy cream. For the most robust and stable whipped cream, always opt for “heavy whipping cream” or “heavy cream.”
Are There Substitutes for Heavy Cream in Whipped Cream?
For traditional dairy whipped cream, there isn’t a direct substitute that will yield the exact same results. The high fat content of heavy cream is what allows it to whip into stable peaks. However, if you’re looking for a dairy-free alternative, full-fat canned coconut milk can be an excellent option. Ensure the can has been chilled thoroughly (preferably overnight) in the refrigerator, then scoop out the thick cream that has solidified at the top, leaving the liquid behind. Whip it as you would dairy cream, often with a little added sugar and vanilla, for a delicious plant-based topping.
Mastering the Art of Homemade Whipped Cream: A Step-by-Step Guide
Whipping cream might seem like a simple task, and it is! However, there’s a delicate balance to strike. Beat it too little, and it’s watery; beat it too much, and you’re on your way to making butter. But don’t worry, with these clear steps and a few key tips, you’ll achieve perfect, fluffy whipped cream every time.
Here’s how to make heavenly homemade whipped cream:
- Chill Your Equipment: This is a crucial, though not absolutely necessary, step that makes a significant difference. Place your mixing bowl (preferably glass or metal) and whisk attachments (for your hand or stand mixer) in the refrigerator or freezer for 15-20 minutes before you begin. Cold equipment helps the cream maintain its chill, allowing it to whip faster and more effectively into stable peaks.
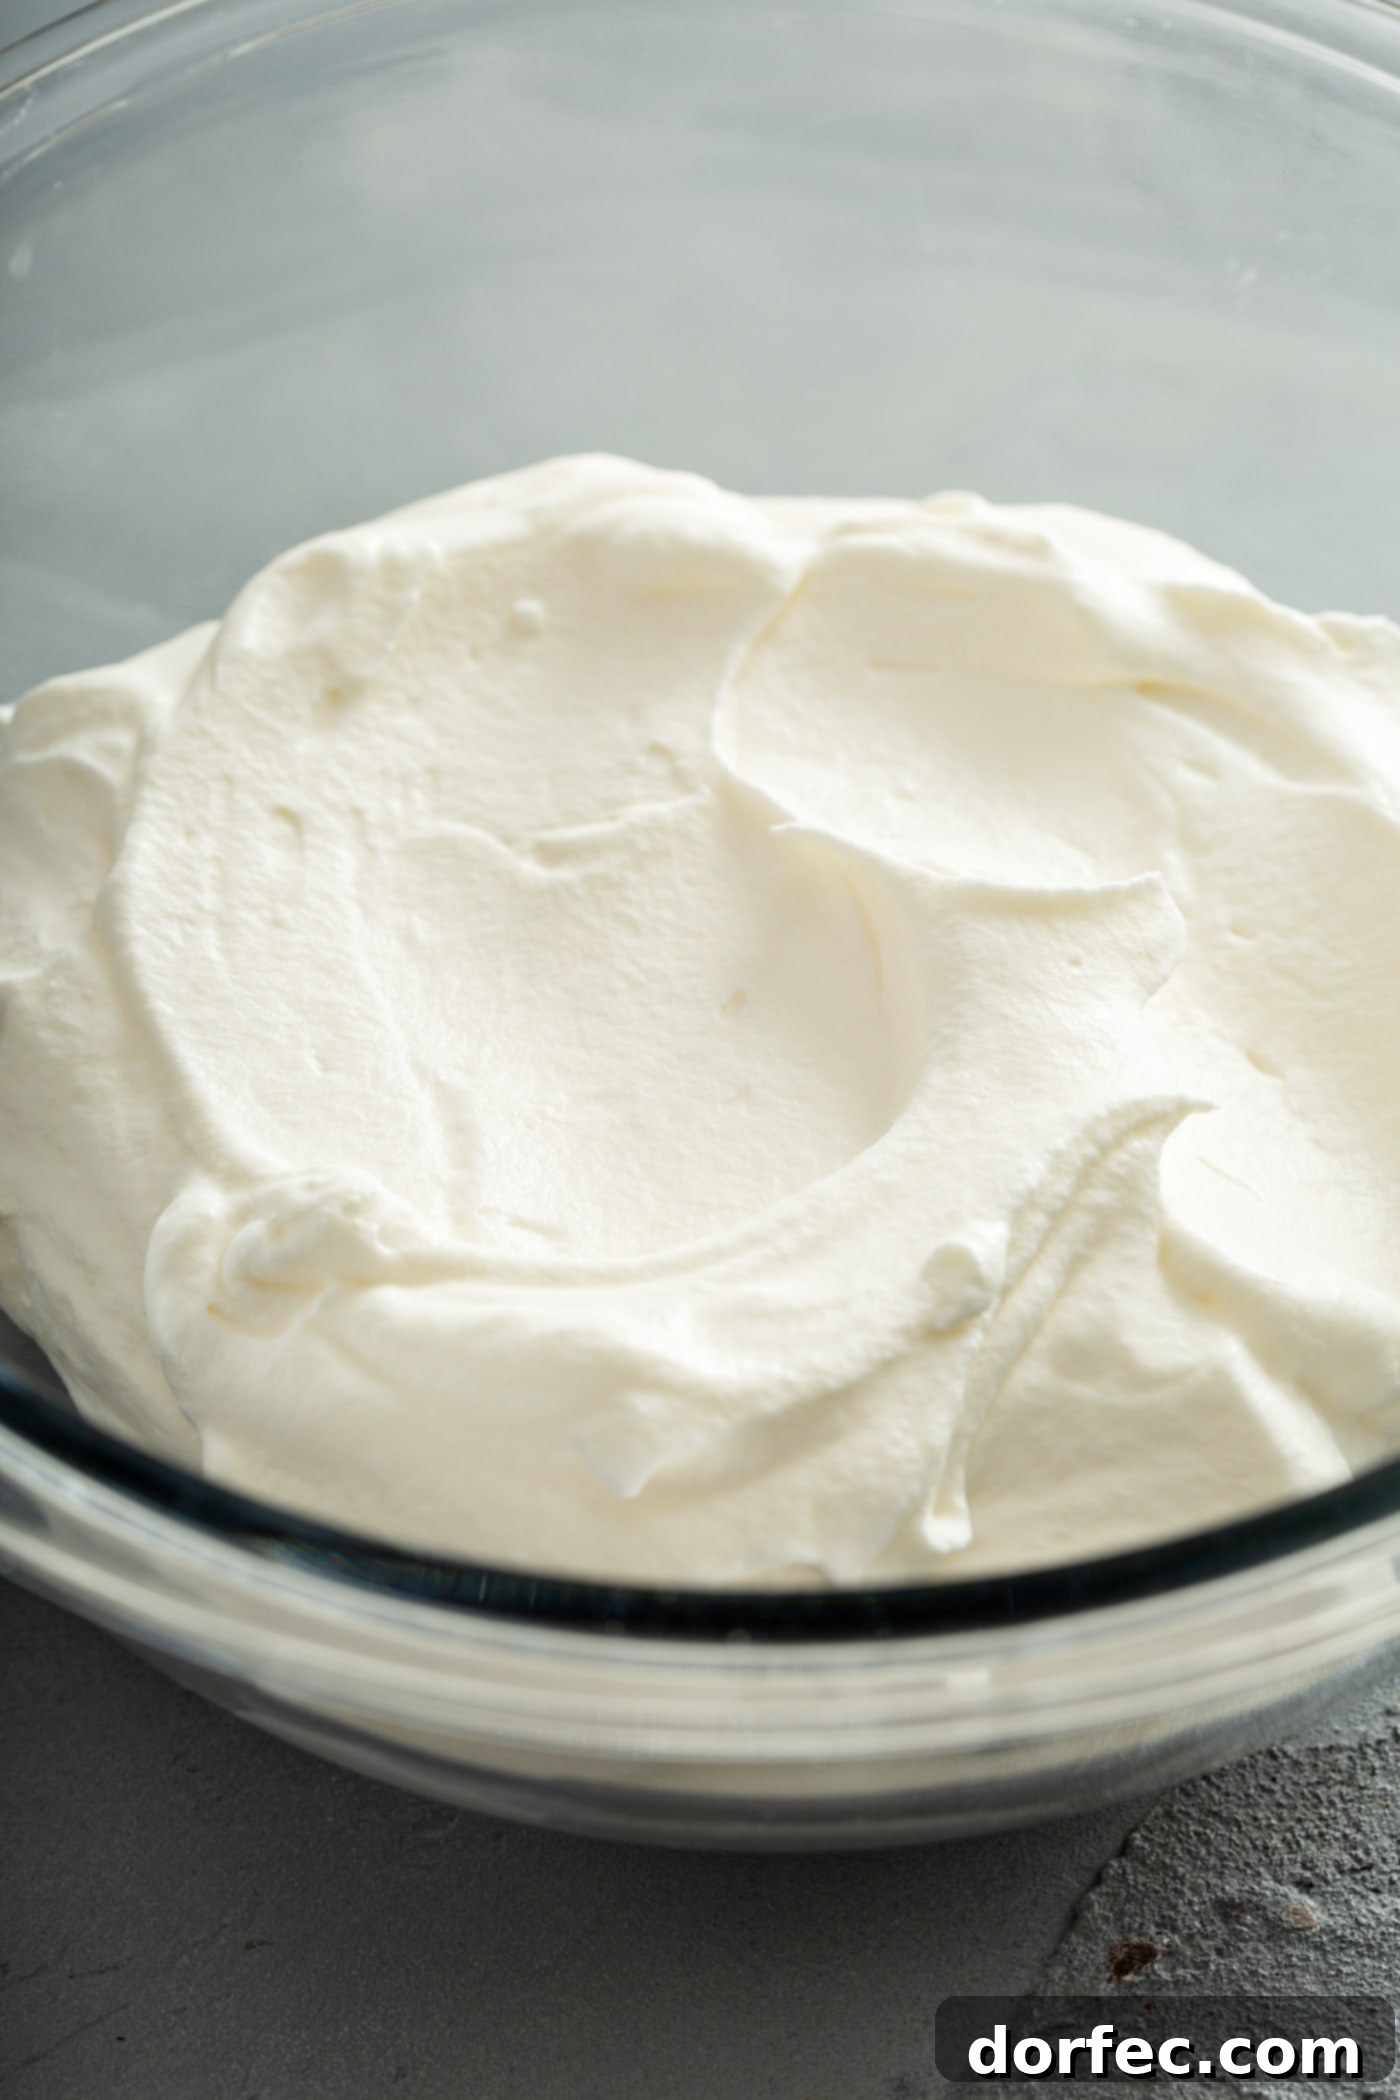
- Start Whipping the Cream: Pour your very cold heavy whipping cream into the chilled bowl. Using a hand mixer or a standing mixer fitted with a whisk attachment, begin beating the cream on medium-high speed. Watch closely as the cream transitions from liquid to foamy, then begins to thicken. Continue beating until “soft peaks” form. Soft peaks are when the cream holds its shape somewhat, but the tip of the peak gently folds over when you lift the whisk.
- Add Sweetener and Flavoring: Once soft peaks have formed, reduce the mixer speed to low. Carefully add the powdered sugar (or granulated sugar) and vanilla extract. Gradually increase the speed back to medium-high.
- Beat to Stiff Peaks: Continue beating until “stiff peaks” form. Stiff peaks are achieved when the whipped cream holds its shape firmly, and the peaks stand straight up when you lift the whisk. The cream will look glossy and voluminous. Be careful not to over-beat at this stage, as the texture can quickly turn grainy or even separate into butter.
Your homemade whipped cream is now ready to be served and enjoyed!
Storing Homemade Whipped Cream for Lasting Freshness
To keep your homemade whipped cream tasting and looking its best, proper storage is essential. Unlike commercial aerosols that are pressurized, homemade whipped cream contains air that can dissipate over time, causing it to lose its volume and become watery.
Homemade whipped cream should always be stored in a clean, airtight container in the coldest part of your refrigerator. Exposure to air and warmer temperatures will cause it to break down much faster.
How Long Does Homemade Whipped Cream Last?
When stored correctly in an airtight container in the refrigerator, homemade whipped cream will typically hold up beautifully for 3 to 4 days. After this time, it may start to lose some of its fluffy texture and become a bit watery at the bottom. The good news is that often, you can revive it!
If your whipped cream starts to lose its firmness or becomes slightly watery, simply give it a gentle whisk by hand or with an electric mixer for about 30 seconds to a minute. This will usually incorporate the separated liquid and restore its light and airy consistency. Just be careful not to over-whip it!
Common Whipped Cream Questions & Troubleshooting Tips
How Do You Keep Whipped Cream From Getting Watery?
Watery whipped cream is almost always a sign of under-whipping or insufficient chilling. To prevent this:
- Ensure Proper Chilling: Start with very cold heavy cream and a thoroughly chilled mixing bowl and whisk attachments. This is perhaps the most critical step.
- Whip to Soft or Stiff Peaks: Make sure you beat the cream long enough. Cream should be whipped until it holds distinctive soft or stiff peaks, depending on your desired consistency. If you lift the whisk and the peaks flop over immediately, it needs more whipping.
- Use Powdered Sugar: As mentioned earlier, powdered sugar often contains a small amount of cornstarch which acts as a stabilizer, helping the whipped cream maintain its structure longer and preventing it from becoming watery.
- Serve Immediately or Store Properly: Whipped cream is best enjoyed fresh. If making ahead, store it in an airtight container in the coldest part of your refrigerator.
What Happens If You Over-Beat Whipping Cream?
Over-beating whipped cream is a common mistake that can quickly ruin its delicate texture. When whipping cream is over-beaten, the fat molecules in the cream clump too closely together. This process pushes out the liquid, creating lumps and giving the whipped cream a granular, curdled, or even slightly greasy texture. If you continue to beat it past this stage, you will eventually make butter!
Is There Anything You Can Do to Fix Over-Mixed Cream?
If you’ve slightly over-beaten your whipped cream and it’s just starting to look grainy, don’t despair! There’s often a simple fix. Add a few drops (start with 1-2 teaspoons) of fresh, un-whipped heavy cream to the mixture. Then, gently whisk the cream by hand (or on the lowest setting of your mixer) until it becomes smooth and homogenous again. Be very careful not to over-mix it a second time!
Can I Flavor My Whipped Cream?
Absolutely! Vanilla is a classic, but you can get creative. Try adding:
- Other Extracts: Almond, peppermint, lemon, orange, or even rum extract.
- Cocoa Powder: For a chocolate whipped cream.
- Spices: A pinch of cinnamon, nutmeg, or pumpkin spice.
- Citrus Zest: Finely grated lemon, lime, or orange zest for a bright flavor.
- Liqueurs: A tablespoon of your favorite liqueur (e.g., Grand Marnier, Kahlúa, amaretto) for an adult twist.
Delicious Ways to Enjoy Your Homemade Whipped Cream
Once you’ve mastered this simple recipe, a world of culinary delights opens up! Homemade whipped cream is the perfect companion to countless desserts and beverages. Here are some ideas and our favorite recipes:
- Fruit: A dollop of whipped cream turns any fresh fruit (berries, peaches, bananas) into an elegant dessert.
- Pies and Tarts: The ultimate topping for fruit pies, cream pies, and tarts.
- Cakes and Cupcakes: A lighter alternative to frosting, or a delightful filling.
- Hot Beverages: Elevate your hot cocoa, coffee, or lattes.
- Ice Cream Sundaes: Take your sundaes to the next level.
- Pancakes and Waffles: A decadent breakfast or brunch addition.
- Parfaits and Trifles: Layered with fruit, cake, or granola.
Our Favorite Recipes With Whipped Cream:
- Banana Cream Pie Dip
- Dulce de Leche Banana Cream Pie
- Lime Cheesecake with Triple Berry Sauce
- Banana Cream Icebox Cake
- No-Bake Lemon Cream Pie
- Easy Strawberry Shortcake
- Strawberry Pavlova
- Banana Cream Pie Bars
- No-Bake Key Lime Pie
- French Silk Pie From Scratch
Homemade Whipped Cream Recipe
Homemade Whipped Cream
By Sweet Basil
Prep Time: 5 mins
Total Time: 5 mins
Servings: 8
Skip the store-bought stuff and make Homemade Whipped Cream instead! It comes together in under 5 minutes and is supremely light and fluffy!
Ingredients
- 1 Cup Heavy Whipping Cream
- 1/2 Cup Powdered Sugar
- 1 teaspoon Vanilla Extract
Instructions
- In a large glass bowl, using a hand mixer with a whisk or beater attachments, beat until soft peaks form.
- Add the powdered sugar and vanilla and beat until peaks form. DO NOT OVER BEAT.
Recipe Notes
- For best results, chill the mixing bowl in the fridge for 15 to 20 minutes before making the whipped cream.
Whipped cream will keep for 2-3 days in the refrigerator. Just give a gentle stir before serving.
Nutrition
Serving: 1g, Calories: 133kcal, Carbohydrates: 8g, Protein: 1g, Fat: 11g, Saturated Fat: 7g, Cholesterol: 41mg, Sodium: 12mg, Potassium: 22mg, Sugar: 7g, Vitamin A: 437IU, Vitamin C: 1mg, Calcium: 19mg
Nutrition information is automatically calculated, so should only be used as an approximation.
Making homemade whipped cream is a simple pleasure that elevates any dessert, making it feel more special and delicious. Enjoy the process and the delightful results!