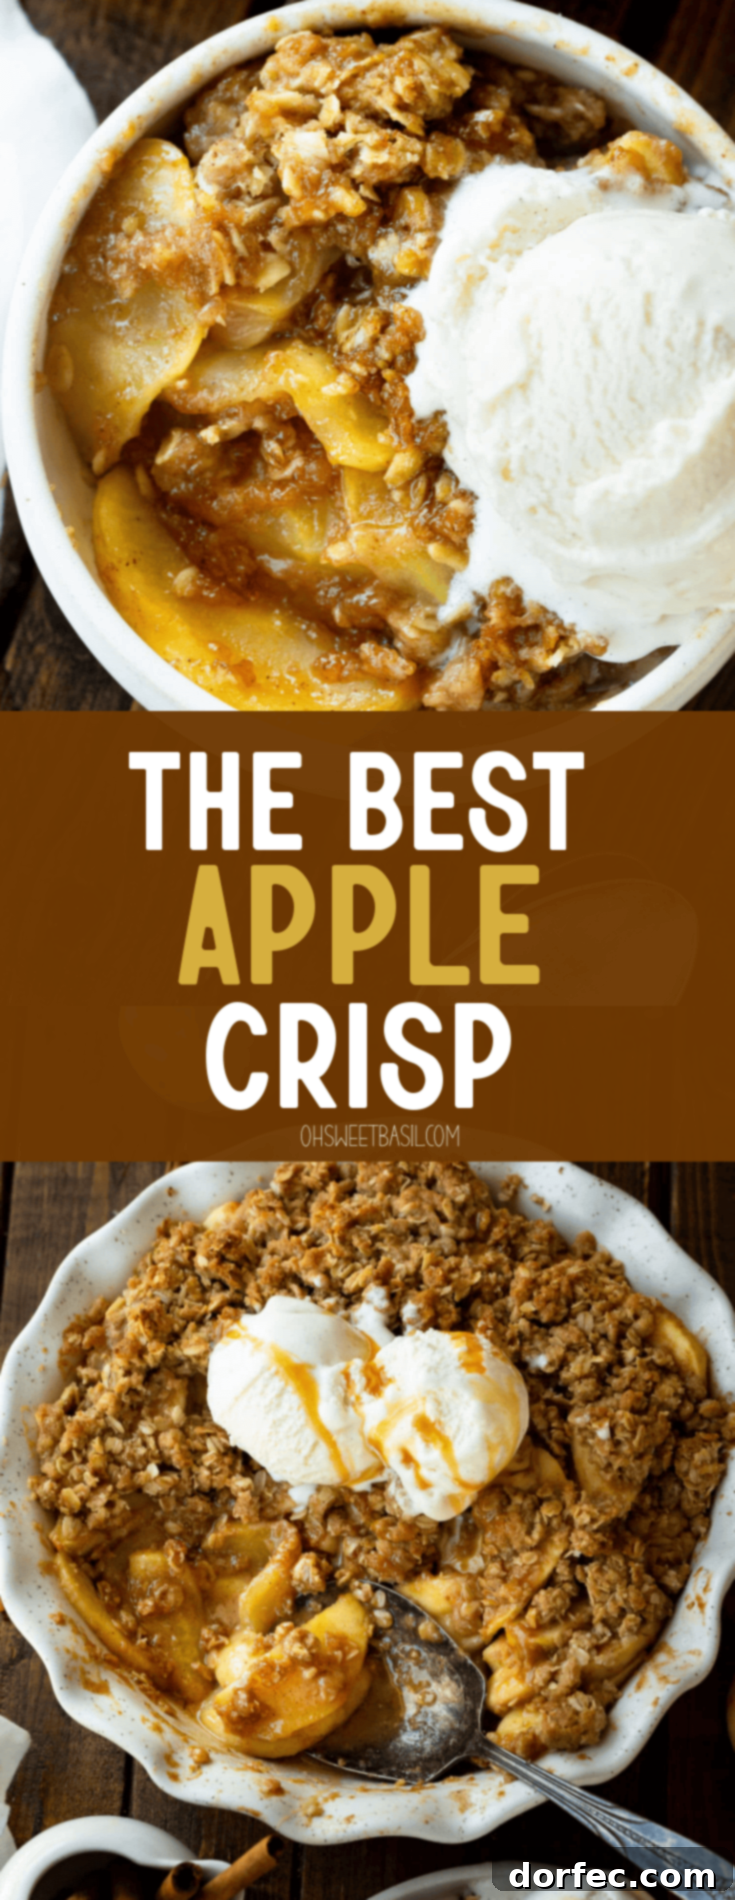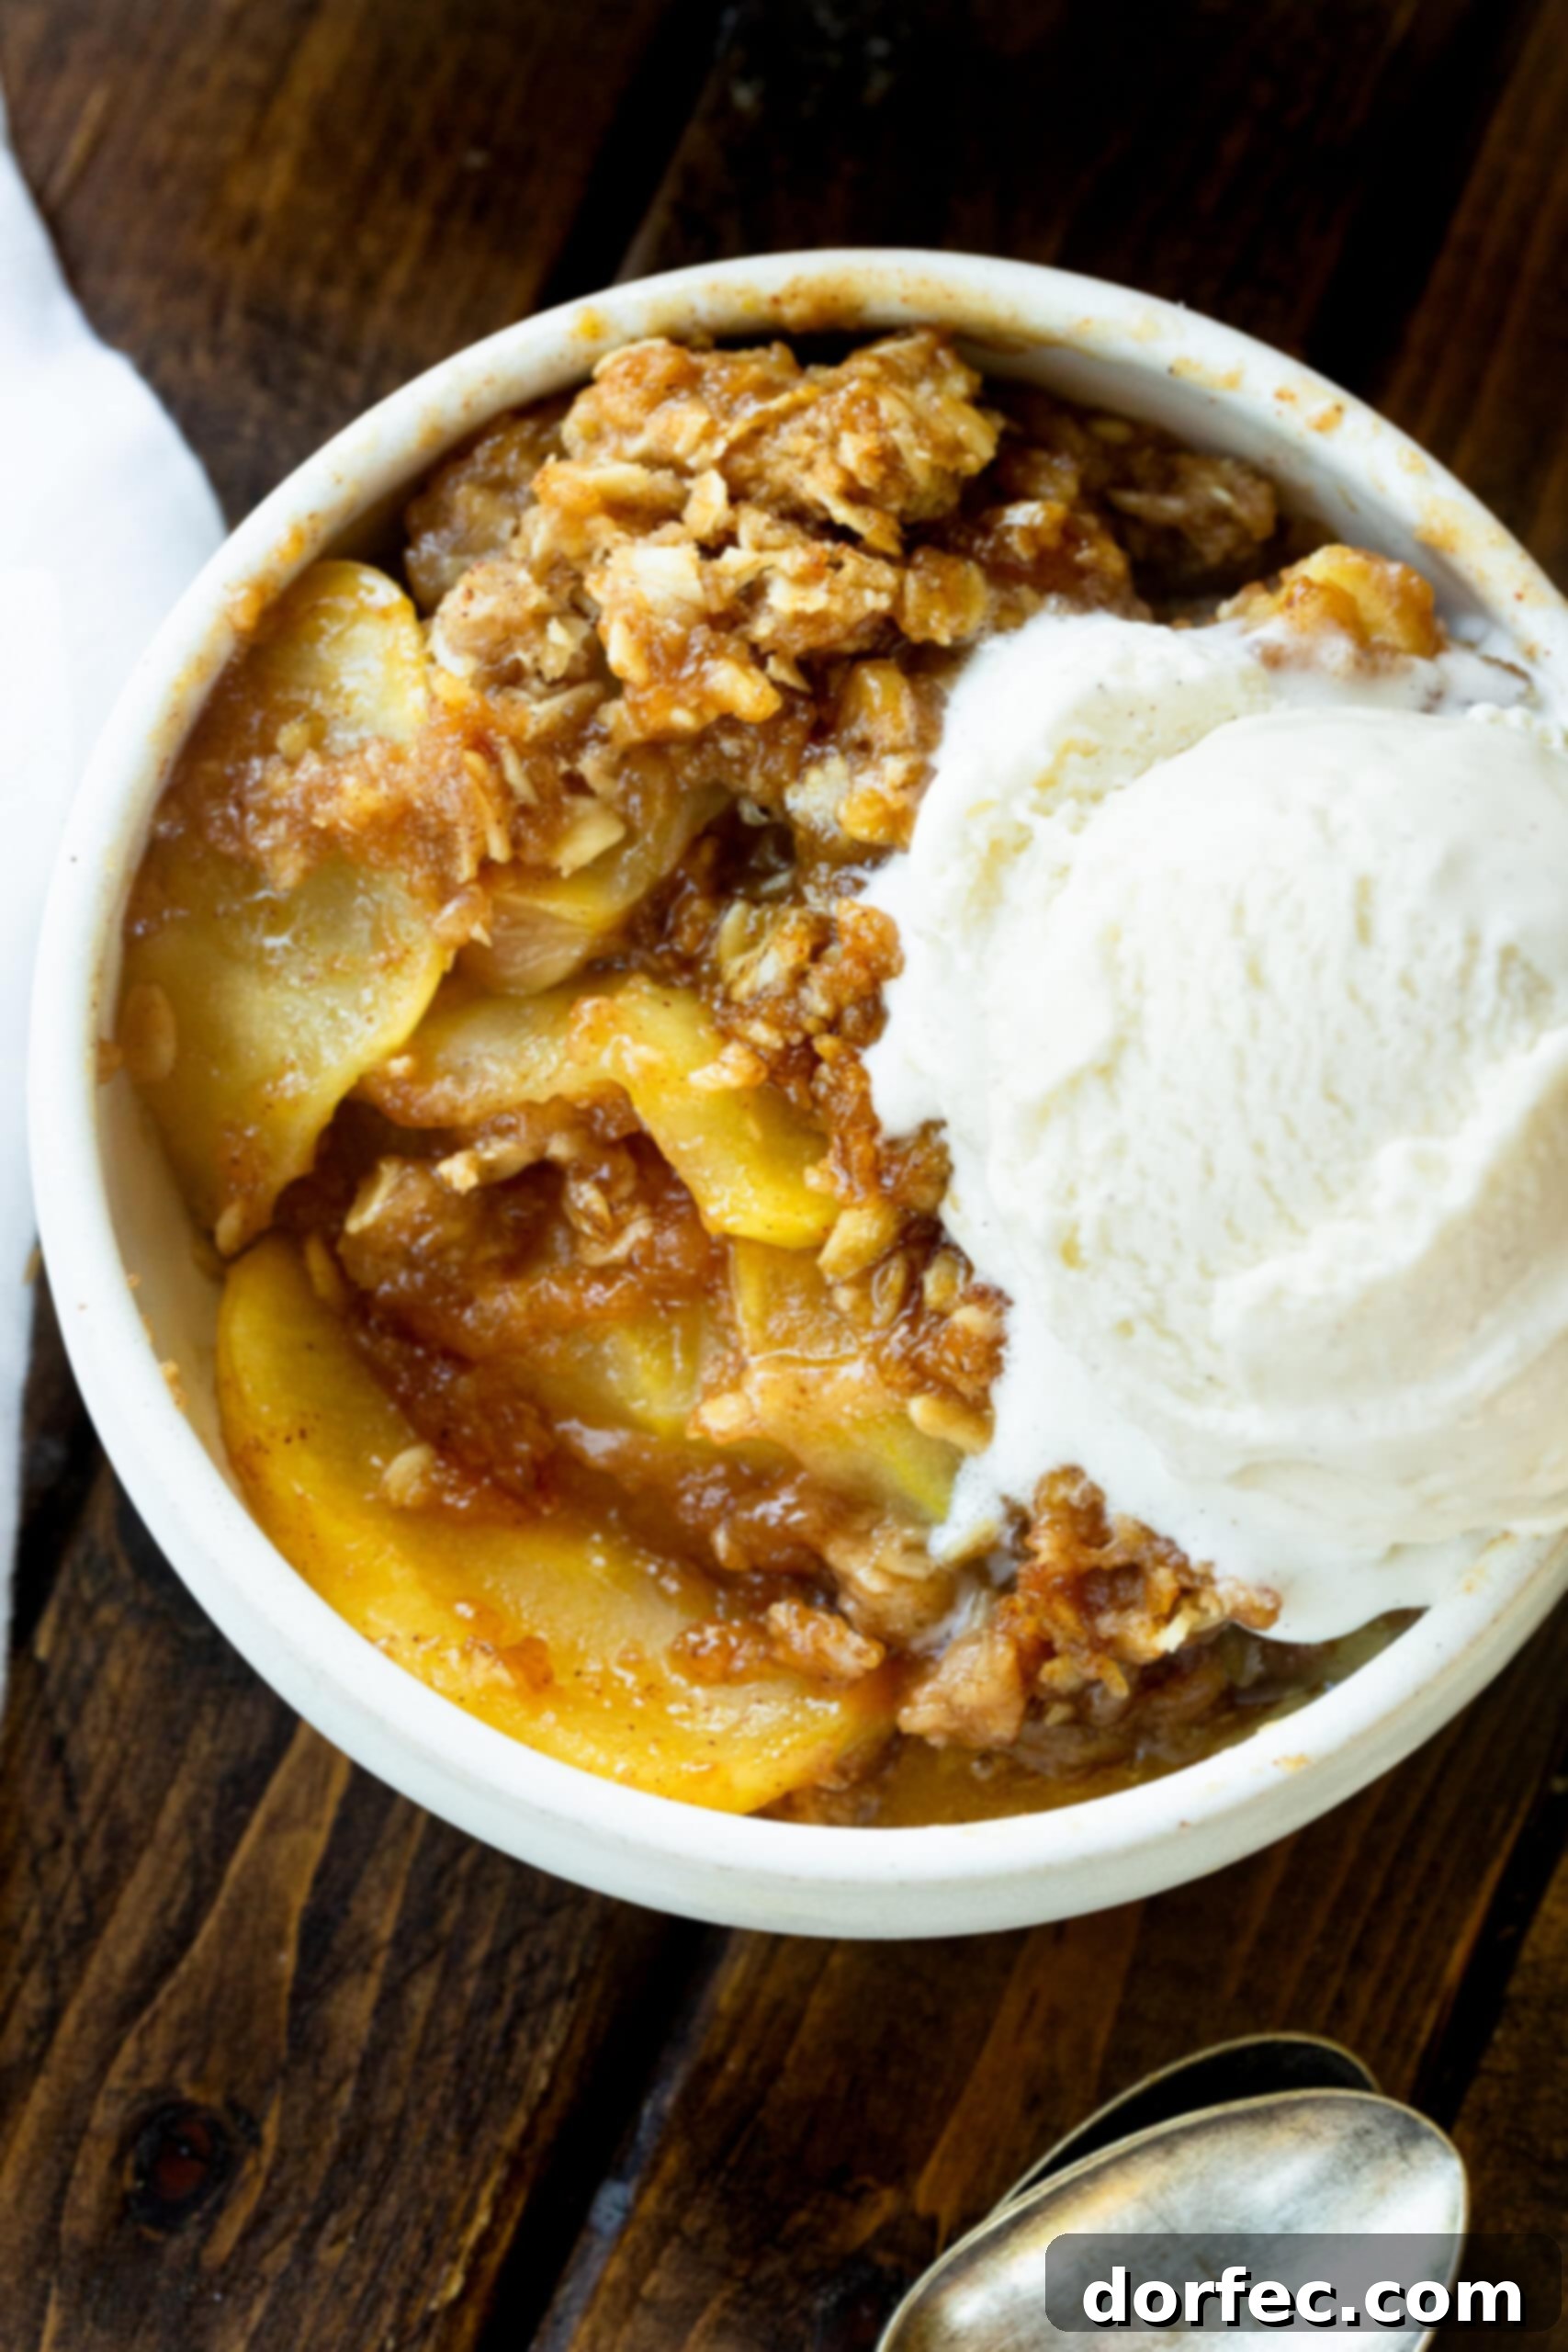
There’s nothing quite like the comforting aroma of a freshly baked apple crisp wafting through your kitchen, especially as the crisp autumn air settles in. We’ve certainly tested our fair share of recipes over the years, but we’re confident in saying this is hands-down the ultimate apple crisp recipe you’ll ever encounter. What makes it truly exceptional? Not only does it deliver unparalleled flavor and texture, but it’s also incredibly versatile – perfectly suited for making ahead or even freezing for later enjoyment. It’s truly a fall dessert masterpiece that promises warmth and pure delight in every bite.
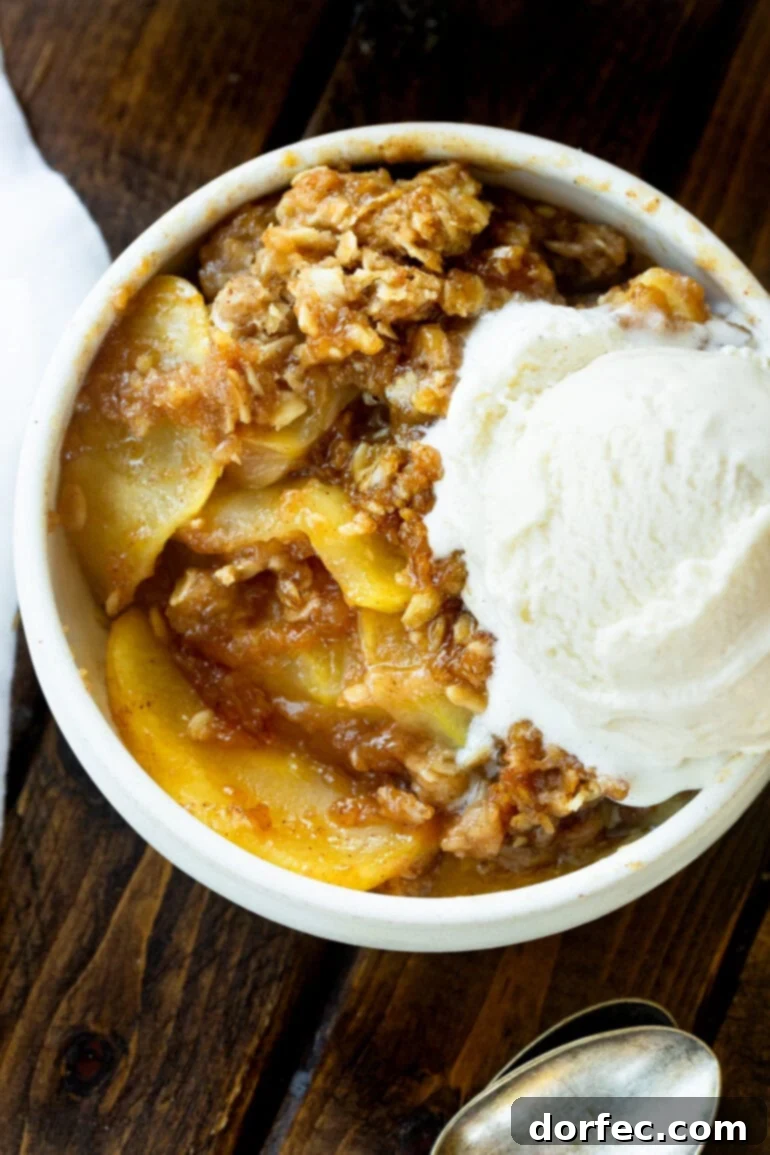
Our secret lies in the masterful combination of tender, saucy apples and a crumble topping that redefines indulgence. Imagine perfectly ripe apple slices, generously coated in a luscious mixture of heavy cream and flour, transforming into a rich, caramel-like filling as it bakes. This ensures every spoonful is bursting with gooey, spiced apple goodness. Complementing this divine filling is an oat topping so exquisite, it tastes like a giant, cinnamon-infused oatmeal cookie. The contrast of the soft, yielding apples and the crunchy, buttery topping creates an unforgettable dessert experience. Prepare to be amazed – this is genuinely the best homemade apple crisp recipe you will ever bake.
Crafting the Perfect Apple Crisp: A Culinary Journey
In a world overflowing with countless apple crisp recipes, especially during peak apple season when Pinterest is flooded with tempting options, you might wonder why we’re sharing yet another. The answer is simple: pure, unadulterated passion. There’s an undeniable magic in a warm, bubbling apple crisp, especially when crowned with a generous scoop of creamy, slowly melting vanilla ice cream. While some prefer a drizzle of rich caramel sauce or decadent dulce de leche over their dessert, I find myself drawn to the timeless classic, just as I remember it from my childhood.
Growing up, crisps and cobblers were almost as cherished in our household as our beloved musicals. A hot apple crisp fresh from the oven, filling the house with its sweet, spiced aroma, was a regular feature. If you haven’t experienced the simple joy of a truly great musical, consider this your friendly nudge to dive in! And while you’re enjoying some heartwarming entertainment, there’s no better companion than a generous serving of this incredible homemade apple crisp. It’s a nostalgic delight that brings comfort and joy, making it the ideal treat for any occasion.
See How to Make This Apple Crisp
For a visual guide to perfecting this delightful dessert, you can watch our step-by-step video. It walks you through each stage of the process, from preparing the apples to achieving that perfectly golden, crumbly topping. While we cannot embed dynamic video content directly here, envision a helpful demonstration showcasing exactly how easy it is to create this incredible apple crisp. It makes understanding the nuances of the recipe even simpler, ensuring your success in the kitchen.
Homemade Apple Crisp: Key Ingredients
This irresistible apple crisp is a symphony of flavors and textures, achieved through two perfectly balanced components: the sweet, spiced apple filling and the buttery, crunchy crisp topping. We’ve meticulously chosen each ingredient to ensure a harmonious and utterly delicious outcome.
For the Flavorful Apple Filling, you’ll need:
- Fresh, firm Apples (see our recommendations below for the best varieties)
- Melted Butter for richness
- All-Purpose Flour for thickening the sauce
- Bright Lemon Juice to balance sweetness and prevent browning
- Rich Heavy Cream for a luscious, saucy consistency
- Pure Vanilla Extract for aromatic depth
- Both Brown Sugar and Granulated Sugar for a complex sweetness
- Warm Cinnamon and Nutmeg for classic fall spice
- A pinch of Salt to enhance all the flavors
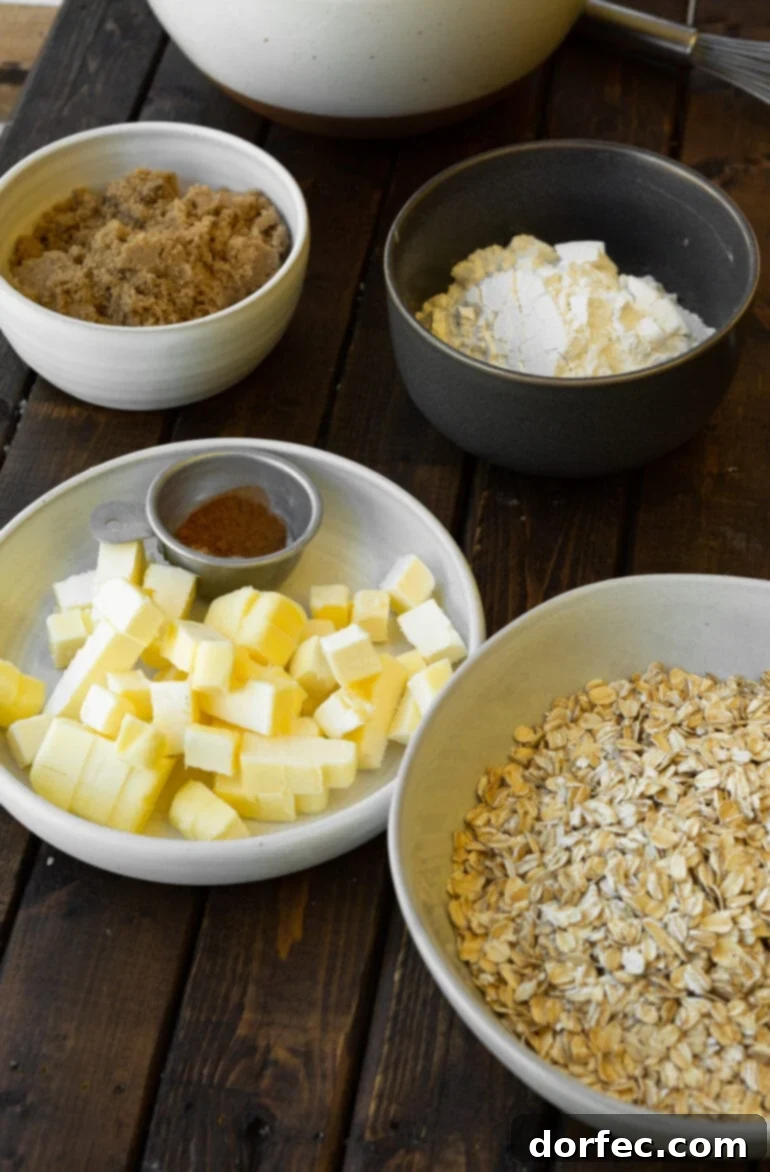
For the Irresistible Crisp Topping, gather these items:
- All-Purpose Flour for the base
- Hearty Old-Fashioned Oats for texture and chewiness
- Rich Brown Sugar for a deep, molasses-like sweetness
- Ground Cinnamon for a comforting spice blend
- A dash of Salt to bring out the flavors
- Cold Unsalted Butter, cut into cubes, essential for a crumbly texture
We believe in honoring the classics, so we didn’t stray too far from traditional apple crisp ingredients. After all, why tamper with perfection? You’ll find the precise measurements for each of these high-quality ingredients in the detailed recipe card conveniently located at the end of this article. This recipe is designed to be straightforward and rewarding, delivering exceptional results with every bake.
Selecting the Best Apples for Your Apple Crisp
The choice of apples is paramount when aiming for an outstanding easy apple crisp. The goal is a filling that’s tender and saucy, yet still retains some delightful texture, avoiding a mushy outcome. To achieve this, you need apples that are firm and hold their structure beautifully even after baking. Here are our top recommendations for baking, along with some tips for the perfect blend:
- Granny Smith: Known for its tartness and firm texture, Granny Smith apples are excellent for baking as they maintain their shape and provide a wonderful contrast to the sweetness of the crisp.
- Honeycrisp: A crowd-favorite, Honeycrisp apples are sweet, juicy, and famously crisp. They offer a delightful crunch and release their flavor beautifully during baking.
- Jonagold: These apples strike a perfect balance between sweet and tart, with a firm flesh that holds up well in the oven.
- Braeburn: With a crisp texture and a tangy-sweet flavor, Braeburns are versatile and add a lovely depth to baked goods.
- Pink Lady (Cripps Pink): Offering a sweet-tart flavor and a crisp texture, Pink Lady apples are another fantastic choice for their ability to remain firm.
For an even more complex and intriguing flavor profile, we highly recommend using a blend of baking apples. Combining a few tart varieties like Granny Smith with sweeter apples such as Honeycrisp or Gala creates a dynamic taste experience that is truly unmatched. This balance ensures your apple crisp is neither too sweet nor too tart, hitting all the right notes for a truly memorable dessert.
How to Master This Homemade Apple Crisp: Step-by-Step
Creating this homemade apple crisp is surprisingly simple, yielding impressive results every time. Follow these straightforward steps to bake a dessert that will earn you rave reviews:
- Preparation is Key: Begin by preheating your oven to the specified temperature. Lightly spray your chosen baking dish with nonstick spray to ensure easy cleanup. Next, peel and thinly slice your apples. Aim for consistent slices, about 1/4 inch thick, so they cook evenly and become perfectly tender.
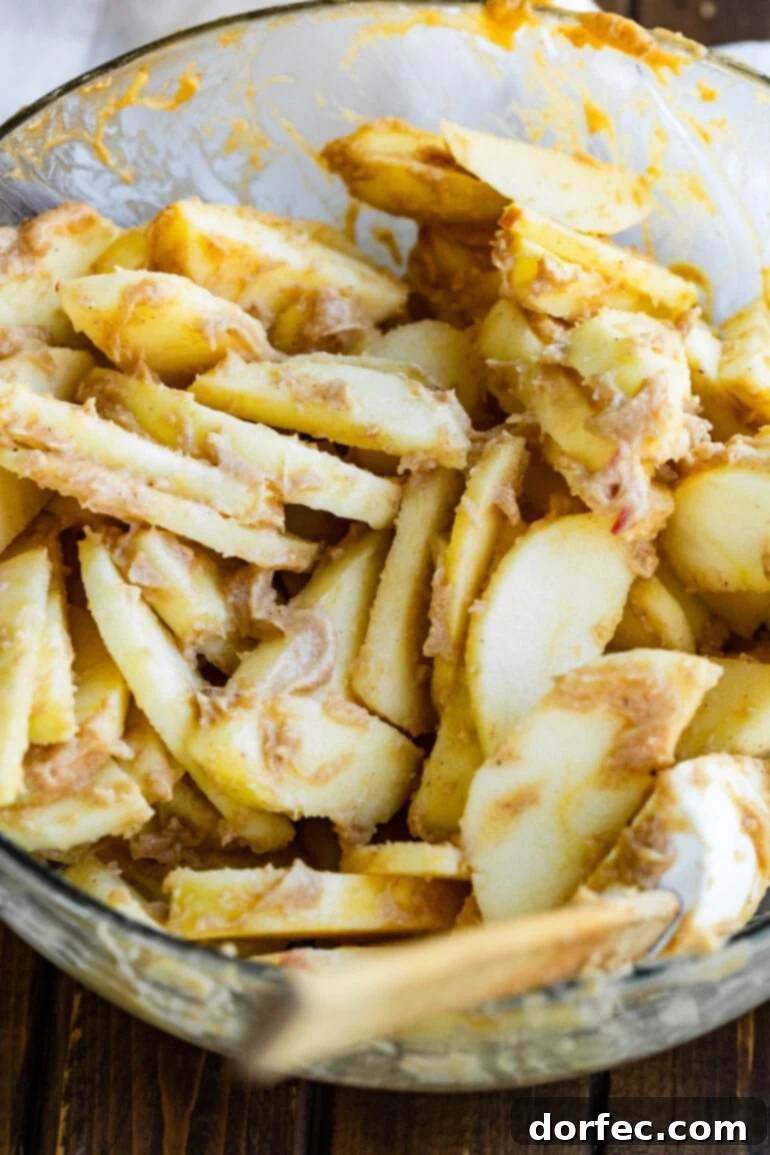
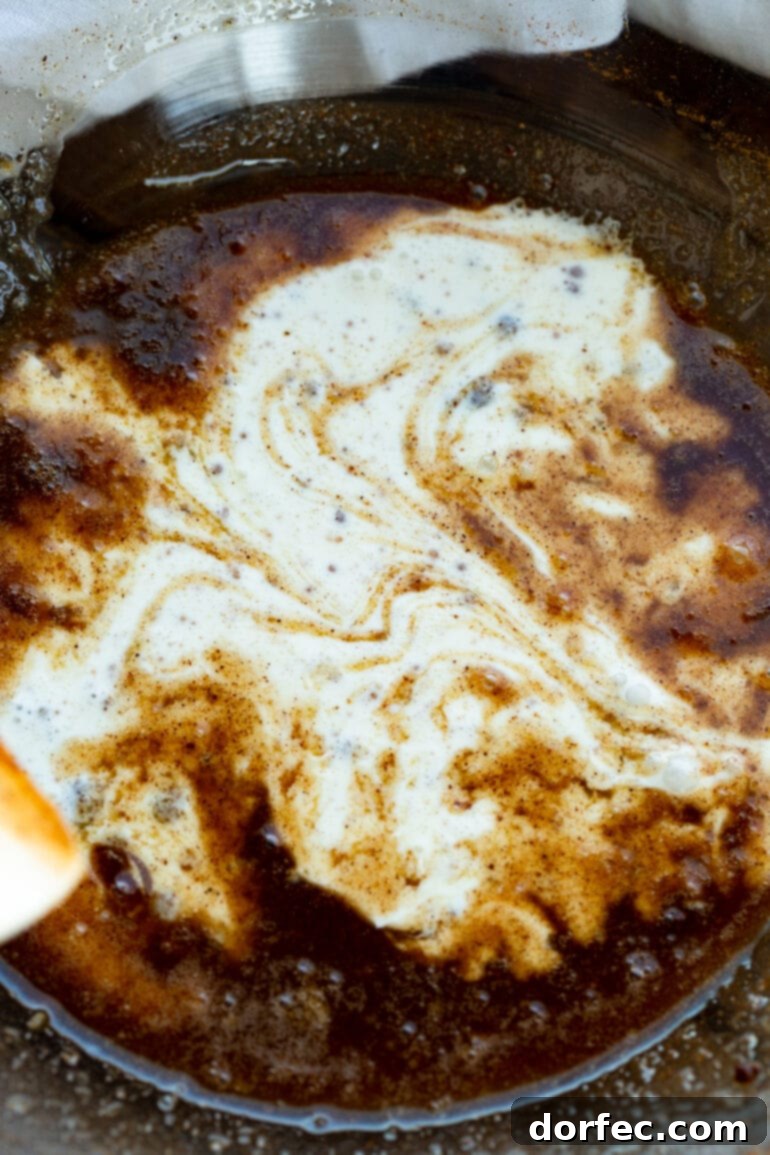
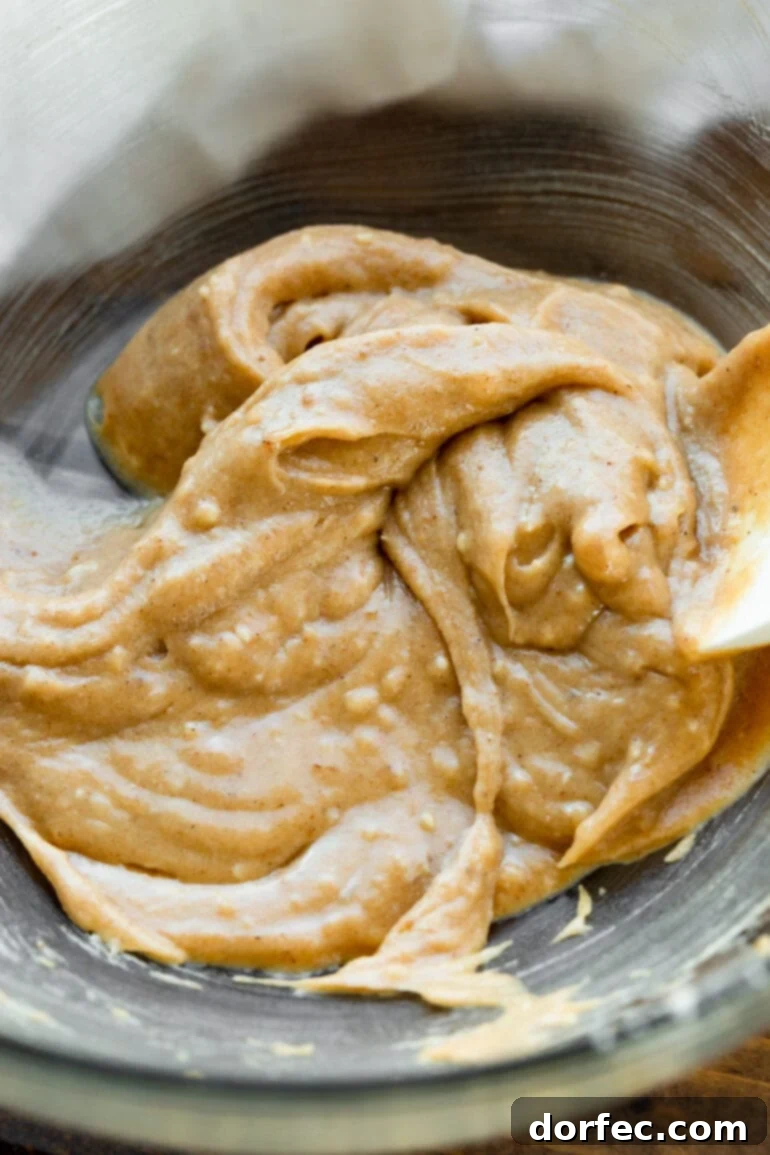
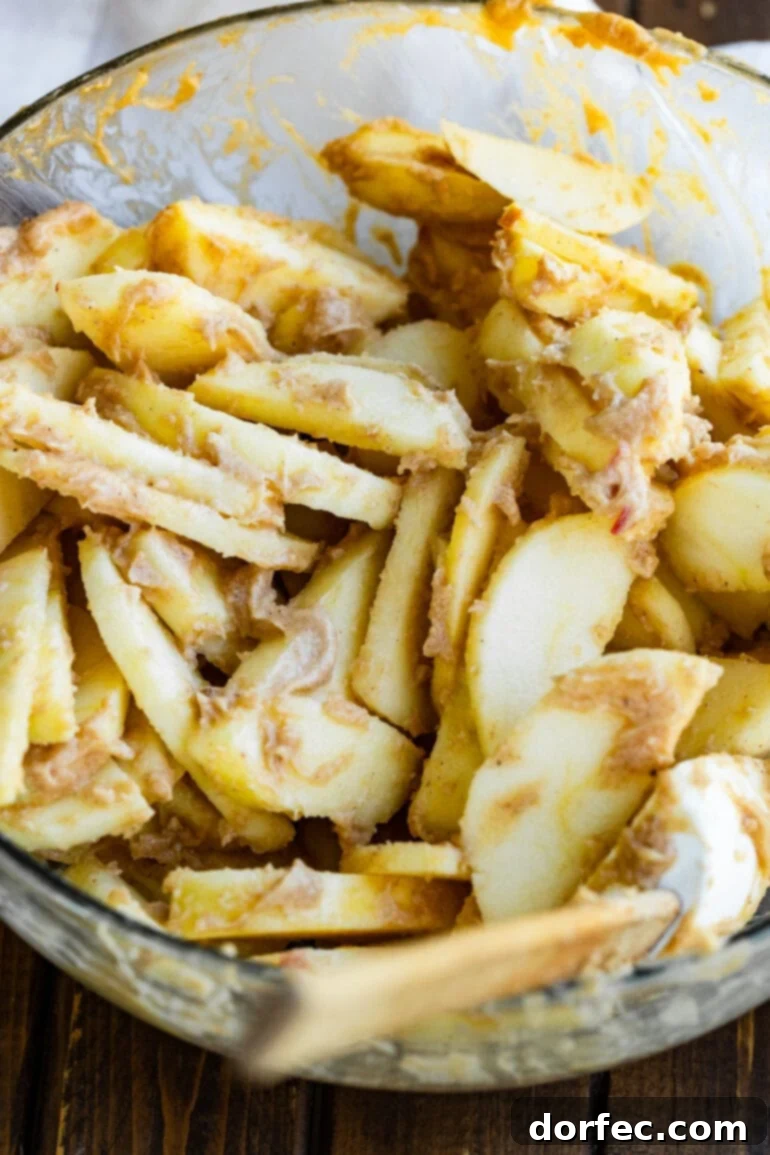
- Crafting the Luscious Filling: In a large bowl, whisk together the melted butter, flour, lemon juice, heavy cream, and vanilla until thoroughly smooth. This forms the rich base of your sauce. Incorporate both brown and granulated sugars, cinnamon, nutmeg, and a dash of salt, whisking again until everything is well combined and silky. Gently fold in your prepared apple slices, ensuring each piece is generously coated with this aromatic mixture. Once coated, spread the apples evenly into the bottom of your greased baking dish, creating a beautiful, uniform layer. (Refer to the image below for visual guidance.)
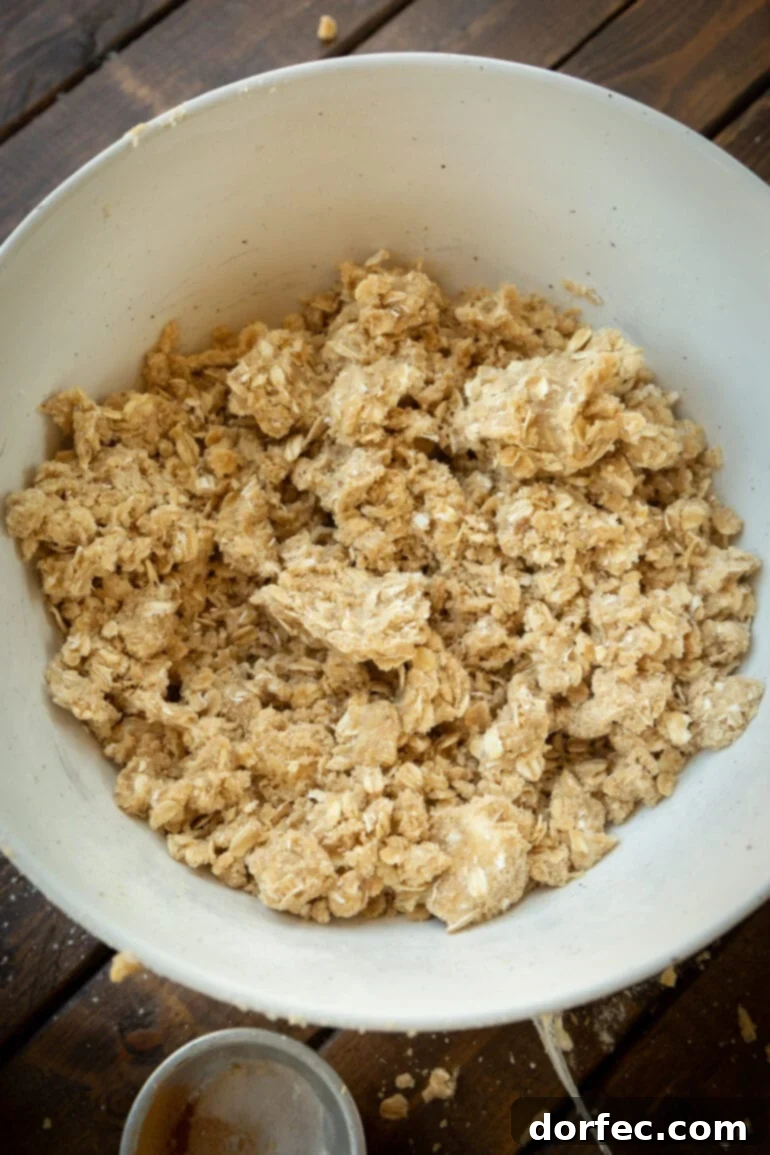
- The Perfect Crisp Topping: In a separate large bowl, combine the flour, old-fashioned oats, brown sugar, cinnamon, and salt. Stir these dry ingredients together thoroughly. Now, add the cold, cubed unsalted butter. Using a pastry cutter, begin to cut the butter into the dry mixture until it resembles coarse crumbs.
- PRO TIP for Clumpy Topping: As the butter becomes more incorporated, switch from the pastry cutter to your hands. Squeeze and mix the ingredients vigorously. This action helps to fully integrate the butter and creates those desirable large, buttery clumps of dough that make for an extra-crispy, flavorful topping. Ensure no dry flour remains.
- Bake to Golden Perfection: Evenly sprinkle the oat topping over the apple filling in your baking dish. Cover the dish loosely with foil. Bake for approximately half of the total baking time. This initial covered bake allows the apples to soften and become saucy without the topping browning too quickly. After this period, remove the foil and continue baking until the topping is beautifully golden brown, and the apple filling is visibly bubbling around the edges, indicating it’s perfectly cooked through and jammy.
- Patience is a Virtue (and Prevents Burns!): Once removed from the oven, allow the apple crisp to cool for at least 5-10 minutes. This waiting period is crucial as the crisp is molten hot. Cooling slightly allows the filling to set further and prevents accidental burns, making it more enjoyable to serve and eat.
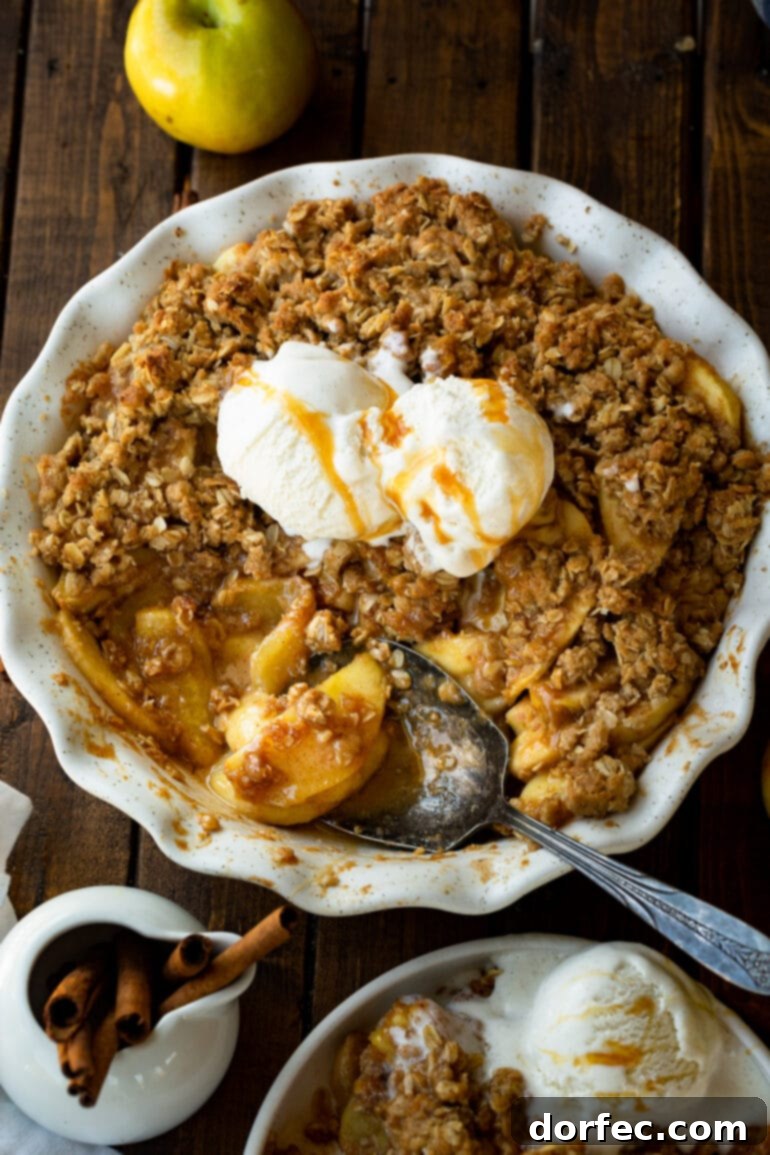
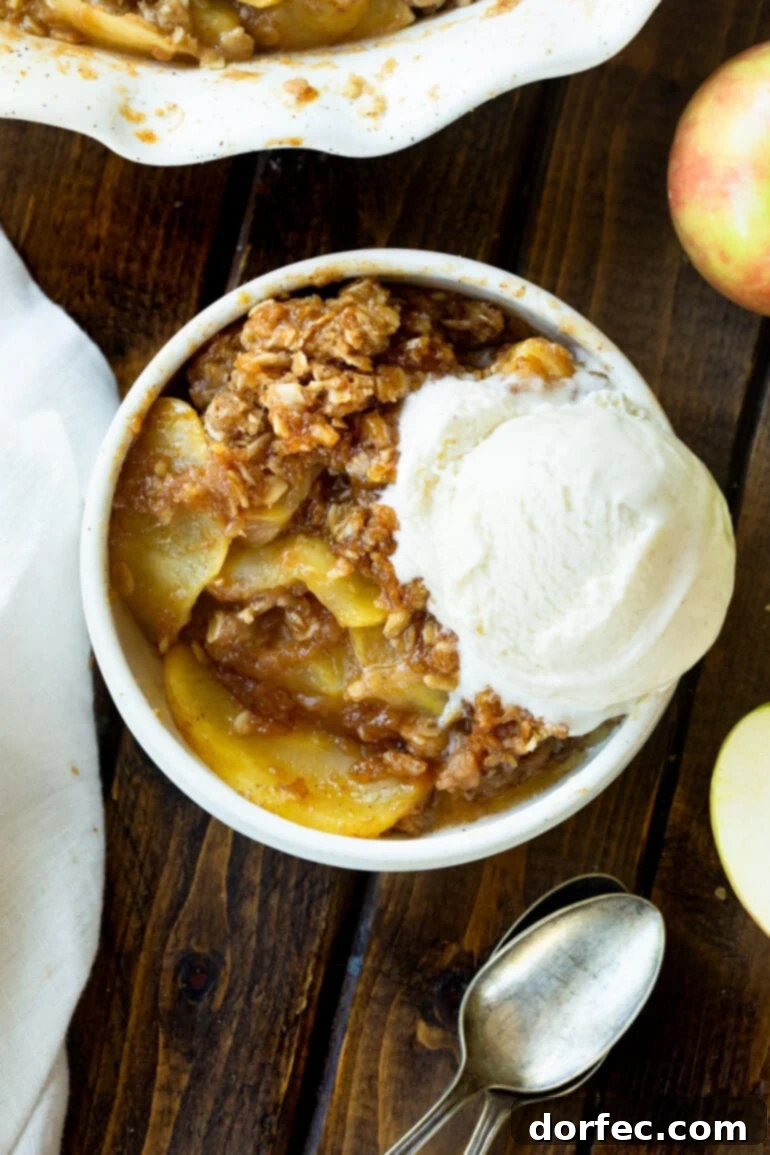
- Serve with a Smile: For the ultimate indulgence, serve your warm easy apple crisp with a generous scoop of creamy vanilla ice cream. The cold, melting ice cream against the warm, spiced apples and crunchy topping is an unbeatable combination that epitomizes comfort and delight.
For all the precise measurements and further intricate details, make sure to scroll down to the comprehensive recipe card located at the very end of this post. It contains everything you need for baking success!
Expert Tips for Apple Crisp Perfection
Achieving a truly stellar apple crisp involves a few key techniques. Here are our expert tips to help you bake a dessert that’s consistently delicious:
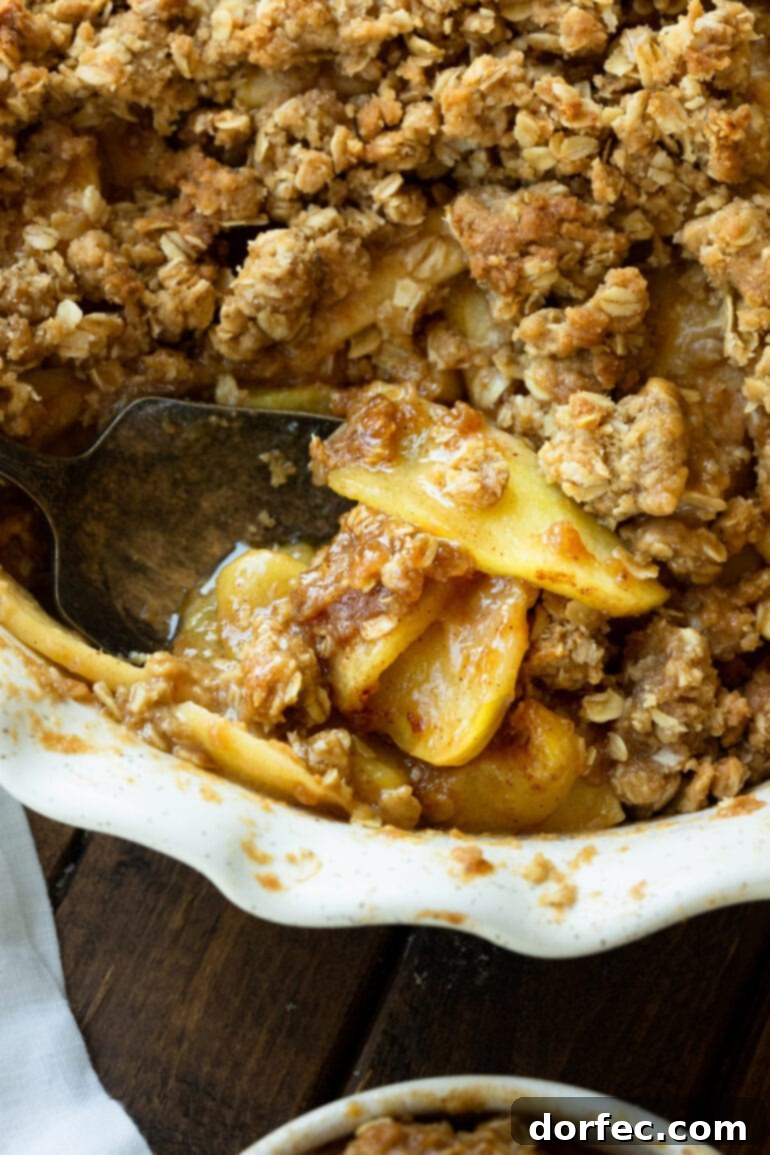
- Apple Slicing Precision: When preparing your apple filling, it’s crucial to peel and slice the apples to an appropriate thickness. Aim for thin slices (around 1/4 inch). If the slices are too thick, they won’t break down adequately during baking, resulting in a firm, less “jammy” filling. Conversely, slicing them too thinly can cause them to turn into a watery mush. Use your best judgment to strike that perfect balance – tender but with a slight bite.
- Spice it Up (or Down): After you’ve made this easy apple crisp once according to the recipe, feel free to personalize the spice blend. If you adore cinnamon, don’t hesitate to add a little extra. You can also experiment with other warming spices like a pinch of ground cloves, ginger, or even a touch of cardamom for a unique twist.
- Topping Variations: The oat topping is wonderfully adaptable! For an added layer of flavor and crunch, consider mixing in some chopped pecans or walnuts. These nuts toast beautifully during baking, lending a delightful nutty aroma and texture that complements the apples perfectly.
- The Importance of Cold Butter: This is a non-negotiable tip for your crisp topping. Your unsalted butter must be cold and cut into small cubes when you incorporate it into the dry topping mixture. Cold butter creates pockets of steam as it bakes, which results in that wonderfully crumbly, crispy texture. If the butter is too warm or softened, it will fully blend with the flour and oats, leading to a pasty, dense topping that won’t sprinkle easily or achieve the desired crispness.
- Don’t Overcrowd Your Dish: Ensure your baking dish isn’t overly packed with apples. Leaving a little room allows the filling to bubble and thicken properly, and the topping to crisp up evenly.
- Check for Doneness: The visual cues (golden topping, bubbling edges) are great, but for ultimate assurance, you can gently insert a thin knife into the apple filling. The apples should feel tender with minimal resistance.
Crisp, Cobbler, and Crumble: What’s the Delicious Difference?
For me, any of these comforting baked desserts are an immediate “yes!” because they all promise warmth, fruit, and delicious toppings. However, for those who love to delve into the culinary specifics, there are indeed distinctions between a cobbler, a crisp, and a crumble:
- Cobbler: A cobbler typically features a fruit filling topped with a sweet biscuit-like or batter-based topping. The topping is usually dropped onto the fruit in spoonfuls, creating a rustic, “cobbled” appearance, much like our beloved Old-Fashioned Southern Peach Cobbler. The texture of the topping is usually soft and cake-like.
- Crisp: A crisp, like the one in this recipe, is characterized by a fruit filling topped with a streusel-like mixture that often includes oats. The oats are key to creating a truly “crisp” texture when baked, providing a delightful crunch that contrasts with the soft fruit.
- Crumble: A crumble is very similar to a crisp. The primary distinction often lies in the topping: a crumble topping traditionally doesn’t contain oats, focusing instead on a simple streusel of flour, sugar, and butter. However, in modern usage, the terms “crisp” and “crumble” are often used interchangeably, and many recipes blur the lines by adding oats to crumble toppings.
Regardless of the name, all three offer a comforting, fruit-filled dessert experience perfect for any season!
How to Reheat Apple Crisp
Enjoying leftover apple crisp is just as delightful as the first serving. Here’s how to reheat it to perfection:
- Oven Method (Recommended for Best Texture): For a crisp topping and warm, gooey filling, reheating in the oven is ideal. Simply place any leftover apple crisp in an oven preheated to 350ºF (175ºC) for about 15-20 minutes, or until warmed through and the topping has re-crisped slightly. If the topping starts to brown too much, you can loosely cover it with foil.
- Microwave Method (Quick & Easy): If you’re in a hurry, individual servings of apple crisp can be reheated in the microwave. Place a single serving in a microwave-safe bowl and heat for 30-40 seconds at a time, checking and stirring if necessary, until it’s warmed to your liking. Be aware that the topping may lose some of its crispness with this method.
How to Freeze Apple Crisp for Later Enjoyment
This recipe is wonderfully freezer-friendly, allowing you to prepare ahead or save leftovers for a future craving. Here’s how to freeze your apple crisp:
- Freezing Unbaked Apple Crisp: Prepare the apple filling and crisp topping as directed in the recipe, but do not bake. Assemble the crisp in a freezer-safe baking dish. Cover it tightly with a double layer of plastic wrap, followed by a double layer of aluminum foil to prevent freezer burn. Label with the date. Freeze for up to 3 months. When ready to bake, thaw overnight in the refrigerator, then bake as directed, potentially adding an extra 10-15 minutes to the baking time to ensure it’s fully cooked.
- Freezing Baked Apple Crisp: If you have leftover baked crisp, let it cool completely to room temperature. Cover the baking dish tightly with a double layer of foil or transfer individual servings to airtight, freezer-safe containers. Freeze for up to 3 months. To serve, thaw overnight in the refrigerator and then reheat in a 350ºF (175ºC) oven until warmed through, about 15-20 minutes.
Can I Double This Apple Crisp Recipe?
Absolutely! This best apple crisp recipe is quite forgiving and scales up beautifully. If you wish to double the recipe, you will need a larger baking dish, typically a 9×13-inch (23×33 cm) pan, to accommodate the increased volume of both the apple filling and the crisp topping. The baking time should remain approximately the same, but always keep an eye on it towards the end to ensure the topping is golden and the filling is bubbling. Using a larger dish allows for proper airflow and even baking, preventing the crisp from becoming soggy or undercooked.
How to Make Apple Crisp Ahead of Time
Preparing components of this delicious dessert in advance is a fantastic way to save time and reduce stress, especially when entertaining. Here’s how to make your homemade apple crisp ahead:
- Apple Filling: You can prepare the apple filling (peeled, sliced apples mixed with the sauce ingredients) up to a day in advance. The lemon juice included in the recipe acts as a natural antioxidant, helping to keep the apples from browning excessively. Store the prepared apple mixture in an airtight container in the refrigerator.
- Crisp Topping: The oat topping can also be made ahead of time. Combine all the topping ingredients, including the cold butter, and mix until crumbly. Store it separately in an airtight container in the refrigerator for up to 3 days, or in the freezer for longer. This prevents the topping from getting soggy if mixed directly with the apples for too long.
When you’re ready to bake, simply transfer the pre-made apple filling into your prepared baking dish, sprinkle the pre-made oat topping evenly over the apples, and bake as directed in the recipe. This make-ahead strategy ensures you can enjoy a fresh, warm apple crisp with minimal effort right when you need it.
Watch the Homemade Apple Crisp Being Made!
To further assist you in crafting this delightful dessert, we encourage you to watch our detailed cooking video. This visual guide will demonstrate each step, ensuring you understand the techniques for both the apple filling and the crispy oat topping. It’s an excellent resource for visual learners and anyone looking for extra confidence in the kitchen!
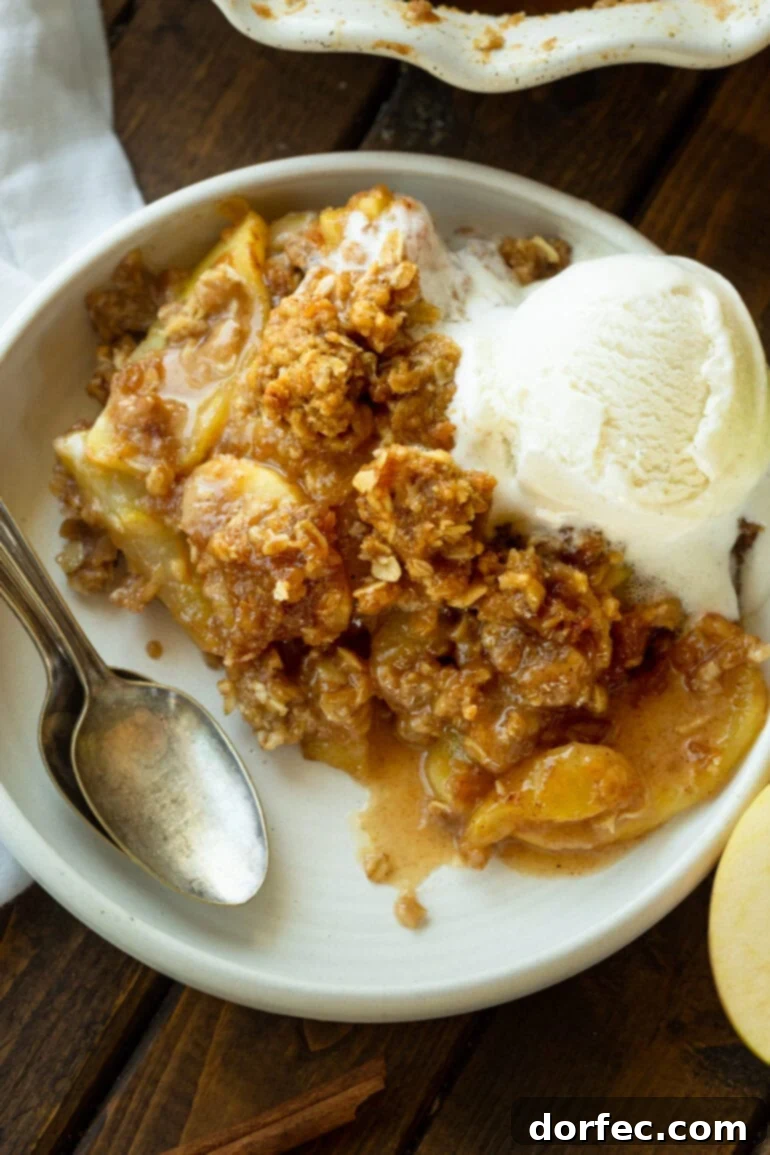
You simply can’t truly embrace the autumn season until you’ve savored a generous serving of homemade apple crisp, perfectly topped with a melting scoop of premium vanilla ice cream! This isn’t just a dessert; it’s a quintessential fall experience, a total crowd-pleaser that never disappoints. The apples are cooked to a dreamy perfection – creamy, wonderfully warm, exquisitely tender, and infused with just the right blend of spices. This creates a deeply satisfying foundation, while the crunchy, buttery oat topping provides the ideal textural contrast, making every bite an absolute delight. We stand by our claim: this is, without a doubt, the best apple crisp recipe you will ever discover!
Explore More Easy Apple Desserts:
- Apple Cake with Caramel Frosting
- Apple Brown Betty
- Easy Apple Dumplings with Sprite
- Apple Pie Bread Pudding with Vanilla Sauce
- Mini Dutch Apple Cheesecakes
- Apple Cheesecake Bars
- Apple Pie Bombs a la Mode
- Caramel Apple Sweet Rolls
- Apple Pie Pull-Apart Bread
- Apple Cake with Caramel Sauce
- Apple Cider Cupcakes with Cinnamon Frosting
- Apple Pie Fried Ice Cream
The Best Apple Crisp Recipe
By Sweet Basil
Prep Time: 20 mins
Cook Time: 45 mins
Total Time: 1 hr 10 mins
Servings: 8 servings

We’ve tried a lot of recipes out there but this is hands down the best apple crisp recipe we’ve found and it can totally be made ahead or frozen.
Ingredients
For the Apples
- 4-5 Honeycrisp or Gala Apples, large, peeled and sliced thin
- 4 Tablespoons Butter, melted
- 4 Tablespoons Flour
- 1 Tablespoon Lemon Juice
- 4 Tablespoons Heavy Cream
- 1/2 teaspoon Vanilla
- 1/4 Cup Brown Sugar
- 1 Tablespoon White Sugar
- 1 teaspoon Cinnamon
- 1/4 teaspoon Nutmeg
- Dash Salt
For the Topping
- 1 Cup Flour
- 1 Cups Old Fashioned Oatmeal
- 1 Cup Brown Sugar
- 1 teaspoon Cinnamon
- Dash Salt
- 10 Tablespoons Unsalted Butter, cut into small cubes*
US Customary – Metric
Instructions
- Heat the oven to 350°F (175°C) and spray an 8×8″ baking dish with nonstick spray.
For the Apples
- Place the melted butter in a large bowl, and whisk in the flour, lemon juice, heavy cream, and vanilla until smooth.
- Add the sugars and seasonings (brown sugar, white sugar, cinnamon, nutmeg, salt) and whisk again until smooth.
- Add the apples and gently fold to coat entirely.
- Spread the apples in the bottom of the prepared baking dish and set aside.
For the Topping
- In a large bowl, add the flour, old-fashioned oatmeal, brown sugar, cinnamon, and salt. Stir everything together.
- Add the cold butter cubes and using a pastry cutter, begin to cut in the butter. As the butter begins to be incorporated into the mixture, switch to using your hands and squeeze and mix everything together until it is like a very thick dough and no flour remains. For desirable clumps, squeeze together little clots of dough to sprinkle over the top.
- Top the apples with the topping mixture and bake for 25 minutes or until lightly golden in color. Then, cover with foil and return to the oven for another 20 minutes, or until the apples are tender and the filling is bubbly.
- Cool for 5-10 minutes and serve warm, ideally with vanilla ice cream.
Recipe Notes
*Note that your butter should be cold when you cut it into the topping mixture. If the butter is too warm, the crisp topping will be more like mush and it won’t sprinkle easily over the apple filling.
This apple crisp can be prepared and frozen to bake later, or baked and frozen for up to 3 months.
Nutrition
Serving: 1 cup, Calories: 569kcal, Carbohydrates: 82g, Protein: 4g, Fat: 27g, Saturated Fat: 16g, Polyunsaturated Fat: 1g, Monounsaturated Fat: 7g, Trans Fat: 1g, Cholesterol: 69mg, Sodium: 66mg, Potassium: 231mg, Fiber: 4g, Sugar: 58g, Vitamin A: 868IU, Vitamin C: 5mg, Calcium: 69mg, Iron: 2mg
Nutrition information is automatically calculated, so should only be used as an approximation.