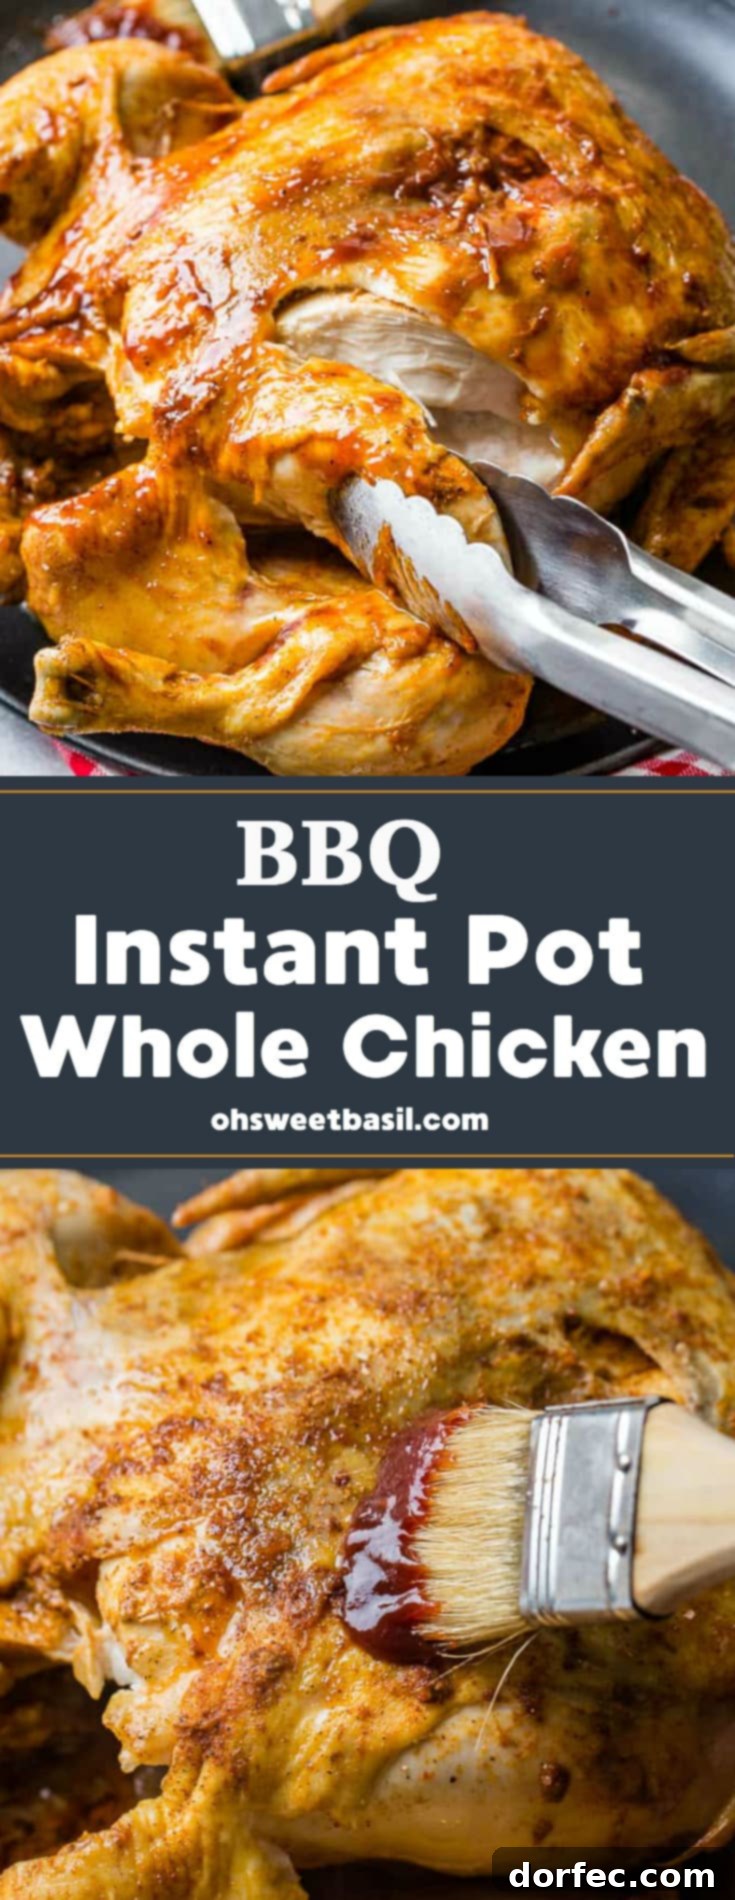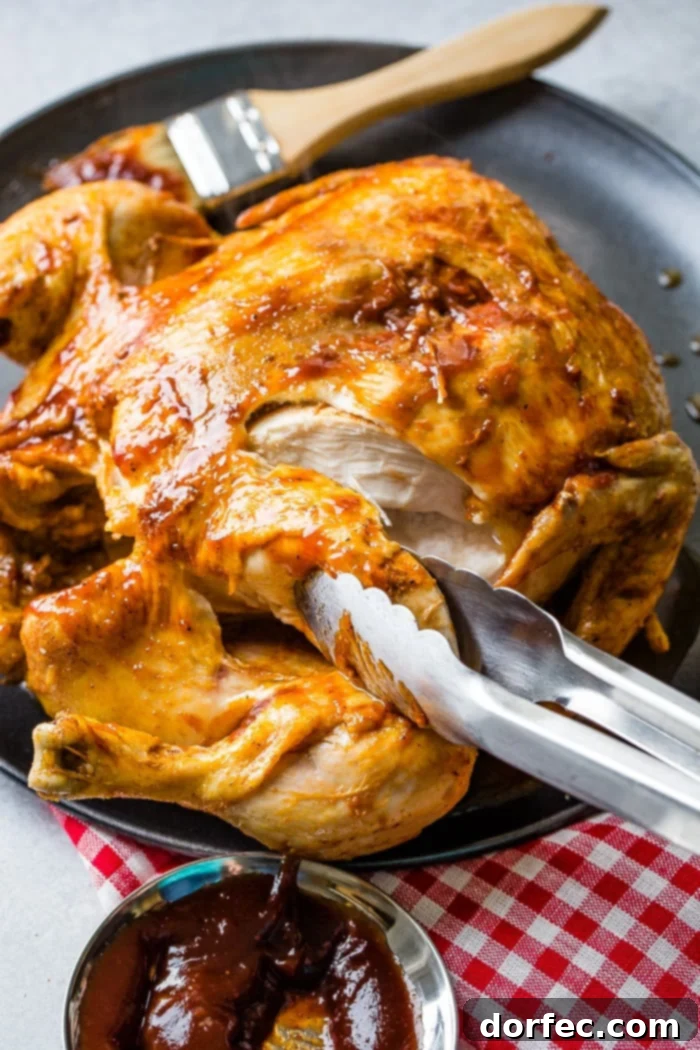
Unlock the secret to effortless and delicious weeknight dinners with this incredible Instant Pot Whole Chicken recipe. Ready in under an hour, this recipe delivers a perfectly tender, juicy, and flavorful whole chicken that will quickly become a staple in your kitchen. Whether you enjoy it straight from the pot or shred the succulent BBQ-infused meat for versatile meals like sandwiches, vibrant salads, or hearty tacos, this pressure cooker chicken is a true game-changer for busy households seeking wholesome, homemade goodness without the lengthy cooking times.
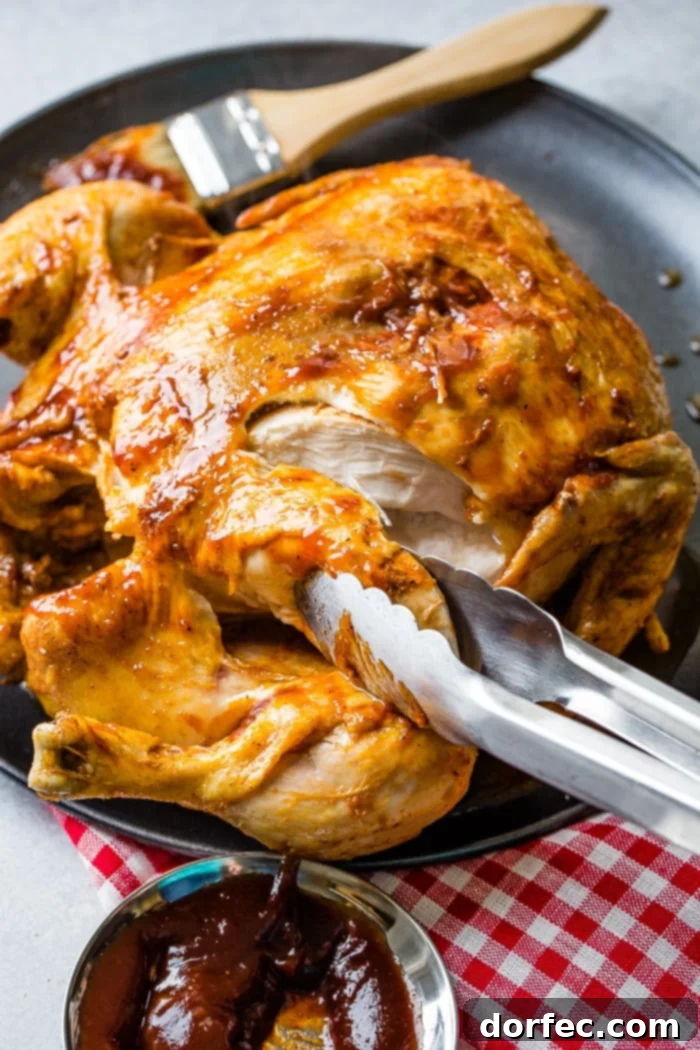
The Ultimate BBQ Instant Pot Whole Chicken Recipe
Life can be incredibly demanding, leaving little room for elaborate meal preparation. Like many, my days have been packed with activities, including a major basement renovation. This often means dinner becomes an afterthought, and the idea of cooking, photographing, and writing a blog post about it feels nearly impossible. That’s where the Instant Pot truly shines, transforming what traditionally takes hours into a quick, convenient, and incredibly satisfying experience.
This BBQ Instant Pot Whole Chicken has been a lifesaver, providing 2-3 delicious meals from a single cooking session. Imagine getting a tender, flavorful rotisserie-style chicken in just 45 minutes, all without leaving the comfort of your home! It’s the ultimate solution for busy weeknights, meal prepping for the week ahead, or when you simply crave a comforting, home-cooked chicken dinner.
The secret to its irresistible flavor lies in our renowned Smoky BBQ Rub. This powerful blend, first featured in Cade’s famous World’s Best Carolina Pulled Pork, makes a triumphant return in this pressure cooker whole chicken recipe. We highly recommend keeping a jar of this rub, much like our Homemade Taco Seasoning, readily available in your pantry. It eliminates the hassle of mixing spices every time, ensuring that incredible flavor is always just a sprinkle away.
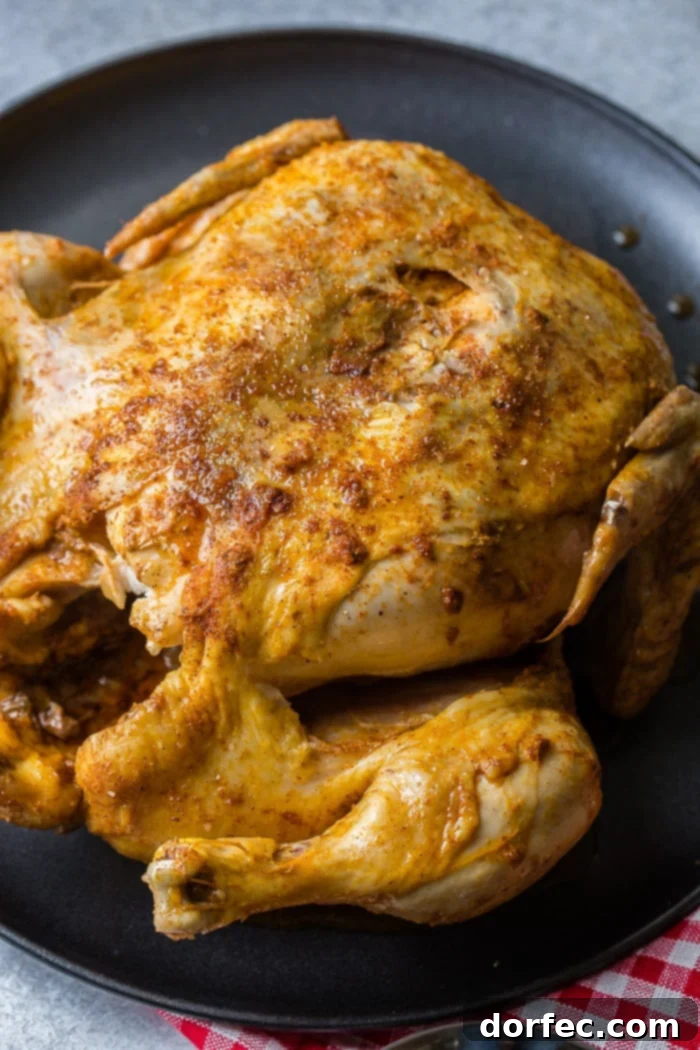
Essential Ingredients for Your BBQ Instant Pot Whole Chicken
One of the many beauties of this BBQ whole chicken recipe is its simplicity. You only need a handful of readily available ingredients to create a truly spectacular meal. We love having such straightforward recipes on hand for those frantic workweeks when complex cooking just isn’t an option. Here’s what you’ll need to make this succulent Instant Pot whole chicken:
- **Whole Chicken:** The star of our dish. Choose a fresh, high-quality bird for the best results.
- **Olive Oil:** Used for browning the chicken, which adds a crucial layer of flavor and color.
- **Smoky BBQ Rub:** Our secret weapon for incredible taste. This blend infuses the chicken with rich, smoky, and savory notes.
- **Apple Juice:** Provides moisture and a subtle sweetness, helping to create a tender and flavorful chicken while also aiding in pressure build-up.
Selecting the Perfect Whole Chicken for Your Instant Pot
The size and weight of the whole chicken you choose will primarily depend on the capacity of your Instant Pot. Instant Pots come in various sizes, with 6-quart and 8-quart models being the most common. For instance, if you own a 6-quart Instant Pot, such as the popular 7-in-1 model, a chicken weighing around 4 pounds is generally ideal. This size allows for proper fit and even cooking within the pot. If you have a larger 8-quart model, you might be able to accommodate a slightly bigger bird, up to 5-6 pounds. Always ensure the chicken fits comfortably without touching the lid or exceeding the maximum fill line. When purchasing, look for chickens that appear plump and have a fresh, healthy color. Opting for organic or free-range chickens can also enhance the flavor and quality of your meal.
Step-by-Step: How to Cook a Whole Chicken in an Instant Pot
Cooking a whole chicken in an Instant Pot truly couldn’t be simpler, even for novice cooks. This method delivers a tender, fall-off-the-bone result that tastes like it’s been roasting all day. Here’s how we prepare this mouthwatering pressure cooker whole chicken on busy weeknights, ensuring maximum flavor with minimal effort:
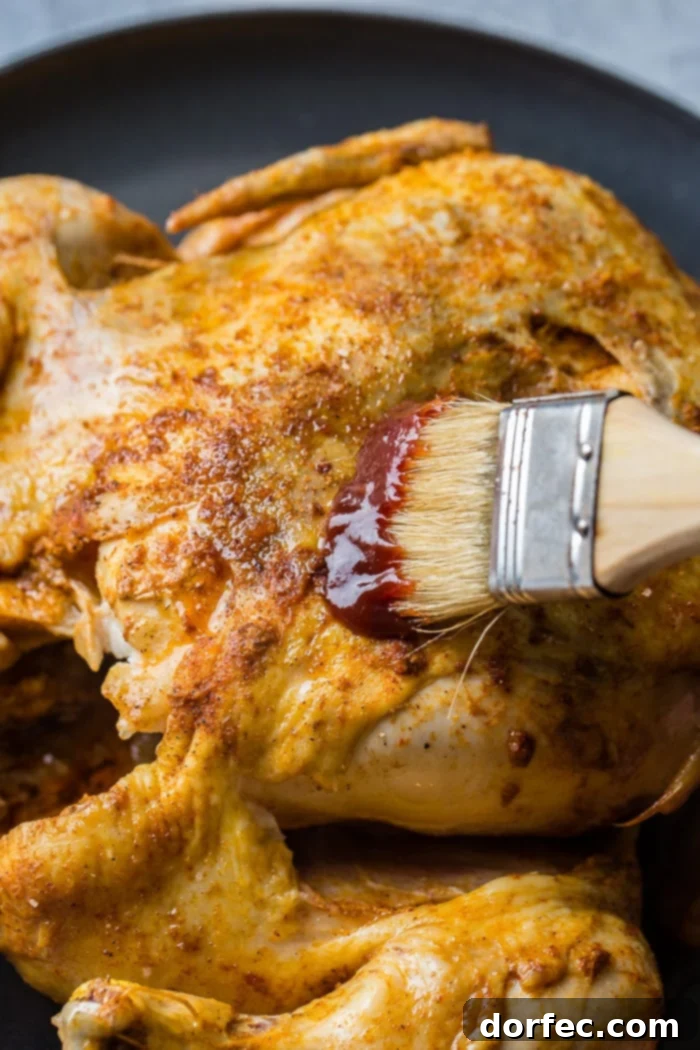
- **Prepare Your Chicken:** Begin by generously applying the Smoky BBQ Dry Rub to your whole chicken. Don’t shy away from seasoning! For maximum flavor penetration, gently lift the skin and rub some of the seasoning directly onto the meat underneath, especially on the breast and thighs. Then, rub the remaining seasoning all over the exterior of the skin. This step is crucial for building a rich flavor profile.
- **Preheat the Instant Pot:** Drizzle about a tablespoon or two of olive oil into the inner pot of your Instant Pot. Select the “Sauté” function and allow it to heat up for a few minutes until the oil is shimmering.
- **Brown the Chicken:** Carefully place the seasoned whole chicken, breast side down, into the hot Instant Pot. If your chicken is too large to lay flat on one side, you might need to brown it in sections or consider browning it in a large skillet on the stovetop before transferring it to the Instant Pot.
- **Sear for Color and Flavor:** Cook the chicken for about 3-5 minutes per side, or until it develops a beautiful golden-brown crust. This browning step adds depth of flavor and improves the overall appearance of the cooked chicken. Flip it carefully with tongs to brown the other side.
- **Add Liquid and Secure the Lid:** Once both sides are nicely browned, you can either leave the chicken directly in the pot or, for better circulation and to prevent it from sitting directly in the liquid, place it on a trivet or rack. Pour in the apple juice around the base of the chicken (not directly over the skin). Secure the lid on your Instant Pot, ensuring the sealing ring is properly in place and the vent is set to the “Sealing” position.
- **Pressure Cook:** Set the Instant Pot to “Manual” or “Pressure Cook” on high pressure for 30 minutes. The time will vary slightly depending on the size of your chicken; for a 4-pound bird, 30 minutes is usually perfect. For every pound over 4 pounds, add about 5-7 minutes of cooking time.
- **Natural Release and Serve:** Once the cooking cycle is complete, allow the Instant Pot to perform a natural pressure release for 10-15 minutes. This means letting the pressure release on its own without touching the valve. A natural release helps the chicken stay moist and tender. After 10-15 minutes, carefully switch the vent to “Venting” to quick-release any remaining pressure. Once the float valve drops, open the lid away from your face.
Tip: Elevate the flavor even further by topping your cooked chicken with your favorite BBQ sauce! Our homemade Classic BBQ Sauce or a tangy Vinegar BBQ Sauce would both be fantastic choices.
Ensuring Food Safety: Checking Chicken Temperature
Ensuring your whole chicken is cooked to a safe internal temperature is paramount for food safety and optimal taste. We’ve seen too many cooks incorrectly check the temperature, so let’s clarify the proper method. The most reliable way to check the temperature of a whole chicken is by inserting a meat thermometer into the thickest part of the thigh, ensuring the probe does not touch any bone. The leg/thigh meat should register a minimum of 165 degrees F (74 degrees C). Interestingly, thigh meat can handle being slightly more cooked – often becoming even more tender and flavorful when it reaches 170-175 degrees F (77-79 degrees C), especially compared to 155 degrees F (68 degrees C). If you also wish to check the breast, aim for 160-165 degrees F (71-74 degrees C) for juicy results. Always use a reliable instant-read thermometer for accuracy.
Defrosting Your Whole Chicken: Best Practices and Warnings
Properly defrosting a whole chicken is a critical step for both food safety and the quality of your cooked meal. Mishandling frozen poultry can lead to uneven cooking and potential health risks. Here are the recommended safe defrosting methods:
- **Refrigerator Defrosting (Recommended):** This is by far the safest and easiest method. Simply place your frozen whole chicken on a plate or in a shallow dish (to catch any drips) in the refrigerator. A smaller fryer chicken (around 3-4 pounds) can defrost in as little as 24 hours, while a larger roaster chicken (5-7 pounds) may take 2-3 days. Planning ahead is a must for this method. Once defrosted, it can remain in the refrigerator for an additional 1-2 days before cooking.
- **Cold Water Defrosting:** For a quicker method, you can defrost frozen chicken in cool tap water. Ensure the chicken is in a leak-proof plastic bag. Submerge the bagged chicken in a large bowl or sink filled with cold water, changing the water every 30 minutes to keep it cold. A 4-pound chicken will typically defrost in 2-3 hours using this method. Cook immediately after defrosting.
Can a Whole Chicken be Defrosted in the Microwave?
**ABSOLUTELY NOT.** Please, for your own safety and well-being, never defrost any meat, especially a whole chicken, in a microwave, regardless of what the appliance settings claim. While a microwave might seem like a quick solution, it heats unevenly. This means some parts of the chicken will begin to thaw and even cook, while other sections remain frozen solid. This uneven temperature creates a dangerous zone for bacterial growth, significantly increasing the risk of food poisoning. Trust me, I’ve experienced food poisoning twice in my life, and it’s an experience I wouldn’t wish on my worst enemy. I literally wanted to curl up and die. While Cade, with his stomach of steel, seems unaffected by anything, it’s no bueno for the rest of us! Avoid the microwave to ensure a safe and enjoyable meal.
How Long to Defrost a Whole Chicken
Now that we know what *not* to do, let’s confirm the ideal defrosting times. For safe and thorough thawing, you generally need to:
- **Refrigerator:** Allow approximately 24 hours for every 5 pounds of chicken. A standard 4-pound chicken will need at least a full day, possibly longer if it’s a denser bird. A larger roaster (6-7 pounds) could require up to 3 days. This method demands foresight and planning, but it’s the safest.
- **Cold Water:** This method is faster, requiring about 30 minutes per pound of chicken. So, a 4-pound bird would need about 2 hours, and a 6-pound bird would need 3 hours. Remember to change the water frequently to maintain a consistently cold temperature and cook immediately after thawing.
Remember, no one wants to find themselves in the fetal position on a nasty bathroom floor with food poisoning. Plan ahead, and prioritize food safety!
Pro Tips for the Best Instant Pot Whole Chicken
Achieving a perfectly cooked, tender, and flavorful whole chicken in your Instant Pot is incredibly easy with a few key techniques. Here are our top tips to ensure your BBQ Instant Pot Whole Chicken turns out amazing every time:
- **Season Generously and Strategically:** The Instant Pot cooks food quickly, but it doesn’t inherently impart flavor. Therefore, liberal seasoning is crucial. Make sure to rub your chicken well, both over and crucially, under the skin. This allows the seasoning to directly penetrate the meat, infusing every bite with delicious BBQ flavor.
- **Don’t Skip the Browning Step:** While not strictly for texture in the Instant Pot, browning the chicken before pressure cooking is essential for color and flavor development. A pale chicken straight from the Instant Pot might taste good, but a beautifully browned one looks much more appetizing and carries a richer, more complex flavor profile from the caramelization.
- **Crispy Skin Requires Extra Steps:** The Instant Pot is fantastic for tenderizing, but it will not produce crispy chicken skin. If you love crispy skin, you’ll need an additional step. After pressure cooking, carefully transfer the chicken to a baking sheet and pop it under a hot broiler for 5-10 minutes, or into an air fryer, until the skin is golden and crisp. Watch it closely to prevent burning!
- **Utilize a Trivet or Rack:** While you can cook the chicken directly in the pot with the liquid, using a trivet or metal rack is highly recommended. This elevates the chicken above the cooking liquid, allowing for more even cooking and preventing the bottom of the chicken from becoming soggy.
- **Allow for Resting Time:** Just like any roasted meat, letting your Instant Pot whole chicken rest for 10-15 minutes after cooking is vital. This allows the juices to redistribute throughout the meat, resulting in a much more tender and moist chicken. Tent it loosely with foil while it rests.
- **Leverage Leftovers:** A whole chicken provides ample meat for multiple meals. Shred any leftover chicken and use it in countless ways – from BBQ chicken sandwiches and wraps to salads, quesadillas, chicken noodle soup, or even as a topping for baked potatoes.
For even more Instant Pot wisdom and to master the basics, make sure to check out our comprehensive Instant Pot Cheat Sheet!
More Instant Pot Dinner Recipes to Explore
The Instant Pot is a versatile tool for quick and delicious meals. If you love this whole chicken recipe, you’ll definitely want to try some of our other favorite Instant Pot creations:
- Instant Pot Cilantro Lime Chicken Burrito Bowl
- Better Than Your Grandma’s Instant Pot Chicken Noodle Soup
- Instant Pot or Slow Cooker Pineapple Mexican Shredded Chicken
- Award-Winning Instant Pot Turkey
- Instant Pot Beef Stew
- Mexican Poblano Instant Pot Chicken
- Smoky BBQ Instant Pot Ribs
- Award-Winning Instant Pot Chili
- Instant Pot Taco Soup
- You can find all our Instant Pot Recipes here!
BBQ Instant Pot Whole Chicken Recipe Card
BBQ Instant Pot Whole Chicken
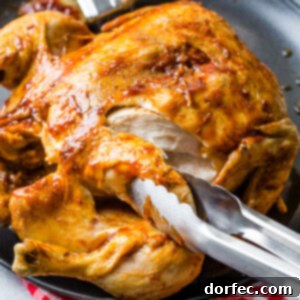
Ready in less than an hour, this Instant Pot whole chicken recipe is a life saver on busy weeknights. It’s great as is, but you can also shred the bbq chicken to enjoy atop sandwiches, salads, and more!
Ingredients
- BBQ Rub
- 4 Pound Whole Chicken
- Olive oil
- 1/3 Cup Apple Juice
- Instant Pot
Instructions
- Prepare the BBQ rub and massage it both under and over the skin of the chicken.
- Drizzle some olive oil in your Instant Pot.
- Turn the Instant Pot to the sauté function and allow it to heat up.
- Place the whole chicken, breast side down, in the Instant Pot. If it is too big to lay flat, brown the skin on the stovetop in a large skillet before transferring.
- Cook for a few minutes until golden and then turn over, browning the other side.
- You can leave the chicken in the pot, or for best results, use a trivet so it isn’t sitting directly in the liquid.
- Pour in the apple juice around the base of the chicken and close the lid, ensuring the sealing valve is set correctly.
- Set the Instant Pot to manual high pressure and cook for 30 minutes.
- Allow the Instant Pot to do a slow, natural pressure release for 5-10 minutes, then carefully remove the lid and enjoy!
Recipe Notes
- If you’re using a chicken bigger than 4 pounds, you may need up to 10 minutes more of cooking time. Watch the internal temperature by checking with an instant-read thermometer after the initial cook time and make sure the thigh hits the correct temperature (165°F / 74°C) according to the information in the post above.
Reheat in a 350 degree oven for about 25 minutes.
Nutrition
Calories: 318kcal,
Carbohydrates: 2g,
Protein: 27g,
Fat: 22g,
Saturated Fat: 6g,
Cholesterol: 109mg,
Sodium: 102mg,
Potassium: 288mg,
Sugar: 1g,
Vitamin A: 203IU,
Vitamin C: 2mg,
Calcium: 16mg,
Iron: 1mg
Nutrition information is automatically calculated, so should only be used as an approximation.
Like this? Leave a comment below!