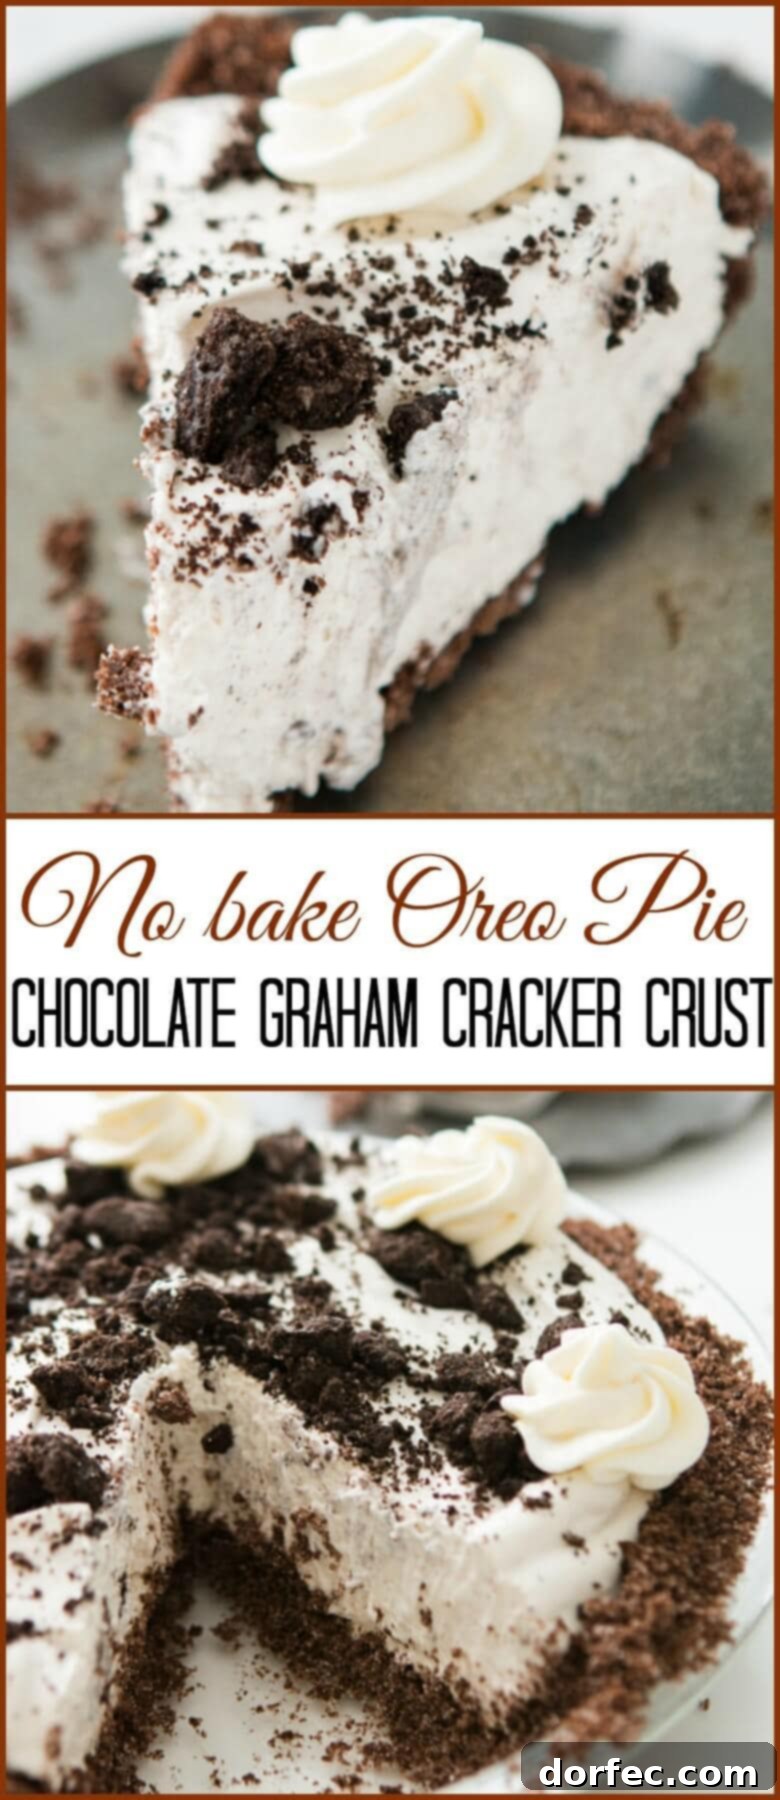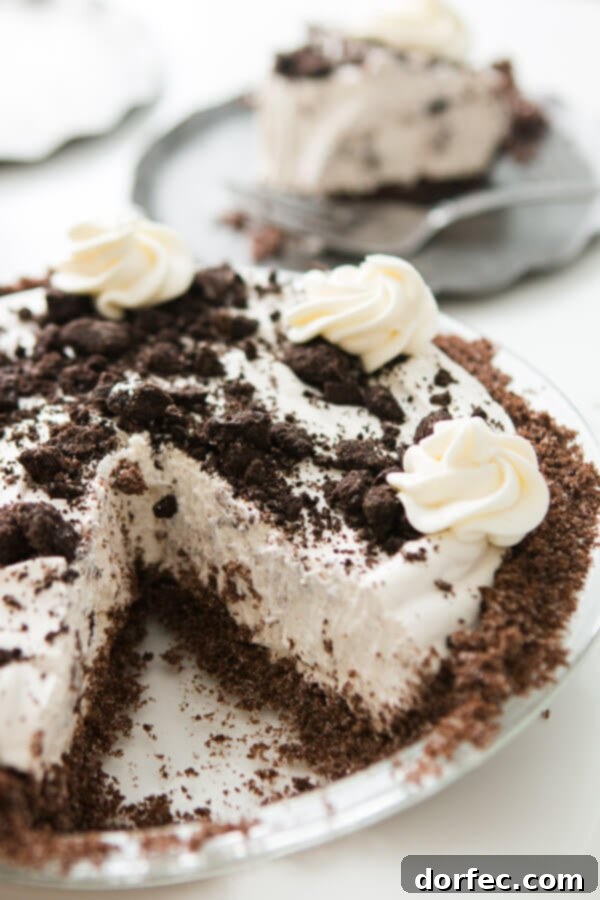
Welcome to the world of effortless desserts, where indulgence meets simplicity! Today, we’re unveiling one of our most cherished and incredibly easy recipes: the luscious No-Bake Oreo Pie with a rich Chocolate Graham Cracker Crust. Imagine a dessert so decadent, so creamy, and so bursting with classic chocolate and cream sandwich cookie flavor, yet requires no oven time. It’s the perfect treat for any occasion, from casual family gatherings to elegant dinner parties, offering a delightful escape into pure bliss with every single bite.
This isn’t just any no-bake pie; it’s a celebration of convenience and taste. We’ve meticulously crafted this recipe to ensure maximum flavor impact with minimum effort. Whether you’re a seasoned baker or a kitchen novice, you’ll find yourself effortlessly whipping up this crowd-pleasing dessert that promises to leave everyone asking for more. Get ready to dive into a slice of pure, unadulterated happiness!
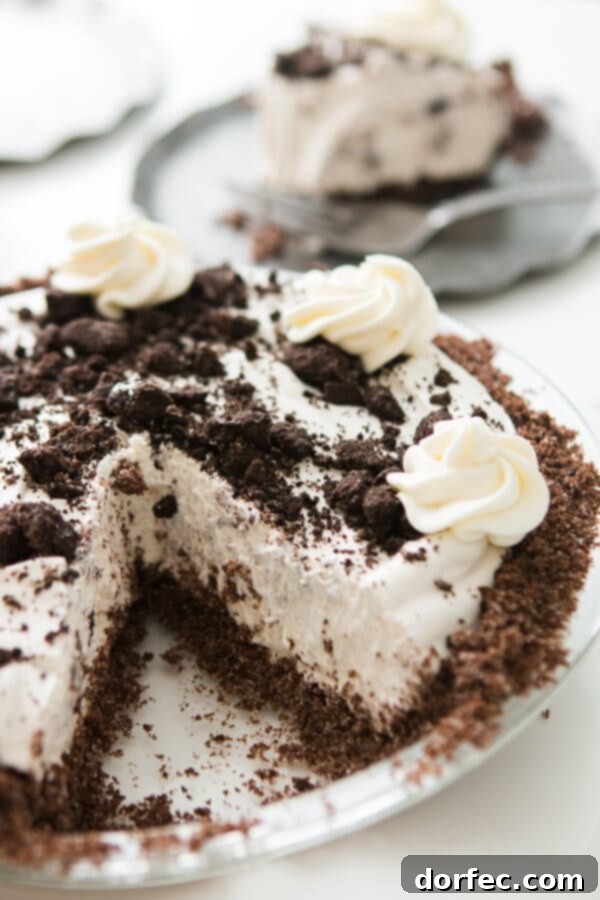
Crafting the Ultimate Easy Oreo Pie Experience
For a long time, cream pies weren’t really on our radar. But then, a truly exceptional banana cream pie with dulce de leche changed everything, sparking an absolute obsession with creating new and exciting versions. That particular pie still holds a special place in our hearts – it might just be our all-time favorite, right alongside our beloved Dutch Apple Pie and the fantastic No-Bake Pumpkin Pie. These experiences opened our eyes to the incredible world of cream-based desserts, leading us on a journey to perfect this ultimate no-bake Oreo delight.
The beauty of a no-bake pie lies in its simplicity and versatility. It liberates you from the oven, making it an ideal choice for hot summer days or when you simply crave a quick yet impressive dessert. Our collection of no-bake pies has grown considerably, and we’ll be linking to them all after this recipe, so be sure to scroll down and explore the full range of delicious options.
When it came to developing our no-bake Oreo cream pie, we encountered a common challenge: many existing recipes tend to overemphasize the creamy filling of the Oreo, sometimes at the expense of the iconic chocolate cookie flavor. Our goal was to achieve a harmonious balance, ensuring every bite offered a perfect blend of chocolatey depth and sweet, creamy goodness. This led us to rethink the crust, which is often an overlooked component but crucial for the overall flavor profile.
Many Oreo pies feature a crust made from crushed Oreos. While delicious, we found that the cream center within the crushed cookies subtly diminished the rich chocolate impact we were aiming for. To truly elevate the chocolate experience, we decided to pivot back to a classic no-bake crust foundation: graham crackers. But not just any graham crackers – we opted for rich chocolate graham crackers! This seemingly small change made a monumental difference, creating a wonderfully balanced and profoundly chocolatey base that perfectly complements the creamy Oreo filling. The result? An utterly AWESOME easy Oreo pie that stands out from the rest!
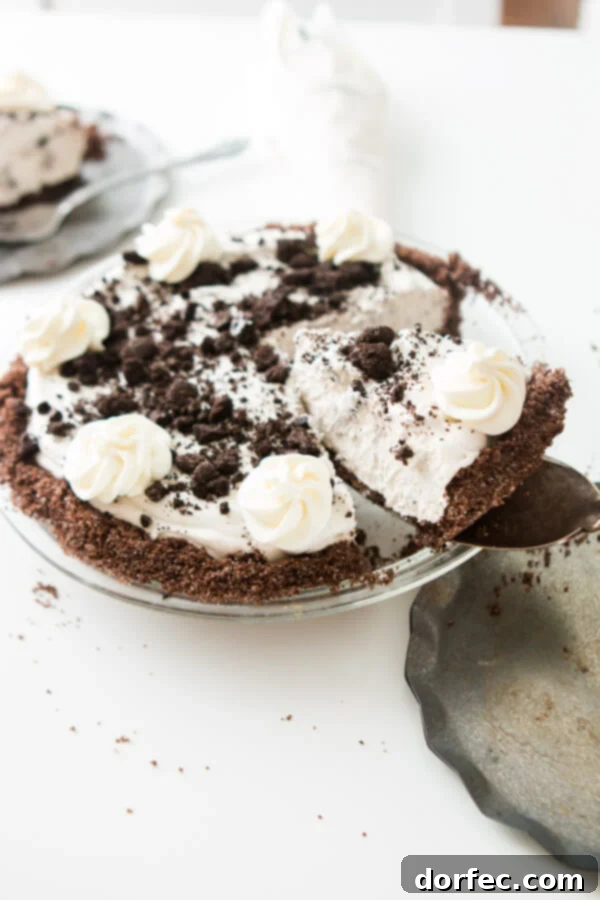
Essential Ingredients for Your Perfect Oreo Pudding Pie
Creating this irresistible Oreo pudding pie is incredibly straightforward, thanks to its minimal and readily available ingredients. You’ll be amazed at how such a small list can produce such an extraordinary dessert! Here’s a breakdown of what you’ll need to gather to make this divine no-bake Oreo cookie pie:
- Chocolate Graham Crackers: These form the foundation of our uniquely delicious crust, providing a deeper chocolate flavor compared to traditional Oreo crusts.
- Butter: Essential for binding the graham cracker crumbs together, creating a firm and flavorful crust.
- Granulated Sugar: A touch of sweetness for the crust, enhancing its overall appeal.
- Milk: The liquid base for our creamy pudding filling, ensuring a smooth and luscious texture.
- Chocolate Milk: Our secret ingredient! Using a blend of regular and chocolate milk for the pudding adds an extra layer of chocolate richness and helps balance the flavors beautifully.
- Cream Cheese: Provides a tangy counterpoint and an incredibly smooth, luxurious body to the pie filling, preventing it from being overly sweet.
- Instant Oreo Pudding: The star of the filling, delivering that unmistakable Oreo flavor and helping the pie set perfectly without any baking.
- Sweetened Condensed Milk: Adds intense sweetness and a wonderfully thick, creamy consistency to the filling, making it truly decadent.
- Whipped Cream (or Cool Whip): Folded into the filling for lightness and airiness, and also used as a luscious topping. Cool Whip is often preferred for its stability.
- Oreos: Crushed and sprinkled on top, these provide a delightful textural contrast and reinforce the iconic Oreo flavor, making for a beautiful and delicious garnish.
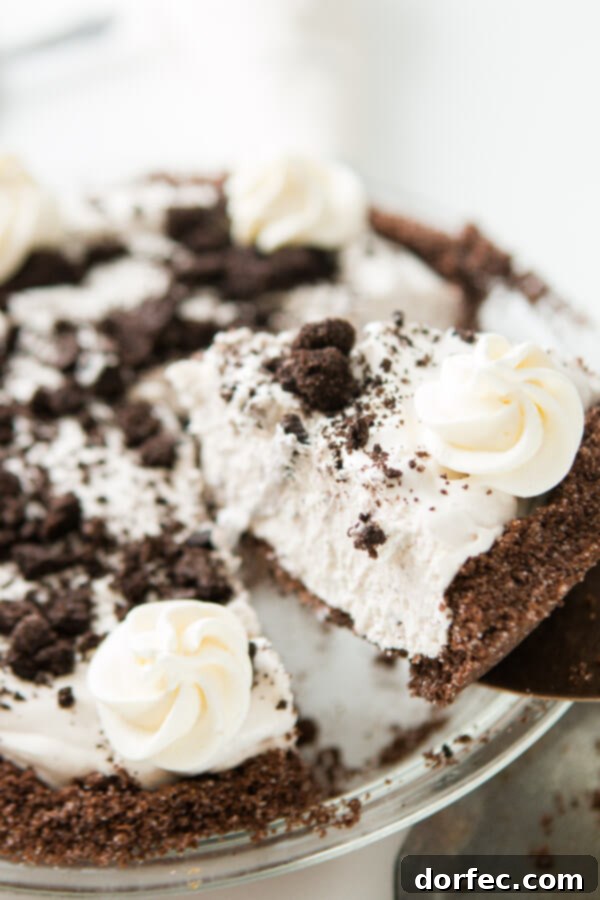
Step-by-Step Guide: How to Make Your No-Bake Oreo Pie
Creating this delightful No-Bake Oreo Pie is a simple and rewarding process. Follow these easy steps to assemble your masterpiece:
Step 1: Prepare the Irresistible Chocolate Graham Cracker Crust
Begin by crushing your chocolate graham crackers. You can achieve fine crumbs using a blender, food processor, or by placing them in a Ziploc bag and crushing them with a rolling pin. Since chocolate graham crackers often contain more sugar than regular ones, you’ll need less additional granulated sugar. Combine the crushed crumbs with the melted butter and a small amount of granulated sugar. Mix thoroughly until all the crumbs are moistened and resemble wet sand. Press this mixture firmly into the bottom and up the sides of a 9-inch pie dish. For a slightly crispier texture, you can bake the crust for 6-9 minutes at 375°F; otherwise, simply place it in the refrigerator for at least 30 minutes to firm up. If baking, ensure the crust cools completely before adding the filling to prevent melting.
Step 2: Craft the Dreamy Oreo Pie Filling
In a large mixing bowl, start by beating the softened cream cheese until it’s smooth and creamy, with no lumps remaining. Next, gradually beat in the sweetened condensed milk until the mixture is well combined and smooth. In a separate bowl, prepare the instant Oreo pudding. Here’s our stroke of genius: instead of using only plain milk, we recommend a ratio of 1 part chocolate milk to 2 parts regular milk. This subtle addition of chocolate milk significantly enhances the overall chocolate flavor and depth of the pie, perfectly balancing the sweetness. Whisk the pudding mix with the milk blend until it begins to thicken. Gently fold the prepared pudding mixture into the cream cheese and condensed milk mixture. Finally, carefully fold in the whipped cream (or Cool Whip) in two additions. This technique ensures the filling remains light and airy, rather than dense.
Step 3: Chill and Garnish Your No-Bake Masterpiece
Pour the velvety filling into your prepared chocolate graham cracker crust, spreading it evenly with a spatula. Place the entire pie in the refrigerator to chill for a minimum of 60 minutes. While it can be served immediately if absolutely necessary, allowing it to chill for at least an hour, or even better, overnight, will ensure the pie is perfectly set and easy to slice. Before serving, generously sprinkle a layer of crushed Oreos all over the top of the pie. A final dollop of whipped cream can also be added for an extra touch of elegance. Now, slice, serve, and savor every delightful bite!
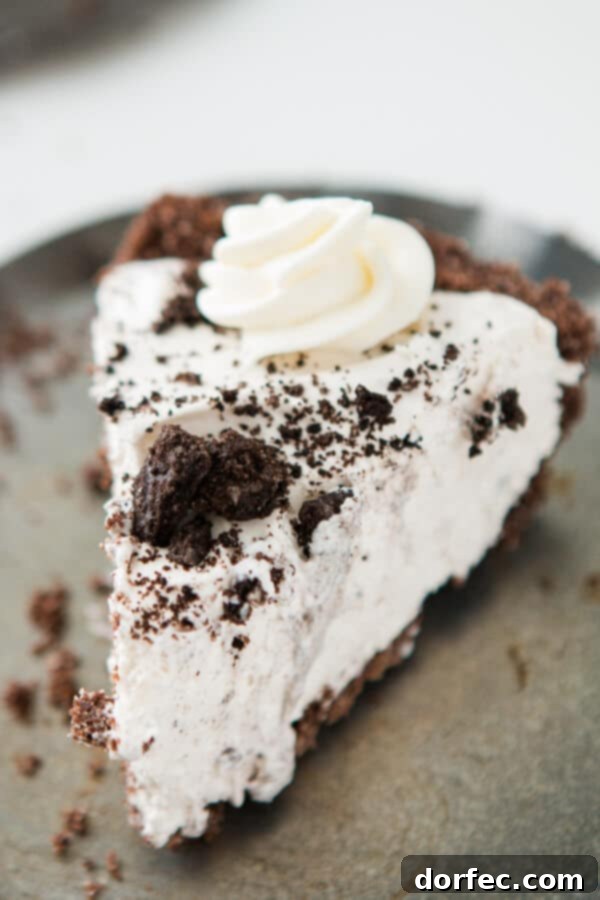
To Bake or Not to Bake: Your Graham Cracker Crust Options
The question of whether to bake a chocolate graham cracker crust before filling it with a creamy mixture is largely a matter of personal preference, influencing both texture and stability. Both methods yield delicious results, but with subtle differences.
Chilling the Crust (No-Bake Method): If you choose the no-bake route for your crust, simply press the crumb mixture firmly into your pie dish and place it in the refrigerator for at least 30 minutes. During this time, the butter in the crust solidifies, effectively binding the graham cracker crumbs together to create a firm, well-set base. This method results in a softer, more tender crust that melts in your mouth, offering a lovely contrast to the creamy filling. It’s the ultimate choice for convenience and a softer bite.
Baking the Crust (Baked Method): For those who prefer a firmer, crispier crust with a slightly toasted flavor, baking is the way to go. After pressing the crumbs into your pie dish, bake the crust in a preheated oven at 375°F (190°C) for approximately 6 to 9 minutes. This short baking time allows the butter to meld with the crumbs, creating a sturdier structure and imparting a delightful crunch. Ensure the baked crust cools completely to room temperature before adding the no-bake filling, as any residual warmth could melt the delicate creamy layers.
Ultimately, the decision is yours! Both methods are effective, and each offers a unique textural experience that complements this incredible No-Bake Oreo Pie. Experiment to see which you prefer!
Storage and Shelf Life: How Long Will Your Oreo Cream Pie Last?
This delightful no-bake Oreo pie is best enjoyed fresh, but it can be stored properly to extend its deliciousness. When refrigerated, this Oreo cream pie will typically last for 2 to 4 days, maintaining its creamy texture and rich flavor. To keep it at its best, ensure you store it correctly:
Refrigeration: After serving or when you have leftovers, loosely cover the pie with plastic wrap or aluminum foil. Make sure the wrap doesn’t press down directly onto the pie’s surface, especially if you have whipped cream or crushed Oreos on top, to prevent sticking and maintain its aesthetic appeal. Place the covered pie in the refrigerator. Keeping it chilled is crucial as it contains dairy products like cream cheese, milk, and whipped cream, which require consistent low temperatures to stay fresh and safe to eat.
Freezing (Optional): For longer storage, you can also freeze this no-bake Oreo pie. To do so, ensure the pie is thoroughly chilled and set. Wrap it tightly in several layers of plastic wrap, followed by a layer of aluminum foil to prevent freezer burn. A frozen Oreo pie can last for up to 1-2 months. When you’re ready to enjoy it, thaw the pie in the refrigerator overnight. While the texture might be slightly softer after thawing, the flavor will still be wonderfully rich and satisfying.
Always inspect the pie for any signs of spoilage, such as off-smells or discoloration, before serving, though if stored properly, this shouldn’t be an issue within the recommended timeframe.
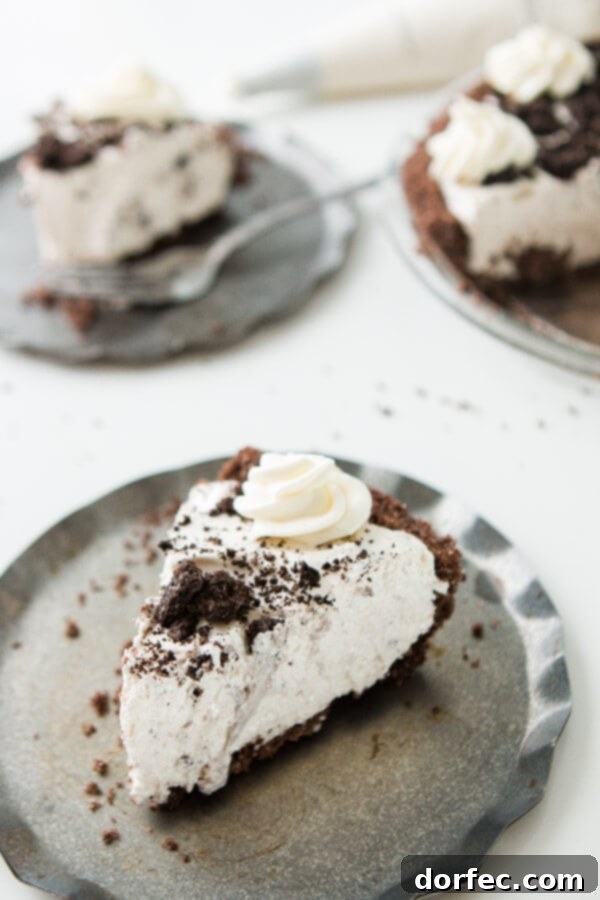
Expert Tips for Crafting an Outstanding Oreo Cookie Pie
Elevate your No-Bake Oreo Pie to perfection with these helpful tips and tricks:
- Flavor Variations: While our recipe emphasizes a rich chocolate profile, feel free to get creative! You can easily transform this into a vanilla Oreo pie by using regular graham crackers, plain milk, and Golden Oreos. Consider adding different extracts to the filling, such as a hint of peppermint for a holiday twist or almond for a sophisticated touch.
- Optimal Setting Time: For the absolute best results and cleanest slices, we highly recommend making this Oreo pudding pie the night before you plan to serve it. An extended chill time of at least 6-8 hours, or even overnight, allows all the flavors to meld beautifully and ensures the filling sets firm and smooth. This also reduces the risk of the pie collapsing when sliced.
- Cool Whip vs. Whipped Cream: When it comes to the creamy filling, Cool Whip is often preferred for its superior stability. It tends to hold its shape better over time, especially if the pie will be sitting out for a bit. However, if you prefer the taste and texture of homemade whipped cream, it will certainly work too! Just ensure it’s very stiffly whipped before folding it into the filling, and consider serving the pie slightly colder to help it maintain its structure.
- Crushing Oreos for Topping: For a perfect topping, make sure your Oreos are crushed into varying sizes – some fine crumbs for texture, and some larger pieces for visual appeal and a satisfying crunch. A food processor makes quick work of this, but a Ziploc bag and a rolling pin work just as well.
- Serving Suggestions: This pie is fantastic on its own, but you can dress it up further! Drizzle with chocolate syrup, caramel sauce, or a sprinkle of mini chocolate chips. A few fresh berries on the side can also add a delightful pop of color and freshness.
- Portioning for Parties: If you’re serving a crowd, consider making individual mini pies in ramekins or muffin tins lined with paper liners. This makes serving a breeze and adds a charming touch.
More Delicious No-Bake Pie Recipes to Explore:
- Easy No-Bake Chocolate Pie
- Dulce de Leche Banana Cream Pie
- Marshmallow No-Bake Pumpkin Pie
- No-Bake Lemon Cream Pie
- No-Bake Pumpkin Pie with Gingersnap Crust
- No-Bake Snickers Caramel Apple Pie
- No-Bake Banana Cream Pie
- No-Bake Key Lime Oreo Truffle Pie
No Bake Oreo Pie with Chocolate Graham Cracker Crust
No Bake Oreo Pie with Chocolate Graham Cracker Crust
Ingredients
For the Crust:
- 10 Chocolate Graham Crackers
- 1/4 Cup Butter, melted
- 1/4 Cup Granulated Sugar
For the Filling:
- 3/4 Cup Instant Oreo Pudding (or a 3.4 ounce box)
- 2/3 Cup Milk
- 1/3 Cup Chocolate Milk
- 4 Ounces Cream Cheese
- 1/2 Cup Sweetened Condensed milk
- 1 1/2 Cups Cool Whip (or Whipped Cream)
For the Topping:
- Whipped Cream, for garnish
- 1 Sleeve Oreos, crushed
Instructions
For the Crust:
-
Preheat the oven to 375ºF if you choose to bake it.
-
In a food processor, crush the crackers into crumbs.
-
In a bowl, stir together the crumbs, butter and sugar.
-
Press into a 9-inch pie dish. You can either bake for 10 minutes or place in the fridge for 30 minutes. If baking, let the crust cool completely before adding the filling.
For the filling:
-
In a large bowl, combine the pudding and milks and set aside.
-
In another bowl, beat the cream cheese until smooth, and then add the sweetened condensed milk and beat again until smooth.
-
Add the pudding into the cream cheese mixture and stir until evenly combined.
-
Add ⅓ of the Cool Whip to the bowl, and gently fold it into everything.
-
Add the remaining cool whip and fold until completely combined. Adding a little at a time is keeping it lighter vs just whipping it all together.
-
Spread the filling into the crust and place in the fridge for 30-60 minutes.
-
Top with whipped cream and crushed Oreos as a garnish.
Recipe Notes
Nutrition
Calories: 446kcal,
Carbohydrates: 55g,
Protein: 7g,
Fat: 24g,
Saturated Fat: 12g,
Polyunsaturated Fat: 10g,
Cholesterol: 49mg,
Sodium: 353mg,
Fiber: 1g,
Sugar: 38g
Nutrition information is automatically calculated, so should only be used as an approximation.