
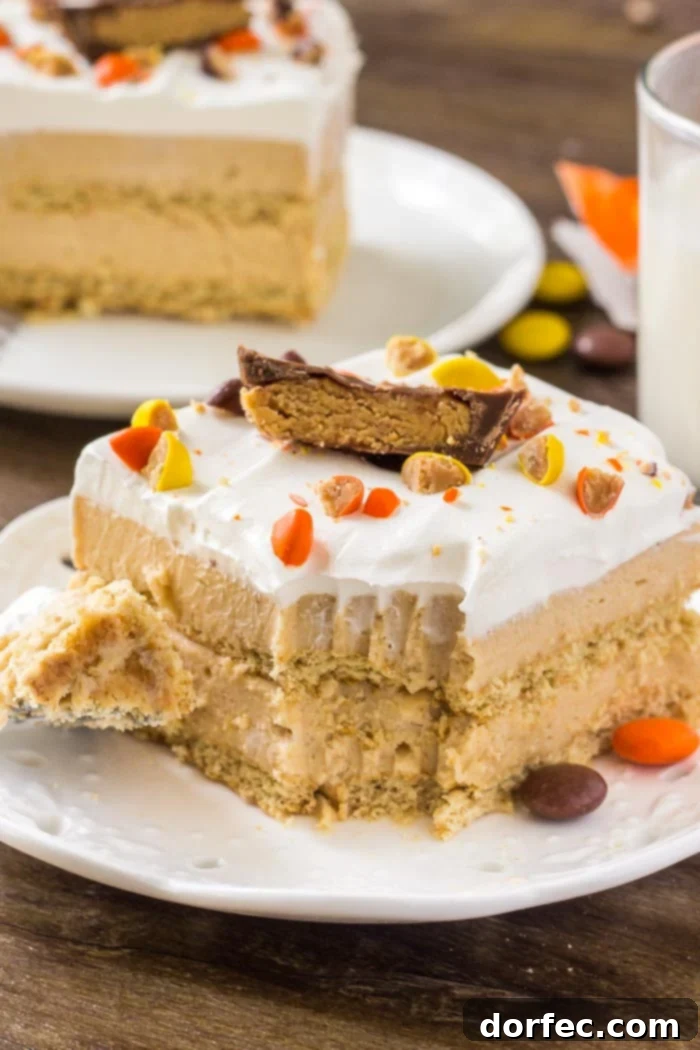
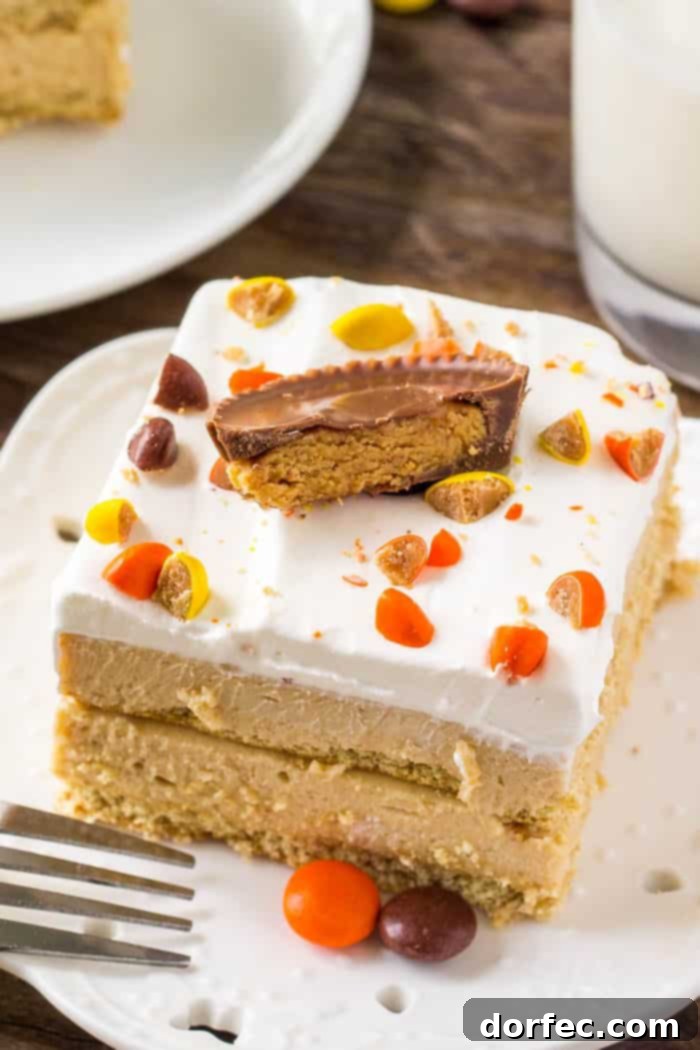
This Peanut Butter Icebox Cake is more than just a dessert; it’s a culinary celebration, especially crafted for those sun-drenched days of summer. Imagine an exquisite treat where cool, velvety layers of rich peanut butter filling are nestled between crisp yet tender graham crackers, all crowned with a fluffy whipped topping and a generous scattering of your favorite peanut butter candies. This no-bake marvel promises an effortless path to dessert bliss, making it the quintessential finale for any warm-weather gathering, from backyard barbecues to festive potlucks.
My name is Fiona, and if you haven’t guessed by now, I have an unwavering passion for peanut butter. Truly, deeply, madly in love with it! And this remarkable Peanut Butter Icebox Cake has quickly ascended to the top of my list of beloved warm-weather indulgences. It’s a harmonious symphony of creamy textures and nutty flavors, designed to delight the palate without ever needing to turn on an oven.
Each spoonful delivers a delightful contrast: the smooth, decadent peanut butter cream juxtaposed with the softened graham cracker layers. To elevate this already sublime creation, we add a luscious, airy whipped topping and a cascade of peanut butter delights. Envision the joy of discovering chopped peanut butter cups, colorful Reese’s Pieces, or crunchy peanut butter chips with every bite. The customization possibilities are genuinely endless, allowing you to tailor this treat to your exact sweet cravings.
What Defines an Icebox Cake? The Perfect No-Bake Solution
For those unfamiliar with the charm of an icebox cake, prepare to discover your new favorite easy dessert. This is a wonderfully straightforward, no-bake confection that shines particularly bright during the warmer months. At its heart, an icebox cake is ingeniously simple: layers of whipped cream (or a creamy filling, as we’ll use here) are spread between sheets of graham crackers or other types of cookies. Once assembled, the entire “cake” is tucked away into the refrigerator, where it patiently chills until it’s ready to be served.
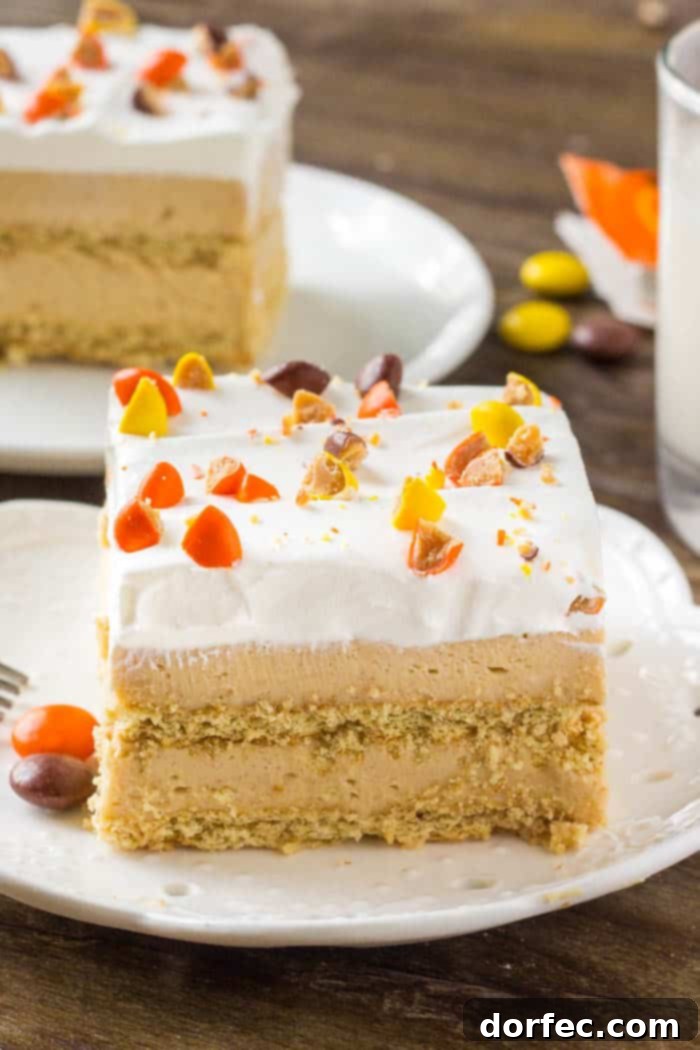
The magic happens during this chilling period. The graham crackers, instead of staying crisp, gradually absorb moisture from the creamy filling, transforming into a tender, cake-like texture that melts in your mouth. The result is a dessert that feels incredibly light, wonderfully creamy, and utterly delicious. It’s the ideal choice when you crave a homemade dessert but want to avoid the heat and fuss of baking.
Icebox cakes are celebrated for their adaptability, gracing tables in a myriad of flavors. You might encounter versions featuring sweetened whipped cream paired with vibrant fresh fruits, or perhaps rich chocolate variations that satisfy the deepest cocoa cravings. But today, our focus is squarely on the indulgent, nutty delight that is our Peanut Butter Icebox Cake, a flavor profile truly in a league of its own.
Crafting Your Ultimate Peanut Butter Icebox Cake: A Step-by-Step Guide
The beauty of this recipe lies in its simplicity. With minimal effort and no baking required, you can create a show-stopping dessert that tastes like it took hours. Let’s dive into how to bring this creamy dream to life in your kitchen, ensuring every layer is packed with irresistible peanut butter flavor.
The Heart of the Cake: Irresistible Peanut Butter Filling
Our journey begins with the star of the show: the velvety, rich peanut butter filling. This concoction is so good, you might be tempted to eat it with a spoon before it even makes it into the cake! The key to its luxurious texture and flavor lies in the quality and temperature of your ingredients, so pay close attention to these initial steps.
- **Cream Cheese Perfection:** Start by beating one 8-ounce package of cream cheese until it’s wonderfully soft and smooth. Ensure your cream cheese is at room temperature before you begin; this is crucial for achieving a lump-free, impeccably creamy base that blends seamlessly with other ingredients.
- **Sweet and Nutty Fusion:** Next, incorporate 1 cup of powdered sugar and 1 cup of creamy peanut butter into the softened cream cheese. Mix these ingredients thoroughly until everything is well combined and the mixture is consistently smooth. The powdered sugar not only sweetens but also helps maintain the filling’s structure, while the peanut butter infuses it with that iconic nutty flavor we all adore.
- **Light and Airy Finish:** Finally, gently fold in 2 cups of thawed whipped topping (such as Cool Whip). The “gently fold” instruction is important here – you want to preserve the airy texture of the whipped topping, which will lighten the entire filling and give it that delightful, cloud-like consistency.
This peanut butter filling is the epitome of creamy and utterly delicious. For the absolute best results and a supremely smooth, delightful flavor, I strongly recommend using smooth, processed peanut butter (not natural peanut butter). Natural peanut butter, with its tendency to separate and release oil, can lead to an inconsistent or overly oily filling, which we want to avoid for this particular recipe. Your taste buds will thank you for this creamy choice!
Once your exquisite filling is ready, it’s time to move on to assembling your masterpiece. For this recipe, an 8×8 or 9×9 inch square baking pan will work perfectly, providing just the right dimensions for a beautifully layered cake.
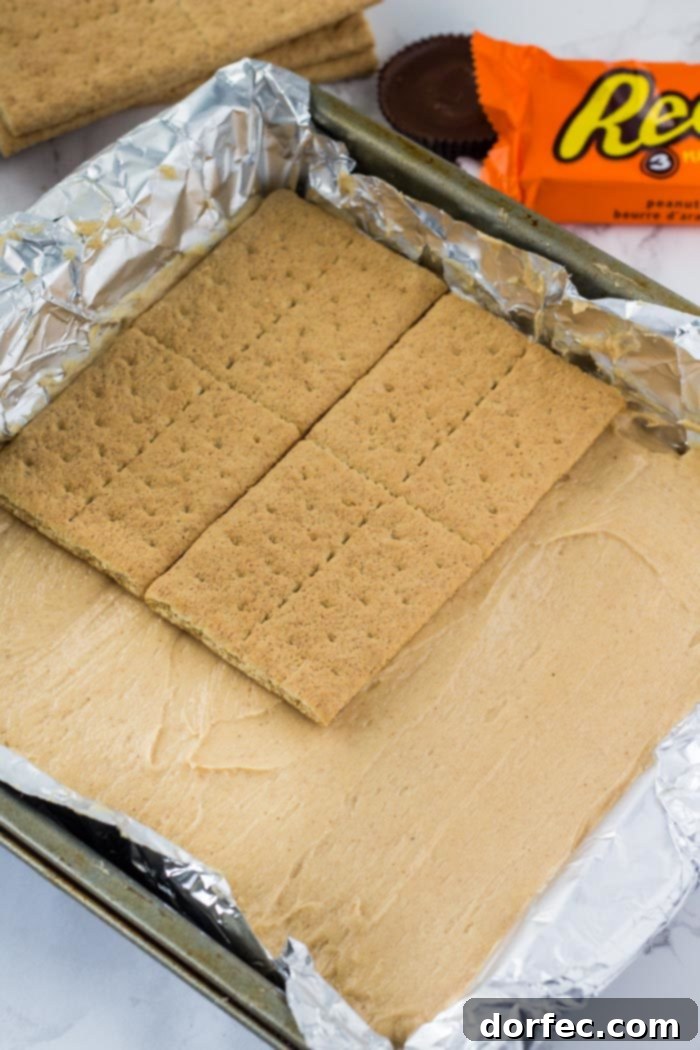
Essential Tips for Assembling Your No-Bake Icebox Cake
Assembling an icebox cake is a simple process, but a few strategic tips can make it even easier and ensure a perfect outcome every time. Follow these steps for a beautifully structured and effortlessly servable dessert:
- **Prep Your Pan Like a Pro:** Begin by lining your chosen 8×8 or 9×9 inch square pan with aluminum foil. Make sure to leave an overhang on all sides. This simple trick is a game-changer for serving, allowing you to easily lift the entire chilled cake out of the pan before slicing.
- **The Sticky Base:** Spread about 2 tablespoons of your decadent peanut butter filling thinly over the bottom of the foil-lined pan. This acts as a delicious adhesive, preventing your first layer of graham crackers from shifting.
- **First Cracker Layer:** Carefully lay a full layer of graham crackers over the filling at the bottom of the dish. Depending on your pan size (especially if using an 8×8 inch pan), you may need to gently trim some crackers with a knife or break them to create a snug, even layer that covers the entire base.
- **The First Generous Spread:** Now, evenly spread approximately half of your luscious peanut butter mixture over the graham crackers. This will be about 1 ½ cups total. Take your time to spread it smoothly, ensuring every cracker is covered.
- **Second Cracker Layer:** Place another full layer of graham crackers directly on top of the peanut butter filling. Again, ensure they fit snugly.
- **The Grand Finale of Filling:** Spoon and spread the remaining peanut butter mixture over this second layer of crackers, smoothing it out to create an even surface.
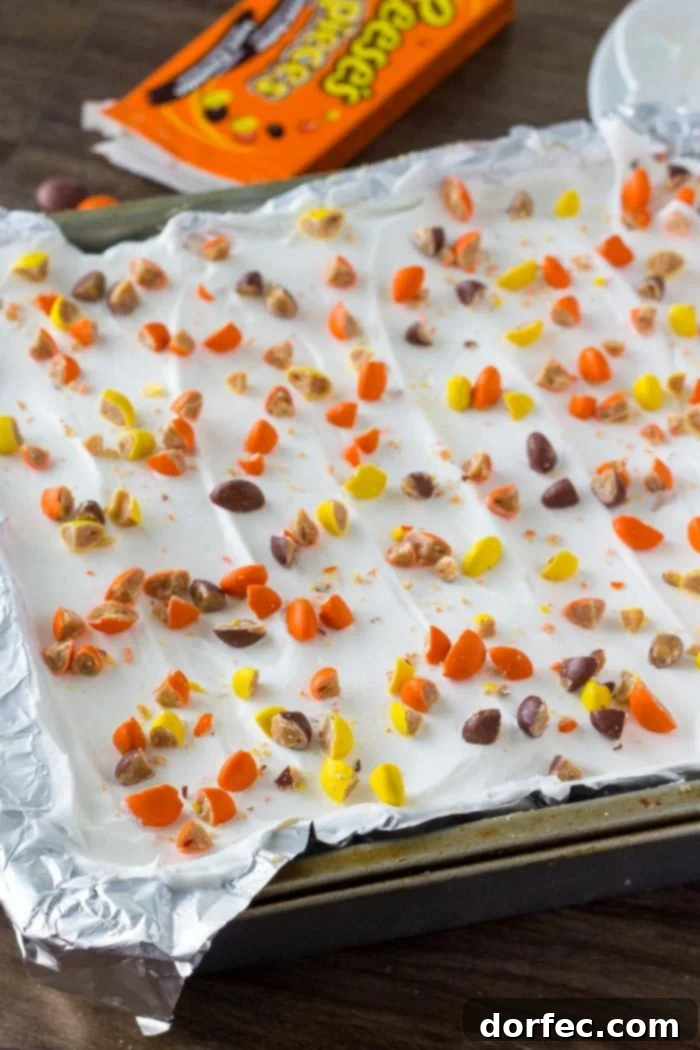
- **Whip It Good (and Decorate!):** To complete your cake, spread about 1 to 1 ½ cups of thawed whipped topping over the final peanut butter layer. If you prefer, freshly whipped cream can be used for an even richer taste. This is where you unleash your creativity! Decorate generously with your favorite peanut butter candies – think chopped Reese’s Peanut Butter Cups, colorful Reese’s Pieces, or a sprinkle of peanut butter chips for added texture and flavor.
- **The Chill Factor:** Cover the assembled cake tightly with plastic wrap or the foil overhang, and then gently pop it into the refrigerator. This crucial chilling period allows the flavors to meld beautifully and the graham crackers to soften, transforming the layers into that desired cake-like consistency. Patience is a virtue, as a minimum of 2 hours (or preferably longer) in the fridge will ensure perfect results.
Texture Talk: Ice Cream Cake or Soft & Creamy? You Decide!
One of the fantastic aspects of this No-Bake Peanut Butter Icebox Cake is its versatility in texture, allowing you to customize it to your preference. Do you prefer a dessert with a firmer, more ice cream-like consistency? Or are you a fan of a softer, more delicate, creamy experience? This recipe gives you the power to choose!
If your heart yearns for a dessert that mirrors the delightful chill and firmness of an ice cream cake, then I highly recommend storing your peanut butter icebox cake in the freezer. To achieve this, assemble the cake completely through step 8 (the final peanut butter layer), then place it in the freezer to set. Just before you’re ready to serve, remove it from the freezer and then add the whipped topping and a generous scattering of your chosen peanut butter candies. This method results in a wonderfully cold, firm cake that holds its shape beautifully and provides a refreshing bite.
However, if your preference leans towards a slightly softer, creamier, and more yielding cake texture, then simply store your icebox cake in the refrigerator. The chilling time in the fridge will allow the graham crackers to soften gradually, creating that classic tender, melt-in-your-mouth experience that traditional icebox cakes are known for. Either way, you’re guaranteed a delicious outcome!
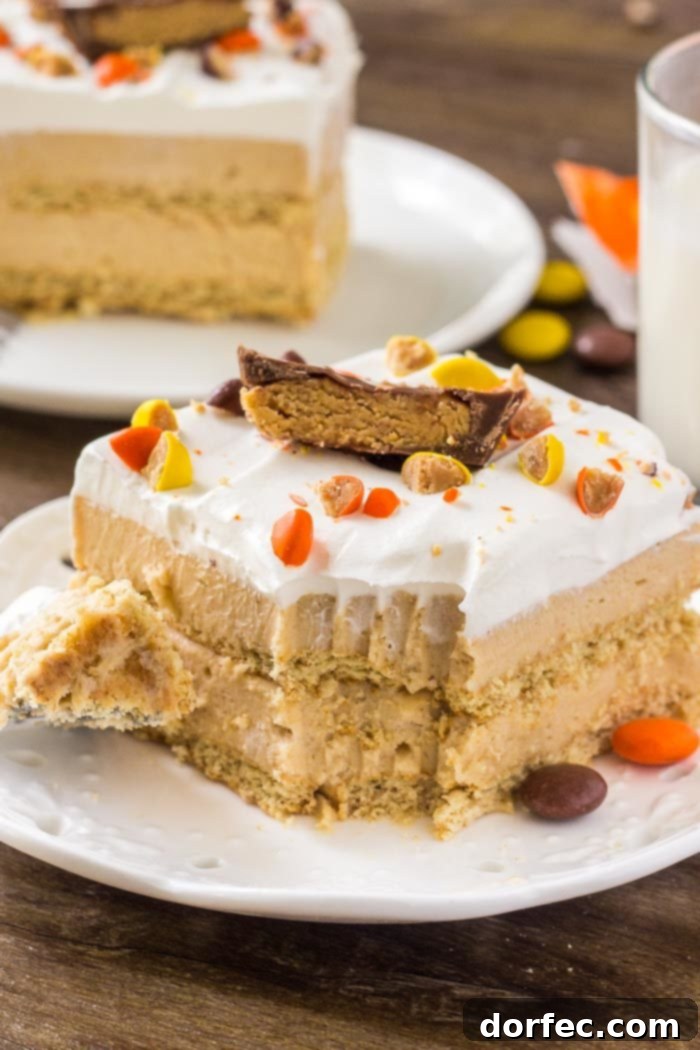
Why This Peanut Butter Icebox Cake is Your Ultimate Summer Dessert
This Peanut Butter Icebox Cake is a testament to how simple ingredients and an easy process can yield an absolutely sensational dessert. It’s incredibly creamy, packed with decadent peanut butter flavor, and strikes the perfect balance for any summer occasion. Whether you’re hosting a casual BBQ, attending a festive potluck, or simply craving a cool, sweet escape on a hot day, this cake rises to the occasion. I particularly adore the fluffy, creamy peanut butter layers that deliver an unparalleled texture and taste experience. With such an easy, no-bake recipe, you truly cannot go wrong. It’s a guaranteed crowd-pleaser that requires minimal effort and delivers maximum deliciousness!
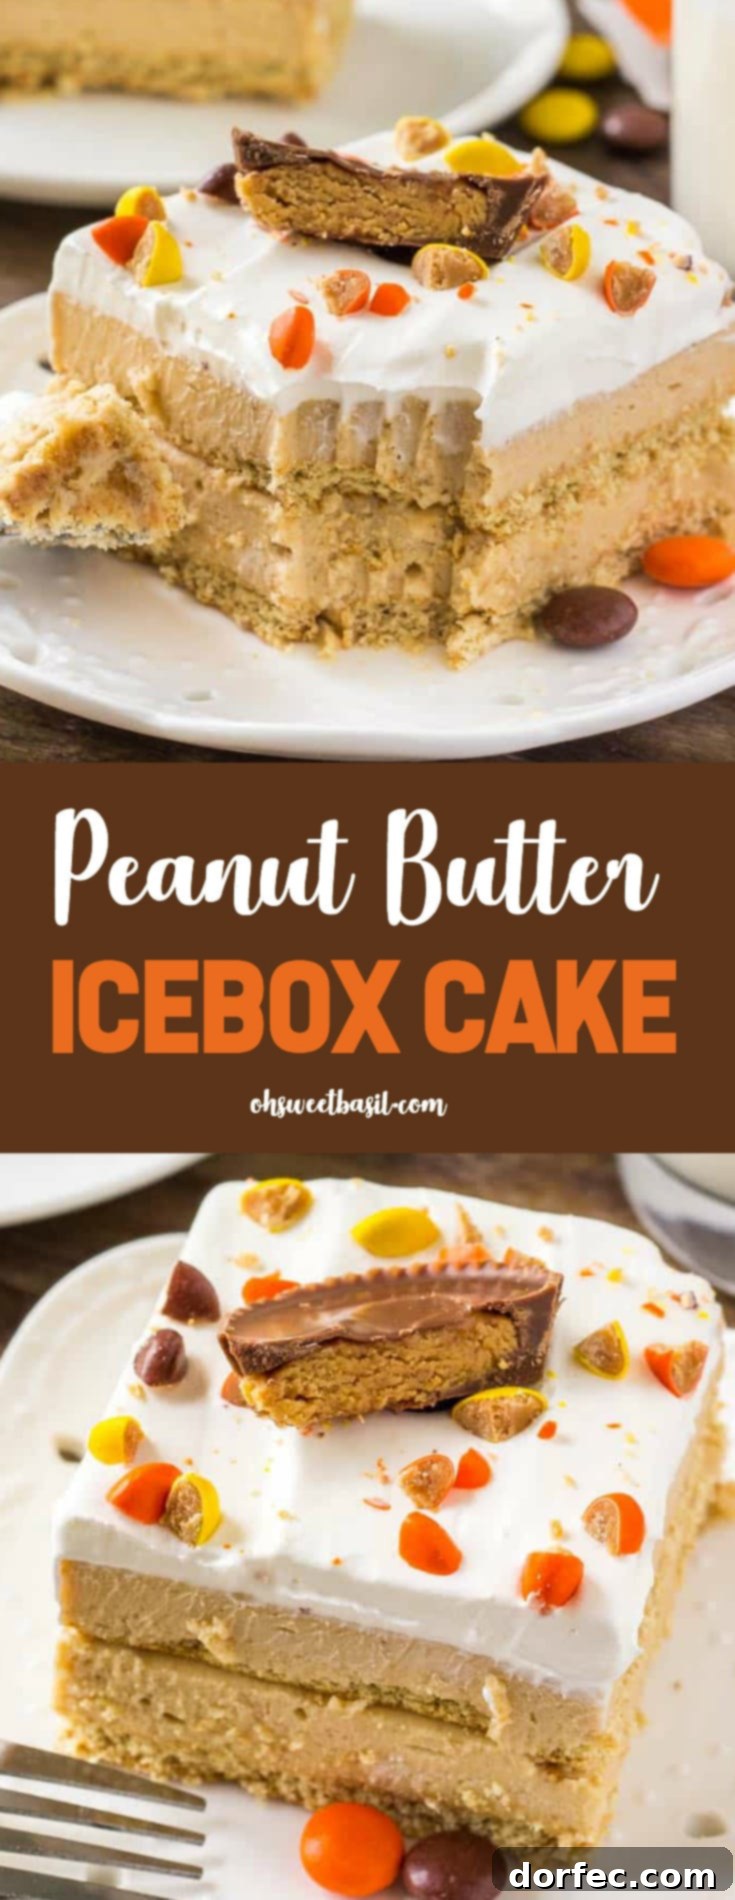
Dive Deeper into Peanut Butter Paradise: More Irresistible Recipes
If your love affair with peanut butter is as profound as mine, then you’ll be thrilled to explore more no-bake delights that celebrate this incredible ingredient. After mastering the art of the icebox cake, why not venture into other easy-to-make, peanut butter-infused treats?
No Bake Peanut Butter Nutella Cheesecake
For an extra layer of indulgence, consider this divine No-Bake Peanut Butter Nutella Cheesecake. It combines the rich, nutty flavor of peanut butter with the smooth, chocolate-hazelnut goodness of Nutella for a dessert that’s truly out of this world. It’s the perfect harmony of two beloved spreads in one simple, elegant cheesecake.
No Bake Peanut Butter Pie
And if a pie is more to your liking, this No-Bake Peanut Butter Pie offers an extraordinarily rich and creamy experience. It’s incredibly easy to whip up, delivering a satisfyingly deep peanut butter flavor in a delightful pie crust. It’s pure comfort in every slice, perfect for any occasion.
Still craving another outstanding dessert that brings classic comfort? Be sure to try this Southern Banana Pudding!
Peanut Butter Icebox Cake
Fiona
15 minutes
2 hours
15 minutes
9
-12 pieces
Ingredients
- 8 Ounce Cream Cheese
- 1 Cup Powdered Sugar
- 1 Cup Peanut Butter
- 2 Cups Whipped Topping, thawed
- 8-12 Graham Crackers
- 1 1/2 Cups Whipped Topping, thawed
- Peanut Butter Candies (I used 1 box of Reese’s Pieces and 6 peanut butter cups
Instructions
-
Line an 8×8 or 9×9 inch square baking pan with aluminium foil.
-
In a large bowl beat the cream cheese until soft.8 Ounce Cream Cheese
-
Then mix in the powdered sugar and peanut butter.1 Cup Powdered Sugar,
1 Cup Peanut Butter -
Fold in 2 cups of whipped topping until even.2 Cups Whipped Topping
-
Spread 2 tablespoons of the peanut butter filling on the bottom of the dish. Then place a layer of graham crackers on top. You’ll need to break some crackers, or maybe trim them to create one even layer.8-12 Graham Crackers
-
Spread about 1/2 of the peanut butter layer over top of the crackers.
-
Then place a second layer of crackers over top.
-
Spread the rest of the peanut butter mixture over top.
-
Top with the remaining 1 1/2 cups whipped topping and decorate with peanut butter candies.1 1/2 Cups Whipped Topping,
Peanut Butter Candies (I used 1 box of Reese’s Pieces and 6 peanut butter cups -
Cover and place in the fridge for 2 hours to chill before serving. *
-
To serve, lift the cake out of the pan using the overhang of the aluminium foil. Then cut into squares.
Recipe Notes
Nutrition
Serving:
1
g
,
Calories:
591
kcal
,
Carbohydrates:
54
g
,
Protein:
12
g
,
Fat:
39
g
,
Saturated Fat:
17
g
,
Polyunsaturated Fat:
18
g
,
Cholesterol:
26
mg
,
Sodium:
383
mg
,
Fiber:
3
g
,
Sugar:
35
g
Nutrition information is automatically calculated, so should only be used as an approximation.