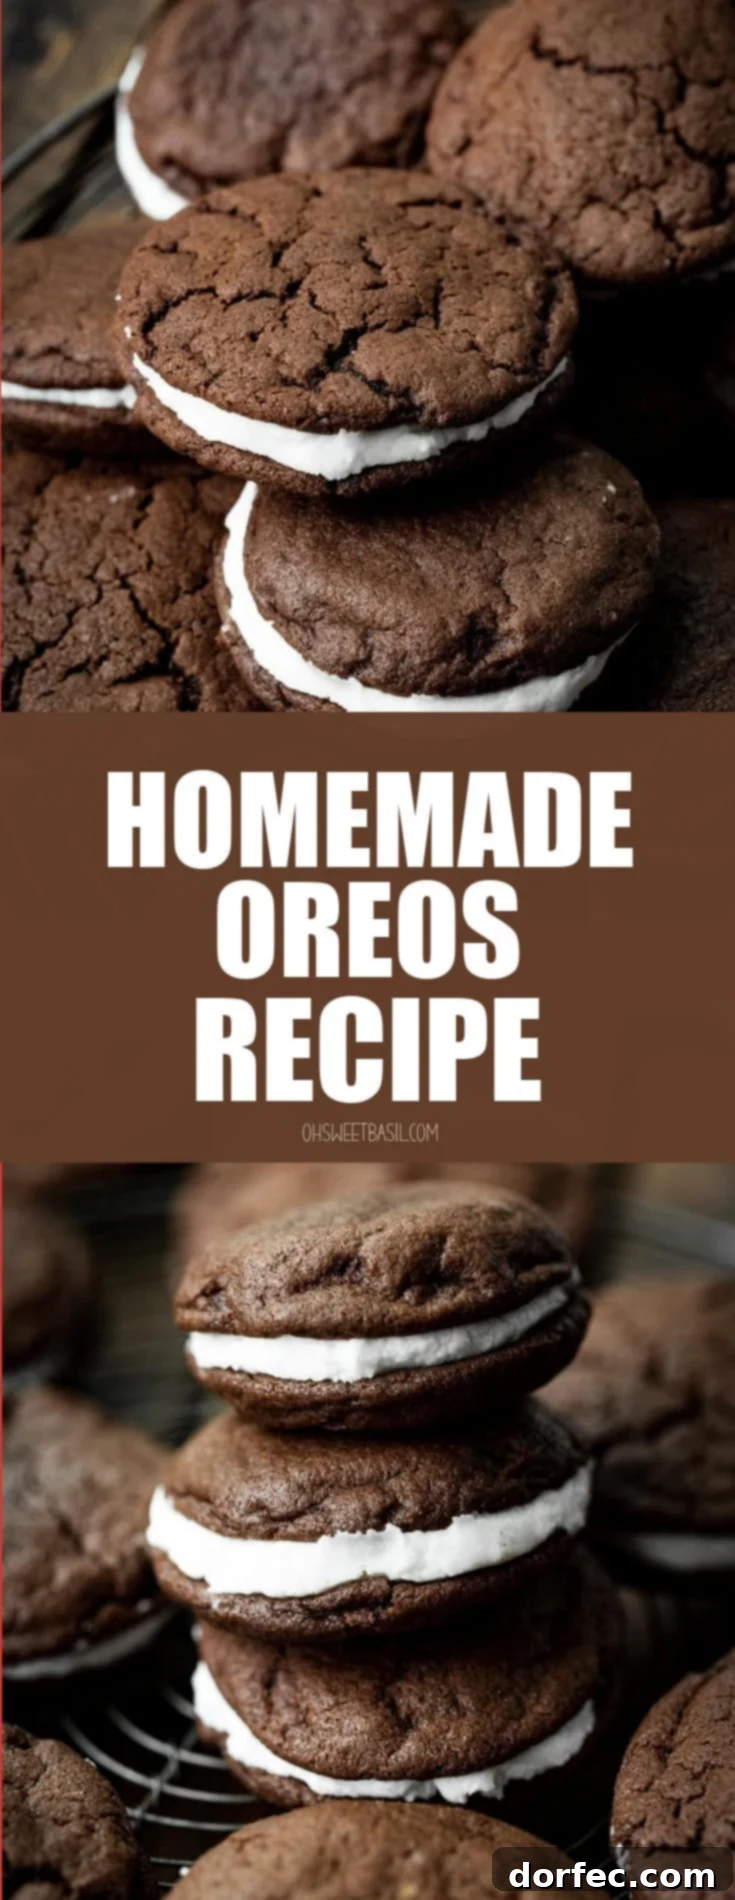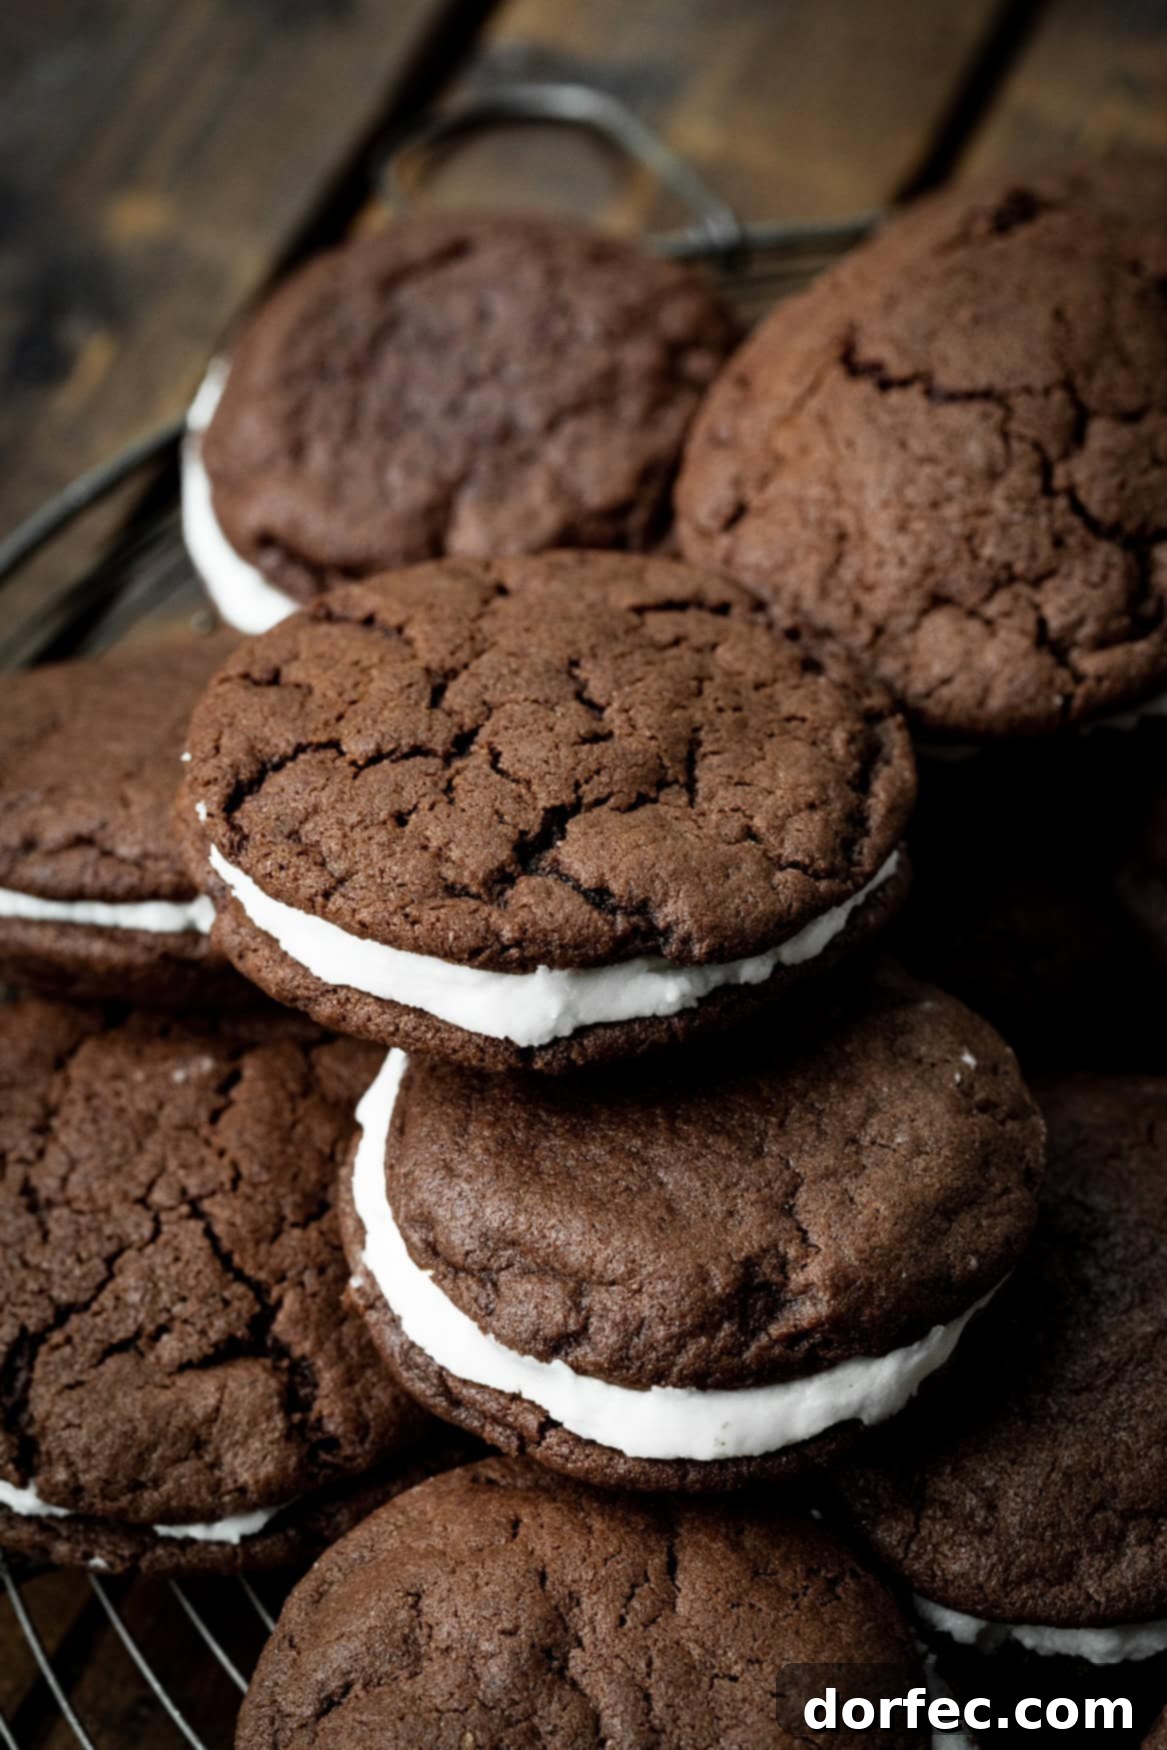
Indulge in the nostalgic delight of homemade Oreos! These mouth-watering treats feature intensely rich, dark chocolate cookies embracing a lusciously sweet and creamy filling. Forget store-bought; once you experience the superior flavor and texture of these DIY sandwich cookies, your entire household will be begging for more. Perfect for any occasion, these homemade Oreo cookies are not just a dessert; they’re an experience.
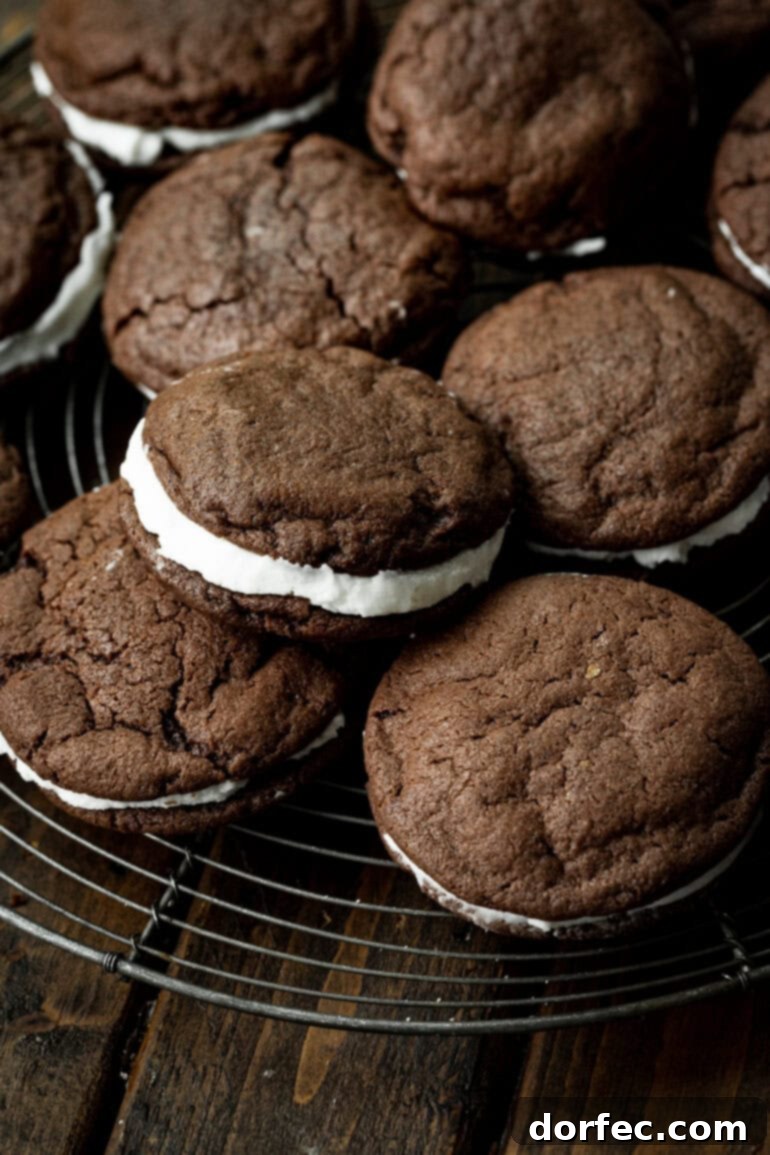
Oreos hold a special place in the hearts of many, a beloved classic enjoyed across countless homes. That iconic combination of a crispy, deeply chocolatey cookie and a sweet, smooth cream center is simply irresistible. Whether you’re a cookie enthusiast or a cream lover, a dipper or a plain eater, these chocolate sandwich cookies offer a unique charm that appeals to everyone. And now, imagine recreating that magic right in your own kitchen!
My husband is particularly fond of this recipe for fake Oreos, and I must admit, so am I. It’s astonishingly simple to achieve such a delectable result! Who would have thought that a perfectly balanced, delicately sweet creamy filling, nestled between two impeccably chocolatey cookies, could be so easy to prepare at home, tasting remarkably similar to the popular store-bought version? This easy Oreo recipe is a game-changer for anyone craving that classic flavor.
These best homemade Oreos are guaranteed to become a new family favorite. They’re also an excellent project for involving little helpers in the kitchen. Children adore squishing the two cookie halves together with the creamy center, turning a simple baking task into a fun, albeit potentially messy, activity. The joy on their faces when they bite into a cookie they helped create is truly priceless!

Why Make Homemade Oreo Cookies?
While the convenience of store-bought Oreos is undeniable, there’s something truly special about baking them from scratch. Making your own DIY Oreos offers several compelling advantages:
- Unmatched Freshness: Nothing compares to the taste of freshly baked cookies. The chocolate flavor is more vibrant, and the cream filling is perfectly soft and luscious.
- Customization: When you make them at home, you’re in control. Want more cream? Make them “double stuffed!” Prefer a darker cookie? Adjust your cocoa powder. The possibilities for personalization are endless.
- Quality Ingredients: You choose every ingredient that goes into your homemade chocolate sandwich cookies. This means you can opt for high-quality butter, premium cocoa, and pure vanilla extract, elevating the flavor profile significantly.
- A Fun Family Activity: As mentioned, baking these cookies is a fantastic way to spend time with children. It’s an engaging, hands-on activity that results in a delicious reward.
- The Pride of Baking: There’s immense satisfaction in creating something so beloved from basic ingredients. Serving homemade treats always impresses guests and brings a unique touch to any gathering.
Essential Ingredients for Your Homemade Oreos
One of the best parts about this homemade Oreo cookie recipe is that you likely already have most of the necessary ingredients in your pantry! This means you can whip up a batch of these delightful chocolate sandwich cookies whenever a craving strikes. Here’s a detailed breakdown of what you’ll need:
- Dry Ingredients for the Cookies:
- All-Purpose Flour: The structural backbone of our crispy cookies.
- Unsweetened Cocoa Powder: This is where the rich, dark chocolate flavor comes from. For an even darker, more authentic Oreo color and a slightly milder chocolate taste, consider using Dutch-process cocoa powder or even black cocoa powder if you can find it.
- Baking Soda & Baking Powder: These leavening agents work together to give the cookies their perfect texture, ensuring they are slightly chewy yet crisp.
- Salt: A pinch of salt is crucial for balancing the sweetness and enhancing the chocolate flavor.
- Wet Ingredients for the Cookies:
- Unsalted Butter (softened): Provides richness and helps create that desirable tender-crisp texture. Ensuring it’s softened is key for proper creaming.
- Granulated Sugar & Brown Sugar: A combination of both sugars yields the ideal sweetness and helps with moisture retention, giving the cookies a slight chewiness.
- Large Egg: Acts as a binder and adds moisture.
- Vanilla Extract: Enhances the overall flavor profile, complementing the chocolate beautifully.
Creamy Filling Ingredients:
- Unsalted Butter (softened): Forms the base of our rich, smooth filling.
- Vegetable Shortening: This is the secret ingredient for achieving that classic, bright white, and incredibly smooth Oreo-like cream texture that holds its shape.
- Powdered Sugar (Confectioners’ Sugar): Essential for a fine, melt-in-your-mouth texture without any grittiness.
- Vanilla Extract: Gives the filling its signature sweet, aromatic flavor.
Exact measurements for each ingredient are provided in the comprehensive recipe card located at the end of this post. Keep scrolling for all the precise details to ensure your homemade Oreos turn out perfectly!
Crafting Your Own Chocolate Sandwich Cookies: A Simple Guide
Making these fake Oreos is surprisingly straightforward. The process involves baking delicious chocolate cookies and, while they cool, preparing the simple yet irresistible creamy filling. Once the cookies are completely cool, you assemble them into delightful sandwiches. We highly recommend making a double batch, as these will disappear incredibly fast! Here are the basic steps to guide you:
For the Perfect Chocolate Cookies:
- Preparation is Key: Begin by preheating your oven to 350°F (175°C). Line a baking sheet with parchment paper to prevent sticking and ensure even baking. This step makes cleanup a breeze!
- Creaming the Wet Ingredients: In the bowl of a stand mixer fitted with the paddle attachment (or using a hand mixer), combine the softened butter, granulated sugar, and brown sugar. Beat them together on medium-high speed until the mixture is light, fluffy, and pale in color. This usually takes about 2-3 minutes. Next, add the egg and vanilla extract, mixing until just combined and smooth. Be careful not to overmix.
- Combining Dry and Wet: In a separate bowl, sift together the flour, unsweetened cocoa powder, baking soda, baking powder, and salt. Sifting helps prevent lumps and ensures all ingredients are evenly distributed. Gradually add these dry ingredients to your wet mixture, mixing on low speed until just combined. The dough will be dark and slightly thick. Avoid overmixing, as this can lead to tough cookies.
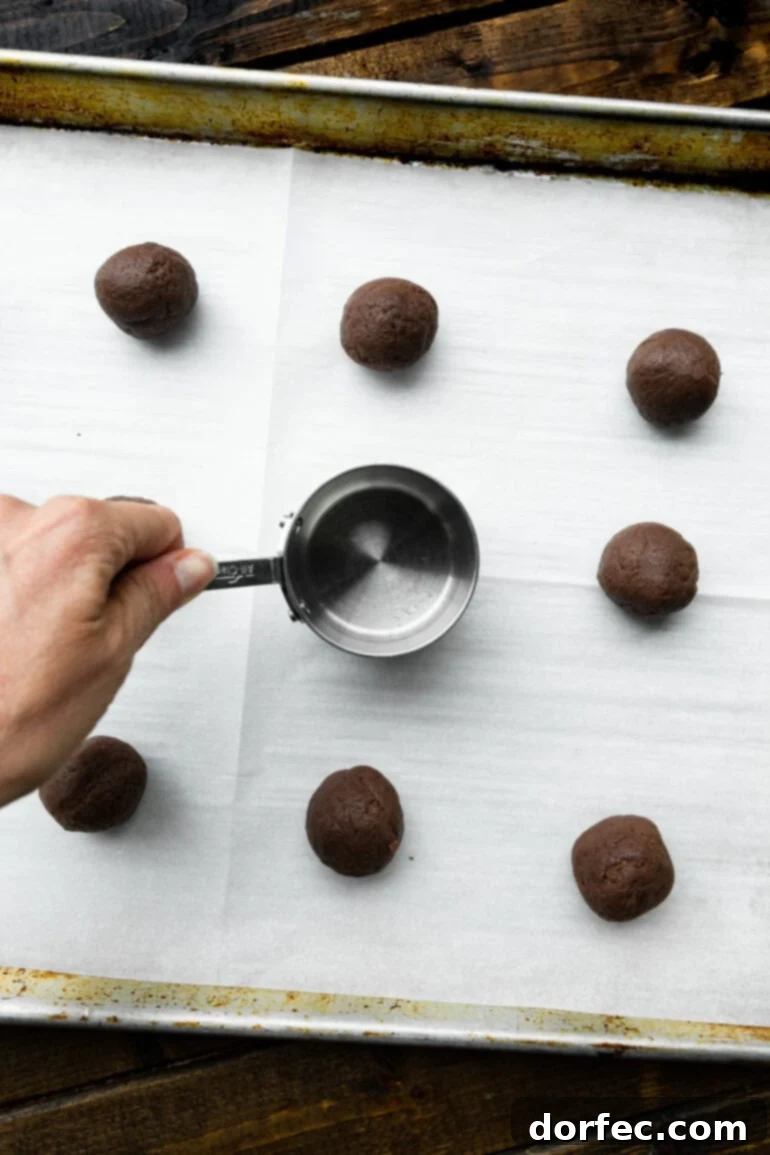
- Shaping and Flattening: Scoop uniform portions of the cookie dough (about 1 tablespoon each) onto your prepared baking sheet. Leave a little space between each cookie. For that classic flat Oreo shape, lightly flatten each dough ball with the bottom of a measuring cup or glass, which you can spray lightly with cooking spray to prevent sticking.
- Baking to Perfection: Bake the cookies for 8-10 minutes. They should be set around the edges but still slightly soft in the center. Don’t overbake, as they will firm up as they cool. Overbaking can result in a dry, brittle cookie.
- Cooling Down: While the cookies are baking, you can start preparing the frosting. Once baked, let the cookies cool on the baking sheet for a few minutes before transferring them to a wire cooling rack to cool completely. It’s crucial that the cookies are entirely cool before adding the filling, otherwise, the cream will melt.
Creating the Irresistible Creamy Filling:
- Beat the Base: In a clean mixing bowl, combine the softened butter and vegetable shortening. Beat them together on medium-high speed until the mixture is incredibly smooth and creamy, with a light, airy texture. This takes a few minutes and is essential for a velvety filling.
- Mix in the Sweetness: Gradually add the powdered sugar to the butter-shortening mixture, beating on low speed initially to avoid a cloud of sugar. Once incorporated, increase the speed to medium-high and beat until the frosting is light, fluffy, and well combined. Finally, mix in the vanilla extract until fully incorporated. The result should be a smooth, pipeable consistency.
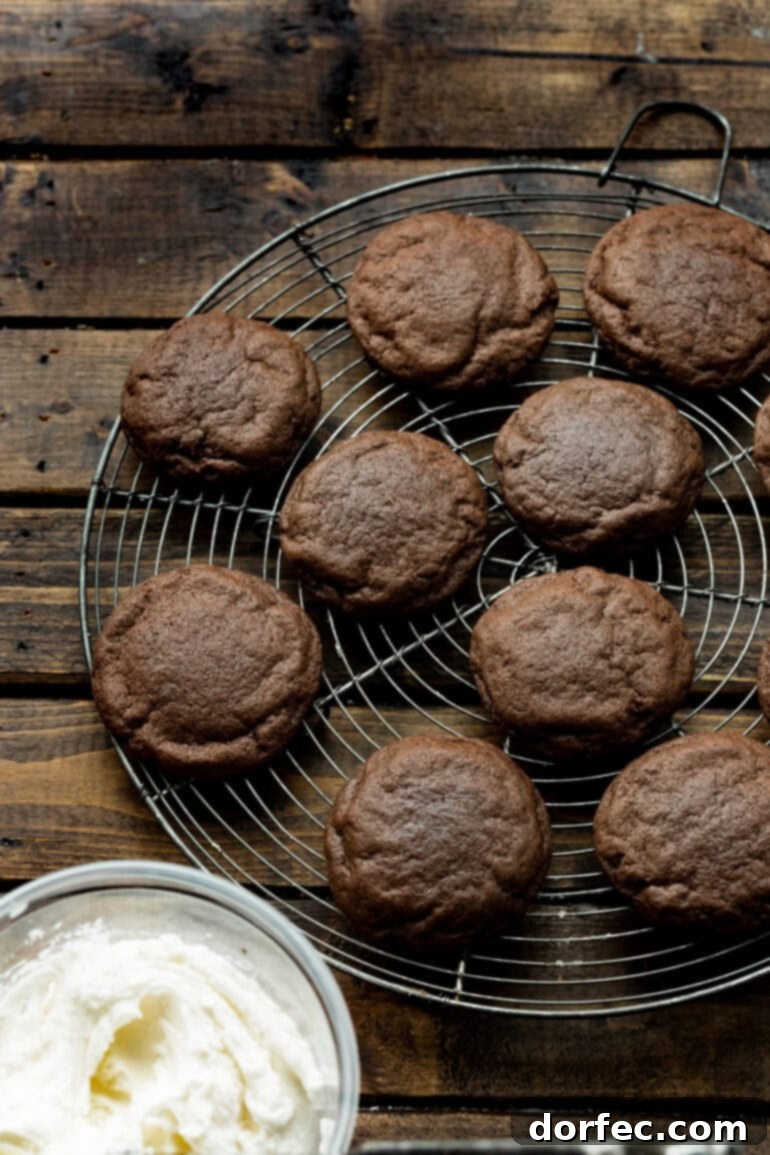
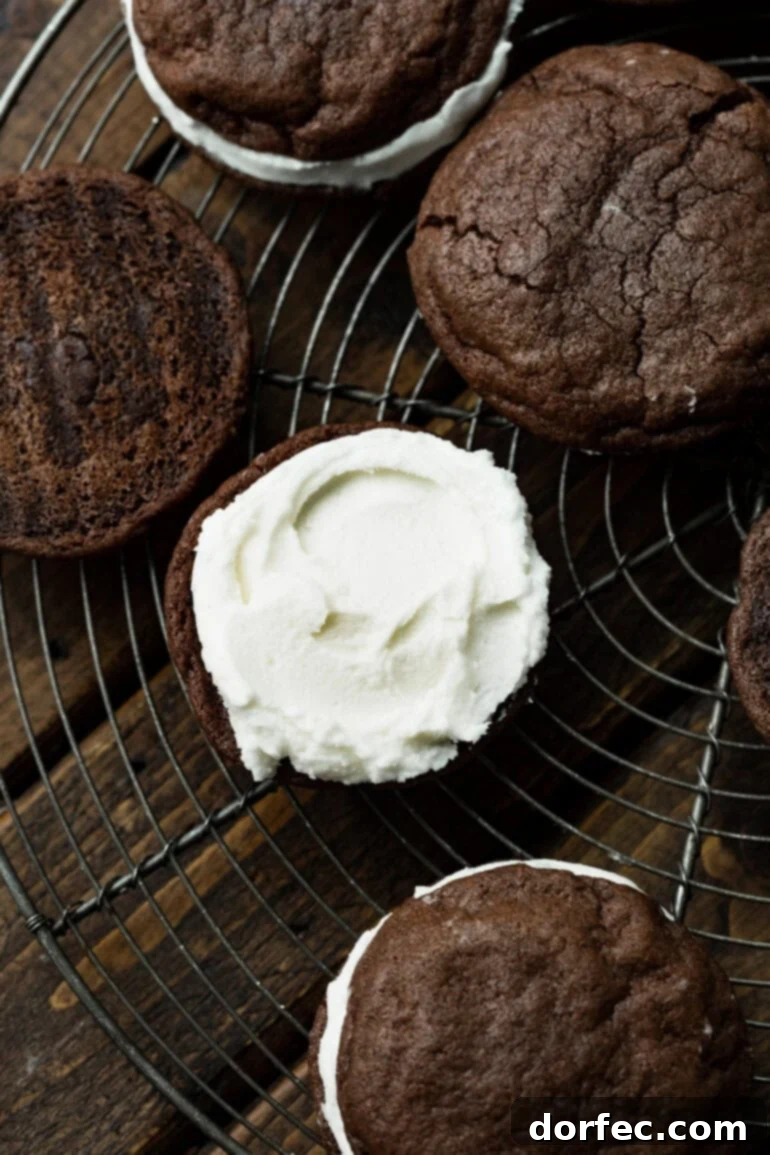
- Assemble Your Masterpieces: Transfer the creamy filling to a piping bag fitted with a round tip (or simply snip off the corner of a Ziploc bag). Pipe a generous dollop of filling onto the flat side of one cooled chocolate cookie. Then, gently place another chocolate cookie on top, pressing down lightly to create a sandwich and evenly distribute the filling.
- PRO TIP for DOUBLE STUFF Oreos: If you’re a fan of extra cream, now’s your chance! Simply pipe a more substantial amount of filling onto one cookie before topping with another. Indulge away!
A complete, detailed version of these instructions, along with all ingredient measurements, can be found in the printable recipe card at the conclusion of this article. You can easily print or save it for your convenience.
Can Homemade Oreo Cookies Be Used in Other Recipes?
While these homemade chocolate cookies are incredibly delicious on their own, they are generally not recommended as a direct substitute for commercial Oreos in other recipes. The texture and moisture content of homemade cookies can differ significantly from store-bought ones, especially when crushed or used in no-bake applications. For recipes specifically calling for Oreos, such as a no-bake Oreo pie or Oreo crusts, it’s best to stick with the original product to ensure the desired outcome.
Exciting Variations for Your Homemade Oreos
This classic homemade Oreo recipe is absolutely fabulous as is, but it’s also incredibly versatile, lending itself beautifully to creative variations in flavor, color, and texture. Don’t be afraid to experiment and make these cookies uniquely yours!
- Flavorful Fillings: The vanilla cream filling is a perfect canvas for new flavors. Try adding different extracts to the filling for a delightful twist. Imagine mint extract for a refreshing mint Oreo, orange extract for a citrusy burst, strawberry extract for a fruity note, or even peanut butter extract for a nutty indulgence. A touch of almond extract can also add a sophisticated nuance.
- Vibrant Colors for Any Occasion: Food coloring can transform your creamy filling into a festive treat! Dye the filling orange for Halloween, green for St. Patrick’s Day (especially with mint extract!), red for Valentine’s Day, or any color to match a specific holiday, party theme, or the flavor extract you’ve chosen.
- Texture Play: For those who love added texture, incorporate some mini chocolate chips or mini M&M’s into either the cookie dough or, for a more surprising element, mix them directly into the cream filling. Crushed nuts could also add an interesting crunch.
- Seasonal Spices: During the fall, consider adding a pinch of cinnamon or pumpkin spice to your chocolate cookie dough for a warm, comforting flavor.
- Gluten-Free or Vegan Options: With a few substitutions, you can adapt this recipe to dietary needs. Use a good quality gluten-free all-purpose flour blend (one designed for baking) for gluten-free cookies. For a vegan version, swap butter for plant-based butter and the egg for a flax egg or other egg substitute, and ensure your shortening is vegan.
Quick & Easy “Faux Oreo” Recipe with Cake Mix
Short on time or looking for an even simpler route to delicious chocolate sandwich cookies? You can still enjoy a fantastic faux Oreo recipe using a cake mix as a shortcut for the cookies. This method significantly reduces prep time without sacrificing much on flavor:
For the cookies, you’ll need one box of devil’s food cake mix, 2 large eggs, and 1/3 cup of vegetable oil. Simply combine these three ingredients until a dough forms. Scoop onto a baking sheet and bake at 325°F (160°C) for 8-10 minutes, or until the edges are set. This creates wonderfully soft and chocolatey cookies with minimal effort.
To keep it truly simple, you can even use a tub of store-bought vanilla frosting for the filling. This is a brilliant solution if you’re baking on a budget or have very little time, allowing you to create satisfying homemade chocolate sandwich cookies with just a few ingredients.
Freezing and Storage Tips for Your Homemade Oreos
Proper storage ensures your homemade Oreo cookies remain fresh and delicious. Here’s how to best store them for both short and long terms:
Can You Freeze Homemade Oreo Cookies?
You can certainly freeze the baked chocolate sandwich cookies themselves. However, we generally advise against freezing the assembled cookies with the cream filling, as the filling can sometimes separate or become grainy when thawed due to its butter and shortening content. For the best results, it’s preferable to freeze the cookie dough or the baked cookie wafers separately.
Our preferred method for long-term storage is to freeze the unbaked homemade Oreo cookie dough. This ensures the freshest possible cookies whenever you desire. Simply portion the dough into balls, flatten them slightly, and arrange them on a baking sheet. Flash freeze until solid, then transfer the frozen dough balls to a freezer-safe bag. When you’re ready for a fresh batch, just pop the frozen dough directly into the oven (you might need to add a minute or two to the baking time), and prepare the fresh cream filling while they bake.
How Long Do Homemade Oreo Cookies Keep?
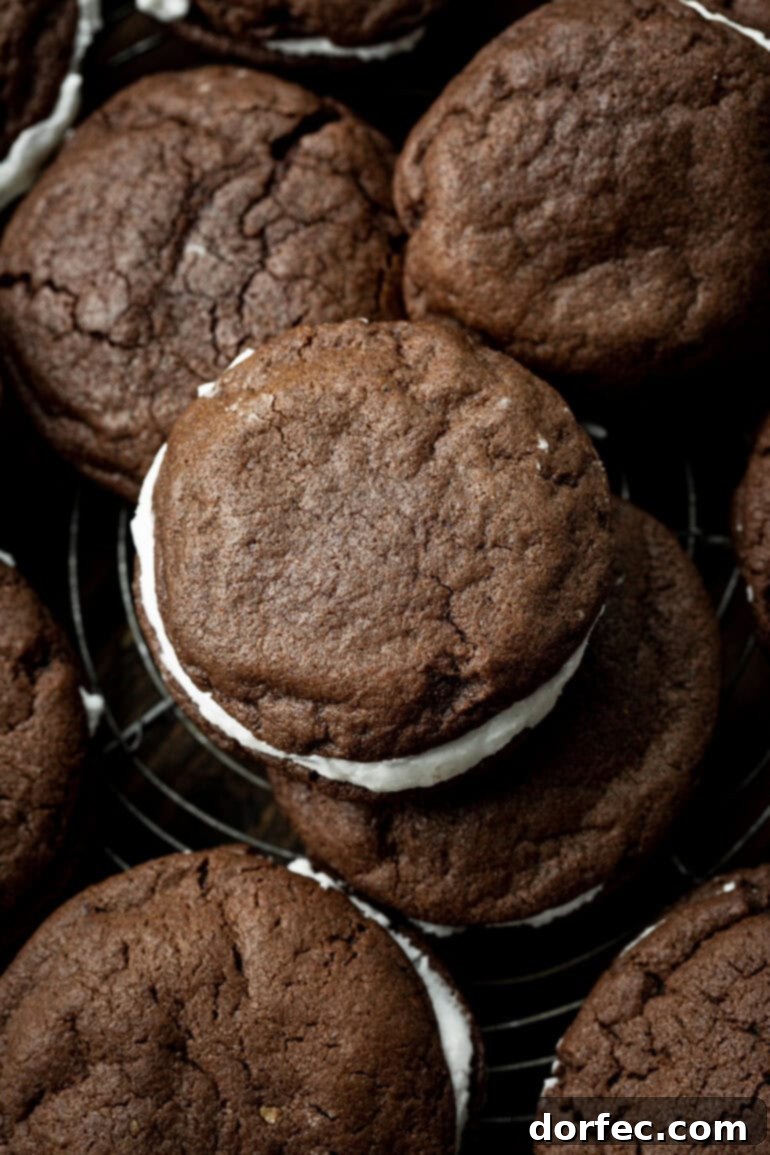
Once assembled, homemade Oreos should be stored in an airtight container in the refrigerator. They will maintain their best quality for up to a week, although the cookies will gradually soften over time. For optimal texture, enjoy them within 3-4 days.
If you’ve baked the chocolate cookies but haven’t assembled them yet, you can store the plain wafers at room temperature in an airtight container for up to 5-7 days. For longer storage, wrap the baked cookie wafers well in plastic wrap, then place them in a freezer bag. They can be frozen for up to 2 months.
Frozen cookie dough, when properly stored in a well-sealed freezer bag or vacuum-sealed with a Food Saver, can last for up to 6 months (or even up to 8 months with a Food Saver). This makes it incredibly convenient to have fresh, warm homemade Oreos ready at a moment’s notice.
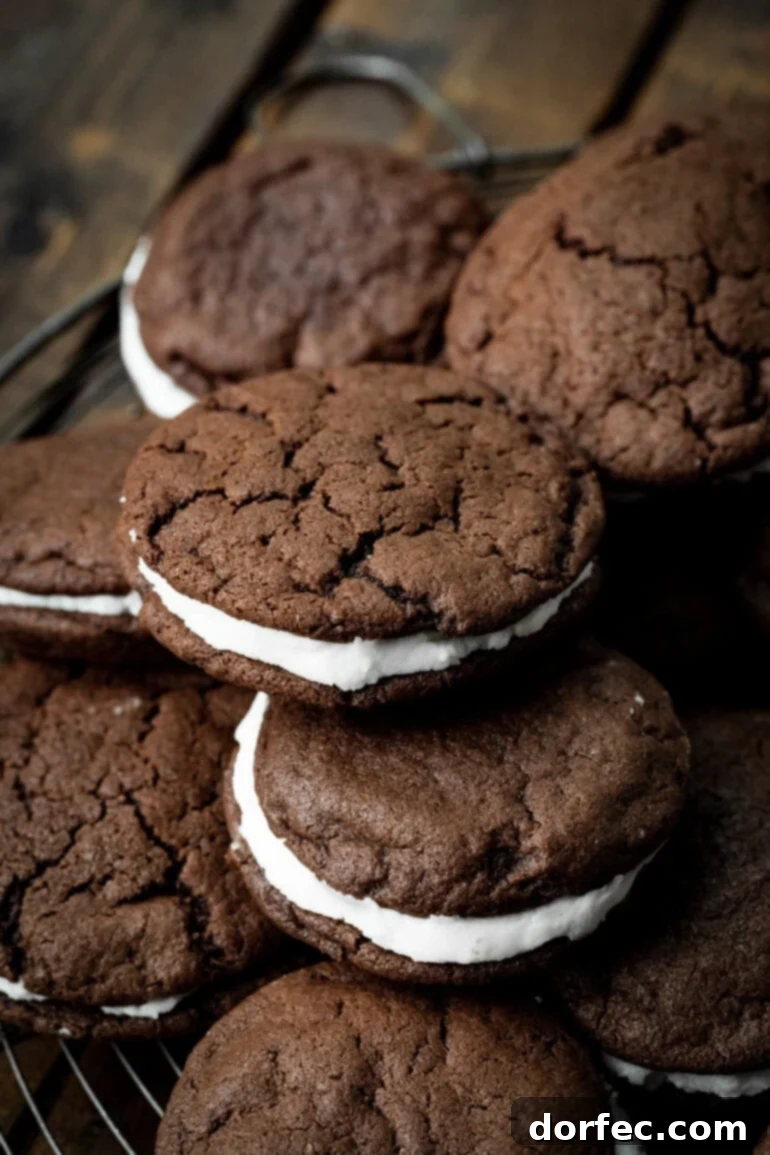
Craving the classic flavor of Oreos but want to make them at home? This recipe has got you covered! These homemade Oreos are just as delicious as the store-bought version and are fun to make with the whole family. They are truly the best homemade Oreos you’ll ever taste!
More of Our Favorite Cookie Recipes:
If you loved making these delicious chocolate sandwich cookies, be sure to explore some of our other popular cookie recipes:
- Copycat Lofthouse Sugar Cookies: Soft, cake-like sugar cookies with a delightful frosting.
- Levain Bakery Chocolate Chip Cookies: Indulgent, thick, and chewy chocolate chip cookies that are a true bakery masterpiece.
- Reese’s Marshmallow Peanut Butter Chip Cookies: A heavenly combination of peanut butter, chocolate, and gooey marshmallows.
- Classic Peanut Butter Cookies: Timeless, chewy peanut butter cookies with that iconic crosshatch pattern.
- Swig Sugar Cookies Copycat: Perfectly soft and chewy sugar cookies with a signature frosting, just like your favorite bakery.
Homemade Oreos
15
10
25

Ingredients
- 1/2 Cup Butter, softened
- 3/4 Cup Sugar
- 1/4 Cup Brown Sugar
- 1 Egg, large
- 1 teaspoon Vanilla
- 1 ½ Cups Flour
- 1/2 Cup Unsweetened Cocoa
- 1 teaspoon Baking Soda
- 1/2 teaspoon Baking Powder
- 1/4 teaspoon Salt
Filling
- 1/4 Cup Butter, softened
- 1/4 Cup Shortening
- 1 ½ Cups Powder Sugar
- 1 teaspoon Vanilla
US Customary – Metric
Instructions
Cookies
-
Preheat oven to 350 degrees F.
-
Mix butter and sugars until fluffy in the bowl of a stand mixer fitted with the paddle attachment. Add egg and vanilla and mix well.
-
Sift dry ingredients and mix with creamed ingredients.
-
Place on baking sheet and bake 8-10 min.
-
Let cookies cool completely on a wire cooling rack.
Frosting
-
Beat butter and shortening together until smooth.
-
Add powdered sugar and vanilla and beat again until well combined and fluffy.
-
Use a piping bag or a ziploc bag with the corner cut off to pipe the filling onto one cookie half, then top with another cookie to create a sandwich.
Nutrition
Calories: 336kcal,
Carbohydrates: 46g,
Protein: 3g,
Fat: 17g,
Saturated Fat: 9g,
Polyunsaturated Fat: 2g,
Monounsaturated Fat: 5g,
Trans Fat: 1g,
Cholesterol: 44mg,
Sodium: 239mg,
Potassium: 104mg,
Fiber: 2g,
Sugar: 32g,
Vitamin A: 374IU,
Calcium: 24mg,
Iron: 1mg
Nutrition information is automatically calculated, so should only be used as an approximation.
Like this? Leave a comment below!