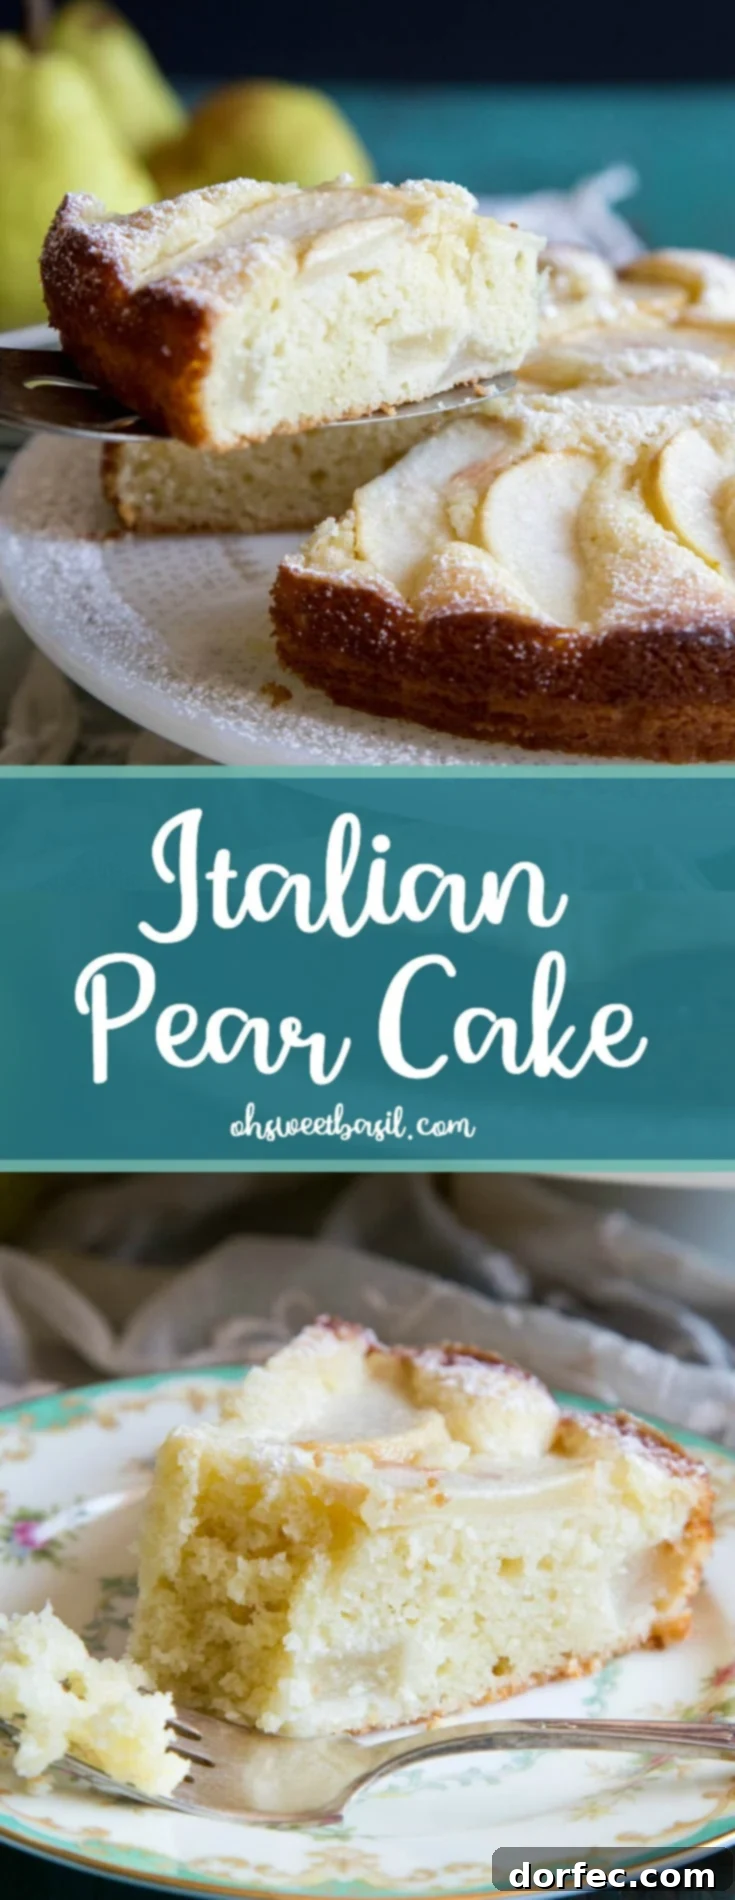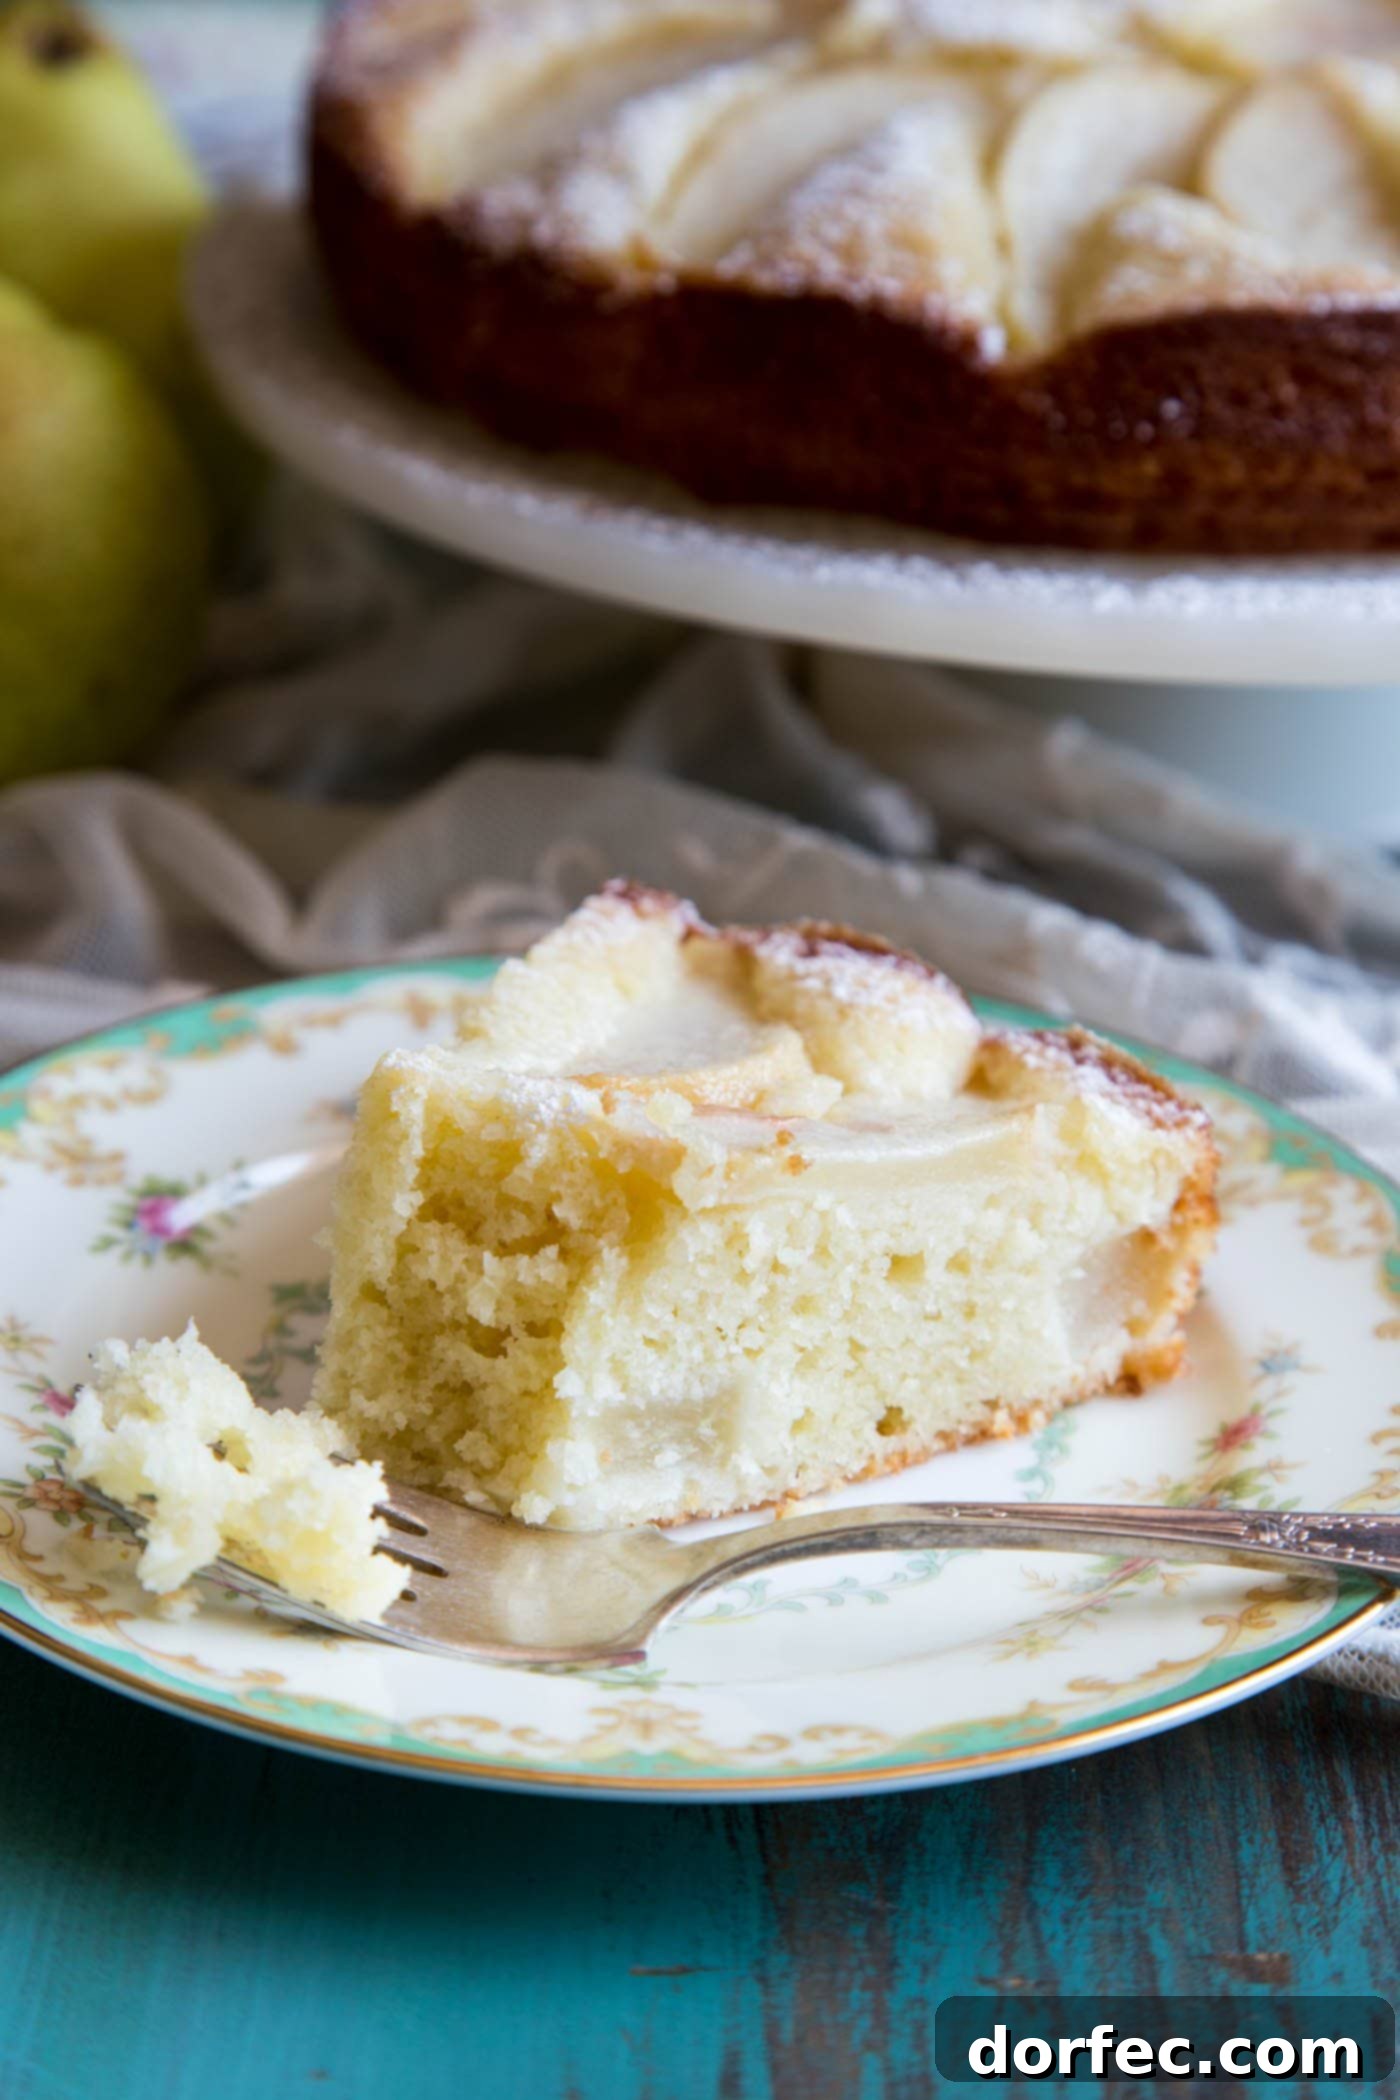
Indulge in the exquisite charm of an Easy Italian Pear Cake, a dessert that promises to transform your breakfast or snack time into a moment of pure bliss. This delightful creation marries the rich, velvety texture of mascarpone cheese with the tender, juicy sweetness of fresh pears, baked to golden perfection. Every bite is an invitation to smile, making it an ideal companion to your morning coffee or a comforting cup of hot cocoa.
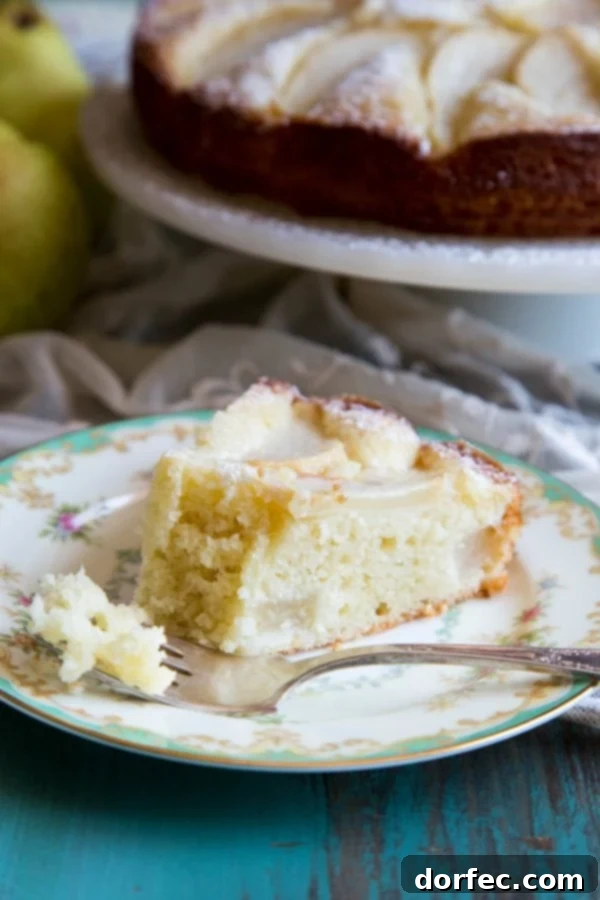
Often overshadowed by their more popular autumnal counterparts, pears are truly underrated seasonal fruits. However, with this extraordinary Italian Pear Cake, we’re setting out to change that perception, placing pears in the spotlight where they belong. This recipe elevates the humble pear, showcasing its unique sweetness and delicate fragrance. The secret to its exceptionally tender, moist crumb lies in the generous addition of creamy mascarpone cheese, an Italian dairy marvel that lends an unparalleled richness and subtlety to baked goods.
For those who, like us, have a profound appreciation for pears, you’ll know their versatility extends far beyond just desserts. Pears are a fantastic addition to various dishes, adding a natural sweetness and delightful texture. For a vibrant start to your day, consider blending a couple of ripe or even slightly overripe pears into a refreshing Pear Smoothie. For a lunch that perfectly balances savory and sweet, a Prosciutto and Pear Panini offers a delightful flavor combination. And, of course, no day is complete without a slice of this magnificent Mascarpone Pear Cake for dessert. It’s truly a pear lover’s dream come true, offering a comforting and elegant treat for any occasion.
Crafting the Perfect Italian Pear Cake with Mascarpone
Creating this Italian pear cake is a surprisingly straightforward process, yielding results that taste as though they came from a high-end Italian patisserie. The inclusion of mascarpone not only provides an incredibly tender texture but also imbues the cake with a subtle creaminess that complements the pears beautifully. Let’s dive into the details of making this delightful dessert.
Selecting the Best Pears for Baking
The choice of pear variety significantly impacts the texture and flavor of your baked cake. For baking, you want pears that are firm, crisp, and hold their shape well when cooked, preventing them from turning into mush. The ideal candidates are those that can withstand the heat of the oven while softening beautifully to a tender, juicy consistency.
- Anjou Pears: Known for their firm flesh and subtly sweet flavor, Anjou pears are an excellent choice for baking. They maintain their structure and offer a pleasant, delicate sweetness.
- Bosc Pears: With their distinct elongated neck, russeted skin, and firm, dense flesh, Bosc pears are another top contender. They have a spicier, more aromatic flavor that truly shines when baked, adding depth to the cake. Their ability to retain shape is exceptional.
- Bartlett Pears: While slightly softer than Anjou or Bosc, Bartlett pears can be used if you choose them at the right stage of ripeness—firm but not overly hard. Their classic sweet pear flavor is wonderful in baked goods. Be mindful not to use overly ripe Bartletts, as they may become too soft during baking.
- Comice Pears: These are very juicy and sweet, often preferred for eating fresh. While delicious, their softer texture means they might break down a bit more in a cake. If using Comice, ensure they are still quite firm.
Ultimately, the best pear for your Mascarpone Pear Cake is one you enjoy eating. Experiment with your favorites to discover the nuance each variety brings to this exquisite dessert. The goal is to achieve a tender, juicy pear throughout the cake that complements the rich, moist crumb.
Step-by-Step Guide to Baking Your Pear Cake
Follow these simple steps to create a show-stopping Italian Pear Cake:
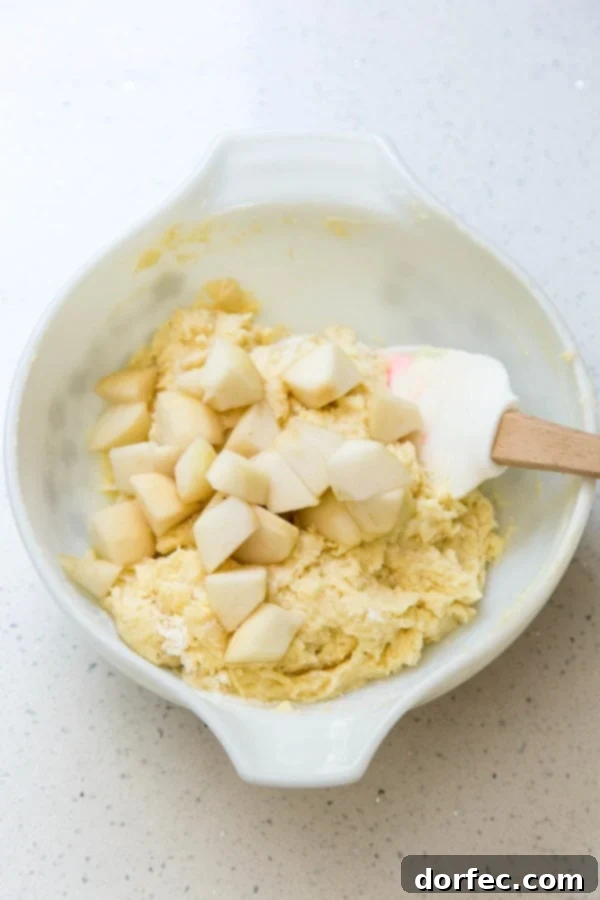
- **Prepare Your Pears:** Begin by carefully peeling and coring your chosen pears. Dice one pear into small, uniform cubes, which will be folded into the cake batter. Slice the second pear into elegant ⅛-inch thick pieces to arrange beautifully on top of the cake batter before baking. This dual preparation ensures pear flavor and texture in every layer of the cake.
- **Combine Wet and Dry Ingredients Separately:** In one mixing bowl, whisk together all your wet ingredients until smooth and well combined. In a separate, smaller bowl, thoroughly mix all your dry ingredients, ensuring even distribution of leavening agents and spices. This method helps prevent overmixing the batter, leading to a more tender cake.
- **Gently Fold in Diced Pears:** Once your cake batter is fully formed (after combining wet and dry ingredients), gently fold in the diced pear pieces. Be careful not to overmix at this stage; just enough to distribute the pears evenly throughout the batter. Overmixing can develop the gluten in the flour, resulting in a tougher cake.
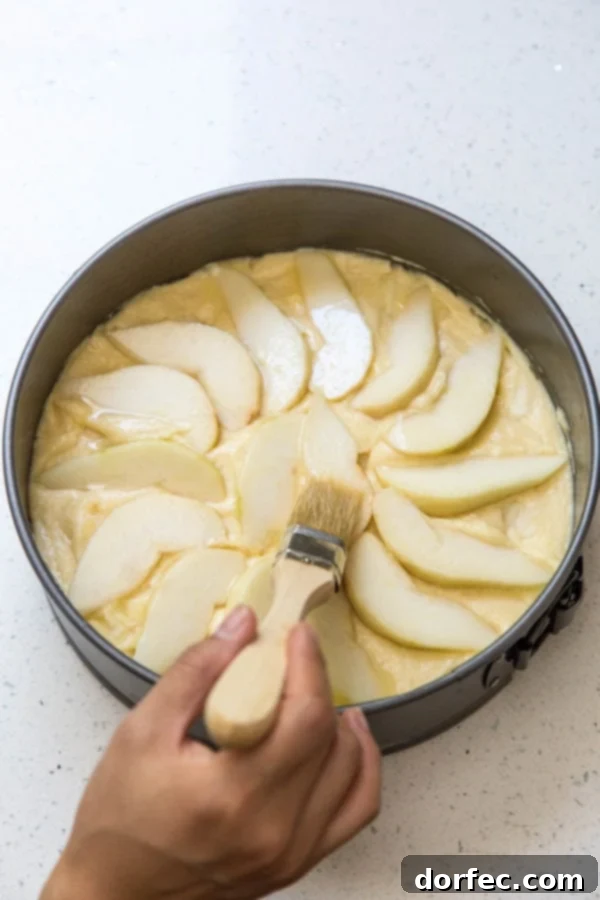
- **Prepare Your Cake Pan with Care:** Before adding your luscious cake batter, generously brush your cake pan with melted butter. This creates a non-stick surface and contributes to a beautiful golden crust. For an extra layer of protection against sticking, you can also line the bottom of the pan with parchment paper. Arrange the delicate pear slices on top of the batter in an attractive pattern. Then, lightly brush the pear slices with any remaining melted butter to prevent them from drying out in the oven and sprinkle them with a touch of reserved sugar for a lovely caramelized shine.
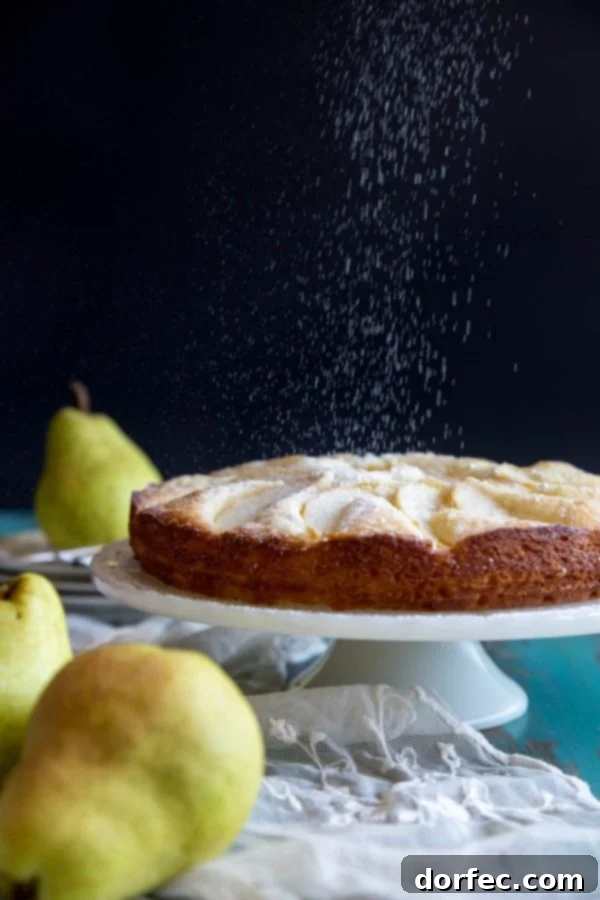
- **Bake to Perfection:** Preheat your oven to 350°F (175°C). Bake the cake for approximately 45 minutes. The cake is done when the top is a beautiful golden brown and a toothpick inserted into the center comes out clean or with only a few moist crumbs attached. Every oven varies, so keep an eye on it!
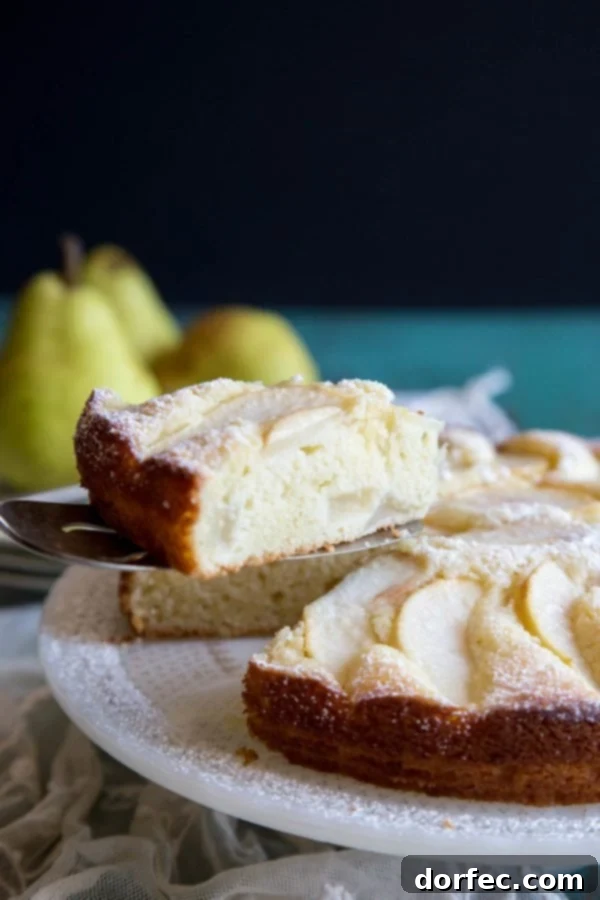
- **Cool Completely Before Unmolding:** This step is crucial for the structural integrity of your cake. Allow the cake to cool completely in the pan on a wire rack before attempting to unmold it. Cooling allows the cake to firm up, preventing it from breaking apart. Patience here is key for a flawless presentation.
Choosing the Right Pan for Your Pear Cake
The right pan makes all the difference, especially when you want a beautifully presented cake that releases easily. For this Italian Mascarpone Pear Cake, a few options work well, each with its own advantages.
- 9-inch Springform Pan: This is our top recommendation for its ease of use. A springform pan features sides that latch and detach from the base, allowing for effortless removal of delicate cakes without inversion or complicated maneuvers. This is particularly beneficial for a cake adorned with fruit on top, ensuring its presentation remains pristine.
- Regular 9-inch Cake Pan: If a springform pan isn’t available, a standard 9-inch round cake pan will work. However, you’ll need to be extra diligent with preparation. Ensure the pan is thoroughly buttered and floured, and consider lining the bottom with parchment paper for added security against sticking. You’ll need to invert the cooled cake onto a plate, then invert it again onto your serving platter.
- 8-inch Cake Pan: An 8-inch pan can also be used, but be aware that the cake will be thicker and may require an increased baking time. Expect to add an extra 5-10 minutes to the baking time to ensure it cooks through. Always check for doneness using the toothpick method.
Regardless of the pan size, proper preparation is key. Always butter the pan thoroughly to prevent sticking. For even greater assurance, line the bottom of the pan with parchment paper. This simple step can save you from a stuck cake disaster. Keep in mind that oven temperatures can vary, so always check your cake’s doneness a few minutes before the estimated baking time is complete to avoid over-baking and ensure a perfectly moist crumb.
Mastering Pear Preparation for Baking
Properly preparing your pears is fundamental to achieving the best possible results in your Italian Pear Cake. This involves not only selecting the right variety but also deciding on peeling and coring techniques that suit your preference and the recipe’s requirements.
To Peel or Not to Peel: A Pear-fect Dilemma
The question of whether to peel pears for baking is a common one, and the answer often comes down to personal preference and the desired texture. Pear skin is packed with beneficial nutrients and fiber, making it a healthy choice for fresh consumption.
However, when it comes to baking, many bakers, including us, opt to peel pears for a more uniform and consistently tender texture in the final product. Unpeeled pear skin can sometimes become slightly tough or chewy during baking, which might detract from the delicate, melt-in-your-mouth quality we aim for in a cake, tart, or bread pudding. For recipes like this Italian Pear Cake, a pear tart, or a pear bread pudding, peeling ensures every bite is smooth and uniform. That being said, if you prefer to leave the skin on for its nutritional benefits or a rustic aesthetic, the treats will still be incredibly delicious. It’s a matter of aesthetic and textual preference, not a strict rule.
Coring a Pear Without a Dedicated Corer
Don’t fret if you don’t own a specialized fruit corer! You can easily core pears (and apples) using tools you likely already have in your kitchen. Here are a couple of straightforward methods:
- **The Halving and Scooping Method:** Cut the pear in half lengthwise. Using a melon baller, a small spoon, or even a sturdy teaspoon, simply scoop out the fibrous core and any seeds from the center of each half. This method is quick and leaves a clean cavity.
- **The Quartering and Notching Method (Our Preference):** For maximum efficiency and minimal cleanup, quarter the pear lengthwise. Then, using a small paring knife, carefully cut a V-shaped notch from the inner edge of each quarter to remove the core and seeds. This technique is precise and means one less gadget to wash, aligning with our philosophy of simple, efficient baking.
Both methods are effective, so choose the one you find most comfortable and efficient for preparing your pears for this delightful cake.
More Irresistible Easy Cakes for Every Occasion
This Italian Pear Cake might sound sophisticated, but its creation is wonderfully uncomplicated, earning it a place among our favorite easy-to-bake desserts. Think of it as an elevated coffee cake, sans the streusel, making it versatile enough for any meal or mood. Its tender, fruit-laden crumb makes it equally delightful for a cozy breakfast alongside a cup of coffee or as an elegant dessert paired with a dreamy homemade hot chocolate. Who can resist a cake that serves double duty with such grace? If you’re searching for more simple yet spectacular cakes to grace your table, especially as the seasons change, here are some fantastic easy cake recipes perfect for autumn and beyond:
- Pumpkin Apple Spice Bundt Cake
- Cardamom Apple Coffee Cake
- Banana Coffee Cake
- Brown Sugar Cinnamon Bundt Cake
- Tangerine Olive Oil Cake
- Cinnamon Ripple Sweet Potato Bundt Cake
We absolutely love seeing your culinary creations! If you bake this wonderful Italian Pear Cake recipe, please share your photos with us. Tag us on Instagram @wildwildwhisk and @ohsweetbasil. Happy baking!
Italian Pear Cake
Carrian Cheney
10 minutes
45 minutes
55 minutes
10
Ingredients
-
2
Small Pears, ripe but firm -
3
oz
Unsalted Butter, melted, divided -
8
oz
Mascarpone, room temperature -
2
Large Eggs -
1
teaspoon
Pure Vanilla Extract -
1 ¼
Cup
All-Purpose Flour -
1 ¼
teaspoon
Baking Powder -
½
teaspoon
Kosher Salt -
⅔
Cup
Granulated Sugar, divided
Instructions
-
Preheat the oven to 350°F (175°C).
-
Peel and core the pears. Dice one pear into bite-size cubes and cut the second one into ⅛” slices. Set aside.2 Small Pears
-
Melt butter in the microwave for 30 – 40 seconds. Brush a 9” springform cake pan with some melted butter. Reserve about 1 teaspoon to brush on the pears later.3 oz Unsalted Butter
-
Add the remaining melted butter to a medium mixing bowl along with mascarpone, eggs, and vanilla extract. Beat with a whisk until smooth.3 oz Unsalted Butter,
8 oz Mascarpone,
2 Large Eggs,
1 teaspoon Pure Vanilla Extract -
In a small mixing bowl, add flour, baking powder, salt, and sugar. Reserve about 1 teaspoon of sugar to sprinkle on top later. Mix the dry ingredients together with a whisk until evenly distributed.1 ¼ Cup All-Purpose Flour,
½ teaspoon Kosher Salt,
1 ¼ teaspoon Baking Powder,
⅔ Cup Granulated Sugar -
Add the dry ingredient mixture to the wet ingredient in the medium mixing bowl and fold with a spatula until combined. Fold the diced pears into the batter.
-
Transfer cake batter into the prepared cake pan, use the spatula to flatten the top down. Add sliced pears on the top. Brush pears with the reserved butter and sprinkle the reserved sugar over the top.
-
Bake for 45 minutes until the top is light brown and an inserted toothpick in the middle comes out clean with just a few crumbs on it.
-
Allow cake to cool completely before unmolding from the cake pan.
Recipe Notes
Nutrition
Serving:
1
slice
,
Calories:
306
kcal
,
Carbohydrates:
31
g
,
Protein:
5
g
,
Fat:
18
g
,
Saturated Fat:
11
g
,
Polyunsaturated Fat:
1
g
,
Monounsaturated Fat:
2
g
,
Trans Fat:
1
g
,
Cholesterol:
74
mg
,
Sodium:
143
mg
,
Potassium:
124
mg
,
Fiber:
2
g
,
Sugar:
17
g
,
Vitamin A:
586
IU
,
Vitamin C:
2
mg
,
Calcium:
66
mg
,
Iron:
1
mg
Nutrition information is automatically calculated, so should only be used as an approximation.
Like this? Leave a comment below!