
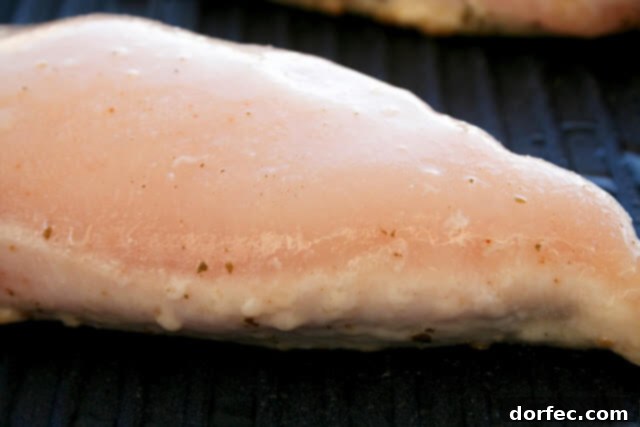
Mastering the Art of Pan-Seared Chicken: Achieve Crispy Skin and Juicy Perfection
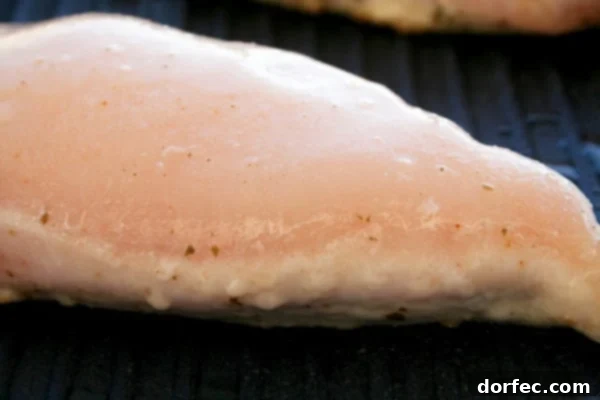
Achieving that coveted golden-brown, crispy skin on chicken while ensuring the meat remains incredibly moist and tender is a culinary quest many home cooks embark on. Far too often, the pursuit of a perfect crust leads to an unpleasantly dry interior. But what if we told you there’s a foolproof method to bypass this common dilemma? This comprehensive guide will walk you through a clever, two-phase pan-searing technique that guarantees a succulent chicken dish with an irresistible, crackling skin every single time. Prepare to elevate your chicken dinners from good to absolutely extraordinary!
Why This Hybrid Method Is Your Secret Weapon for Perfect Chicken
Traditional pan-searing often demands a delicate balance of heat and timing, where overcooking by even a minute can result in dry, tough chicken. Our innovative approach minimizes this risk by leveraging two distinct cooking methods: an initial gentle bake followed by a quick, high-heat pan-sear. The baking phase ensures the chicken cooks through evenly and slowly to a safe, yet not fully done, internal temperature. This pre-cooking prevents the meat from drying out during the intense searing process. The subsequent pan-sear then focuses solely on developing that desired crispy, flavorful crust without worrying about the internal doneness, as most of the cooking is already handled. This hybrid technique dramatically increases your chances of culinary success, delivering consistently moist chicken with an enviable, deeply caramelized skin.
Essential Ingredients You’ll Need
While the technique is sophisticated, the ingredients are delightfully simple, allowing the natural flavors of the chicken to shine. Quality ingredients make a noticeable difference in the final outcome.
- Chicken Pieces: Bone-in, skin-on chicken thighs or breasts are ideal for this method, as the skin protects the meat and crisps up beautifully. Boneless, skinless cuts can also be adapted, but the skin is key for the crispy texture we’re aiming for. Ensure pieces are roughly uniform in size for even cooking.
- Kosher Salt: Essential for seasoning. Its larger crystals adhere well to the chicken and provide excellent flavor. Freshly ground black pepper is also a welcome addition.
- Cooking Oil with a High Smoke Point: Olive oil or butter can burn easily at high temperatures. Opt for oils like avocado oil, grapeseed oil, canola oil, or refined vegetable oil.
- Egg: Just one egg, lightly beaten, forms the base of our crispy coating.
- All-Purpose Flour: A small amount (about 1 teaspoon) helps bind the coating and contributes to browning.
- Cornstarch: Another small amount (about 1 teaspoon) is the secret ingredient for an extra-crispy, shatteringly good crust.
Necessary Equipment for Pan-Seared Perfection
Having the right tools on hand will streamline your cooking process and contribute to better results.
- Baking Dish: A ceramic or glass baking dish, large enough to hold your chicken pieces in a single layer without overcrowding.
- Aluminum Foil: To cover the baking dish during the initial baking phase, trapping moisture.
- Paper Towels: Crucial for thoroughly patting the chicken dry before searing. This step is non-negotiable for crispy skin.
- Heavy-Bottomed Skillet: Cast iron or stainless steel skillets are excellent choices. Their ability to retain and distribute heat evenly is vital for consistent searing. Avoid non-stick pans as they typically cannot withstand the high heat required for a deep sear.
- Pastry Brush: Or a small silicone brush for applying the egg and starch mixture.
- Instant-Read Meat Thermometer: The most important tool for ensuring food safety and perfectly cooked, juicy chicken. Never guess the internal temperature!
- Tongs: For safely flipping and handling the chicken in the hot pan.
Step-by-Step Guide to Pan-Searing Chicken Perfection
Follow these detailed steps, and you’ll be rewarded with the best pan-seared chicken of your life.
Phase 1: The Initial Bake for Tenderness
- Preheat Your Oven: Start by preheating your oven to a relatively low temperature, around 300°F (150°C). This gentle heat is key to slowly bringing the chicken up to temperature without drying it out.
- Prepare the Chicken: Remove your chicken pieces from their packaging and pat them thoroughly dry with paper towels. This removes excess surface moisture, which is important even before baking, as it allows for better seasoning adhesion.
- Season Generously: Using a fork, gently poke the thickest part of each chicken piece a few times. This helps the salt penetrate deeper, seasoning the meat from within. Then, sprinkle both sides of the chicken generously with kosher salt. Don’t be shy; the salt will enhance the flavor of the entire dish. Optionally, add black pepper or other desired seasonings.
- Arrange and Bake: Place the seasoned chicken pieces in a single layer in your baking dish. Cover the dish tightly with aluminum foil. This creates a steamy environment that helps the chicken cook through gently and retain moisture.
- Initial Bake: Transfer the covered baking dish to the preheated oven. Bake for approximately 25-35 minutes, or until an instant-read meat thermometer inserted into the thickest part of the chicken (without touching bone) registers an internal temperature of 145°F (63°C). The exact time will vary depending on the size and thickness of your chicken pieces. This is a crucial step; we’re undercooking it slightly in the oven because it will finish cooking in the pan.
- Rest and Dry (Again!): Carefully remove the baking dish from the oven. Uncover the chicken and let it rest for 5-10 minutes. This allows some carryover cooking and redistributes juices. Most importantly, use fresh paper towels to pat the chicken pieces *extremely* dry on all sides, especially the skin. Any remaining moisture is the enemy of crispiness!
Phase 2: The Secret to a Golden, Crispy Crust
- Prepare the Crisping Mixture: In a small bowl, lightly beat one egg. Add about 1 teaspoon of all-purpose flour and 1 teaspoon of cornstarch to the egg. Whisk vigorously until the mixture is smooth and lump-free. This combination of ingredients creates a thin, almost invisible coating that browns beautifully and ensures an unbelievably crispy crust.
- Heat the Skillet: Place your heavy-bottomed skillet over medium-high heat. Add 1-2 tablespoons of high smoke point oil to the pan. Allow the oil to heat until it shimmers and just begins to smoke lightly. A properly heated pan is essential for a good sear.
- Apply Coating and Sear First Side: Using a pastry brush, lightly brush one side of each chicken piece with the egg and starch mixture. Place the chicken, coated-side down, into the hot skillet. Make sure not to overcrowd the pan; cook in batches if necessary. Sear for approximately 3-5 minutes, undisturbed, or until a deep golden-brown, crispy crust forms. Resist the urge to peek or move the chicken too early!
- Flip and Finish Searing: Once the first side is beautifully browned, brush the uncooked side of the chicken with the remaining egg and starch mixture. Carefully flip the chicken pieces using tongs. Continue to sear for another 3-5 minutes, or until the second side is equally golden and crispy, and the internal temperature reaches a safe 165°F (74°C). Use your instant-read thermometer to verify.
- Rest the Chicken: Once cooked through, transfer the pan-seared chicken to a clean plate or cutting board. Tent it loosely with foil and allow it to rest for at least 5-10 minutes before serving. This resting period is crucial for the juices to redistribute throughout the meat, resulting in exceptionally moist and flavorful chicken.
Pro Tips for Pan-Seared Chicken Perfection
Enhance your pan-searing game with these expert recommendations:
- Don’t Skimp on Seasoning: Chicken needs generous seasoning. Beyond salt and pepper, consider garlic powder, onion powder, paprika, or your favorite poultry blend.
- Room Temperature Chicken: For more even cooking, let your chicken sit out for 20-30 minutes before baking.
- Monitor Pan Temperature: If your pan starts smoking excessively, the heat is too high. Reduce it slightly. If the crust isn’t browning, increase the heat. Adjust as needed.
- Deglaze for a Sauce: After removing the chicken, you’ll have delicious browned bits (fond) stuck to the bottom of the pan. Deglaze with a splash of white wine, chicken broth, or even a little lemon juice, scraping up the fond with a wooden spoon. Whisk in a knob of butter and fresh herbs for a quick pan sauce.
- Don’t Overcrowd the Pan: Give each piece of chicken enough space to breathe. Overcrowding lowers the pan temperature and steams the chicken instead of searing it, leading to soggy skin.
Common Mistakes to Avoid
Even with a great method, some pitfalls can hinder perfection. Be mindful of these:
- Not Patting Dry Enough: This is the number one enemy of crispy skin. Moisture creates steam, preventing the skin from crisping and browning properly.
- Not Preheating the Pan Properly: A cold pan will result in chicken that sticks and doesn’t develop a good crust.
- Flipping Too Early: Let the chicken develop a solid crust before flipping. If it sticks, it usually means it’s not ready to be flipped.
- Overcooking: Rely on your thermometer. Chicken cooked past 165°F (74°C) will become dry, regardless of the searing technique.
- Using the Wrong Oil: Butter or extra virgin olive oil are not suitable for high-heat searing as they have low smoke points and will burn, imparting a bitter flavor.
Serving Suggestions and Variations
Perfectly pan-seared chicken is versatile and pairs wonderfully with a variety of sides:
- Classic Sides: Mashed potatoes, roasted vegetables (asparagus, broccoli, carrots), a simple green salad, or rice pilaf.
- Mediterranean Twist: Serve with a fresh cucumber and tomato salad, couscous, and a drizzle of tzatziki sauce.
- Asian-Inspired: Use ginger and garlic powder in your seasoning, and serve with stir-fried noodles or steamed bok choy.
- Herb Variations: Add dried herbs like thyme, rosemary, or oregano to your salt seasoning mix.
- Spicy Kick: Incorporate a pinch of cayenne pepper or chili powder into your seasoning for a subtle heat.
Conclusion: Your Journey to Juicier, Crispier Chicken Starts Now
Say goodbye to dry, uninspiring chicken dinners! With this hybrid baking and pan-searing method, you now possess the knowledge and technique to consistently create chicken that is moist, flavorful, and boasting an irresistibly crispy skin. It’s a game-changer for weeknight meals and special occasions alike. Don’t be intimidated; the process is straightforward, and the results are truly spectacular. Grab your skillet, follow these steps, and prepare to impress yourself and your loved ones with the perfect pan-seared chicken. Happy cooking!