
Unlocking the Secrets of Color Drenching: A Complete Guide
Color drenching is a revolutionary interior design technique that involves painting all surfaces – walls, trim, doors, and even ceilings – in a single, unified color. This creates a cohesive and immersive environment that can dramatically transform the look and feel of any room. While seemingly simple, mastering the art of color drenching requires careful consideration and adherence to certain guidelines. This comprehensive guide will explore the essential dos and don’ts of color drenching, empowering you to confidently implement this trend in your own home and achieve stunning results.
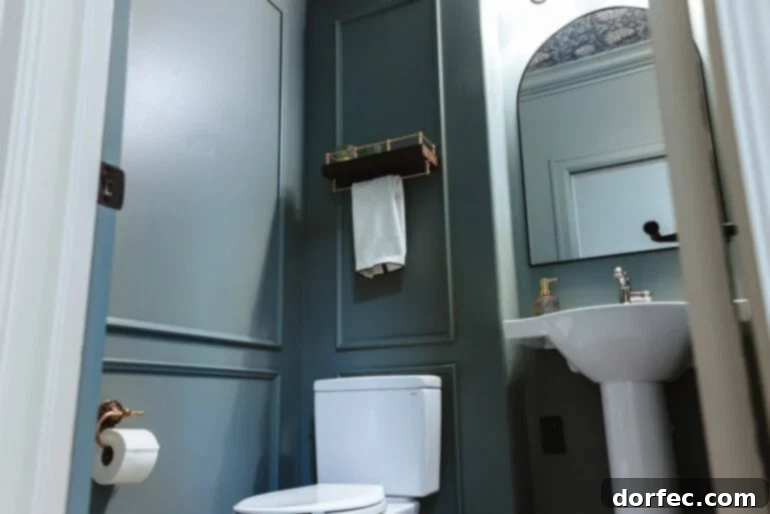
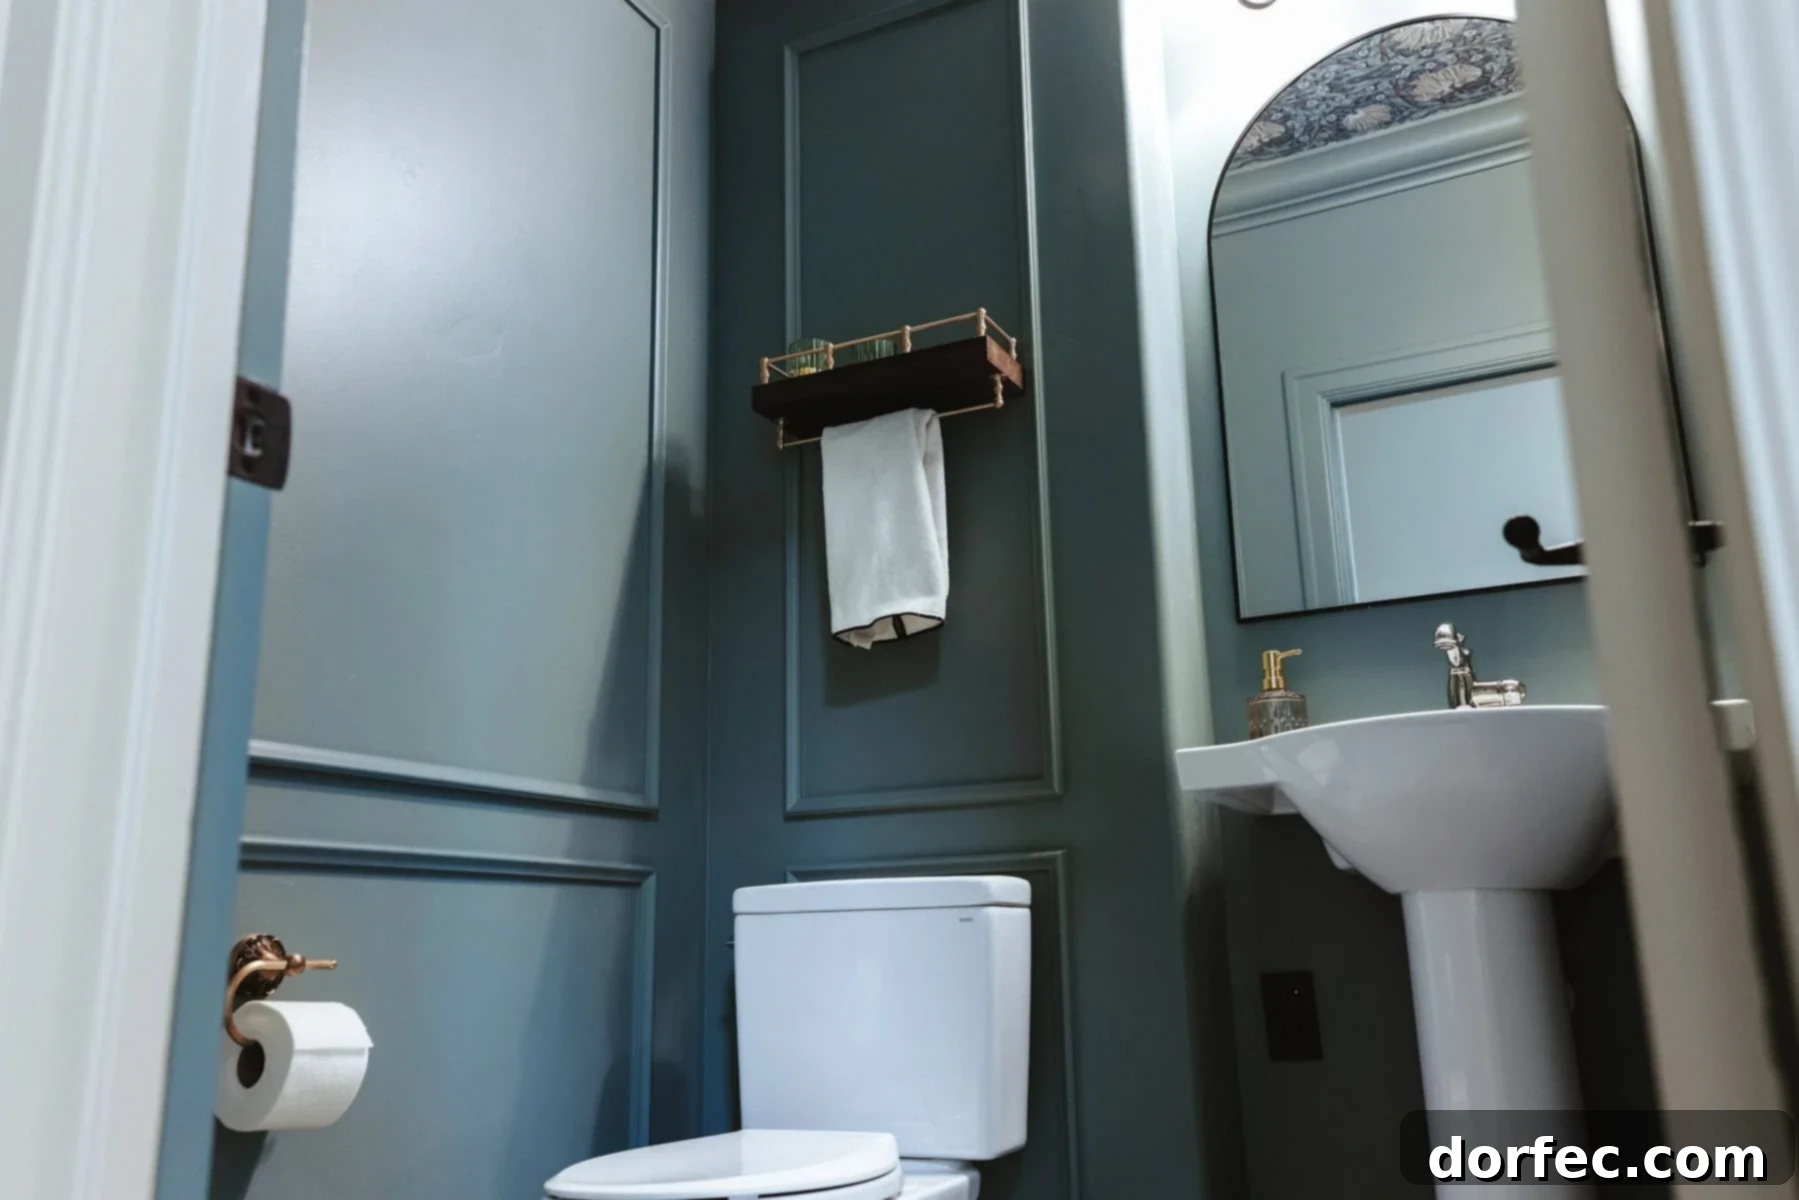
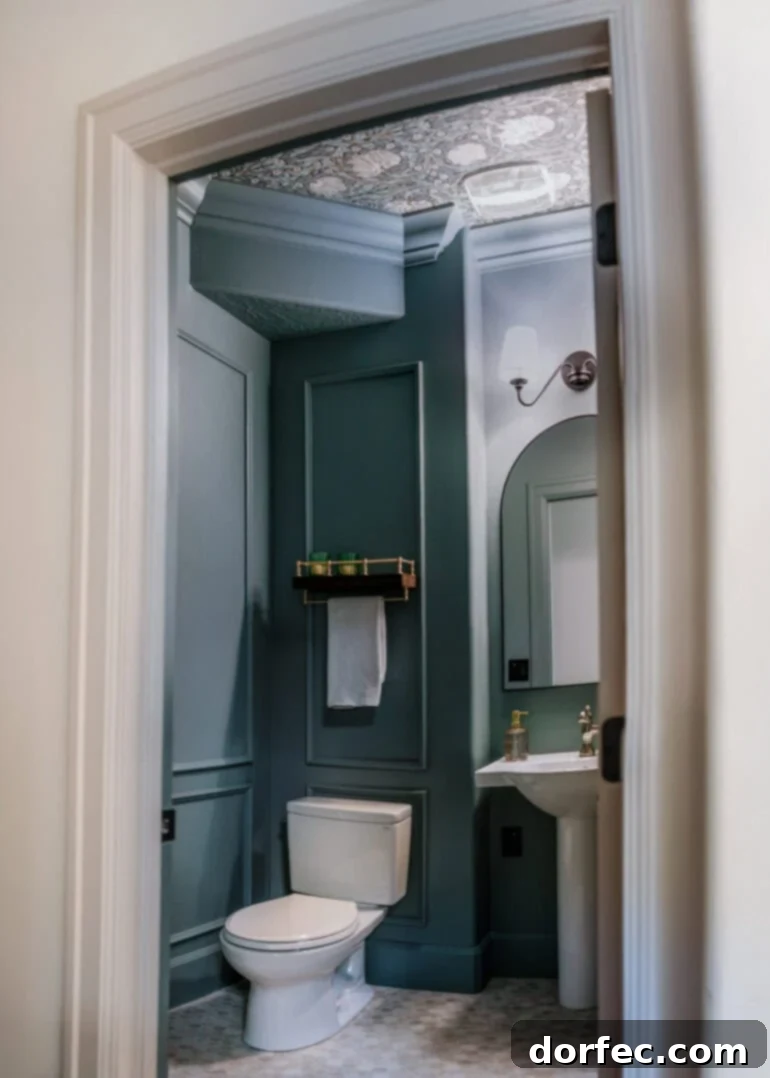
The allure of natural light was paramount when we first acquired our home. Abundant windows filled the space, and while we envisioned certain modifications, such as adding an ensuite bathroom, preserving the light was our primary concern. However, home renovation projects rarely unfold as initially planned. The addition of a kitchen pantry inadvertently led to the need for a main-floor half bath. Consequently, we repurposed unused hallway space to create a powder room, which ultimately became the perfect canvas for experimenting with the color drenching technique.
The Dos of Color Drenching: Elevating Your Space with Nuance
Do Color Drench Walls with Picture Frame Moulding
Embarking on a color drenching project is a bold statement, instantly lending a curated and sophisticated aura to any space. However, relying solely on flat paint on flat walls can result in a somewhat monotonous and underwhelming effect. Integrating architectural details, such as picture frame moulding, is crucial for adding depth and visual interest to the room.
Highlighting architectural details is a key advantage of color drenching. The addition of moulding introduces depth and character, transforming a potentially boring room into a visually engaging and curated space. The interplay of light and shadow on the moulding creates subtle nuances that enhance the overall aesthetic appeal.
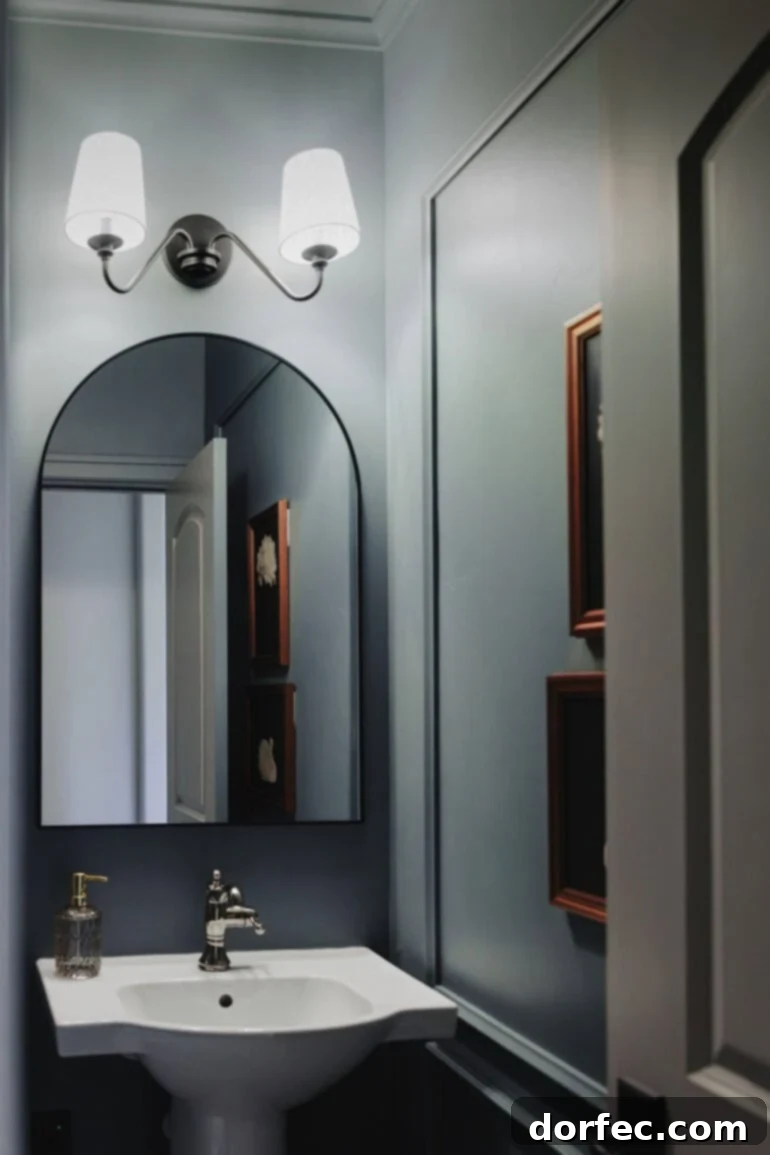
Consider investing in high-quality architectural moulding to save time, effort, and potential frustration. Sourcing moulding can be surprisingly challenging, with online availability often differing from actual stock. After encountering difficulties in our previous projects, we discovered Luxe Architectural Moulding, and it proved to be an exceptional solution. The moulding arrived pre-cut and ready for installation, featuring a convenient peel-and-stick backing. The entire process, including paint preparation, took less than 30 minutes for our small powder bath.
The Don’ts of Color Drenching: Avoiding Common Pitfalls
Don’t Try to Color Drench Open Layouts
While color drenching can be incredibly effective in defined spaces, it is generally not recommended for open-concept layouts. The inherent challenge lies in determining where to begin and end the designated color zones. Attempting to drench spaces where one room seamlessly flows into another can lead to a disjointed and visually confusing result.
Instead, focus on single-room spaces such as bedrooms, bathrooms, offices, and home theaters. Entering a room that was previously hidden from view, now completely enveloped in a single color, creates a captivating and memorable experience, adding a touch of vibrancy and personality to your home.
Elevating Color Drenching with Wallpaper
Do Add Wallpaper
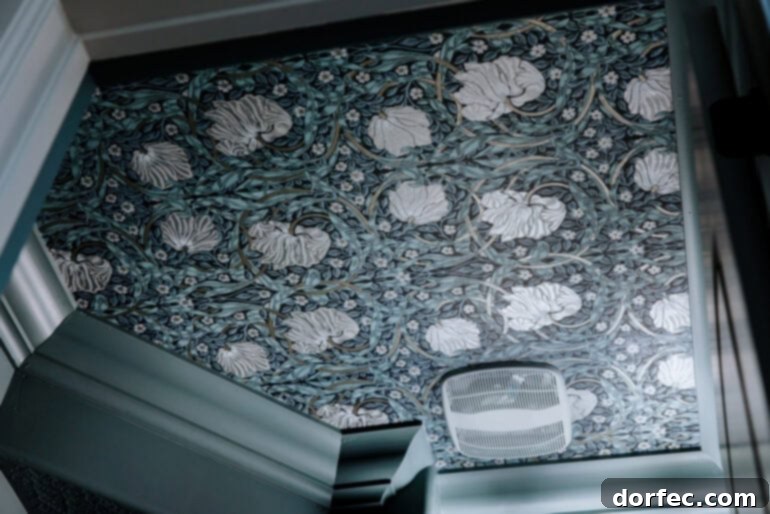
Color drenching and wallpaper are a match made in design heaven, complementing each other perfectly to create a truly stunning visual impact. Consider incorporating wallpaper between moulding, creating an accent wall, or taking a bold approach by wallpapering the ceiling, as we did. The possibilities are endless, allowing you to tailor the design to your individual taste and style.
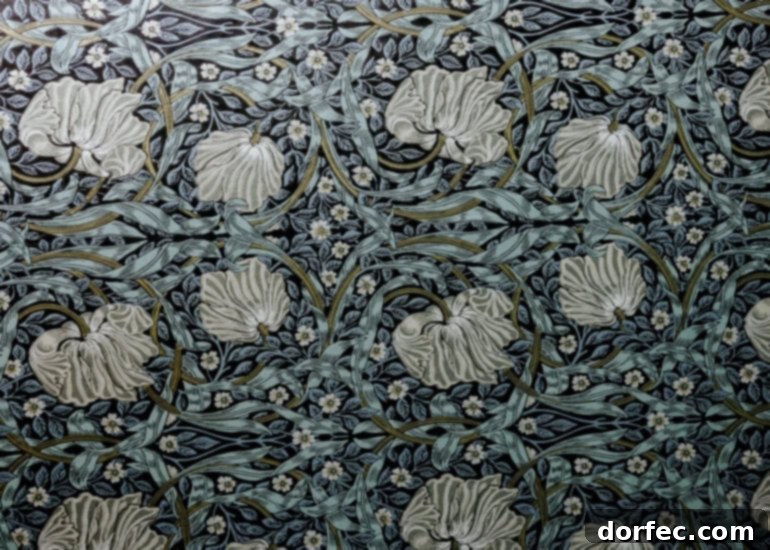
We partnered with Wallpaper Direct to source a specific wallpaper that we couldn’t find anywhere else. The experience was so positive that a friend even chose the same wallpaper for her entire dining room! The results were breathtaking, and I’ve since become captivated by exploring their extensive collection for fresh design ideas. We ultimately selected the Pimpernel in Charcoal, which added a touch of sophistication and depth to our color drenched space.
Challenging Conventions: Size and Color Choices
Do Large and Small Spaces
Discard the outdated notion that small spaces necessitate light colors. This is simply not true. Color drenching can be equally effective in both small and large spaces, imparting a sense of coziness without feeling claustrophobic. The color we chose, “Night Train” by Benjamin Moore, perfectly illustrates this point, creating a welcoming and intimate atmosphere in our powder room.
The Importance of Detail: Don’t Overlook the Door
Don’t Skip the Door!
Resist the temptation to leave doors the same color as the rest of the house. Color drenching, by definition, entails painting everything, including the door. However, the treatment of the door and its edges requires careful consideration. Paint the interior of the door the same color as the room it serves. When the door is opened, the edge visible from within the color drenched room should also be painted in the same color.
The door edge should always match the color of the room the door swings into. This ensures visual consistency whether the door is open or closed. Don’t forget to examine the edge with the hinge; that color should correspond to the hallway it now faces. For a visual demonstration, refer to this short video on color drenching doors.
Adding Texture and Visual Breaks: Finishing Touches
Do Add Small Touches
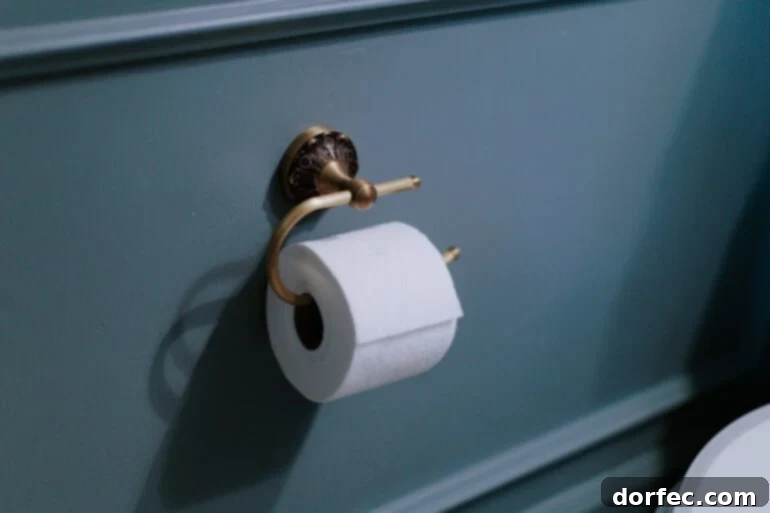
Incorporate elements of wood, metal, and other textures to break up the monotony of the paint. We opted for beautiful walnut shelves, enhanced with authentic brass railings for a touch of elegance. Avoid settling for imitation products online, as they often appear cheap and are prone to breaking. Investing in genuine materials is well worth the cost.
We discovered The Brass Addict online and have observed its growing popularity as a premier source for all things brass. Stay tuned, as you will soon see it featured prominently in another room in our home!
For more inspiration and visual examples, be sure to visit our Instagram channel, where we share videos of our projects and design explorations.