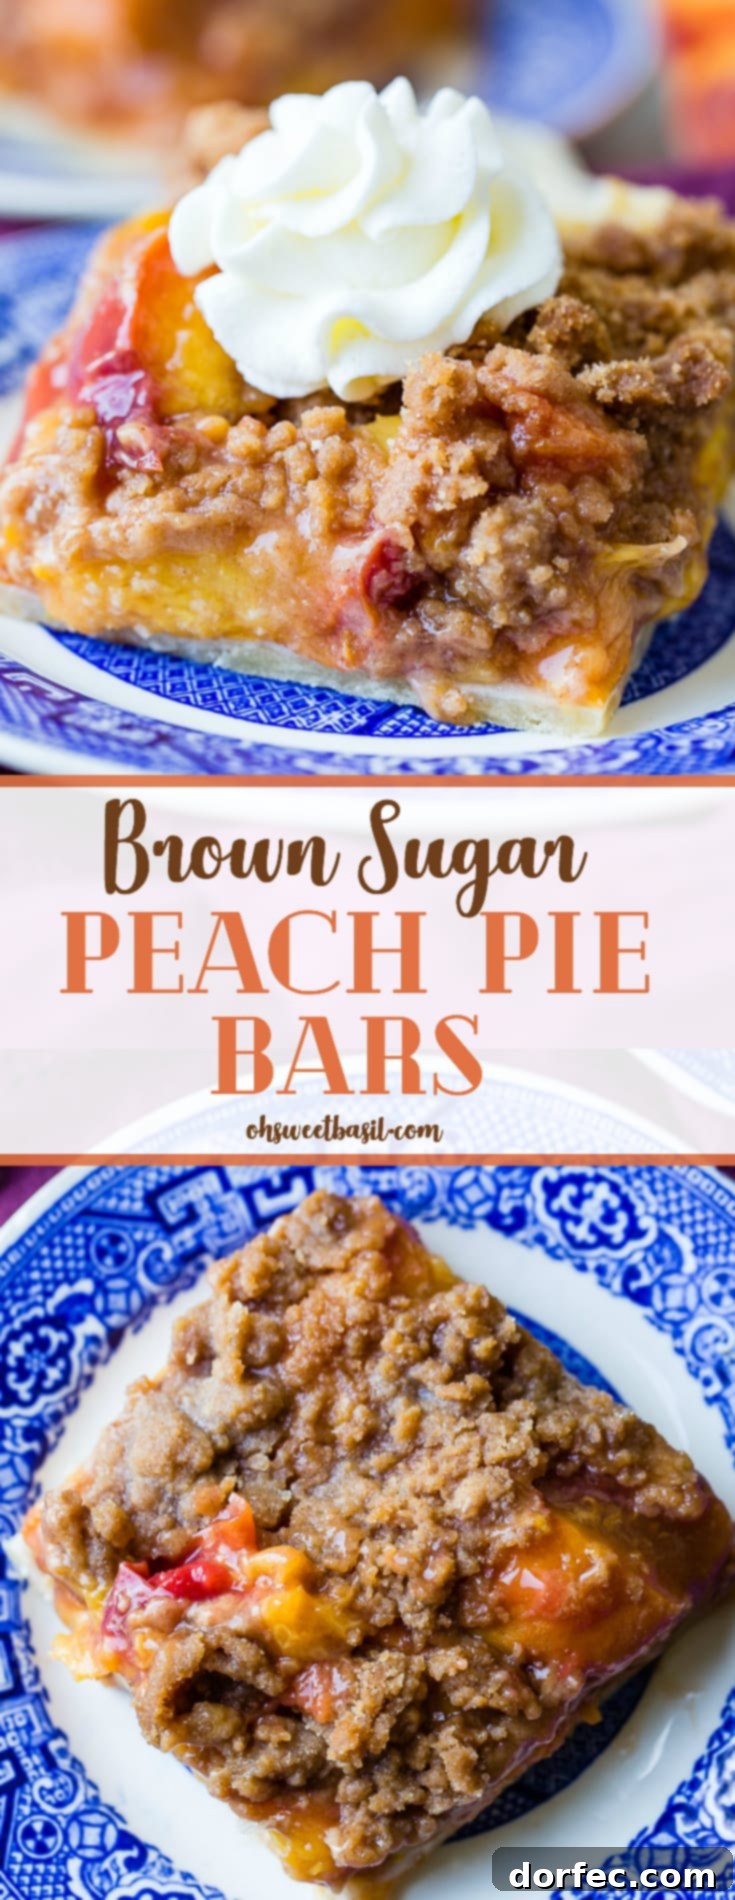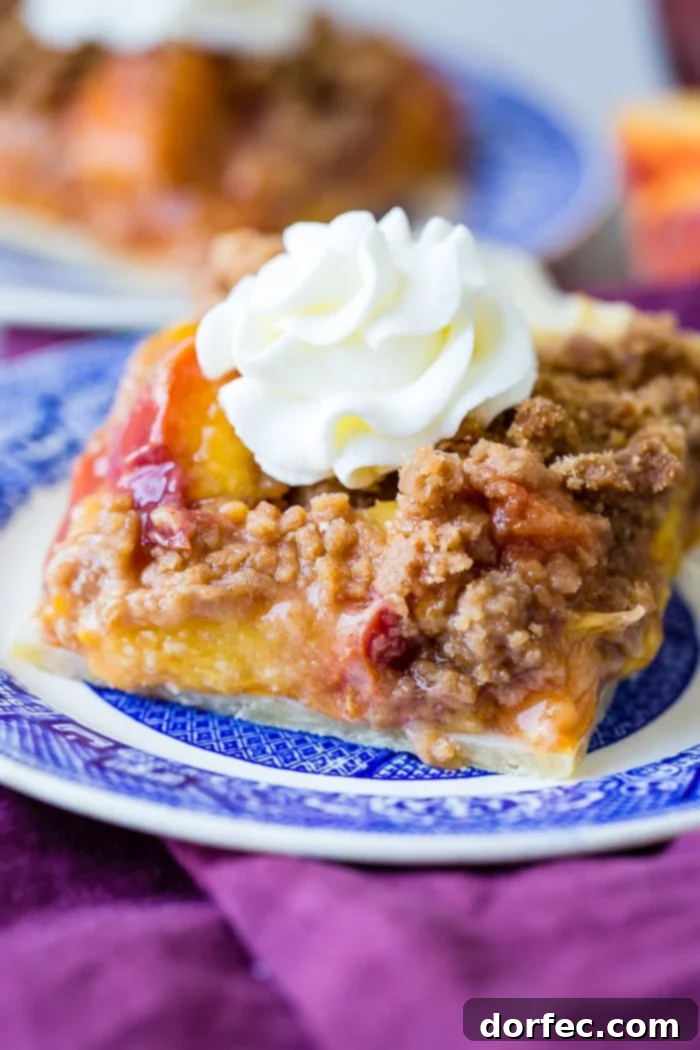
For anyone who has ever felt intimidated by the delicate art of pie making, this recipe is your ultimate kitchen savior. Dive into the world of effortless baking with these incredible Brown Sugar Peach Pie Bars. Crafted easily in a simple cake pan, they eliminate the need for complicated crust crimping, yet deliver every bit of that beloved homemade peach pie flavor and flaky texture. Prepare to be amazed by how wonderfully simple and utterly delicious these bars turn out, transforming any pie-related apprehension into pure baking joy.
Embracing Summer with Irresistible Brown Sugar Peach Pie Bars
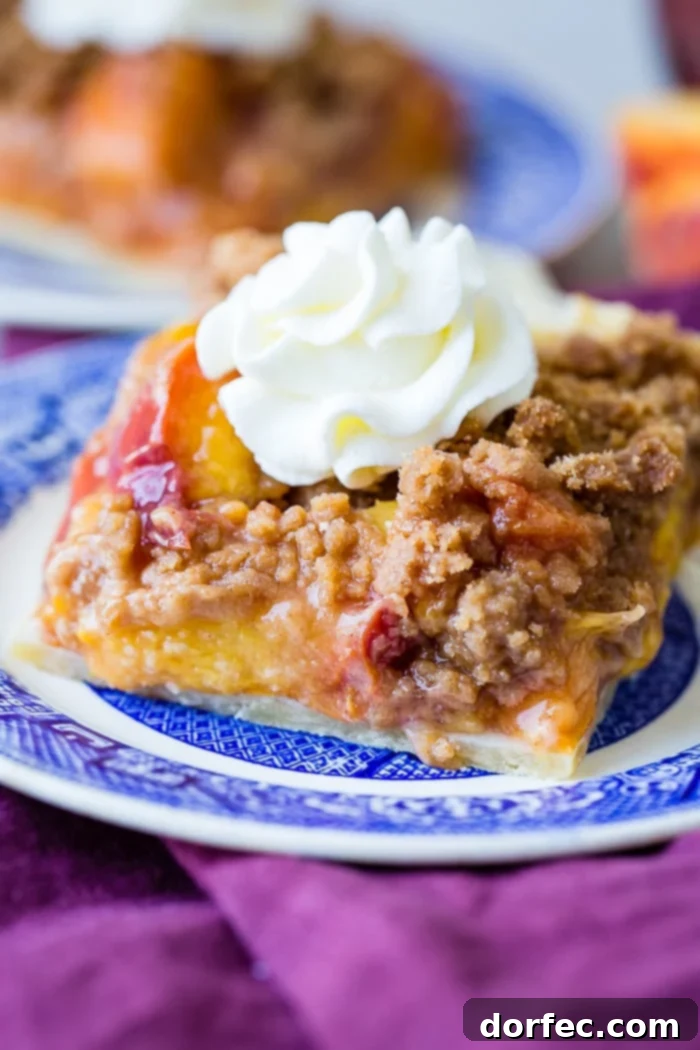
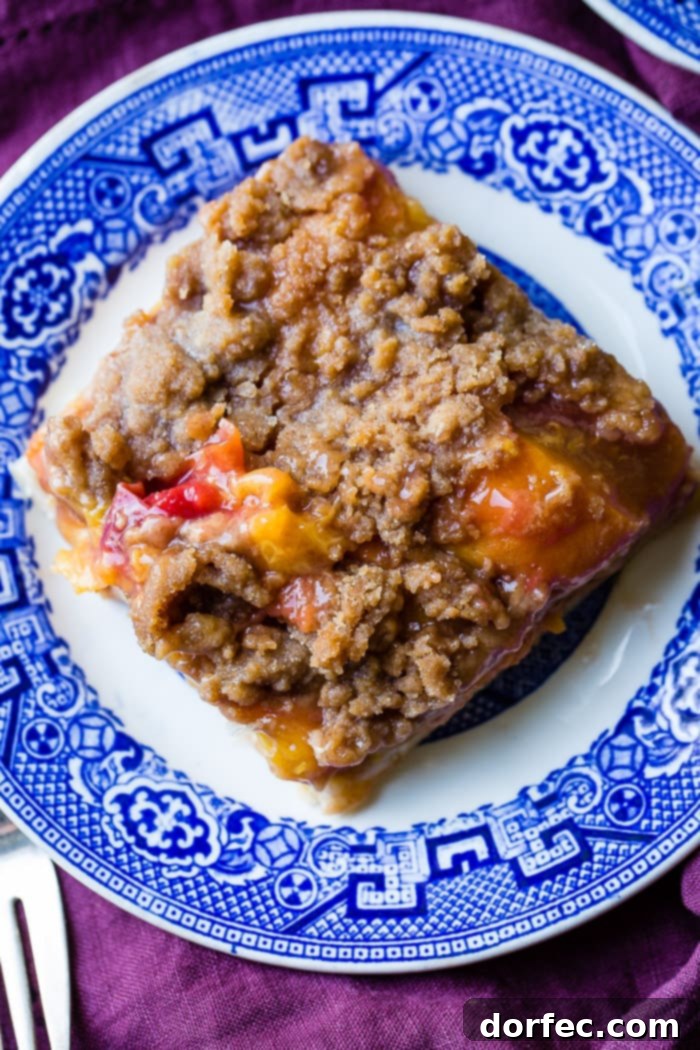
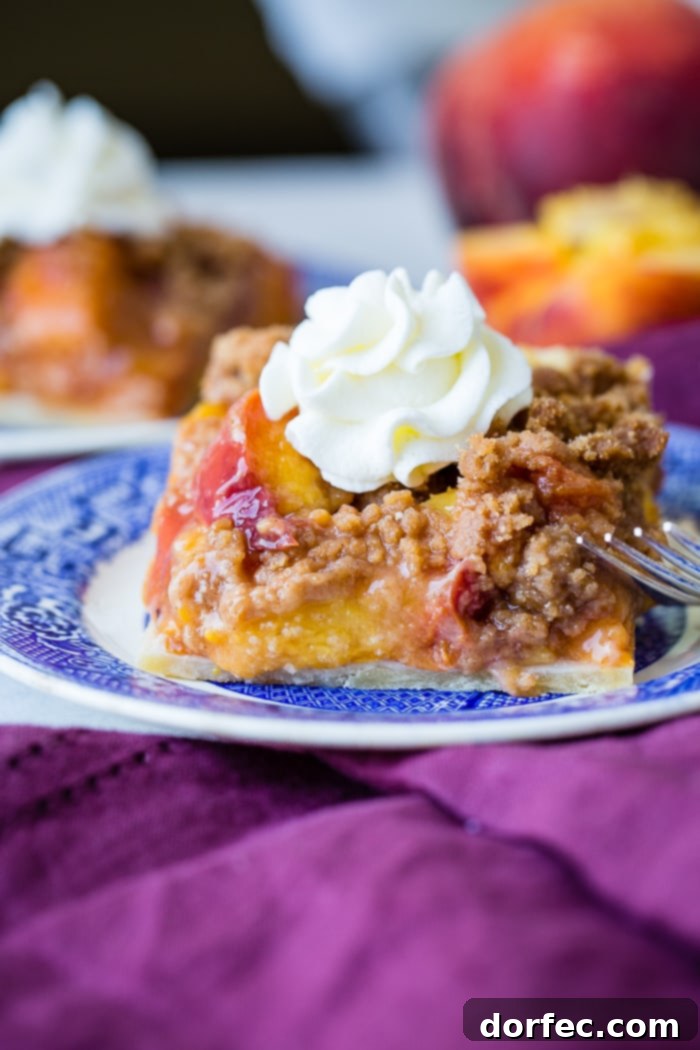
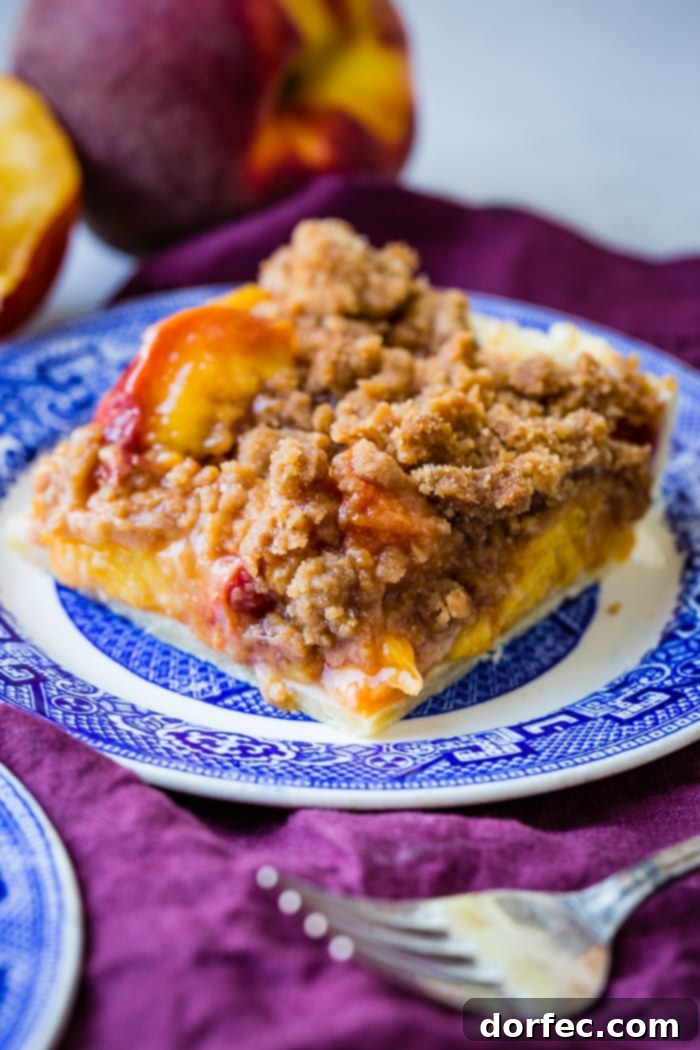
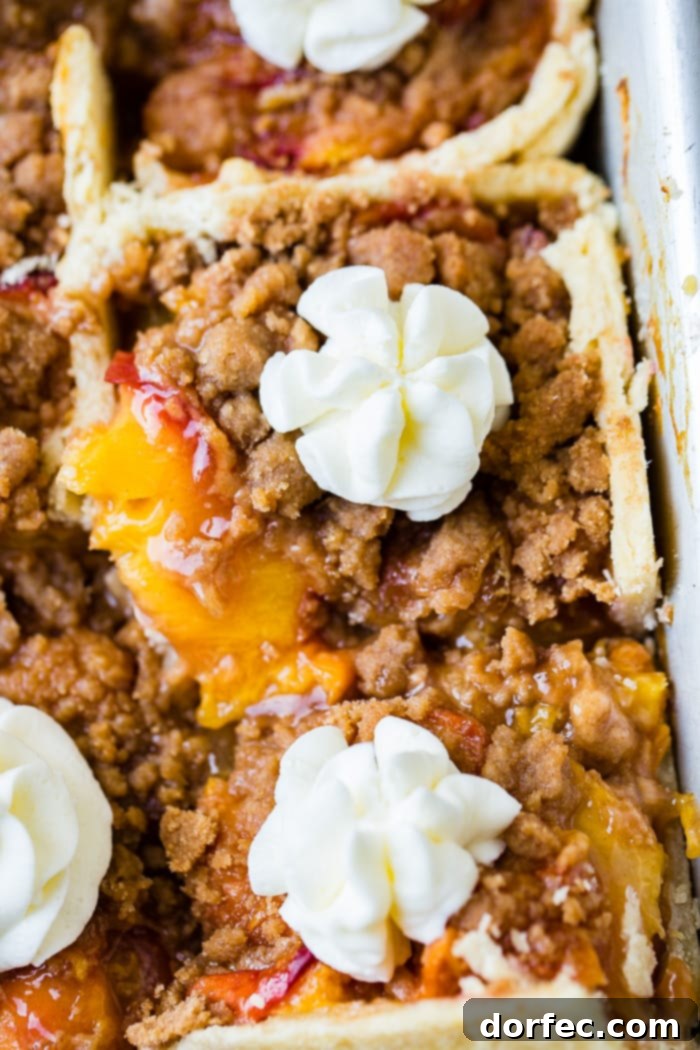
What truly embodies the essence of summer more than a luscious dessert featuring peak-season peaches? Our Brown Sugar Peach Pie Bars recipe not only captures the vibrant flavors of summer but also boasts an undeniably beautiful appearance. Just look at those succulent, juicy peaches, bursting with natural sweetness and hints of red, maroon, and purple peeking through. Paired with a delightful crumble topping and a perfectly flaky pie crust base, these bars evoke images of sun-drenched days, backyard barbecues, and cherished moments shared with loved ones. It’s the quintessential summer treat, designed to be easy to make and even easier to devour.
Growing up, fresh peaches from local farms were a highlight of our summers. Even in regions like Vancouver, Washington, where sunshine isn’t always abundant, we eagerly anticipated the arrival of fantastic peaches by late summer or early fall. The sheer excitement when Mom returned home with buckets full was palpable. It wasn’t just canning season; it was an opportunity to enjoy fresh, sun-ripened peaches in countless ways, making every bite a nostalgic journey back to childhood.
The Quest for the Best Peach Dessert: Beyond Traditional Pie
Many home bakers often wonder, “What is the best peach pie recipe?” While this recipe is presented in a convenient bar form, its incredible flavor profile and texture make it a strong contender for the title. Imagine transforming these bars into a traditional pie by simply transferring the filling and topping to a pie dish! Whether you opt for a classic pastry lattice or this delightful crumble, you’ll achieve an outstanding peach pie experience.
However, the world of peach desserts is vast and wonderful. While our Brown Sugar Peach Pie Bars hold a special place in our hearts, we also have other beloved peach recipes worth exploring:
- Sour Cream Peach Pie: This is genuinely one of the best fruit pie recipes we’ve ever tasted or created. It features a familiar topping but an entirely unique and utterly magical filling.
- Lemon Jello Peach Pie: Exceptionally fresh and light, this pie makes you feel like you can indulge in another slice without a second thought. It’s a delightful, airy alternative.
Understanding the Difference: Pie, Cobbler, and Crisp
The terms “peach pie,” “peach cobbler,” and “peach crisp” are often used interchangeably, but each refers to a distinct dessert category. Understanding these differences can help you appreciate the unique qualities of each and even guide your baking choices.
- Peach Pie: Typically features a bottom pastry crust and often a top crust (either a full crust or a lattice) encasing a fruit filling. The focus is on the flaky, buttery crust and the juicy, thickened fruit inside.
- Peach Cobbler: This dessert usually has a fruit base topped with a biscuit-like dough that’s dropped or spooned over the fruit. As it bakes, the dough puffs up, creating a “cobbled” or stony appearance. The topping is generally soft and cake-like rather than crisp.
- Peach Crisp: Similar to a cobbler in its fruit base, but topped with a streusel-like mixture made from oats, flour, butter, and sugar. This topping bakes into a delightful, crunchy layer, hence the name “crisp.”
Our Brown Sugar Peach Pie Bars, with their crumbly, oat-free topping, lean more towards a crisp-like texture than a traditional cobbler. However, if a true peach cobbler recipe is something you’d love to try, please let us know in the comments below, and we’d be thrilled to share one with you.
Perfecting Your Peach Pie Bars: Essential Baking Tips
Achieving the perfect consistency and flavor in your peach pie bars requires precise baking temperatures. Unlike some other pies, peach pies and bars benefit from a relatively high heat to ensure the peaches cook thoroughly, releasing their juices to create a beautifully thickened filling, while simultaneously crisping up the topping to golden perfection.
Begin by preheating your oven to 400 degrees Fahrenheit (200°C). This initial high heat helps to set the crust and caramelize the sugars quickly. As your bars bake, keep a close eye on the edges of the crust and topping. If they start to brown too quickly, lightly tent them with aluminum foil to prevent burning while the rest of the dessert finishes baking. This simple trick ensures an evenly baked dessert with a perfectly golden crust and a bubbling, flavorful peach filling.
Selecting the Ideal Peaches for Baking
The success of any peach dessert begins with the fruit itself. When baking, you’ll want to seek out freestone peaches. These varieties are highly prized for several reasons: they tend to be sweeter, making them ideal for desserts, and their flesh separates easily from the pit, making preparation much simpler. Freestone peaches hold their shape well during baking, ensuring your pie bars have lovely, discernible peach chunks rather than a mushy filling.
Look for peaches that are fragrant and yield slightly to gentle pressure. Avoid overly soft or bruised peaches, as they may become too watery during baking. Conversely, very hard peaches might not ripen properly and will lack the desired sweetness and juiciness. For an extended list of our favorite freestone peach varieties and more tips on selecting the perfect fruit, be sure to check out our peach cobbler post!
Crafting the Ultimate Peach Pie Filling (No More Runny Pies!)
One of the most common complaints about homemade peach pie is a runny or bland filling. This usually happens because the filling wasn’t prepared correctly before being added to the crust. We’ve discovered a few key factors that contribute to a consistently perfect peach pie filling, which applies equally to our peach pie bars:
- Avoid Using Flour as a Thickener: While flour is a common thickener, we highly recommend setting it aside for fruit fillings. It often leads to inconsistent results and can leave an undesirable slightly flour-y taste in your delicate peach dessert.
- Opt for Ultra Gel for a Clear, Flavorless Thickener: Our secret weapon is Cornaby’s Ultra Gel. This remarkable product provides a clear, unflavored thickening agent that performs flawlessly every time. You can often find it in local grocery stores or conveniently online. While cornstarch and tapioca are alternatives, they don’t quite achieve the same superior results. If you must use cornstarch or tapioca, remember this conversion: 1 Tablespoon of cornstarch equals 1 1/2 Tablespoons of Ultra Gel, or 2 Tablespoons of flour or tapioca equals 1 1/2 Tablespoons of Ultra Gel.
- Cut Peaches into Thicker Slices or Chunks: To ensure a delightful texture and prevent the peaches from breaking down too quickly during baking, cut them into thicker slices or even larger chunks. This way, each bite offers a satisfying peach presence.
- Chill the Filling Adequately: Patience is a virtue, especially when it comes to fruit pies. Allow your peach filling to cool in the fridge for at least 3 hours. This crucial step helps the thickener to fully activate and the flavors to meld, preventing a watery filling. We always recommend preparing fruit pie fillings the morning of, or even the day before, serving for optimal results.
To Peel or Not to Peel: A Guide to Peach Preparation
A frequently asked question in peach dessert recipes is, “Do you have to peel peaches for peach pie?” or “Are you supposed to peel peaches?” The simple answer is: not necessarily!
More often than not, we choose to peel about half of our peaches while leaving the skins on the other half. This approach not only saves time but also adds a beautiful depth of color to the finished dish, as you can observe in the vibrant photos. The peach skin, when cooked, softens significantly and adds a subtle textural contrast and nutritional value without being overpowering.
However, if you prefer a perfectly smooth filling and have the time, peeling peaches is a straightforward process:
- Bring a pot of water to a rolling boil.
- Carefully place whole peaches into the boiling water using a slotted spoon, ensuring they are fully submerged.
- Boil for precisely 15 seconds. This brief blanching will loosen the skins.
- Immediately transfer the blanched peaches into an ice bath (a large bowl filled with ice water) to halt the cooking process.
- Once cooled, use a small paring knife to gently slip off the skins, which should now come away easily. Then, slice your peaches as desired.
You might wonder, “Can you peel a peach without boiling it?” While it’s tempting to try, attempting to peel raw peaches often proves frustrating, with the skin clinging stubbornly to the flesh. For consistent, easy peeling, the boiling and ice bath method is highly recommended.
Storing Your Delicious Brown Sugar Peach Pie Bars
Proper storage is key to enjoying your homemade Brown Sugar Peach Pie Bars for as long as possible. If left on the counter at room temperature, these delightful bars will typically remain fresh for about 2 days. However, to significantly extend their shelf life and maintain their optimal freshness, simply pop them into the refrigerator. Stored in an airtight container in the fridge, your peach pie bars can last beautifully for 4-5 days, making them perfect for enjoying throughout the week!
Mastering Make-Ahead and Freezing Peach Pie Bars
Can Peach Pie Bars Filling be Frozen?
Absolutely! Preparing the peach pie bar filling ahead of time and freezing it is a fantastic way to streamline your baking process. Ensure the filling has completely cooled before freezing. Transfer it into a freezer-safe bag, pressing out as much air as possible, or for best results, use a food saver to vacuum seal it. When you’re ready to bake, simply thaw the filling in the refrigerator overnight before assembling your bars.
Can You Freeze Baked Peach Pie Bars?
This is a slightly trickier question, as freezing baked goods can sometimes affect their texture. We’ve thoroughly tested freezing these brown sugar peach pie bars, and while they hold up remarkably well, the crumble topping can lose a bit of its crispness, becoming slightly softer upon thawing. If you need to prepare them significantly in advance, freezing them baked is an option, but for optimal texture, we recommend freezing baked bars for no more than a week.
How to Make Brown Sugar Peach Pie Bars Ahead of Time
If you absolutely need to prepare your brown sugar peach pie bars more than 24 hours in advance, you have two excellent options:
- Freeze Components Separately: Prepare the pie crust dough, the peach filling, and the crumble topping separately. Freeze each component individually. When you’re ready to bake, allow all components to defrost thoroughly in the refrigerator before assembling and baking as directed. This method ensures the freshest possible texture.
- Freeze the Pie Portion Before Adding Crumble: Alternatively, you can assemble and bake the pie crust with the peach filling, but without the crumble topping. Freeze this “pie portion.” When you’re ready to serve, add the crumble topping to the frozen bars. Bake them directly from frozen at 425 degrees Fahrenheit (220°C) for 45 minutes, then reduce the oven temperature to 350 degrees Fahrenheit (175°C) and continue baking for another 30 minutes, or until the filling is bubbly and the crust is golden brown and cooked through.
More Irresistible Summer Fruit Dessert Recipes
If you’re a fan of fresh fruit desserts, especially during the warmer months, you’re in for a treat! Here are some other mouth-watering recipes to satisfy your sweet tooth:
- Peach Cobbler
- Peach Crisp
- Strawberry Shortcake
- Lemon Poppy Seed Bundt Cake
- Blueberry Pie
- Peach Hand Pies
- Brown Sugar Peach Pie Bars
- Strawberry Pie
- Razzleberry Pie
- Deep Fried Peaches
- Grilled Chocolate Strawberry Croissants
- Deep Fried Strawberry Shortcakes
Brown Sugar Peach Pie Bars
By Sweet Basil
Cook: 35 mins
Total: 4 hrs
This recipe is for anyone who might be intimidated by traditional pies. Making these delectable brown sugar peach pie bars in a cake pan is significantly easier, eliminating the need for complex crust crimping, and still delivers an absolutely amazing dessert!
Ingredients
Crust
- 1 Double Crust (Mom’s Magic Pie Crust Recipe)
Filling
- 7 Cups Peach Chunks (about 7 peaches, peeled or unpeeled is fine*)
- 3/4 Cup Brown Sugar
- 1/4 Cup Cornaby’s Ultra Gel (*see note below)
- 1 teaspoon Lemon Juice
- 1/2 teaspoon Cinnamon
Topping
- 1/2 Cup Brown Sugar
- 1 teaspoon Cinnamon
- 3/4 Cup Flour
- Pinch Salt
- 1/3 Cup Butter (unsalted, cold and chopped in pieces)
Instructions
Crust Preparation
- Prepare our crust recipe, rolling it out and laying it evenly in a 9×13″ baking pan.
- Trim off any excess dough that hangs over the edges of the pan. You can reserve these trimmings to make delightful cinnamon sugar pie cookies!
Filling Assembly & Baking
- Peel the peaches (if desired, see notes in the article above) then cut them into roughly 2-inch chunks. You will need about 7 cups of prepared peaches.
- In a large mixing bowl, combine the peach chunks, brown sugar, Ultra Gel, lemon juice, and cinnamon. Stir gently until all ingredients are thoroughly combined and the peaches are evenly coated.
- Set the peach filling mixture aside while you prepare the topping and preheat the oven.
- Preheat your oven to 400°F (200°C).
- Pour the peach filling mixture evenly into the prepared pie crust in the baking pan.
- Evenly sprinkle the crumble topping over the peach filling. For clusters of crumble, gently squeeze handfuls of the topping mixture together before sprinkling.
- Bake for 35-45 minutes, or until the crumble topping is beautifully browned, the peach filling is visibly bubbling through the topping, and the pie crust is golden brown at the edges.
- Once baked, remove the pan from the oven and let it cool on the counter for at least 30 minutes. This initial cooling allows the bars to start setting. For best results and clean slices, transfer the pan to the refrigerator and chill for a minimum of 3 hours before slicing and serving.
Topping Preparation
- In a separate medium bowl, combine the brown sugar, cinnamon, flour, and a pinch of salt.
- Add the cold, chopped unsalted butter to the dry ingredients.
- Using a pastry cutter or two forks, cut the butter into the dry mixture until it resembles coarse crumbs. If needed, you can use your hands to further combine the mixture until it feels like wet sand and easily clumps together when squeezed. This ensures a perfect crumble texture.
Recipe Notes
- For detailed tips on peeling peaches, please refer to the “To Peel or Not to Peel” section in the main article above.
- If you are unable to find Cornaby’s Ultra Gel, please refer to the “Crafting the Ultimate Peach Pie Filling” section in the main article for suitable substitutions and their respective conversion rates.
- Leftover Brown Sugar Peach Pie Bars can be stored in an airtight container at room temperature for up to 2 days, or in the refrigerator for 4-5 days.
Nutrition Information
Serving: 1 slice, Calories: 221kcal, Carbohydrates: 39.2g, Protein: 6.1g, Cholesterol: 34.3mg, Sodium: 333.9mg, Fiber: 1.9g, Sugar: 23.6g
Nutrition information is automatically calculated and should only be used as an approximation.
Thank you for joining us on this delightful baking journey! We hope these Brown Sugar Peach Pie Bars bring a taste of summer joy to your table. We love hearing from you, so please consider leaving a comment below if you enjoyed this recipe or have any questions. Your feedback inspires us to keep creating delicious dishes!
Don’t forget to SUBSCRIBE to our FREE Oh Sweet Basil NEWSLETTER to receive easy, delightful recipes delivered directly to your inbox every day. And when you try one of our recipes, be sure to use the hashtag #ohsweetbasil on INSTAGRAM for a chance to be featured in our stories! Follow OH, SWEET BASIL on FACEBOOK | INSTAGRAM | PINTEREST | TWITTER for all of our latest content, recipes, and stories. Happy baking!