
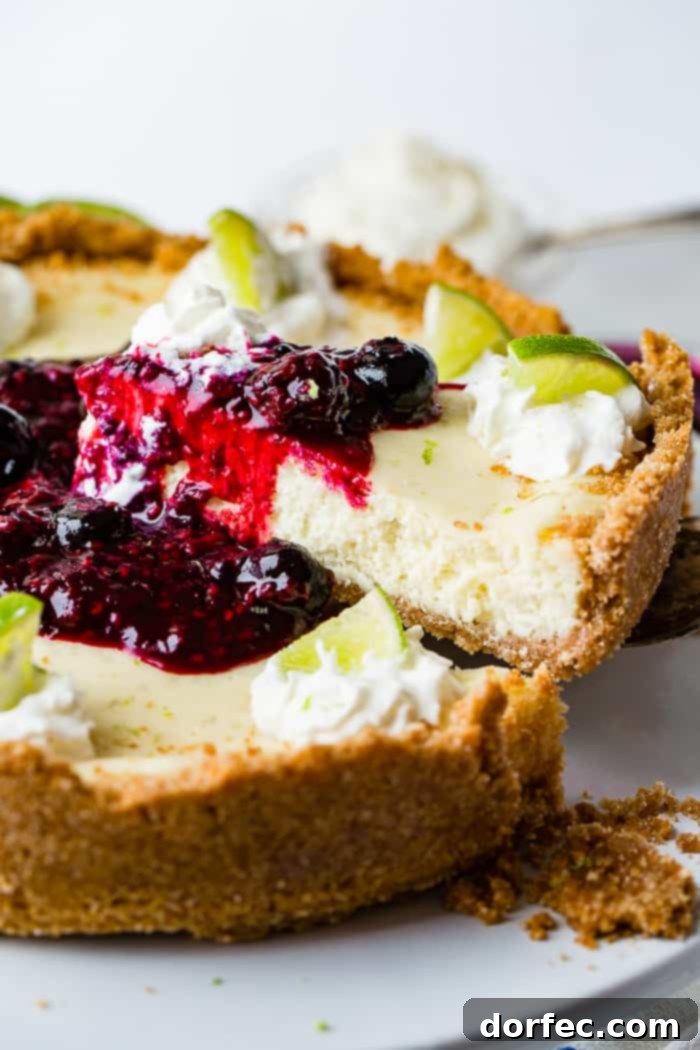
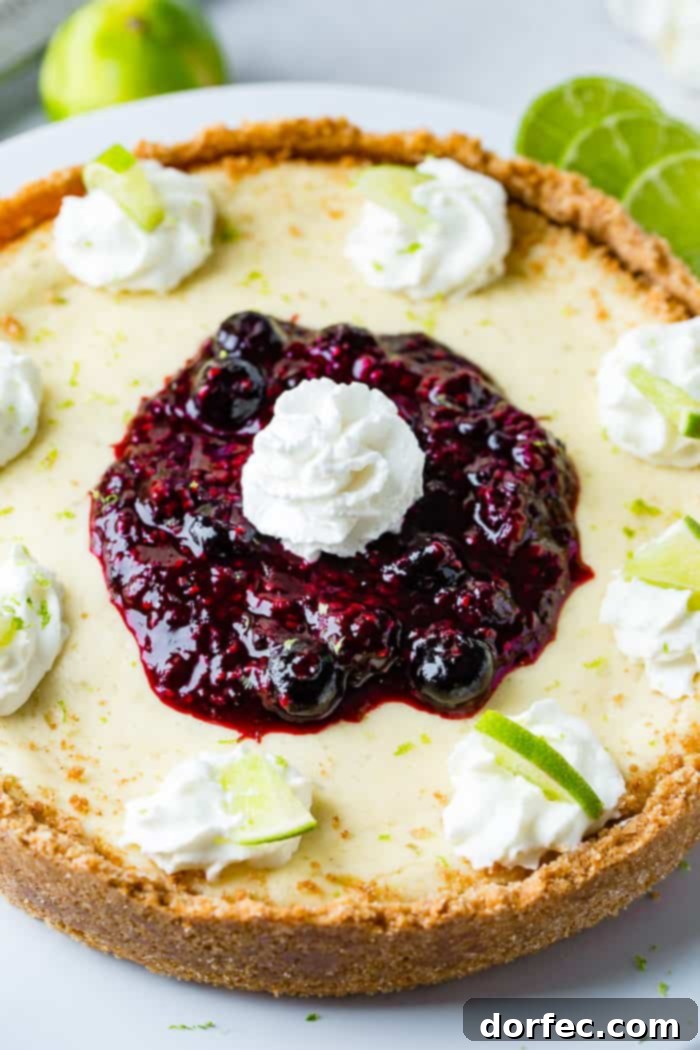
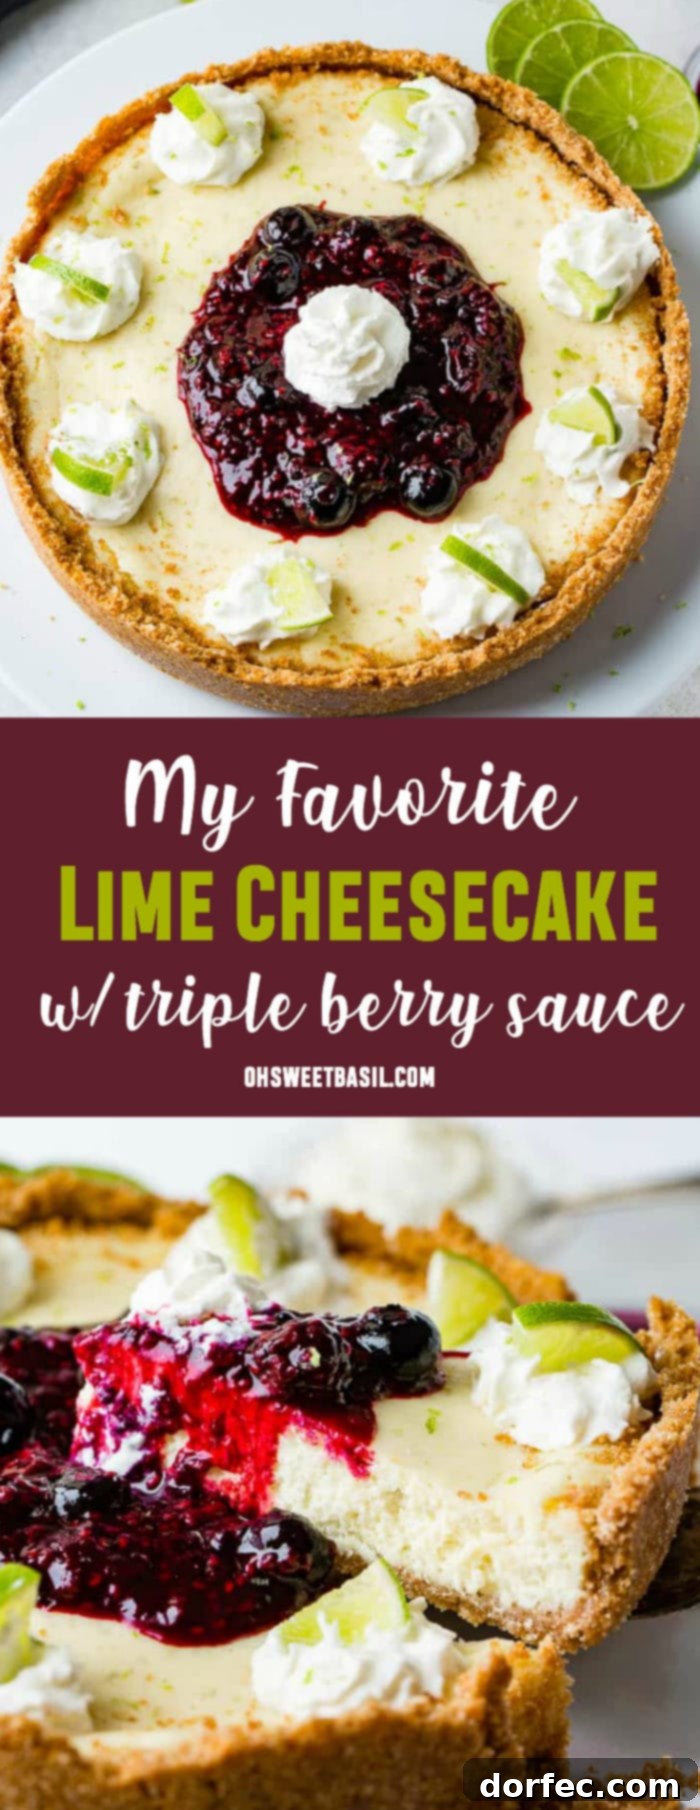
Prepare to surrender to the irresistible allure of this Lime Cheesecake with Triple Berry Sauce! Its velvety smoothness, coupled with a harmonious blend of zesty tartness and delightful sweetness, makes it an absolute masterpiece. Many people feel intimidated by the thought of making cheesecake, but rest assured, this recipe is incredibly straightforward. We’ll guide you through every single step, ensuring a perfect, creamy result that will impress everyone.
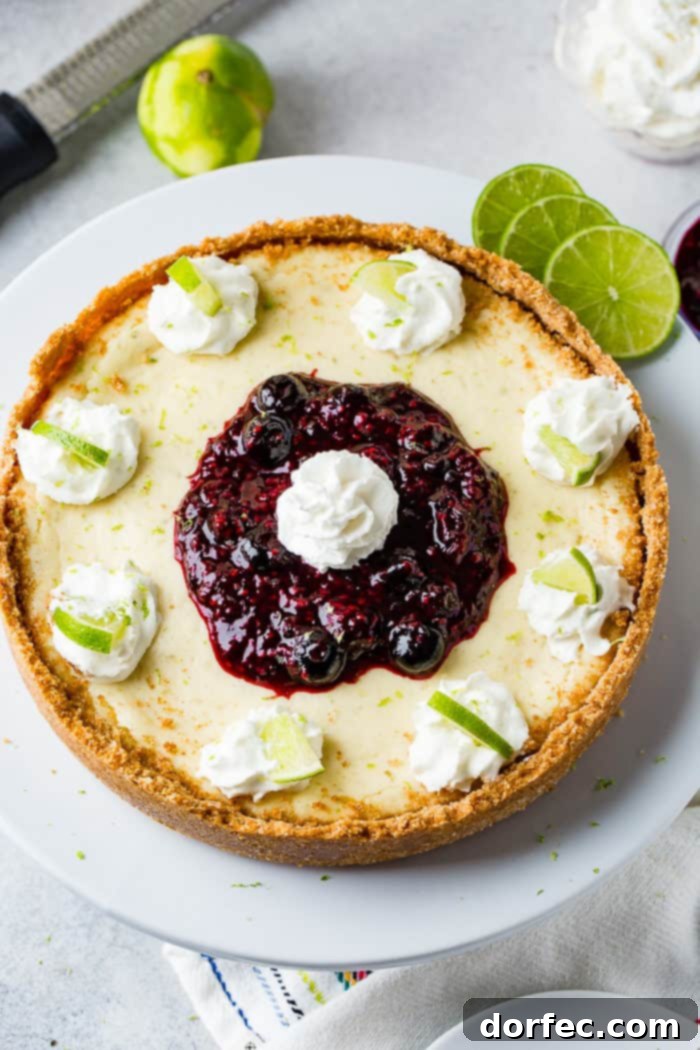
For years, the mere mention of cheesecake would send shivers down my spine. Every birthday, my older sister would dutifully request a cheesecake, and I would inwardly groan. I truly believed cheesecake was utterly disgusting. My aversion was so strong that I wouldn’t touch the filling, but once a slice was cut, I’d meticulously scrape off chunks of the graham cracker crust, leaving the creamy part untouched. Sorry, Mom and Jennifer! Now you know my secret indulgence back then!
Thankfully, I’ve since seen the light and wholeheartedly embraced the joy of a truly good cheesecake. And let me tell you, this recipe for the Best Lime Cheesecake with Triple Berry Sauce is, without a doubt, the finest I have ever made. It’s incredibly creamy, wonderfully easy to prepare, and a genuine delight for the palate. If you’re looking for a dessert that perfectly balances refreshing citrus with sweet berries, your search ends here. This recipe isn’t just good; it’s a revelation that converted even the most stubborn cheesecake skeptic (me!).
Crafting the Perfect Foundation: The Graham Cracker Crust
Let’s dive right into the heart of this delightful dessert: the crust. For me, the crust remains an essential element of any cheesecake, and this recipe delivers a simple yet utterly delicious foundation. It requires minimal effort and just four essential ingredients, creating a buttery, slightly salty, and perfectly sweet base that complements the creamy lime filling beautifully.
- Graham Crackers: Finely ground into crumbs. These provide the classic sweet, earthy flavor and crisp texture.
- Granulated Sugar: To add just the right amount of sweetness, enhancing the graham crackers’ natural flavor.
- Melted Butter: The crucial binding agent that holds the crumbs together and creates that rich, indulgent taste. It ensures the crust bakes up firm and golden.
- Pinch of Salt: A small but mighty addition that balances the sweetness and enhances all other flavors, preventing the crust from tasting one-dimensional.
To prepare, simply combine all these ingredients in a small bowl until they are thoroughly mixed. The butter should evenly coat the graham cracker crumbs. Then, transfer this mixture into your chosen springform pan. Using the bottom of a measuring cup, firmly press the crust mixture into an even layer across the entire bottom of the pan. For an extra touch of perfection and to create a natural border for your cheesecake, gently press some of the mixture up along the sides of the pan as well. This creates a beautiful, defined edge for your finished dessert.
Understanding the Springform Pan and Its Alternatives
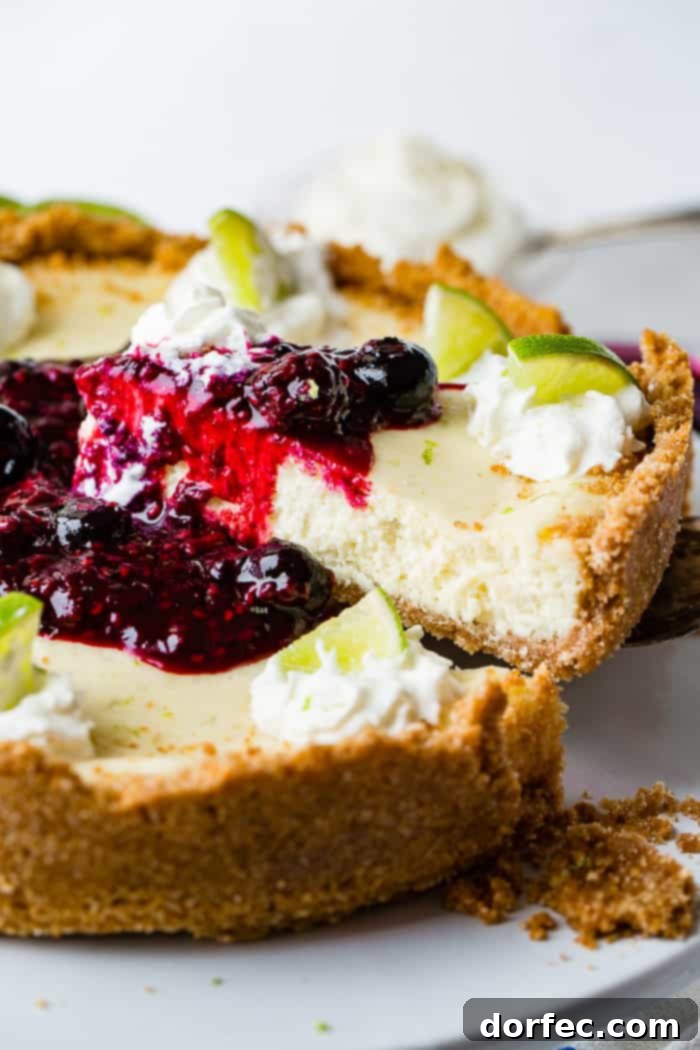
A springform pan is an invaluable tool for any cheesecake enthusiast, designed specifically to simplify the process of serving delicate desserts. It’s a type of circular cake pan composed of two key parts: a flat base and a removable ring that forms the sides of the pan. After your cheesecake has baked to perfection and cooled completely, the magic happens. You can simply release the latch on the side of the ring, allowing it to expand and lift away, leaving your beautifully intact cheesecake sitting elegantly on its base, ready to be sliced and served with ease.
However, if a springform pan isn’t currently part of your kitchen arsenal, there’s no need to fret! You have several excellent alternative options that will still allow you to create this sensational lime cheesecake:
- Standard Cake or Pie Pan: If you don’t mind serving your cheesecake directly from the pan, a regular cake or pie pan works perfectly. It will bake just as beautifully, though presentation might differ slightly.
- Lined Cake or Pie Pan: For those who desire to remove the cheesecake from the pan for a more traditional presentation, simply line your chosen cake or pie pan with parchment paper or aluminum foil. Make sure to leave a generous overhang of paper or foil along the sides. Once the cheesecake has baked and cooled, you can use these overhangs to gently lift the entire cheesecake out of the pan.
- Disposable Foil Pan: These are an economical and convenient solution. After baking and cooling, a disposable foil pan can be easily cut away from the cheesecake, offering a hassle-free removal method. This is particularly useful for potlucks or when gifting your delicious creation.
Whipping Up the Zesty Lime Cheesecake Filling
While your graham cracker crust is happily baking and cooling, you can turn your attention to preparing the vibrant, creamy cheesecake filling. This is where the magic truly comes alive, combining classic cheesecake richness with the refreshing zest of fresh limes. The ingredients are simple, yet their quality makes all the difference in achieving that perfectly smooth and tangy-sweet balance.
- Cream Cheese: The backbone of any great cheesecake. It is absolutely crucial for your cream cheese to be at room temperature for a lump-free, silky-smooth filling. While premium brands like Philadelphia are often lauded for their superior quality, many excellent store brands (like Kroger, as mentioned in the original recipe) can deliver fantastic results.
- Sour Cream: This ingredient adds a delightful tang that cuts through the richness of the cream cheese, contributing to the cheesecake’s characteristic depth of flavor and creamy texture.
- Large Eggs: Also vital to be at room temperature. Eggs provide structure and richness to the cheesecake, helping it set beautifully.
- Granulated Sugar: For the perfect level of sweetness that complements the tart lime.
- Cornstarch: A secret weapon! Cornstarch helps stabilize the filling, preventing cracks and ensuring a smooth, uniform texture.
- Vanilla Extract: A classic flavor enhancer that adds warmth and depth, harmonizing with the citrus notes.
- Fresh Limes: Both the zest and juice are used here. The lime zest delivers an intense, aromatic burst of citrus flavor, while the fresh lime juice provides that essential tangy acidity that defines a true lime cheesecake.
Bringing these ingredients together creates a filling that is not only bursting with flavor but also promises an incredibly smooth and luxurious texture. The combination of creamy dairy, bright citrus, and subtle sweetness is what makes this lime cheesecake so utterly irresistible.
The Critical Importance of Room Temperature Ingredients
Achieving that signature smooth and creamy cheesecake texture isn’t just about the ingredients themselves, but also their temperature. It is absolutely critical that both your cream cheese and eggs are brought to a complete room temperature before you begin mixing the filling. This seemingly small detail plays a colossal role in the final outcome of your cheesecake.
When cream cheese is at room temperature, it becomes soft and pliable, allowing it to beat smoothly without any lumps. Cold cream cheese, on the other hand, will remain firm and resist incorporating evenly, leading to a clumpy, inconsistent filling – the exact opposite of the silky texture we’re aiming for. This smoothness is what defines a truly decadent cheesecake.
Similarly, room temperature eggs are essential for the structural integrity and even distribution of the cheesecake mixture. When eggs are cold, their fats are less emulsified, making it harder for them to blend seamlessly with the other ingredients. This can result in a cheesecake that bakes unevenly or, worse, develops cracks during the cooling process. Room temperature eggs distribute their fat more uniformly, contributing to a stable emulsion that helps create a consistently smooth and crack-free cheesecake. So, plan ahead and let these key ingredients sit out for a few hours before you start baking!
Mastering the Mix for a Perfectly Smooth Cheesecake
This stage of cheesecake preparation is often where aspiring bakers encounter challenges, but with a few key techniques, you can ensure your filling is “so smooth it’s criminal” without any dreaded cracks. The goal is to achieve a perfectly homogenous mixture, but without over-mixing, which introduces too much air and leads to a puffy cheesecake that can crack as it cools. Follow these steps carefully for the ideal texture:
- Cream the Cream Cheese First: Begin by placing your room temperature cream cheese in a large mixing bowl. Using a hand mixer on medium speed, beat the cream cheese by itself until it is completely smooth, light, and creamy. This initial step is vital for breaking down any lumps.
- Incorporate Sour Cream: Add the room temperature sour cream to the cream cheese. Continue mixing with your hand mixer until the sour cream is fully incorporated and the mixture is again silky smooth.
- Add Eggs Gently: Now it’s egg time. This is a crucial step for preventing cracks. Add the eggs one at a time, beating just until each egg is fully incorporated before adding the next. Avoid over-beating, as this is where excess air can get introduced.
- Final Flavor Additions: Finally, add the granulated sugar, fresh lime zest, fresh lime juice, cornstarch, and vanilla extract. At this point, switch to a low speed on your hand mixer or even a spatula. Mix just enough until all ingredients are combined and the mixture is smooth. The key here is minimal mixing once the dry ingredients are introduced.
Once your filling is perfectly smooth and free of lumps, carefully pour it into your pre-baked and cooled graham cracker crust. The crust should be cool to the touch to prevent it from becoming soggy when the warm filling is added.
The Secret to Success: A Gentle Water Bath
Just like we occasionally enjoy a relaxing warm bath, cheesecakes also thrive in a humid environment during baking. This technique, known as a water bath (or “bain-marie”), is a true game-changer for achieving that perfectly smooth, uncracked surface and an incredibly creamy texture throughout. The water bath provides a moist, even heat that prevents the edges of the cheesecake from baking faster than the center, thus eliminating cracks.
To set up your water bath, grab a 9×13 inch baking dish (or a larger roasting pan if your springform pan is bigger). The safest and easiest method is to place the empty baking dish on the bottom rack of your preheated oven first. Once the dish is in place, carefully pour about 3 cups of boiling water into it. This prevents the awkward and potentially hazardous task of carrying a sloshing pan of boiling water across your kitchen. Now, gently place your cheesecake (which should be sitting in its springform pan, ideally wrapped in foil to prevent water seepage, though with some pans it’s not always necessary) on an upper-middle rack in the oven, directly above the water bath. This arrangement ensures the cheesecake benefits from the rising steam without being submerged.
Now you are perfectly set for baking! The steam generated by the boiling water will create a humid environment, allowing your cheesecake to bake evenly and slowly, resulting in a custardy texture and a beautifully smooth, crack-free top. It’s a small extra step that yields magnificent results.
Knowing When It’s Done: A Little Jiggle is Just Fine
When it comes to cheesecake, visual cues for doneness can be tricky, but understanding the “jiggle test” is crucial. Generally, when baking anything else, a jiggly center means it’s undercooked. However, for cheesecake, a slight jiggle in the very center is not only acceptable but often desirable, as long as the edges are firmly set. This indicates that the cheesecake is cooked through but hasn’t been overbaked, which can lead to a dry texture and, inevitably, cracks.
This cheesecake typically bakes for 50-60 minutes at 300°F (150°C). Since every oven can vary slightly, I always recommend checking at the 50-minute mark. Gently open the oven door and lightly jiggle the springform pan. If the outer 2-3 inches of the cheesecake appear set and firm, but the very center still has a slight, soft wobble (like gelatin), it’s perfectly done. Even if it looks slightly underdone in the center, resist the urge to bake it longer.
Once you observe this characteristic jiggle with set edges, turn off the oven completely. Prop the oven door open slightly (about 3-4 inches) and allow the cheesecake to rest inside the warm oven for an additional 20 minutes. This gradual cooling process is another critical step in preventing cracks. It allows the cheesecake to finish setting gently with the residual heat, ensuring a smooth transition from hot to warm without any abrupt temperature changes that can shock the delicate custard and cause it to split. After this resting period, your cheesecake is ready for the next cooling phase.
The Essential Cooling Process: Cool It, Baby!
After your cheesecake has enjoyed its gentle rest in the warm, turned-off oven, it’s time for the next crucial stage of cooling. This process needs to be gradual to ensure the cheesecake retains its beautiful, unblemished surface and perfect texture. First, carefully remove the cheesecake from the oven (and the water bath, if used). Place it on a wire rack on your kitchen counter to cool completely to room temperature. This can take anywhere from 1 to 2 hours, depending on your ambient room temperature. Do not rush this step by placing it directly into the refrigerator, as sudden temperature changes are a common culprit for cheesecake cracks.
Once the cheesecake has reached room temperature, cover it loosely with plastic wrap or aluminum foil. Then, transfer it to the refrigerator to chill for at least 2 hours, or ideally, overnight. This extended chilling period is vital for allowing the cheesecake filling to fully set, firm up, and develop its rich, dense, and ultra-creamy consistency. A properly chilled cheesecake is not only easier to slice but also boasts a far superior flavor and texture. Patience is a virtue when it comes to cheesecake, and the reward is truly worth the wait!
Crafting the Vibrant Triple Berry Sauce
No Lime Cheesecake is complete without its perfect companion: a vibrant, sweet, and tangy Triple Berry Sauce. This sauce adds a beautiful burst of color and a complementary flavor profile that elevates the entire dessert. The best part? It’s incredibly easy to make and can be prepared while your cheesecake is baking or at any other convenient time that fits your schedule. Just remember, it needs to be completely cooled before serving for the best texture and taste.
Here are the simple ingredients you’ll need for this delicious topping:
- Frozen Triple Berries: A convenient mix typically including raspberries, blueberries, and blackberries. Using frozen berries means you can make this sauce year-round, and they break down beautifully when cooked.
- Fresh Lime Zest: To echo the citrus notes of the cheesecake, adding an extra layer of bright flavor to the sauce.
- Granulated Sugar: To sweeten the berries and balance their natural tartness. Adjust to your preference.
- Thickening Agent: Either Ultra Gel (a modified food starch that thickens without cooking) or all-purpose flour. Both work effectively to achieve the desired consistency.
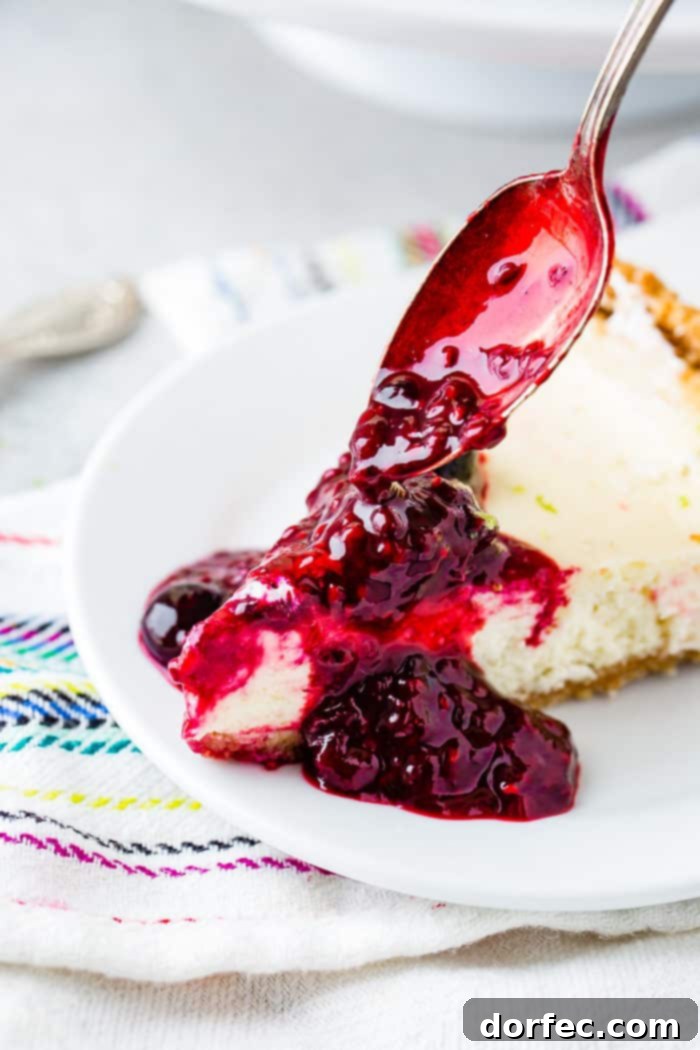
To prepare the sauce, place the frozen berries, lime zest, and sugar into a medium saucepan. Cook this mixture over medium heat. If you’ve opted to use flour as your thickening agent, add it at the very beginning, stirring it in with the other ingredients. If you’re using Ultra Gel, wait for the berries to begin breaking down and releasing their juices slightly before stirring it in. Continuously stir the mixture until the sauce begins to visibly thicken to your desired consistency. Once thick, remove the saucepan from the heat, transfer the berry sauce to a clean bowl, and allow it to cool completely to room temperature. For optimal serving, the sauce should then be refrigerated until you’re ready to enjoy your cheesecake.
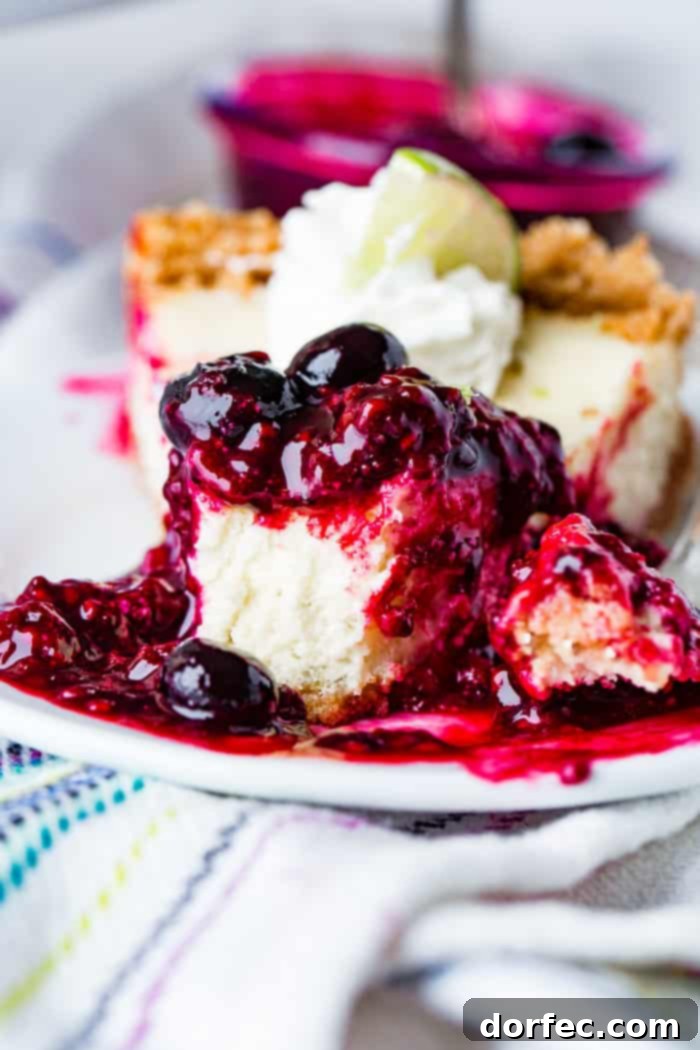
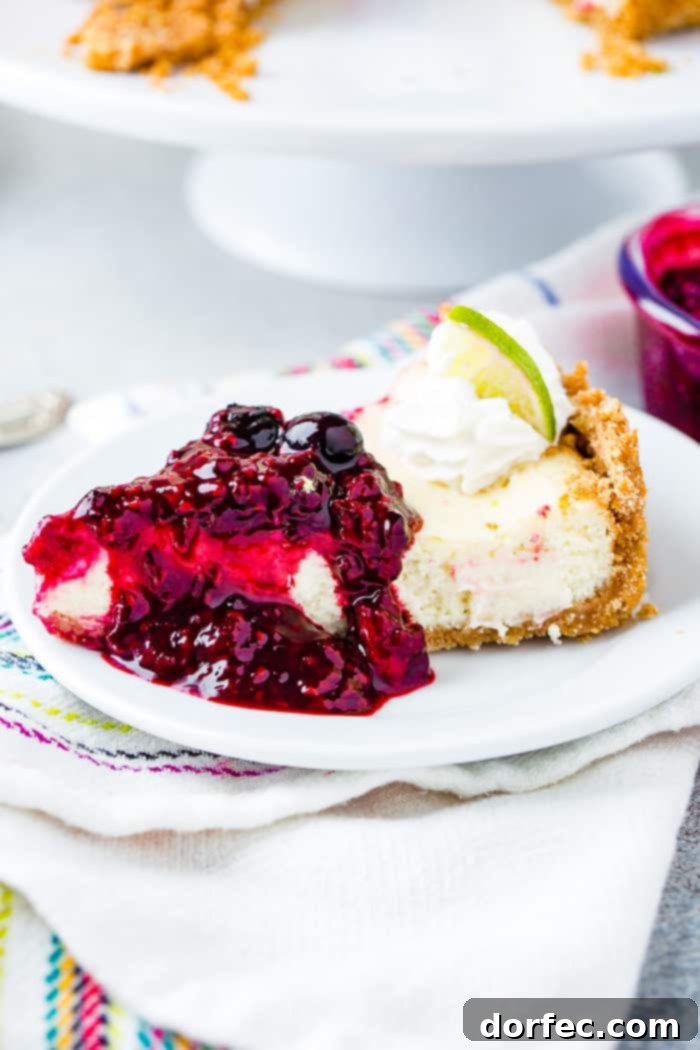
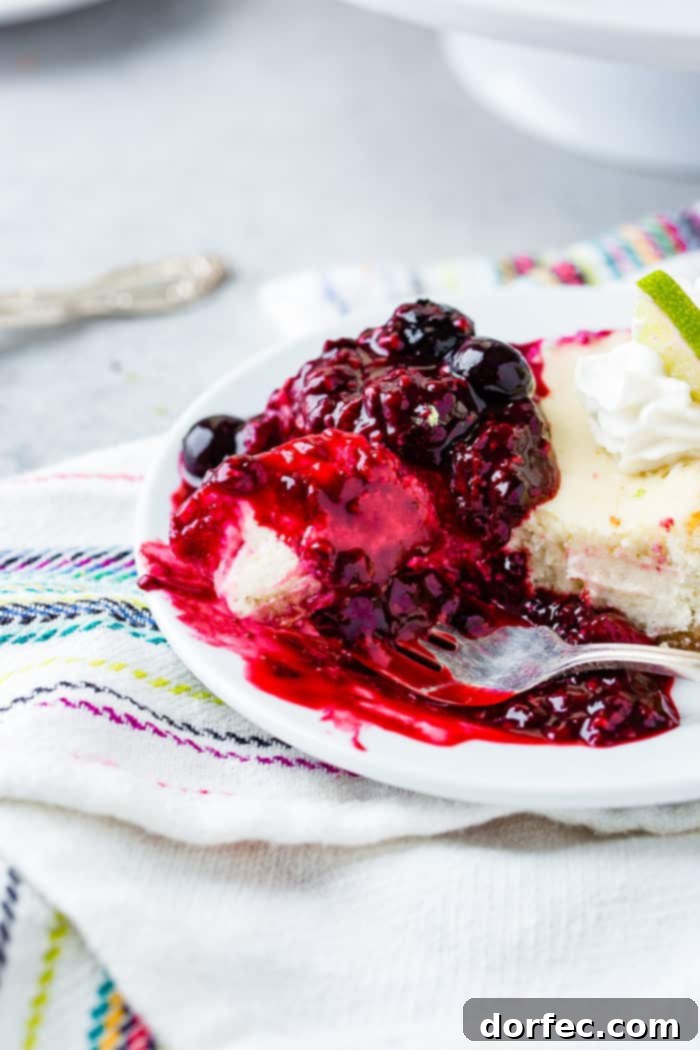
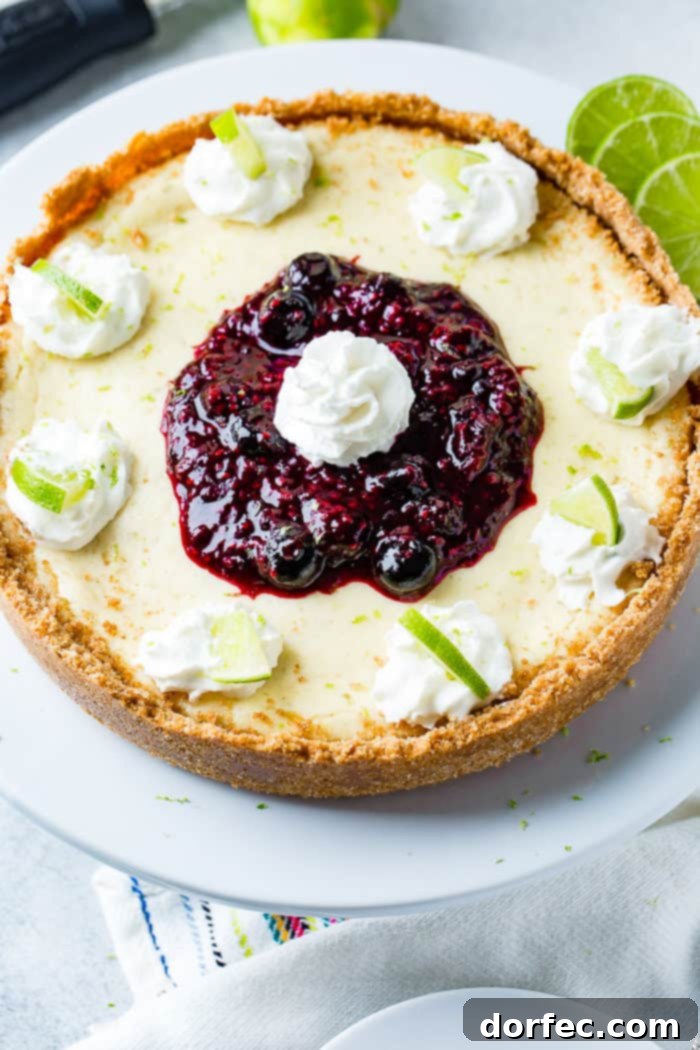
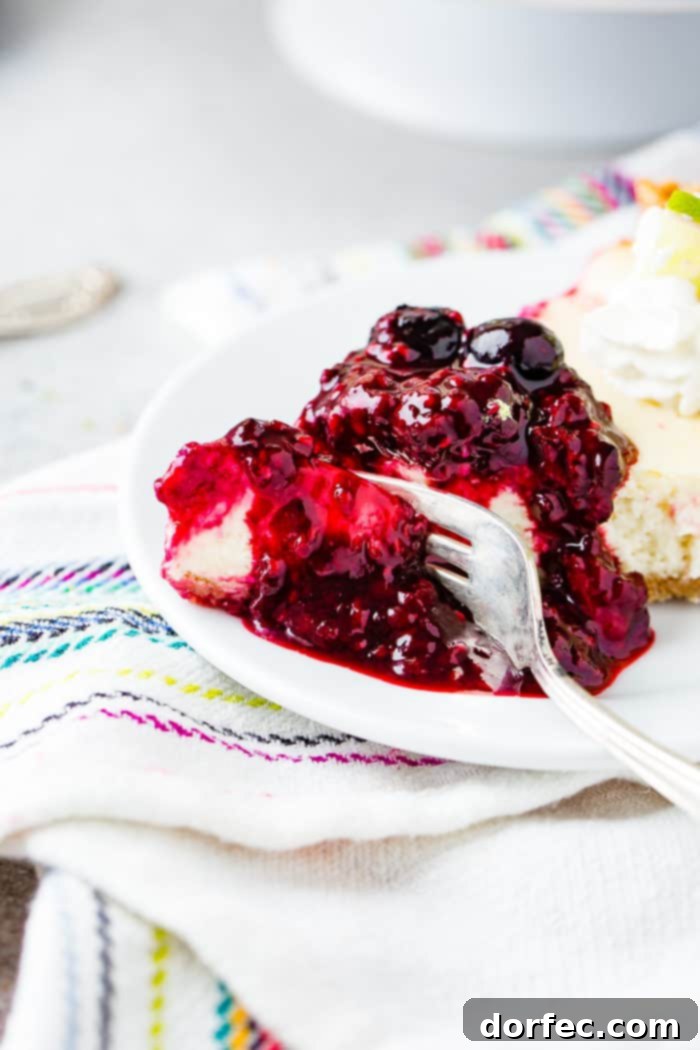
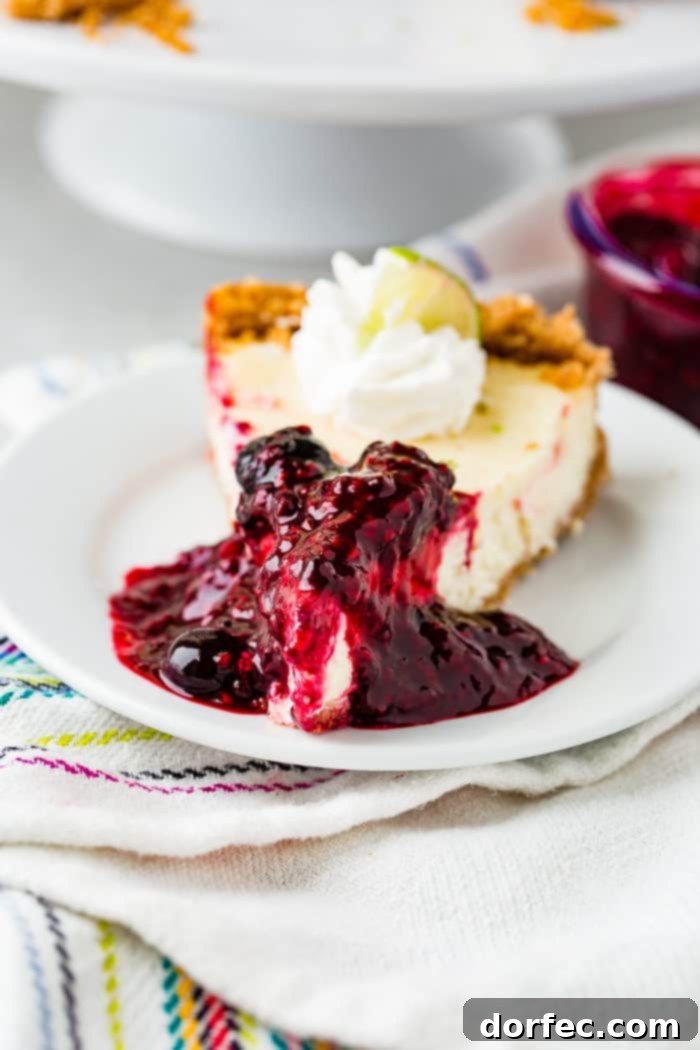
When the moment arrives to serve your magnificent Lime Cheesecake with Triple Berry Sauce, spoon a generous amount of the cooled berry sauce over each slice. For an extra touch of indulgence and visual appeal, a dollop of freshly whipped cream is highly recommended. I also love to sprinkle a little extra lime zest on top of the whipped cream, not only for an added pop of citrus aroma but also for a vibrant splash of color. I triple-dog-dare you to try and resist a slice of this heavenly creation – your taste buds will thank you!
Can You Freeze Cheesecake? Absolutely!
It might seem impossible to have leftovers of such a delicious dessert, but if you do, or if you simply wish to prepare it in advance, freezing cheesecake is a fantastic option. Cheesecake freezes remarkably well, allowing you to enjoy a slice of this creamy treat weeks or even months later. This is particularly useful for meal prep, entertaining, or simply ensuring you always have a delightful dessert on hand.
There are two primary ways to freeze your cheesecake, depending on your needs:
- Freezing Individual Slices: This is my preferred method for convenience. Once the cheesecake is completely cooled and chilled, slice it into individual portions. Place the slices on a baking sheet lined with parchment paper and freeze them uncovered until they are solid (this usually takes 1-2 hours). Once firm, wrap each slice tightly in heavy-duty plastic wrap, then again in aluminum foil. This double layer of protection prevents freezer burn. Store the wrapped slices in a freezer-safe bag or airtight container.
- Freezing a Whole Cheesecake: If you prefer to freeze the entire cheesecake, ensure it is completely cooled and thoroughly chilled first. Place the whole cheesecake (still on its base, if using a springform) into the freezer uncovered until it is completely firm. Once solid, remove it and wrap it meticulously. Start with several layers of plastic wrap, making sure every part is covered to prevent air exposure. Then, wrap it securely in at least two layers of heavy-duty aluminum foil. For extra protection, you can place the foil-wrapped cheesecake into a large freezer-safe bag.
Frozen cheesecake can be stored for 3-4 months. To thaw, simply transfer the wrapped cheesecake (or individual slices) to the refrigerator and let it thaw slowly overnight. Once thawed, unwrap and enjoy! Freezing cheesecake is a wonderful way to extend its shelf life and ensure you’re never without a slice of this irresistible dessert.
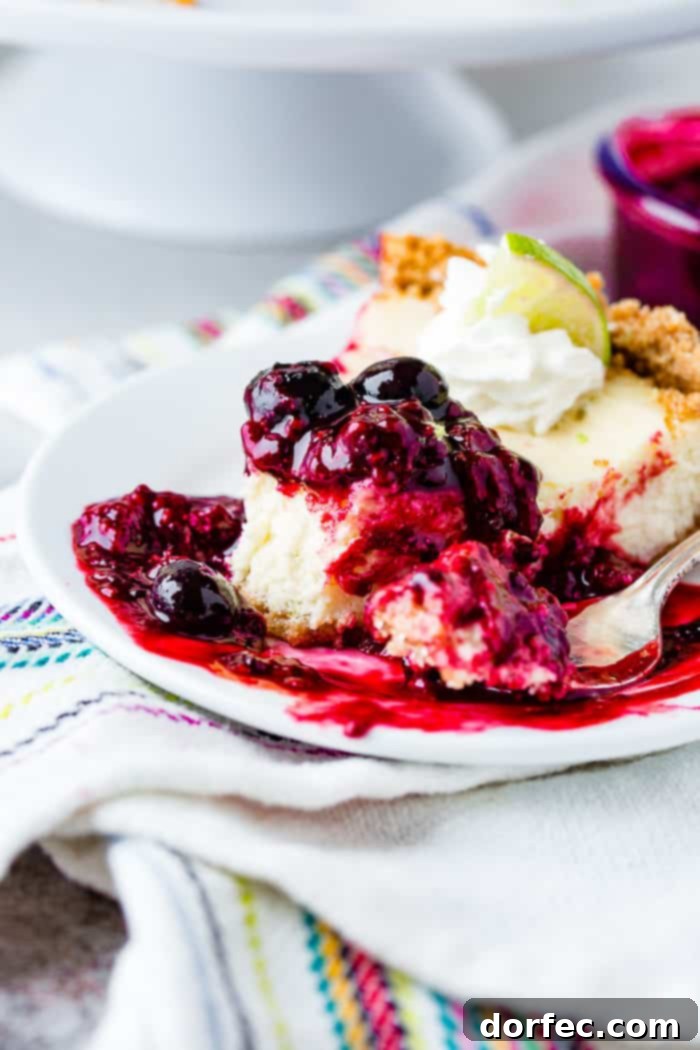
After all those years of secretly stealing her cheesecake crust, I probably owe Jennifer a full, magnificent cheesecake for her next birthday. I have a feeling she is going to absolutely adore this Lime Cheesecake with Triple Berry Sauce, just like I do now!
Recipe: My Favorite Lime Cheesecake with Triple Berry Sauce
This recipe creates a truly irresistible dessert: a smooth, creamy lime cheesecake with a perfect balance of tartness and sweetness, topped with a vibrant triple berry sauce. Don’t let cheesecake intimidate you – this recipe is easy to follow and guarantees delicious results!
Prep Time: 15 mins
Cook Time: 50-60 mins
Total Time: 1 hr 10 mins (plus cooling & chilling)
Yields: 12 servings
Ingredients
Crust
- 1 ½ Cups Graham Cracker Crumbs, Fine Ground
- ⅓ Cup Sugar
- ½ Cup Butter, melted
- Pinch Salt
- 1 (9-inch) Springform Pan
Filling
- 16 oz Cream Cheese, softened to room temperature
- ½ Cup Sour Cream
- 2 Large Eggs, at room temperature
- ¾ Cup White Sugar
- Zest of 3 Limes
- ¼ Cup Fresh Lime Juice (about 2 large regular limes)
- 1 Tablespoon + 1 Teaspoon Corn Starch
- 1 teaspoon Vanilla Extract
- 1 (9×13-inch) Baking Pan (for water bath)
- 3 Cups Water, Boiling (for water bath)
- Whipped Cream For Serving (if desired)
Berry Sauce
- 1 ¼ Cup Frozen Triple Berries (raspberries, blueberries, and blackberries)
- 2 Tablespoons Sugar
- Zest of ½ Lime
- ½ teaspoon Ultra Gel, Cornaby’s (or 1 Teaspoon All-Purpose Flour)
Instructions
For the Crust
- Preheat your oven to 300°F (150°C).
- In a small bowl, stir together the graham cracker crumbs, sugar, melted butter, and a pinch of salt until well combined.
- Pour all of the crumb mixture into the 9-inch springform pan. Using the bottom of a measuring cup, firmly press the mixture into the bottom of the pan and along the sides.
- Place the pan in the preheated oven and bake for 10 minutes. Remove from the oven and let cool completely on a wire rack.
For the Filling
- Using a hand-held electric mixer, beat the softened cream cheese in a large bowl until it is smooth and creamy.
- Add the sour cream and continue to beat until the mixture is fully incorporated and smooth.
- Add one large egg to the mixture and beat just until combined. Add the final egg and beat again until fully incorporated. Be careful not to over-beat at this stage.
- Add the sugar, lime zest, fresh lime juice, cornstarch, and vanilla extract. Beat on low speed or mix with a spatula just until all ingredients are combined and the filling is smooth. Again, avoid over-mixing to prevent cracking.
- Pour the creamy lime cheesecake filling into the cooled graham cracker crust.
- Prepare the boiling water for the water bath. Carefully place the 9×13-inch baking pan on the lower rack of your oven.
- Gently place the cheesecake (in its springform pan) onto an upper-middle rack in the oven. Carefully pour the 3 cups of boiling water into the lower baking pan. Close the oven door.
- Bake for approximately 50-60 minutes, or until the edges of the cheesecake are set and appear firm. The center should still have a slight jiggle (like unset gelatin).
- Once baked, turn off the oven, open the oven door slightly (about 3-4 inches), and allow the cheesecake to sit in the warm oven for 20 minutes. This slow cooling helps prevent cracks.
- Remove the cheesecake from the oven and water bath. Place it on a wire rack on the counter to cool completely to room temperature.
- Once at room temperature, cover the cheesecake loosely and refrigerate for at least 2 hours, or ideally, overnight, to allow it to fully set and chill.
For the Berry Sauce
- Place the frozen triple berries, sugar, and lime zest in a saucepan over medium heat.
- If using all-purpose flour as your thickening agent, add it now and stir to combine. If using Ultra Gel, wait for the berries to start breaking down and releasing their juices.
- Stir often as the berries cook and break apart. Once the berries have softened, add the Ultra Gel (if using) and stir continuously until the sauce begins to thicken to your desired consistency.
- Remove the sauce from the heat and transfer it to a bowl. Allow it to cool completely to room temperature, then refrigerate until ready to serve.
- When serving, spoon the chilled triple berry sauce over slices of lime cheesecake. Garnish with whipped cream and extra lime zest, if desired.
Recipe Notes
For the best flavor, fresh lime juice is highly recommended. To extract the maximum juice from your limes, roll them firmly on the counter with the palm of your hand before cutting. This helps to break down the internal membranes, releasing more juice. Your homemade lime cheesecake can be stored in an airtight container in the refrigerator for up to 5 days.
Nutrition Information
(Approximate values per serving)
Serving: 1 slice, Calories: 353kcal, Carbohydrates: 31g, Protein: 4g, Fat: 24g, Saturated Fat: 14g, Cholesterol: 94mg, Sodium: 279mg, Potassium: 100mg, Fiber: 1g, Sugar: 24g, Vitamin A: 843IU, Vitamin C: 2mg, Calcium: 64mg, Iron: 1mg.
Nutrition information is automatically calculated and should only be used as an approximation.
Enjoy this delightful homemade dessert and share your thoughts! Leave a comment below if you loved this recipe!
Explore More Decadent Desserts You’re Sure to Love:
- Dulce de Leche Chocolate Cheesecake Bars
- Salted Caramel Crème Brûlée
- Lemon Poppy Seed Cake with Cream Cheese Frosting
- Flourless Chocolate Cake
- Mini Fruit Tarts
- Caramel Brownies from Scratch
- Instant Pot Peanut Butter Cup Cheesecake
- Nutella Dulce de Leche Chocolate Chip Cookie Pie
- Peanut Butter Cheesecake Oreo Brownies
- Reese’s Peanut Butter Marshmallow Cookie Pie
- All our DESSERT RECIPES!
You’ll also love these incredible cheesecake recipes:
- Mini Strawberry Cheesecakes
- No Bake Mini Cheesecakes with Raspberry Sauce
- Easy Baked Cheesecake with Fresh Cherry Sauce
- Mini Twix Caramel Cheesecakes
- Mini Dutch Apple Cheesecakes
- No Bake Caramel Cheesecake Bars
- Swirled Raspberry Lemon Cheesecake Bars
More Quick and Easy Cheesecake Creations:
Are you a cheesecake enthusiast seeking even more simple and delicious cheesecake recipes? Look no further! Try our Mini Dutch Apple Cheesecakes for a comforting twist, or indulge in the delightful Mini Twix Caramel Cheesecakes. For something truly unique, our Instant Pot Peanut Butter Cup Cheesecake offers incredible flavor with less fuss. If you prefer elegant bars, don’t miss our White Chocolate Cheesecake Bars with Raspberry Sauce. For no-bake delights, try the creamy No Bake Banana Pudding Cheesecake, the rich No Bake Peanut Butter Nutella Cheesecake, or the bright and zesty Lemon Blueberry No Bake Cheesecake. And for a fun read, make sure to check out everything we learned about The Cheesecake Factory!
REMEMBER TO SUBSCRIBE TO our FREE Oh Sweet Basil NEWSLETTER AND RECEIVE EASY RECIPES DELIVERED INTO YOUR INBOX EVERY DAY!
When you try a recipe, please use the hashtag #ohsweetbasil on INSTAGRAM for a chance to be featured in our stories! FOLLOW OH, SWEET BASIL ON FACEBOOK | INSTAGRAM | PINTEREST | TWITTER FOR ALL OF OUR LATEST CONTENT, RECIPES AND STORIES.