
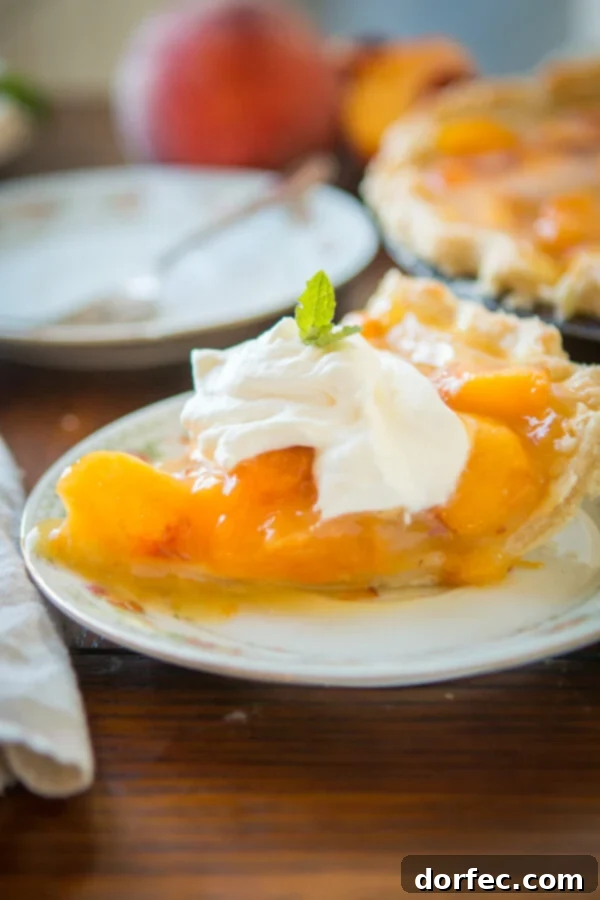
Luscious Lemon Jello Peach Pie: A Bright and Easy Summer Dessert
Prepare to be delighted! Yes, you heard that right – we’re talking about a sensational Lemon Jello Peach Pie. This unique and utterly delicious dessert is the quintessential way to savor those perfectly ripe, juicy globes of sweet nectar that grace us during peach season. It’s a vibrant twist on a classic, offering a burst of zesty lemon that perfectly complements the rich sweetness of fresh peaches.
As summer transitions into autumn, the availability of fresh, sun-kissed peaches becomes a precious commodity. For many, a homemade peach pie is more than just a dessert; it’s a nostalgic experience, a taste of comfort and tradition. This particular recipe elevates that experience by introducing the bright, tangy notes of lemon jello, creating a refreshing pie that is both simple to make and incredibly satisfying.
You might be thinking, “Lemon jello in a peach pie? How does that work?” The secret lies in how the lemon jello works its magic, not only in adding a delightful citrus zing but also in helping to set the peach filling to perfection. The result is a beautifully vibrant, stable pie that holds its shape and delivers an irresistible sweet-tart flavor profile. It’s a dessert that truly captures the essence of summer, perfect for enjoying on a lazy afternoon or as the grand finale to a backyard barbecue.
Choosing the Best Peaches for Your Pie
The foundation of any exceptional peach pie begins with selecting the right fruit. While both yellow and white peaches offer their own charms, for a truly flavorful peach pie that stands out, I wholeheartedly recommend using yellow peaches. White peaches, though undeniably juicy and possessing a delicate fragrance, often lack the robust, intense peachy flavor and vibrant color that yellow peaches provide. Yellow peaches are intensely aromatic and pack a punch of flavor that can hold its own against other ingredients, ensuring your pie is rich and peachy through and through.
Beyond color, the type of peach matters. Look for freestone peaches. Freestone varieties are much sweeter, and as their name suggests, the pit (or stone) detaches easily from the flesh, making them incredibly simple to slice and prepare. This saves significant time and effort in the kitchen. When selecting peaches, look for fruit that is firm but yields slightly to gentle pressure. Avoid any with green patches, as they are likely underripe, and steer clear of overly soft or bruised peaches. A fragrant aroma is also a tell-tale sign of a perfectly ripe peach. For an in-depth guide on selecting and preparing the best peaches, you can refer to our peach cobbler post, which shares our favorite freestone varieties and expert tips.
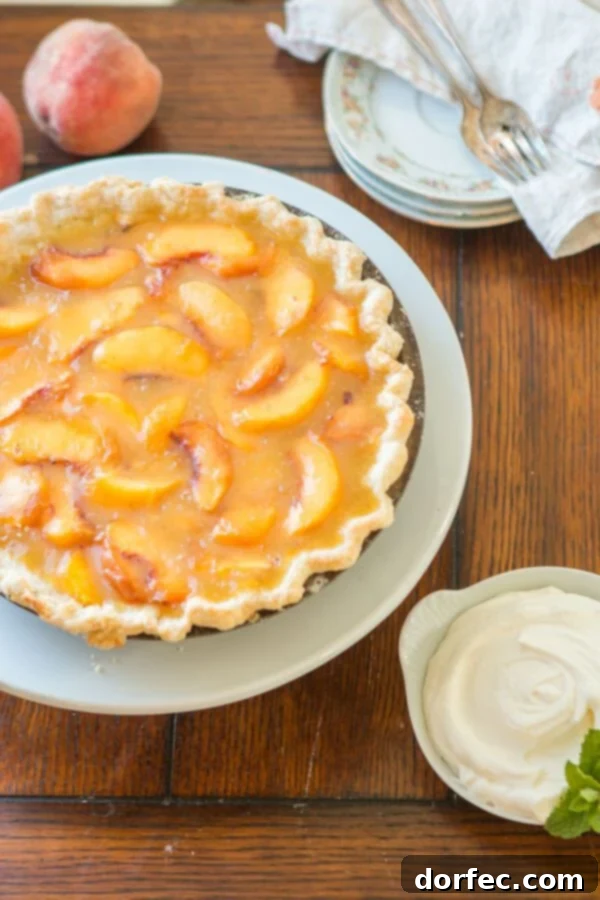
This Lemon Jello Peach Pie is surprisingly straightforward to assemble, offering a “no-bake” advantage for the filling, meaning less oven time during hot summer days. While you do need to bake the pie crust, the filling itself requires no further baking, making it a relatively quick and easy option for a homemade dessert. It’s a refreshing alternative to traditional baked fruit pies, perfect for those who want to enjoy the fresh flavors of summer without overheating their kitchen.
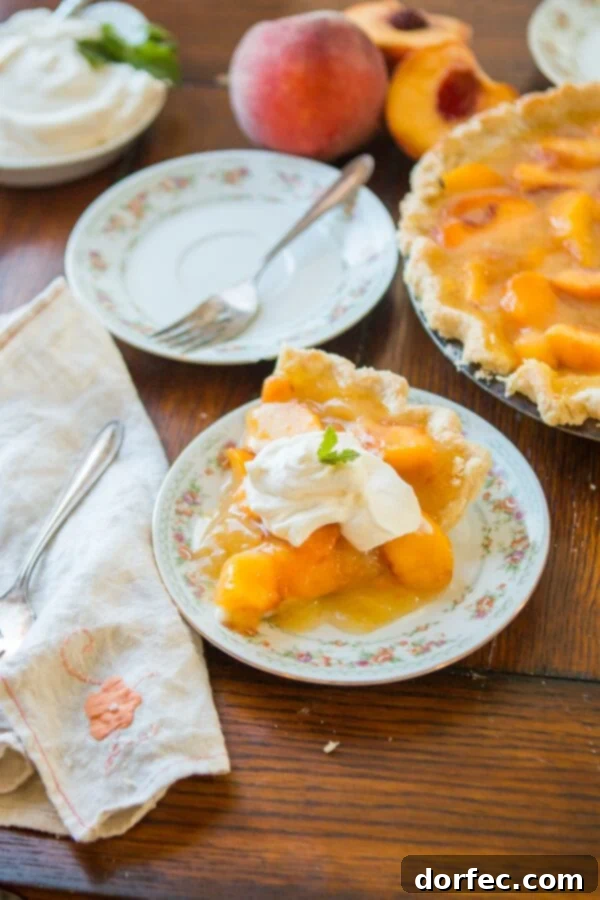
There’s something truly special about savoring a freshly made peach pie as the summer days begin to shorten. For us, a perfectly ripe peach, whether picked from a local farm or orchard, tastes like pure candy. This Lemon Jello Peach Pie embodies that feeling – it’s a dessert meant to be enjoyed casually, perhaps on your back porch, soaking in the last moments of a beautiful day. Even if you consider yourself a novice baker, I promise you can master this recipe. Its simplicity and forgiving nature make it an ideal choice for anyone looking to bake a delicious, impressive pie.
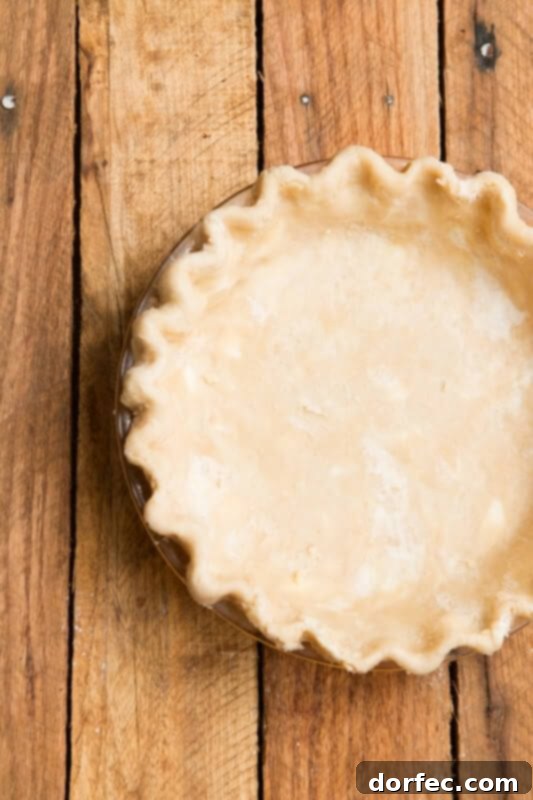
Crafting Your Flaky, Fail-Proof Pie Crust
Every great pie starts with a fantastic crust, and for this Lemon Jello Peach Pie, we turn to my mom’s legendary, fail-proof recipe. This crust is incredibly flaky, easy to work with, and bakes to a beautiful golden perfection. You have flexibility with the fat: use all shortening, all butter, or a delightful half-and-half combination, which is my personal preference for both flavor and flakiness.
To begin, in a large bowl, whisk together your flour and salt. The salt is not just for flavor; it’s an essential component in pie making, providing a crucial balance to the sweet filling and enhancing the overall taste of the crust. In a separate glass measuring cup, whisk an egg and a dash of vinegar. Add 3-4 ice cubes and then fill the cup with water up to the 1/2 cup mark. The ice-cold water is key to achieving that tender, flaky texture, preventing the butter/shortening from melting too soon.
Gradually add the ice water mixture, one tablespoon at a time, using a fork to gently stir the dough. Stop adding water when the dough appears shaggy and just barely holds together – avoid overmixing, as this can lead to a tough crust. Divide the dough into two equal portions. Tightly wrap one portion in plastic wrap and place it in a freezer bag; this can be stored in the freezer for your next pie-making adventure! The other portion is for your current masterpiece.
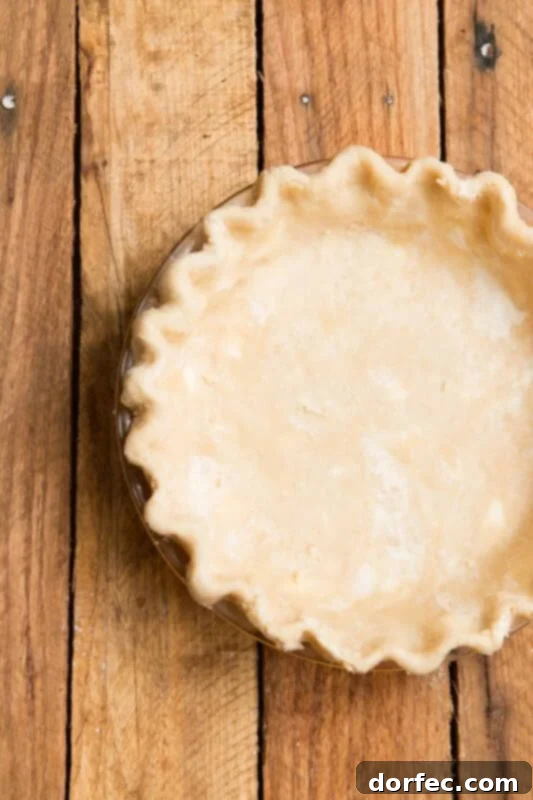
On a lightly floured surface, roll out the remaining dough into a circle large enough to fit your pie plate. Handle the dough gently. A trick for easy transfer is to gently fold the rolled dough in half, then in half again the opposite way, creating a wedge. Carefully place this wedge into your pie plate and unfold it, allowing it to lay open and fill the plate.
The most critical step in forming the crust is to avoid stretching the dough. Stretching will cause the crust to shrink significantly during baking, resulting in an uneven and less attractive pie. Trim the edges of the dough, leaving a slight overhang. Then, fold this overhang underneath itself to create a thicker, more substantial edge. You can crimp the edges with your fingers or press them firmly with the tines of a fork for a decorative finish. Finally, prick the bottom and sides of the dough all over with a fork (but do not prick the top edges) to prevent bubbling during baking. Bake the crust at 375°F (190°C) for approximately 15-20 minutes, or until lightly golden. Allow it to cool completely before adding the filling.
Troubleshooting: What Makes Pie Crust Tough?
Achieving a tender, flaky pie crust can sometimes feel like a delicate balance. Here are common culprits that lead to a tough crust, and how to avoid them:
- **Too Much Water:** Overhydrating your dough results in a sticky, unmanageable texture. When baked, this excessive moisture translates into a dense, chewy crust rather than the desired flakiness. Always add water gradually, just until the dough comes together.
- **Too Little Liquid:** Conversely, insufficient liquid will cause your pastry to crack, crumble, and fall apart during the crucial rolling and shaping stages. The dough needs just enough moisture to bind it together without becoming wet.
- **Overworking the Dough:** This is perhaps the most common mistake. When flour and water are mixed, gluten develops. The more you mix or knead the dough, the more gluten develops, leading to a tough, elastic texture. Handle your dough as little as possible, mixing only until combined.
- **Warm Ingredients:** Using warm butter or water can cause the fat to melt into the flour too quickly. Cold fat is essential for creating pockets of steam during baking, which are what give pie crust its signature flaky layers.
The Bright and Juicy Lemon Jello Peach Pie Filling
Once your perfect pie crust is baked and cooled, it’s time to create the star of the show: the vibrant Lemon Jello Peach Pie filling. This filling is quick, easy, and bursting with fresh peach flavor, enhanced by a delightful lemony zest.

First, ensure your peaches are peeled and sliced. A simple method for peeling peaches is to blanch them in boiling water for about 30-60 seconds, then immediately transfer them to an ice bath. The skins should slip off easily. Once peeled, slice them into uniform pieces and set them aside.
The filling process is quick and simple. You’ll create a thickened base that will later incorporate the lemon jello and fresh peaches. Once the mixture is perfectly thickened, gently fold in your prepared peaches. Their fresh, natural sweetness will shine through. Pour this beautiful, fruity mixture into your cooled pie crust.
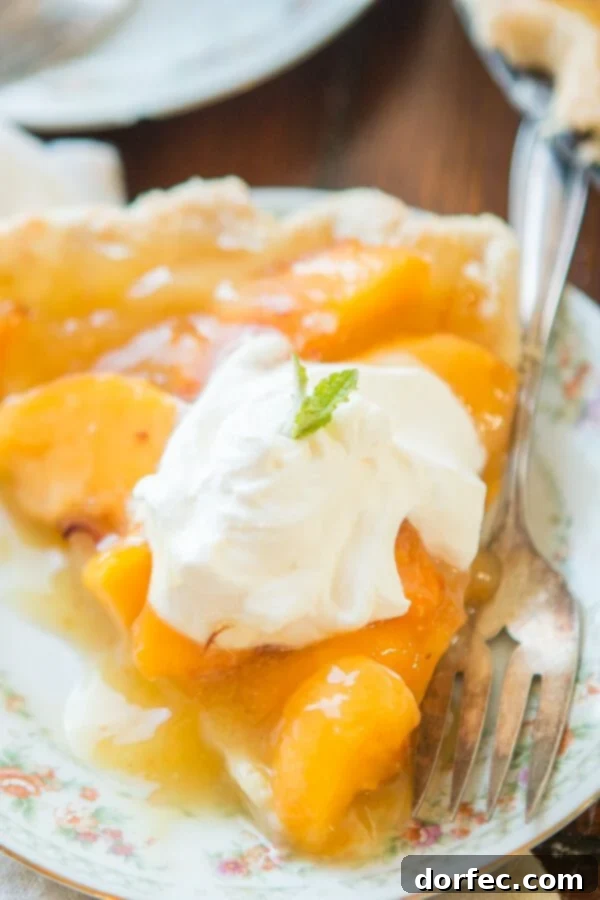
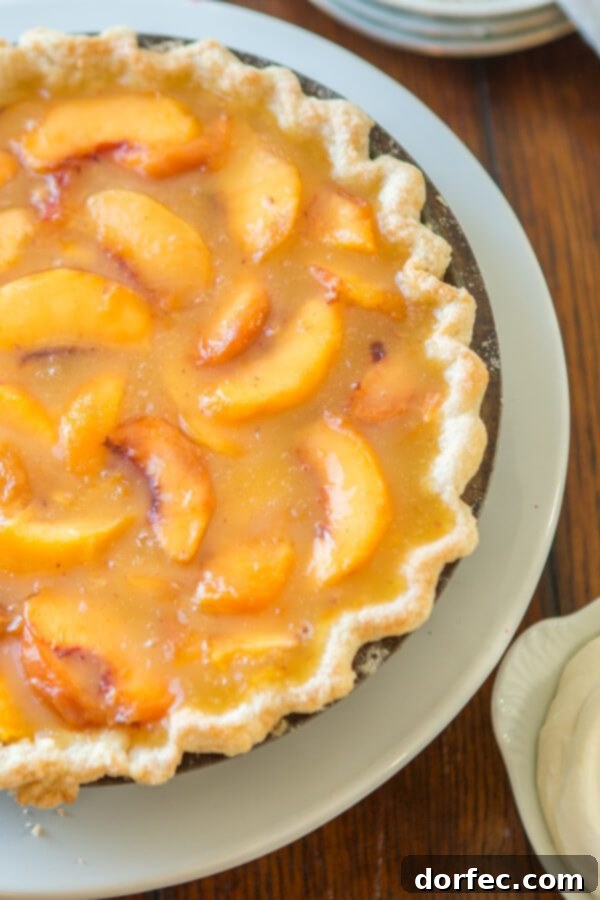
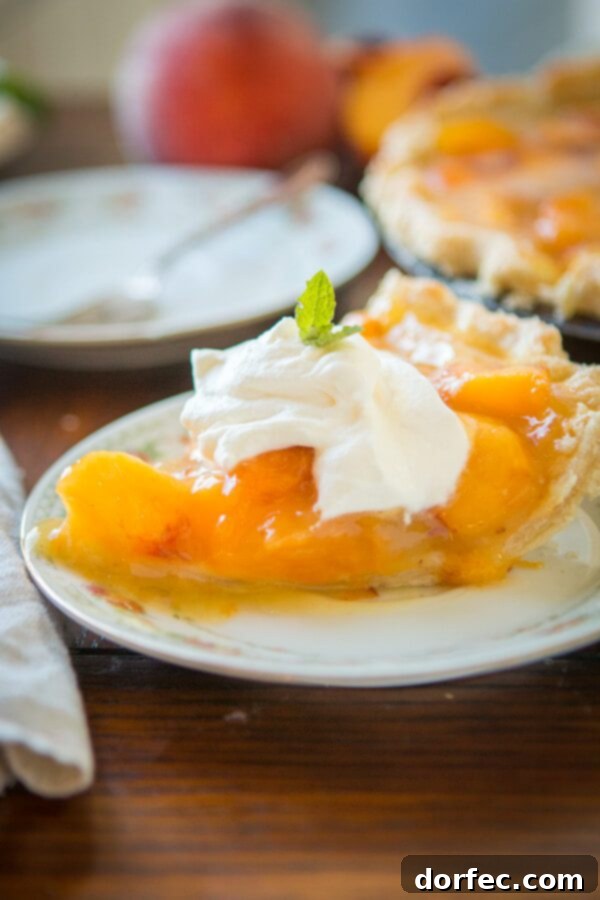
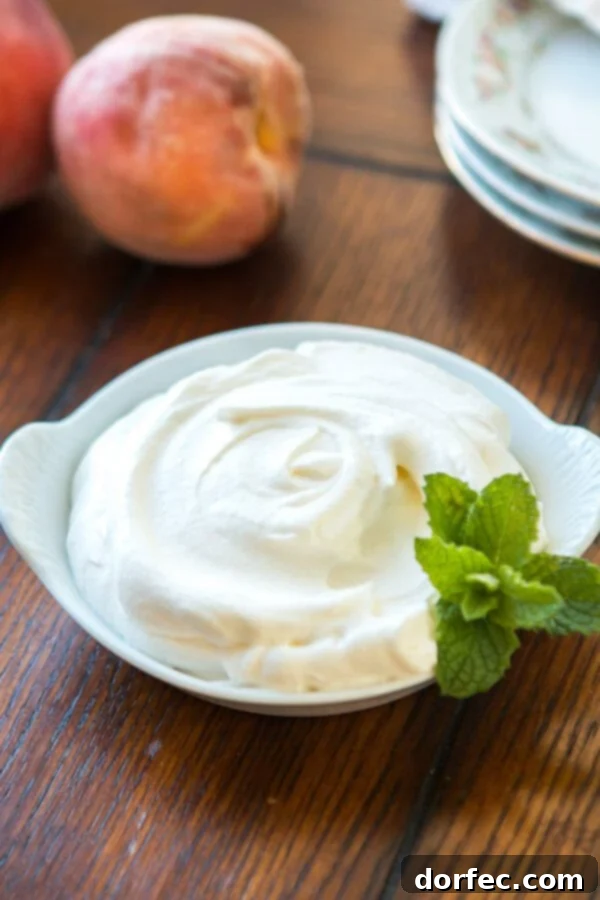
For the pie to set properly and achieve that ideal jello-infused consistency, refrigerate it for at least 4 hours, or ideally, overnight. This chilling time is crucial for the jello to fully activate and for the flavors to meld beautifully. Serve this delightful Lemon Jello Peach Pie chilled, topped generously with freshly whipped cream or a scoop of vanilla bean ice cream for an extra touch of indulgence. The creamy topping provides a lovely contrast to the tangy, sweet fruit filling.
Is It Possible to Save Whipped Cream That Has Separated?
Accidentally over-whipping cream is a common kitchen mishap. If your whipped cream has separated to the point where it looks like butter and buttermilk, unfortunately, it cannot be reverted back to its fluffy whipped state. The good news, however, is that you haven’t wasted your cream entirely! You can simply drain it through some cheesecloth, and you’ll be left with lovely fresh homemade butter, and the liquid will be buttermilk – both useful in other recipes!
On the other hand, if you’re referring to whipped cream that you prepared yesterday and has now started to “weep” (meaning it’s sitting in a pool of its own liquid), it is generally still fine to use. While it may not be as light and airy as it was when freshly made, it remains perfectly safe and tasty, especially as a topping for this delicious Lemon Jello Peach Pie. Just give it a gentle stir before serving.
The Complete Lemon Jello Peach Pie Recipe
Lemon Jello Peach Pie
By Sweet Basil
Prep Time: 20 minutes
Cook Time: 10 minutes
Total Time: 30 minutes (plus 4 hours chilling)
Servings: 8

This easy Lemon Jello Peach Pie is a perfect way to enjoy juicy, seasonal peaches with a refreshing citrus twist. The no-bake filling makes it a quick and impressive summer dessert.
Ingredients
For the Crust
- 1 Magic Pie Crust, baked (see note)
For the Filling
- 1 Cup Water
- 1 Cup Sugar
- 3 Tablespoons Cornstarch
- 2 Tablespoons Water
- 2 Tablespoons Lemon Jello powder
- Dash of Salt
- 1 Tablespoon Butter
- 1 teaspoon Vanilla extract
- 2 Drops Yellow Food Coloring (optional, for vibrant color)
- 3 Cups Peaches, peeled and sliced
Instructions
- Bring 1 cup of water and 1 cup of sugar to a boil in a saucepan over medium-high heat.
- In a small bowl, stir together the cornstarch and 2 tablespoons of water until smooth. This creates a slurry.
- Add the cornstarch slurry to the boiling sugar water mixture and cook, stirring constantly, until the mixture has thickened.
- Remove the saucepan from the heat.
- Whisk in the lemon jello powder, dash of salt, butter, vanilla extract, and yellow food coloring (if using) until the mixture is smooth and all ingredients are fully incorporated.
- Place the filling mixture in the fridge to cool completely, or set it aside on the counter until it reaches room temperature.
- Once the filling mixture is cooled, gently fold in the peeled and sliced peaches. Pour the entire mixture evenly into your baked pie crust.
- Refrigerate the pie until it is completely set, which will take about 4 hours.
Recipe Notes
Peach Pie will keep well for 4-5 days when stored in the refrigerator.
**See our lemon meringue pie post for all our best tips and tricks on how to blind bake a pie crust perfectly every time.
Nutrition
Serving: 1g, Calories: 193kcal, Carbohydrates: 41g, Protein: 1g, Fat: 3g, Saturated Fat: 2g, Polyunsaturated Fat: 2g, Cholesterol: 4mg, Sodium: 77mg, Fiber: 1g, Sugar: 35g
Nutrition information is automatically calculated, so should only be used as an approximation.
More Delicious & Easy Pie Recipes to Try:
- Homemade French Silk Pie
- Dulce de Leche Banana Cream Pie
- Peach Blackberry Galette
- Dutch Mixed Berry Pie
- Cinnamon Roll Apple Pie
- Marionberry Pie
- Peanut Butter Banana Cream Pie
- The Perfect Razzleberry Pie
- Easy No-Bake Chocolate Pie
- Simple Blueberry Pie
- Strawberry Icebox Pie
- No-Bake Lemon Cream Pie
- ALL OF OUR PIE RECIPES!
Master the Perfect Pie Crust
Discover the secret to a consistently flaky and easy-to-roll pie crust with our Mom’s Perfect Pie Crust recipe. This tried-and-true method, featuring an egg and vinegar, ensures an ultra-flaky texture that’s surprisingly simple to achieve.
Whether you’re making a sweet dessert or a savory quiche, a reliable pie crust recipe is a foundational skill for any home baker. Our detailed guide will walk you through each step, from mixing the ingredients to perfectly blind baking, guaranteeing a crust that’s both tender and sturdy enough to hold any filling. Say goodbye to tough, crumbly crusts and hello to pie perfection!
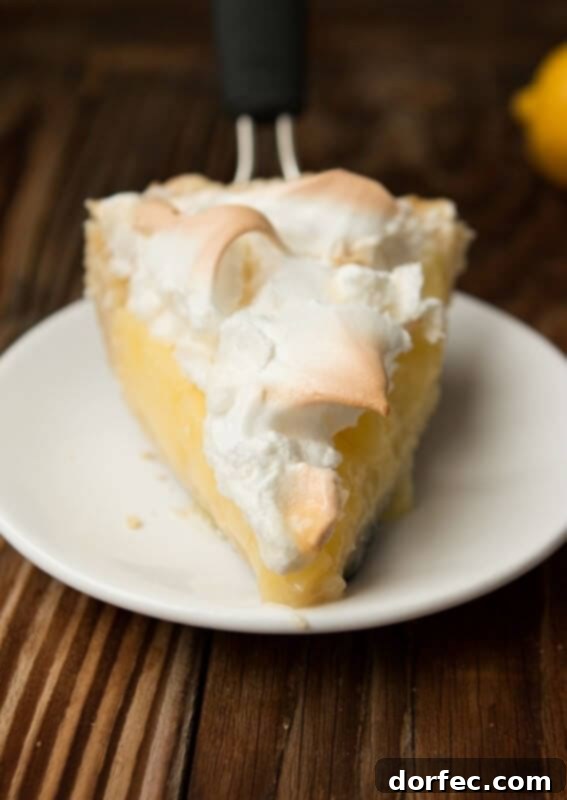
Mom’s Famous Lemon Meringue Pie
If you’re a fan of bright, tangy flavors and cloud-like textures, you absolutely must try our Mom’s Famous Lemon Meringue Pie. This recipe is renowned for its luscious, tart lemon filling, perfectly balanced by towering, billowy meringue peaks that are light as air. It’s a show-stopping dessert that has earned its reputation through generations of rave reviews. Learn the secrets to achieving that irresistible balance of sweet and tart, and the techniques for creating meringue that stands tall and proud, making it a truly unforgettable treat for any occasion.
Irresistible Dutch Apple Pie
For those who adore the comforting flavors of apple pie, prepare to fall in love with one of our most popular recipes: Dutch Apple Pie. This isn’t just any apple pie; it’s hands down my absolute favorite. What makes it so special is its decadent crumb topping, which adds a delightful texture and rich, buttery flavor that perfectly complements the tender, spiced apple filling. And the secret ingredient? A luscious white chocolate butter sauce that takes this classic dessert to an entirely new level of indulgence. It’s a must-try for any apple pie enthusiast, promising a truly memorable baking and eating experience.