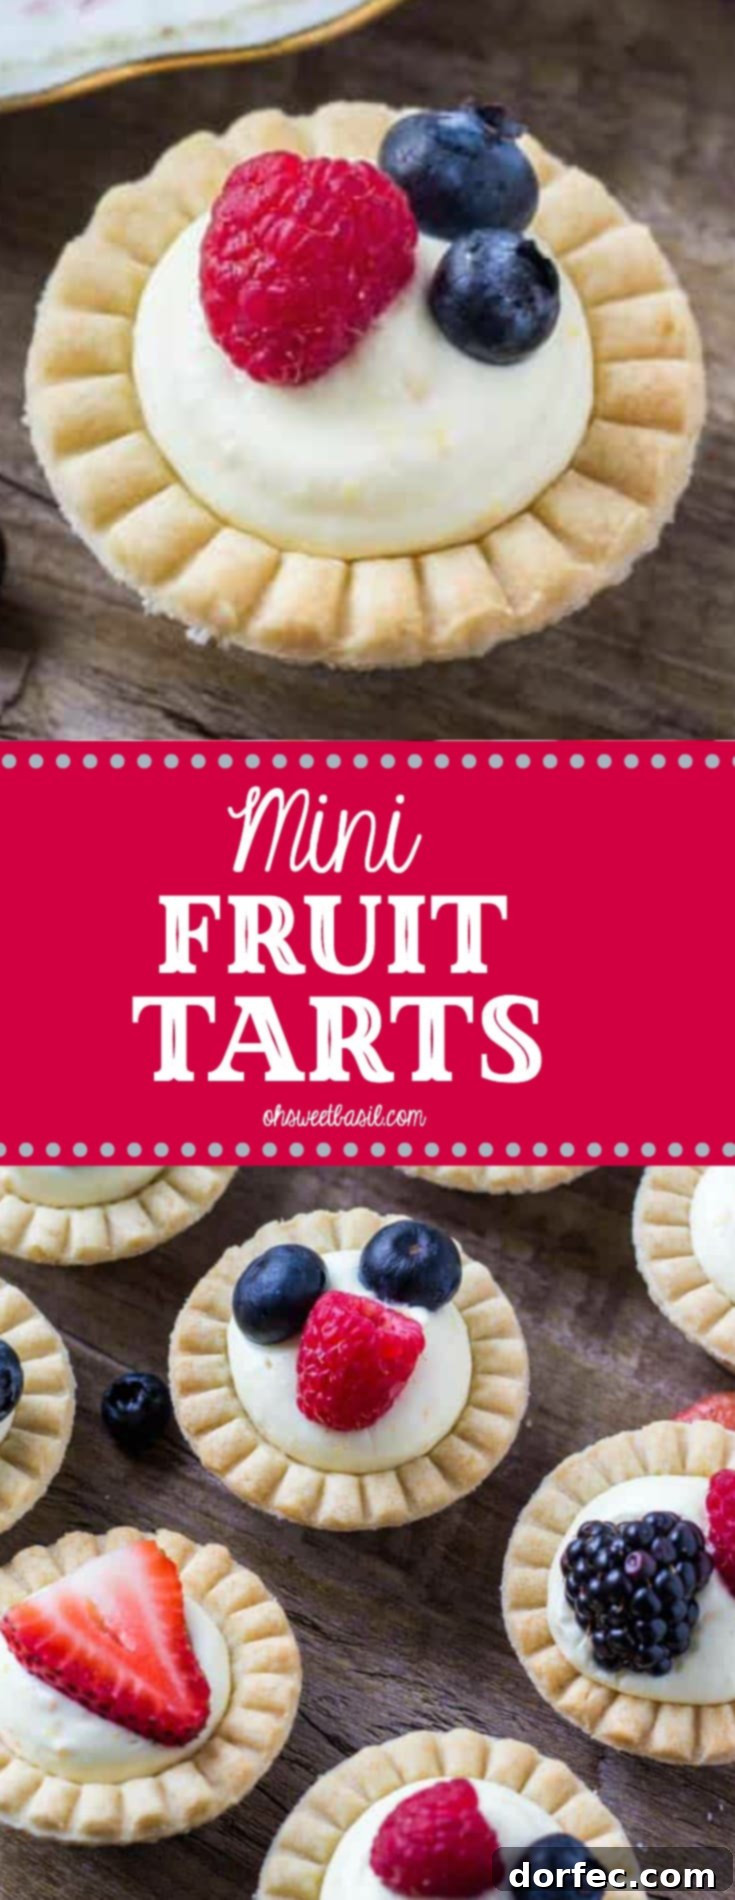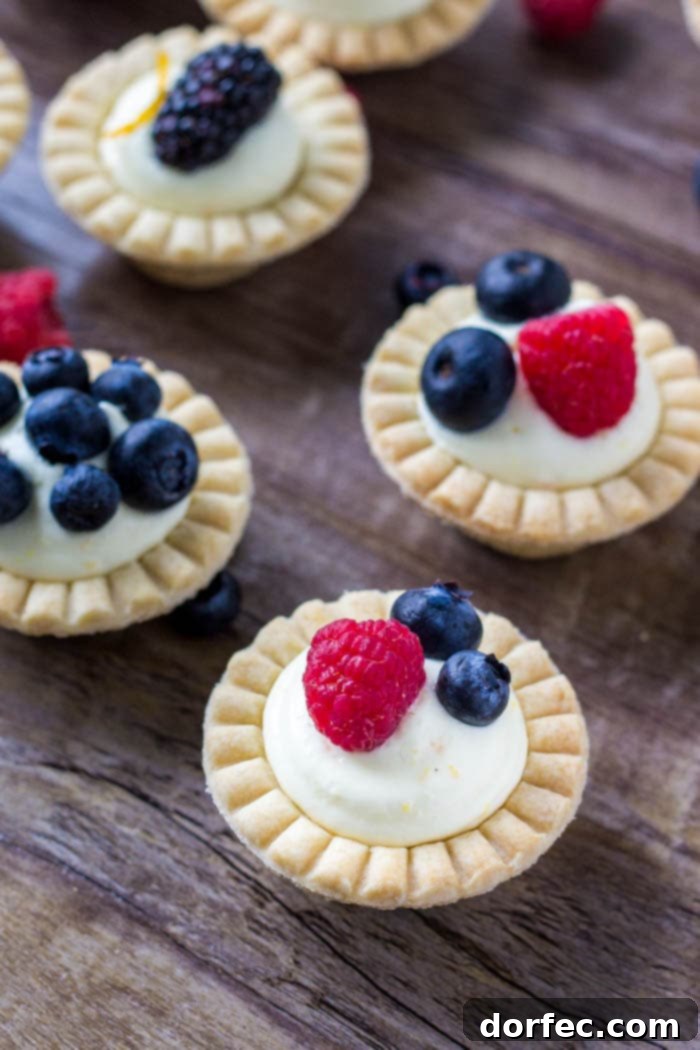
Welcome to your new go-to recipe for effortlessly charming desserts! These delightful mini fruit tarts perfectly combine a crisp, flaky pastry shell with a luscious, sweet vanilla cream filling, all crowned with an abundance of vibrant, fresh berries. What makes this recipe an absolute game-changer is its incredible simplicity: we skip the complex pastry-making process by using readily available frozen tart shells, and the creamy filling comes together in minutes with a clever shortcut – vanilla pudding mix transformed into a light, airy delight.
Imagine serving a dessert that looks like it took hours of professional effort, yet you whipped it up in under an hour. These easy mini fruit tarts are exactly that. Each bite-sized treat delivers a harmonious blend of textures and flavors: the buttery crunch of the pastry, the smooth, sweet vanilla, and the juicy burst of fresh fruit. They are not just delicious; their miniature size makes them undeniably adorable and perfect for any gathering.
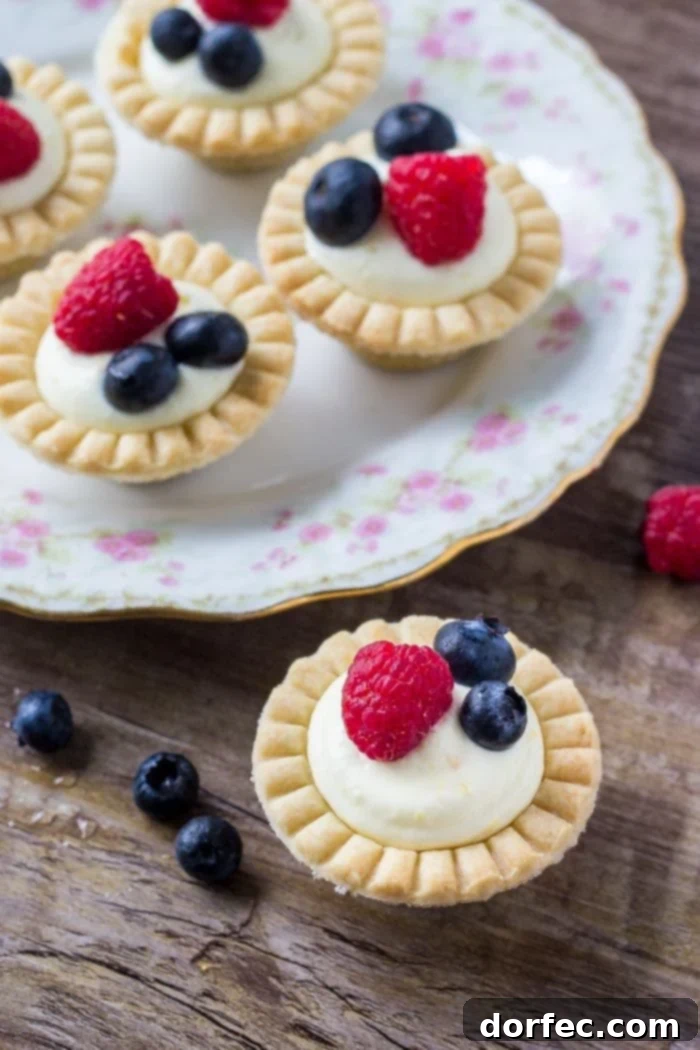
Whether you’re hosting a brunch, contributing to a potluck, or simply craving a beautiful yet stress-free sweet treat, these mini fruit tarts are an ideal choice. Their elegance belies their ease of preparation, making them a fantastic option for both novice and experienced bakers alike. Forget the hours of kneading dough or the anxiety of a custardy filling; this recipe focuses purely on enjoyment and delicious results.
Embracing Simplicity: Why These Mini Tarts Are So Easy
Traditional tart recipes can often feel daunting, and for good reason. Crafting the perfect pastry crust from scratch involves precise measurements, careful chilling, delicate rolling, and often a nerve-wracking blind-baking process to prevent a soggy bottom. Many home bakers find themselves battling shrinking crusts, cracks, or uneven baking, which can easily turn a relaxing kitchen session into a frustrating ordeal. Furthermore, traditional French pastry cream (crème pâtissière) requires tempering eggs with hot milk, a technique that, if not executed flawlessly, can result in scrambled eggs rather than a silky-smooth custard. This delicate balance of heat and whisking often deters many from attempting homemade tarts.
This recipe, however, champions a smart, accessible approach without sacrificing flavor or presentation. By leveraging store-bought frozen mini tart shells, we eliminate the most time-consuming and often intimidating step of tart making. These pre-formed shells bake up perfectly golden and flaky every time, providing a reliable and delicious base for your dessert. The vanilla cream filling is equally straightforward, utilizing instant pudding mix as its foundation. This ingenious shortcut ensures a consistently smooth, fluffy, and sweet cream without any of the fuss associated with preparing a classic custard. It’s a testament to how simple ingredients, combined thoughtfully, can create truly impressive results.
Crafting Your Easy Mini Fruit Tarts: A Step-by-Step Guide
Creating these charming mini fruit tarts is a process designed for ease and enjoyment. Follow these simple steps to bring them to life in your kitchen:
1. Prepare the Tart Shells: Begin by baking your chosen frozen mini tart shells according to the package instructions. This usually involves placing them on a baking sheet and baking until they are golden brown and crisp. Once baked, it’s crucial to let them cool completely on a wire rack. This prevents the filling from melting and ensures the pastry remains delightfully flaky.
2. Whisk the Vanilla Pudding Base: In a medium bowl, combine one package of vanilla instant pudding mix (the 4-serving sized box works perfectly) with 1 cup of cold milk. Whisk vigorously for about 2 minutes, either by hand or using the whisk attachment of an electric mixer on low speed. You’ll notice the mixture begin to thicken rapidly, transforming into a smooth, creamy pudding. The cold milk helps the pudding set quickly and achieve the desired consistency.
3. Fold in Whipped Topping and Zest: Once your vanilla pudding is thick, gently fold in 1 cup of thawed whipped topping. This step is key to creating that light, airy, and fluffy cream texture that makes these tarts so irresistible. The whipped topping adds a delicate sweetness and a wonderfully smooth mouthfeel. For an extra layer of brightness and to balance the sweetness, incorporate 2 teaspoons of fresh orange zest. The citrus note complements the vanilla beautifully, adding a subtle tang that elevates the overall flavor profile.
4. Fill the Tart Shells: Now comes the fun part – filling your cooled tart shells! You can simply spoon the creamy vanilla filling into each shell, mounding it slightly for an appealing dome. For a more polished and elegant presentation, transfer the filling to a piping bag fitted with a large round tip. Pipe the filling neatly into each shell, creating a professional-looking swirl or peak. This method not only looks impressive but also allows for precise control over the filling amount.
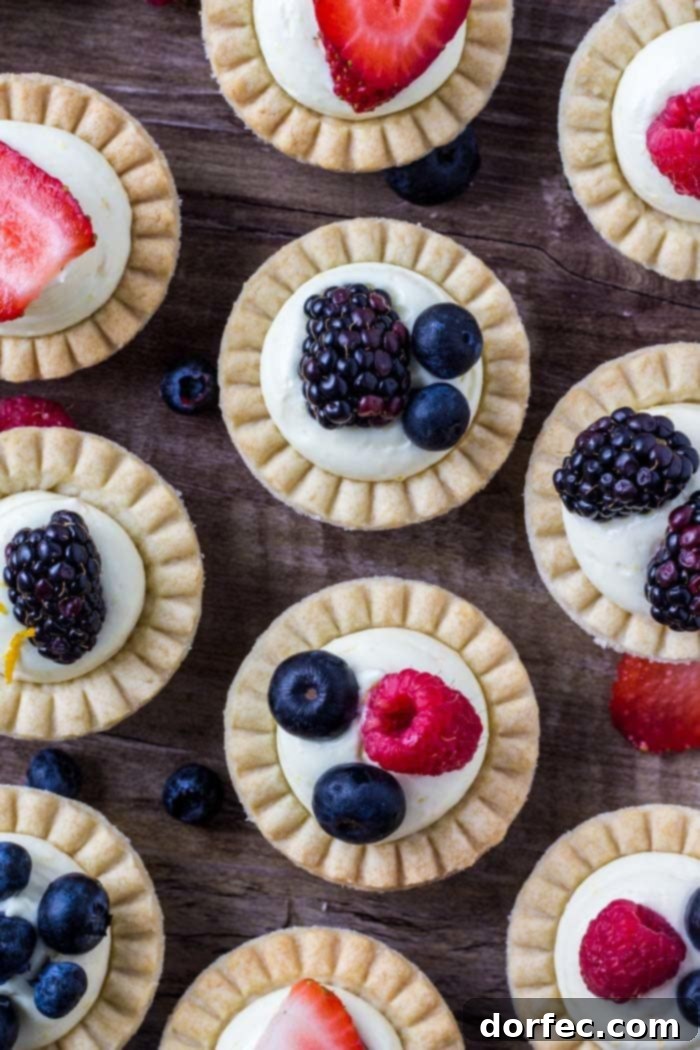
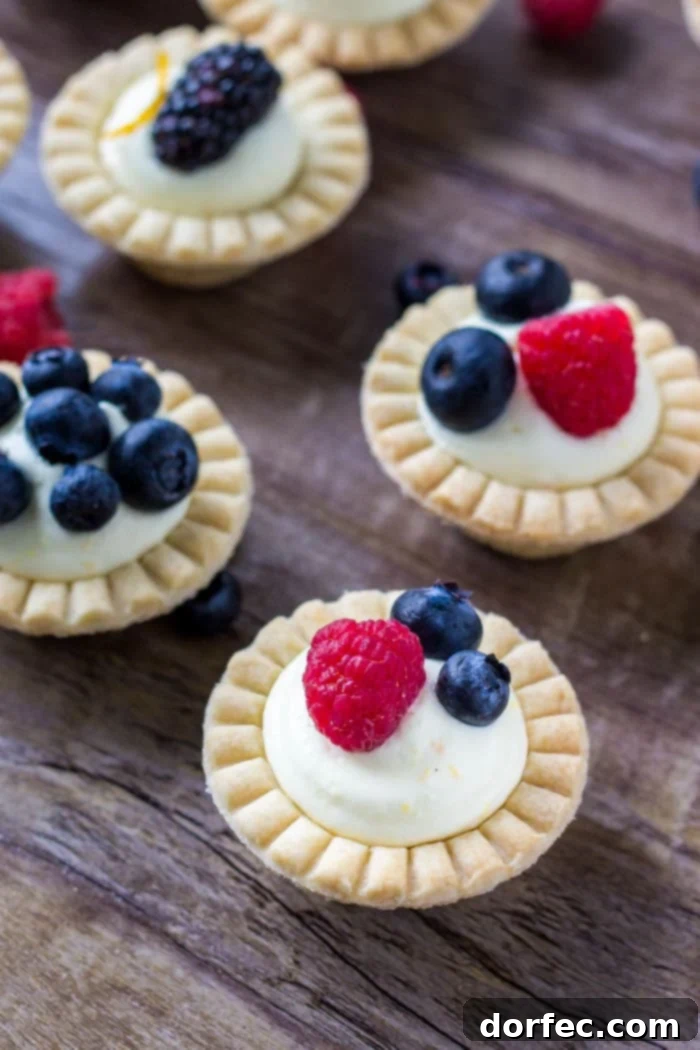
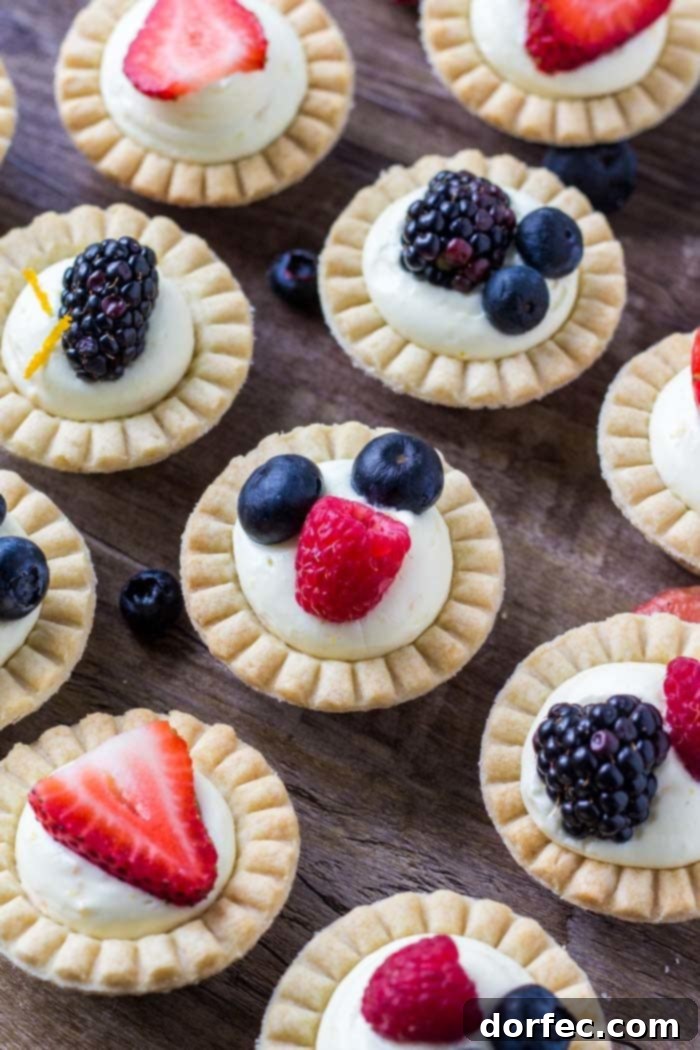
5. Garnish with Fresh Berries: The final touch that truly makes these tarts shine is the fresh fruit. Arrange 1 cup of your favorite fresh berries on top of the vanilla cream filling. A medley of colorful berries like strawberries, blueberries, raspberries, and blackberries creates a stunning visual appeal and provides a delightful contrast in flavor and texture. The natural sweetness and slight tartness of the berries cut through the rich cream, making each tart a perfectly balanced bite.
And just like that, your easy mini fruit tarts are ready to be served and enjoyed! The minimal effort yields maximum impact, making them a brilliant choice for any occasion.
Unleash Your Creativity: Different Flavored Tart Fillings and Toppings
While the classic vanilla and berry combination is undeniably delicious, this recipe is wonderfully adaptable, inviting you to experiment with different flavors and ingredients to suit your taste and seasonal availability. The beauty of using instant pudding mix is the sheer variety of options it offers. Craving something zesty? Swap the vanilla pudding for lemon or cheesecake flavored pudding. If you opt for lemon pudding, consider replacing the orange zest with 1 teaspoon of fresh lemon zest to enhance the citrusy notes.
Beyond the filling, the choice of fruit can dramatically change the character of your tarts. While fresh berries are a summer favorite, don’t limit yourself! Try vibrant sliced kiwi, juicy mandarin oranges (canned and well-drained work well), or even a tropical medley of pineapple and mango for an exotic twist. In autumn, thinly sliced apples or pears, perhaps lightly sautéed with cinnamon, could be a cozy option. For a more decadent touch, drizzle a little melted chocolate over the fruit, sprinkle with toasted coconut flakes, or add a dusting of powdered sugar just before serving. The possibilities are truly endless, allowing you to customize these mini fruit tarts for any season or celebration.
These easy-to-make, super delicious, and utterly adorable mini fruit tarts are truly a perfect dessert for any occasion. The delightful contrast of the crisp, buttery pastry, the creamy, sweet vanilla filling, and the burst of fresh fruit creates a harmonious symphony of flavors and textures in every bite. If you’re searching for a quick, impressive, and versatile bite-sized dessert that’s sure to please everyone, look no further than these charming mini fruit tarts.
Tips for Perfect Mini Fruit Tarts Every Time
- Cooling is Key: Ensure your baked tart shells are completely cool before adding the filling. Warm shells will cause the pudding to thin out and potentially make the pastry soggy.
- Chilling the Filling: While instant pudding sets quickly, giving the assembled tarts a short chill in the refrigerator (30 minutes to an hour) will help the filling firm up even more, ensuring a clean slice and a refreshing bite.
- Best Berries: Use fresh, ripe berries for the best flavor and appearance. If using larger fruits like strawberries, slice them thinly for easier eating.
- Make Ahead Option: You can bake the tart shells a day in advance and store them in an airtight container at room temperature. Prepare the pudding filling a few hours ahead and keep it chilled in the refrigerator. Assemble the tarts just before serving to ensure the freshest look and prevent the crust from becoming soft.
- Storage: Store any leftover mini fruit tarts in an airtight container in the refrigerator for up to 2-3 days. The pastry might soften slightly over time, but they will still be delicious.
More Delicious Dessert Recipes to Explore
If you’re a fan of fruit-filled treats or simply love a decadent dessert, we have plenty more recipes to tempt your taste buds. Be sure to try these delightful creations:
- Cheesecake Berry Salad
- Very Berry Brownie Pizza
- Mom’s Fruit Pizza
Indulgent Desserts You’ll Adore:
- Dulce de Leche Chocolate Cheesecake
- Salted Caramel Crème Brûlée
- Lime Cheesecake with Triple Berry Sauce
- Lemon Poppy Seed Cake with Cream Cheese Frosting
- Flourless Chocolate Cake
- Caramel Brownies from Scratch
- Instant Pot Peanut Butter Cup Cheesecake
- Nutella Dulce de Leche Chocolate Chip Cookie Pie
- Peanut Butter Cheesecake Oreo Brownies
- Reese’s Peanut Butter Marshmallow Cookie Pie
- All our DESSERT RECIPES!
Easy Mini Fruit Tarts Recipe
Description
These adorable easy mini fruit tarts combine flaky pastry with a sweet, fluffy vanilla cream filling and a vibrant topping of fresh berries. Made with convenient frozen tart shells and instant pudding mix, they are a super easy dessert that looks incredibly impressive.
Recipe Details
- Author: Fiona
- Prep Time: 30 mins
- Cook Time: 10 mins
- Total Time: 45 mins
- Servings: 24 mini tarts
Ingredients
- 24 Frozen Mini Tart Shells
- 1 Package Vanilla Instant Pudding Mix (4-serving sized box)
- 1 Cup Cold Milk
- 2 Teaspoons Orange Zest
- 1 Cup Whipped Topping, thawed
- 1 Cup Fresh Berries (mixed berries recommended)
Instructions
- Bake the tart shells according to package instructions. Mine typically take about 10 minutes to bake until golden and crisp. Allow them to cool completely on a wire rack before filling.
- In a large bowl, whisk together the vanilla instant pudding mix and 1 cup of cold milk for approximately 2 minutes. Continue whisking until the mixture becomes thick and creamy. This can be done by hand or using an electric mixer with a whisk attachment on low speed.
- Gently fold the orange zest and the thawed whipped topping into the thickened pudding mixture. Fold until just combined, being careful not to overmix, to maintain the light and airy texture.
- Spoon the creamy vanilla filling into each of the cooled tart shells. For a more decorative touch, you can transfer the filling to a piping bag fitted with a large round tip and pipe it into the shells.
- Decorate each filled tart with a generous assortment of fresh fruit, such as a colorful mix of berries. Serve immediately or chill for a short period before serving for an even firmer filling.
Recipe Notes
- Store finished tarts in an airtight container in the refrigerator.
- If transporting, leaving the tinfoil from the tart shells on can help protect them.
Nutrition Information (Approximate per serving)
- Serving: 1 tart
- Calories: 49 kcal
- Carbohydrates: 7g
- Protein: 1g
- Fat: 2g
- Saturated Fat: 1g
- Cholesterol: 3mg
- Sodium: 29mg
- Sugar: 3g
Nutrition information is automatically calculated, so should only be used as an approximation.
Like this recipe? We’d love to hear from you! Leave a comment below and let us know how your mini fruit tarts turned out. Your feedback makes our community stronger!
REMEMBER TO SUBSCRIBE TO OUR FREE Oh Sweet Basil NEWSLETTER AND RECEIVE EASY RECIPES DELIVERED INTO YOUR INBOX EVERY DAY!
When you try a recipe, please use the hashtag #ohsweetbasil on INSTAGRAM for a chance to be featured in our stories! FOLLOW OH, SWEET BASIL ON FACEBOOK | INSTAGRAM | PINTEREST | TWITTER FOR ALL OF OUR LATEST CONTENT, RECIPES AND STORIES.