
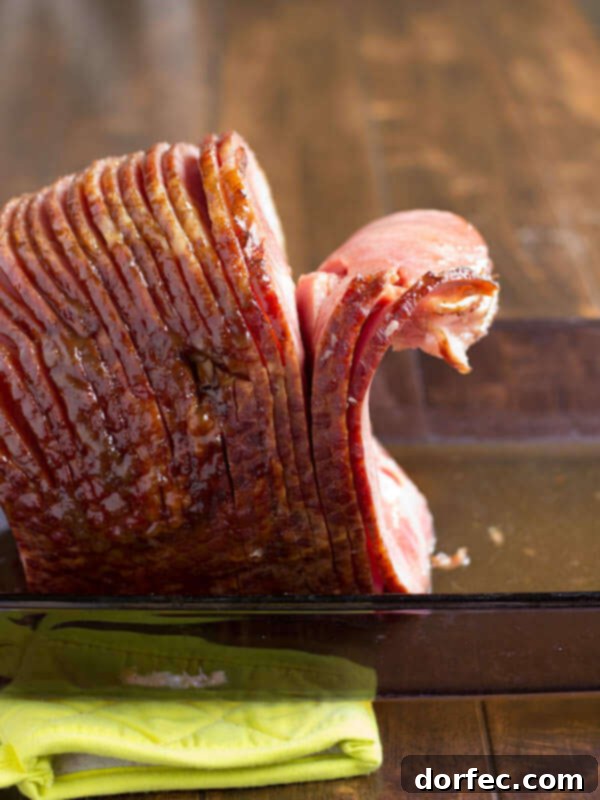
Mastering the Art of Carving a Spiral Sliced Ham: A Step-by-Step Guide
A beautifully prepared spiral sliced ham is often the centerpiece of a memorable holiday feast, be it Christmas dinner, Easter brunch, or any significant family gathering. Its pre-sliced convenience, combined with a rich, smoky flavor and often a sweet glaze, makes it an incredibly popular choice for hosts aiming to impress. However, the seemingly simple task of removing the ham from the bone and serving those perfectly glazed, tender slices without them tearing into tiny bits can often be a source of frustration for even experienced home cooks. Many find themselves struggling with the central bone, inadvertently damaging delicate slices, and ultimately compromising the elegant presentation they envisioned. But there’s no need to dread this step! This comprehensive guide is designed to empower you with the precise knowledge and techniques required to confidently carve your spiral ham, ensuring a stunning display and an effortlessly enjoyable serving experience for all your guests.
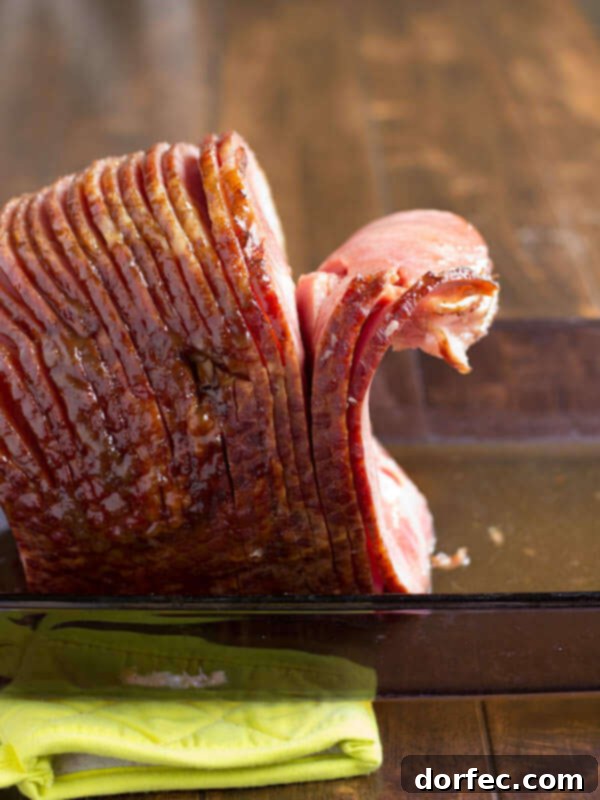
Picture this ideal scenario: a magnificent, golden-brown spiral ham, its surface glistening with a delectable, caramelized glaze, takes pride of place at the heart of your beautifully set dining table. Alongside it, a bowl of creamy scalloped potatoes, vibrant green beans, and other festive side dishes. The goal is for your guests to effortlessly pick up perfectly intact, succulent slices of ham, savoring every tender bite, rather than wrestling with the meat to detach it from the bone. This detailed guide will transform what might appear to be a challenging carving task into an enjoyable and simple part of your holiday meal preparation. By the time you’ve finished reading and practicing, you’ll be fully equipped to host the perfect dinner party, leaving your guests utterly impressed by both the flavor and presentation of your spectacular spiral ham.
The Enduring Appeal of Spiral Sliced Ham
Spiral sliced hams have become a culinary staple for countless families, and for good reason. Their inherent convenience is a major draw; the pre-cut nature means that much of the laborious slicing is already done for you, allowing for quicker reheating and a more efficient application of glazes and seasonings. This unique spiral cut isn’t just for convenience; it also allows glazes and marinades to penetrate deeper into the meat, infusing every fiber with flavor and enhancing its natural tenderness. Furthermore, the uniform slices ensure even cooking throughout the ham, preventing dry spots and promoting a consistently delicious result. Visually, a spiral ham presents beautifully on a platter, offering an elegant and inviting centerpiece for any occasion. It’s truly the ideal choice for feeding a crowd, offering a perfect balance of ease, exceptional taste, and stunning presentation.
Essential Tools for Effortless Ham Carving
Before you embark on the carving process, gathering the correct tools is paramount. Having the right equipment makes a significant difference, ensuring clean cuts, safety, and an overall smoother experience. Here’s what you’ll need to have on hand:
- A Sharp Carving Knife: This is arguably the most crucial tool. A long (at least 10-12 inches), thin, and exceptionally sharp carving knife is essential for making clean, precise cuts. A dull knife will not only make the task more difficult but will also tear the meat, resulting in ragged and unappealing slices. Consider using a carving knife specifically designed for large roasts.
- A Sturdy Carving Fork: A robust carving fork, ideally with two long prongs, is indispensable for stabilizing the ham while you cut. It provides a secure grip, preventing the ham from slipping on the cutting board and allowing for greater control over your knife.
- A Large Cutting Board with a Juice Groove: A spacious and stable cutting board is vital. Opt for one that has a deep juice groove around its perimeter to catch any delicious drippings and glazes, keeping your countertop clean. The larger surface area also provides ample space to maneuver the ham as you carve.
- A Warm Serving Platter: Have a platter warmed and ready to receive the carved slices. Placing the ham on a warm platter helps maintain its temperature until it’s brought to the table.
- Clean Kitchen Towels: Keep a few clean kitchen towels or paper towels nearby for quick clean-ups and to ensure your hands remain dry and grippy.
Preparing Your Ham for Optimal Carving
Once your spiral ham has completed its cooking cycle and its glorious glaze has perfectly set, it’s absolutely crucial to let it rest before you even think about carving. This often-overlooked step is vital for ensuring that every slice of ham you serve is as tender and moist as possible. During cooking, the muscle fibers contract, pushing the juices towards the center of the meat. Resting allows these juices to redistribute evenly throughout the entire ham, preventing them from gushing out onto the cutting board when you make the first cut. Cover the ham loosely with aluminum foil to keep it warm and let it rest for a minimum of 15-20 minutes, or even up to 30 minutes for larger hams, before beginning the carving process. This resting period is just as important as the cooking itself for achieving a truly succulent and flavorful result.
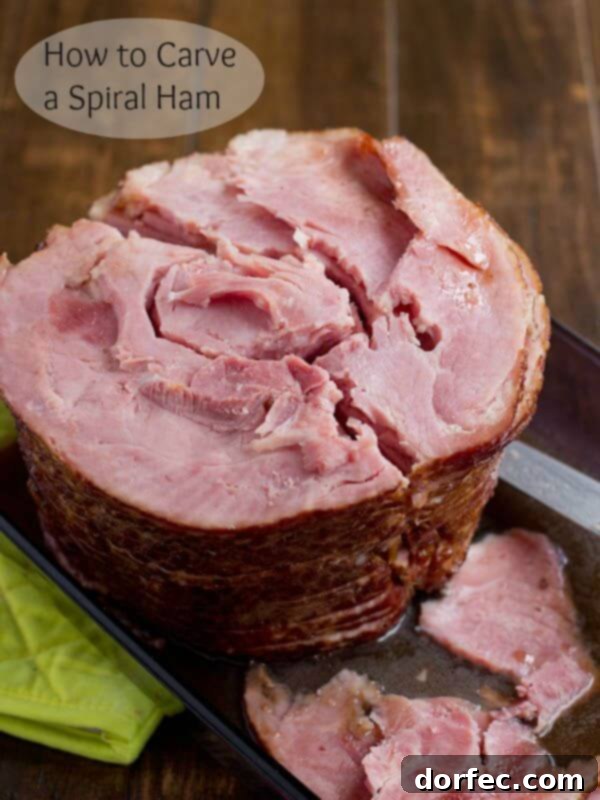
How to Carve a Spiral Sliced Ham: Four Simple Steps for Success
Carving a spiral ham might initially appear to be an intimidating task, especially when faced with that central bone and all those tantalizing pre-cut layers. However, by following these four straightforward steps, you will be able to achieve beautifully presented, intact slices every single time. Say goodbye to struggling with torn pieces and messy serving, and hello to elegant presentation!
- Position the Ham for Stability: Begin by carefully placing the cooked ham onto your large, stable cutting board. The optimal position is with the flat, cut side down. If your ham has a smaller, fattier side, this is generally the side you’ll want facing down, as it provides a more stable and level base for carving. This secure positioning is crucial for preventing the ham from rocking or slipping as you work around the central bone. You’ll know you have it right when you are looking down onto the first, large, irresistible slices of ham, fully visible and ready for separation.
- Isolate and Remove the Bone: With a firm grip on the ham using your carving fork to maintain stability, carefully identify the central bone. Using your long, sharp carving knife, make precise cuts around the entire circumference of the bone. Angle your knife to follow the curvature of the bone as closely as possible, ensuring that you are separating the meat cleanly from the bone. This step requires a steady hand and deliberate cuts to maximize meat yield and achieve clean separation. Continue cutting around the bone until it is completely free from the main body of the ham. Once detached, you can lift the bone away and set it aside for future use (it’s excellent for making stock!).
- Separate Natural Sections: After the bone has been successfully removed, you will notice natural “breaks” or divisions within the ham. These are often indicated by subtle lines of fat or muscle separation. These natural divisions are your guides for the next step. Using your carving knife, cut along these inherent breaks to create larger, more manageable sections of ham. These larger sections will still contain the beautifully pre-cut spiral slices, but now they are easier to handle and separate further.
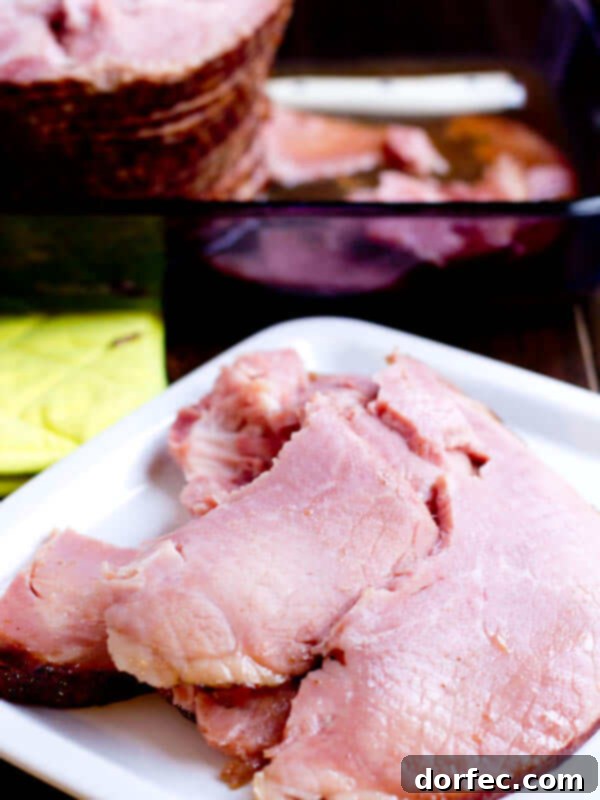
- Slice and Serve with Elegance: Lay these larger, de-boned sections of ham flat on the cutting board. Now, working with one section at a time, you can easily separate the individual spiral slices by simply guiding your knife along the existing cuts. Gently arrange these elegant slices artfully on your warm serving platter. For an even more inviting and professional presentation, you can subtly fan out the slices or overlap them slightly. Your guests will undoubtedly appreciate the ease with which they can retrieve a perfectly cut slice of tender, flavorful ham.
Common Mistakes to Avoid When Carving Ham
While carving a spiral ham is straightforward, certain missteps can hinder your success. Being aware of these common errors will help you achieve the best results:
- Not Allowing Adequate Resting Time: Rushing to carve immediately after removing the ham from the oven is a common mistake that leads to dry, less flavorful meat. Always allow the ham to rest as described above.
- Using a Dull Knife: Attempting to carve with a dull knife is not only inefficient and frustrating, as it tears the meat, but it can also be dangerous. Always ensure your carving knife is razor-sharp before you begin.
- Improper Ham Positioning: Failing to stabilize the ham properly on the cutting board can lead to slips, uneven cuts, and potential accidents. Always ensure it’s flat-side down and secure.
- Discarding the Ham Bone Prematurely: The ham bone is a culinary treasure! Don’t throw it away. It’s packed with flavor and perfect for making rich stocks, hearty soups, or savory bean dishes.
Perfect Pairings: What to Serve with Your Spiral Ham
A festive and flavorful ham deserves equally delicious accompaniments to complete your holiday spread. The right side dishes can perfectly complement the rich, savory taste of the ham. Here are some classic and delightful ideas to enhance your meal:
- Creamy mashed potatoes or rich scalloped potatoes
- Roasted asparagus or a comforting green bean casserole
- Sweet potato casserole topped with toasted marshmallows
- Freshly baked dinner rolls or savory cornbread
- Tangy cranberry sauce or classic apple sauce
- A crisp garden salad with a light vinaigrette
- Glazed carrots or roasted Brussels sprouts
Delightful Spiral Cut Ham Recipes to Try
While the carving technique is important, the true star of your holiday table is the ham itself. Exploring various recipes can elevate your ham to new culinary heights, offering a diverse range of flavors and glazes. Here are some tried-and-true spiral-cut ham recipes to inspire your next feast:
- World’s Best Brown Sugar Ham: A classic, crowd-pleasing choice with a sweet, caramelized crust.
- Honey Baked Ham Copycat: Recreate the beloved restaurant flavor in your own kitchen.
- How to Make Ham in a Slow Cooker or Crockpot: For a hands-off approach that yields incredibly tender results.
- Garlic Honey Mustard Ham: A savory-sweet glaze with a delightful kick of garlic and mustard.
Irresistible Dipping Sauces for Spiral Cut Ham
Elevate each bite of your perfectly carved ham with a complementary dipping sauce. A well-chosen sauce can beautifully enhance the ham’s flavor profile, adding an extra layer of complexity and delight. Whether your ham is bathed in a rich brown sugar glaze, basted with tart apple juice, or sweetened with pure maple syrup, there’s a perfect pairing waiting to be discovered. From tangy and savory to sweet and fruity, a good sauce can transform a simple slice into an extraordinary culinary experience. Explore a diverse range of delicious options to complement any ham flavor and truly impress your guests: Ham Dipping Sauces. Don’t overlook timeless favorites like a vibrant pineapple glaze, a zesty orange marmalade, or a classic sweet and tangy honey mustard to truly complete your ham feast.
Creative Uses for Delicious Leftover Ham
One of the many delightful benefits of serving a generous spiral ham is the promise of delicious leftovers! Don’t let a single savory morsel go to waste. Leftover ham is incredibly versatile and can be transformed into a myriad of new and exciting meals, extending the joy of your holiday feast for days to come. From quick and satisfying breakfasts to hearty dinners, here are some fantastic ideas to make the most of your remaining ham:
- Secret to the Best Ham Fried Rice: A flavorful and quick weeknight meal.
- Spring Ham and Asparagus Lemon Cream Sauce: A light yet satisfying pasta dish.
- Cheesy Ham and Potato Bacon Casserole: Comfort food at its finest, perfect for a chilly evening.
- Ham Lemon Orzo with Parmesan and Peas: A bright and fresh meal, ready in minutes.
- Ham and Cheese Sliders: An incredibly popular appetizer or snack, perfect for parties.
- Hawaiian Ham and Pineapple Casserole: A sweet and savory combination that’s always a hit.
- Ham and Cheese Breakfast Stromboli: A fantastic savory breakfast or brunch option.
- Hash Browns Ham Frittata: An easy and satisfying dish for breakfast, brunch, or even a light dinner.
- Ham Hock Soup: A hearty and flavorful soup, or make a classic Ham Bone Soup using the bone you just carved!
- Easy Ham and Cheese Scones: Savory baked goods perfect for breakfast or a snack.
- Ham and Broccoli Macaroni and Cheese: A comforting and complete meal in one dish.
- Classic Ham and Bean Soup: Utilize that leftover ham bone for a wonderfully smoky and nourishing broth.
- Ham and Egg Scramble: A simple, quick, and satisfying breakfast or brunch.
- Ham Salad Sandwiches: A delicious and easy lunch option, perfect for using up smaller pieces.
Properly Storing Leftover Ham
To ensure your delicious leftover ham remains safe, flavorful, and fresh for as long as possible, proper storage is paramount. Once the ham has completely cooled to room temperature, slice any remaining meat off the bone (if you haven’t already) and transfer it into airtight containers or resealable bags. Store these in the refrigerator, where the ham will typically remain fresh for 3-5 days. For longer storage, you can freeze the ham slices. Arrange them in a single layer on a baking sheet to flash freeze, then transfer to freezer-safe bags or containers. Frozen ham will maintain its quality for up to 1-2 months. Always remember to label and date your containers to keep track of freshness.
With these expert tips, a little confidence, and perhaps a touch of practice, carving a spiral cut ham will seamlessly become an effortless and enjoyable part of your holiday traditions. You’ll no longer approach the carving process with apprehension; instead, you’ll tackle it with newfound confidence, ready to present a beautiful platter of juicy, tender ham slices. Your family and guests will undoubtedly appreciate the perfectly served feast, making your next holiday gathering truly memorable and delicious. Enjoy every succulent bite!