
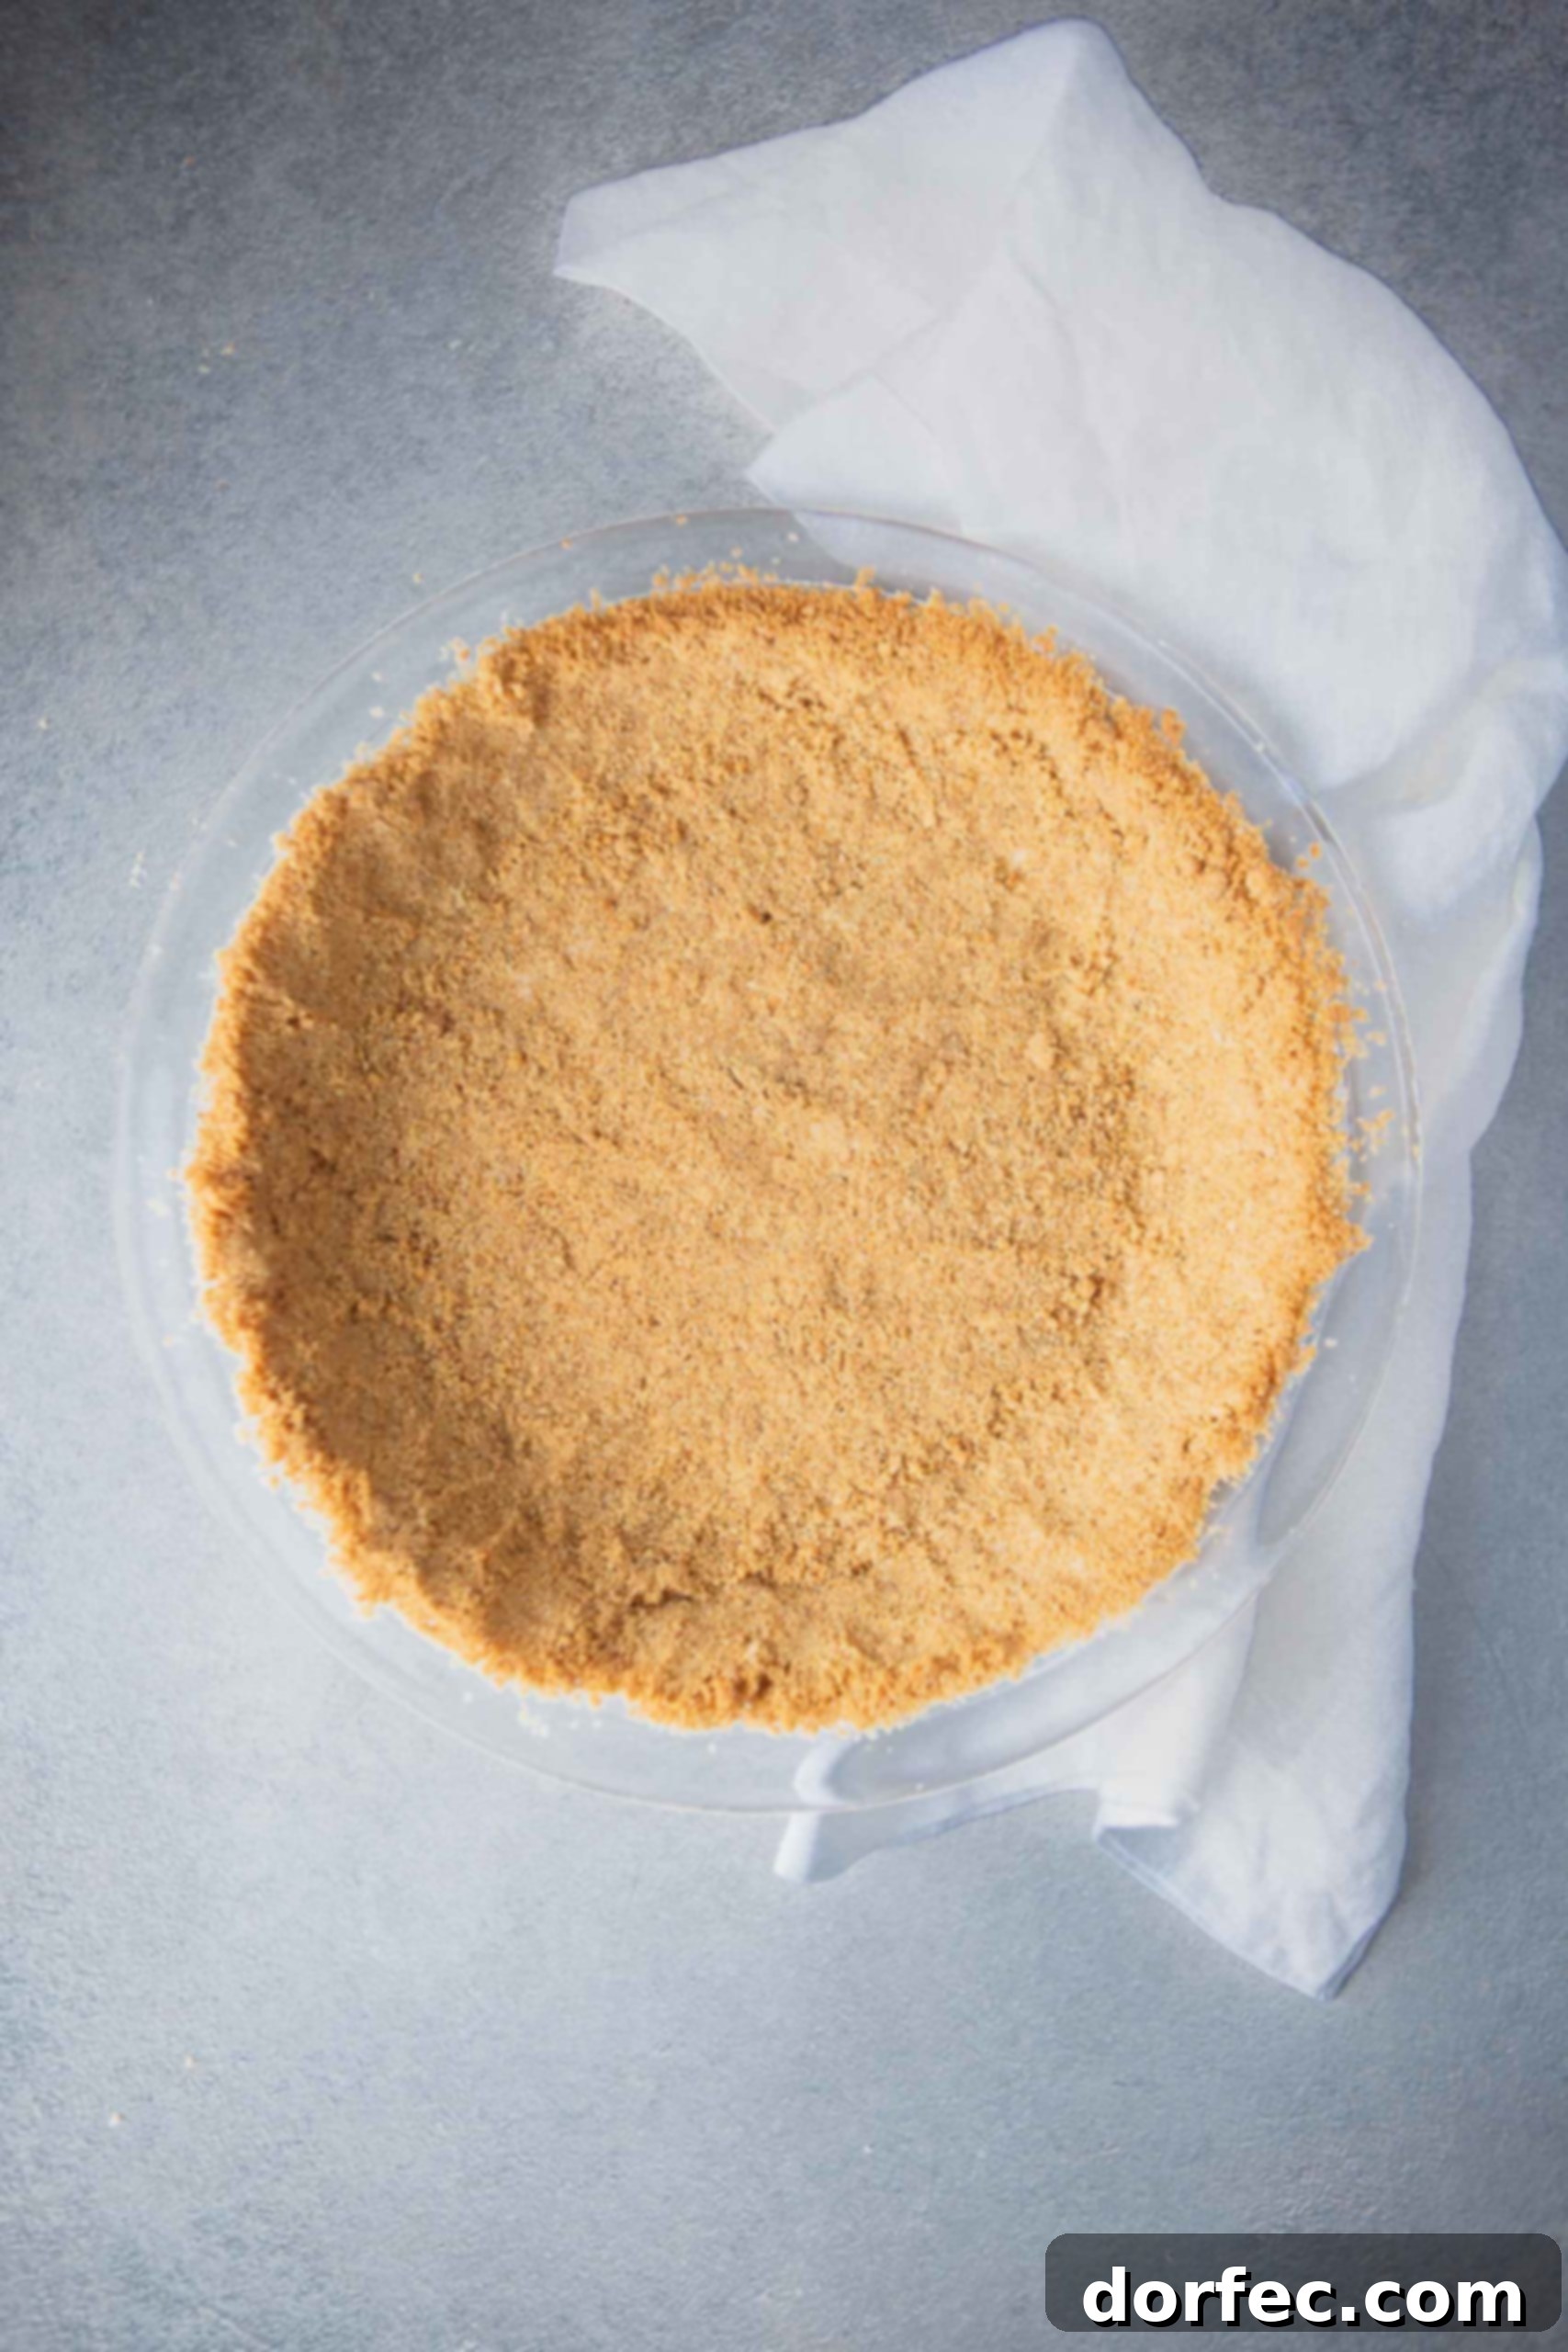
There’s an undeniable magic in a perfectly crafted dessert, and often, its foundation is the unsung hero: the crust. Among them, the **graham cracker crust** stands out as a true classic—effortlessly simple, incredibly versatile, and universally adored. With just three basic ingredients and minimal effort, you can create a golden, buttery base that elevates everything from creamy cheesecakes to tangy key lime pies. Forget store-bought alternatives; once you discover how easy and rewarding it is to make your own **homemade graham cracker crust**, you’ll never look back. This recipe isn’t just about mixing ingredients; it’s about unlocking a world of delicious possibilities for your favorite sweet treats.
For me, this recipe is a cherished go-to, born out of countless occasions where I found myself searching for the perfect measurements. It’s the kind of essential knowledge that should be at your fingertips, and now, it will be at mine – and yours! You see, like many home bakers, I’ve had my share of kitchen adventures. Once, in a rush to complete a key lime pie, I accidentally added a generous amount more graham cracker crumbs than the recipe called for. Did it ruin the pie? Not at all! In fact, it still turned out beautifully, a testament to the forgiving nature of this trusty recipe. It’s a reminder that even when things don’t go exactly as planned, a **classic graham cracker crust** rarely disappoints. This simple guide ensures you’ll achieve perfection every time, whether you’re a seasoned baker or just starting your culinary journey.
Essential Ingredients for the Perfect Graham Cracker Crust
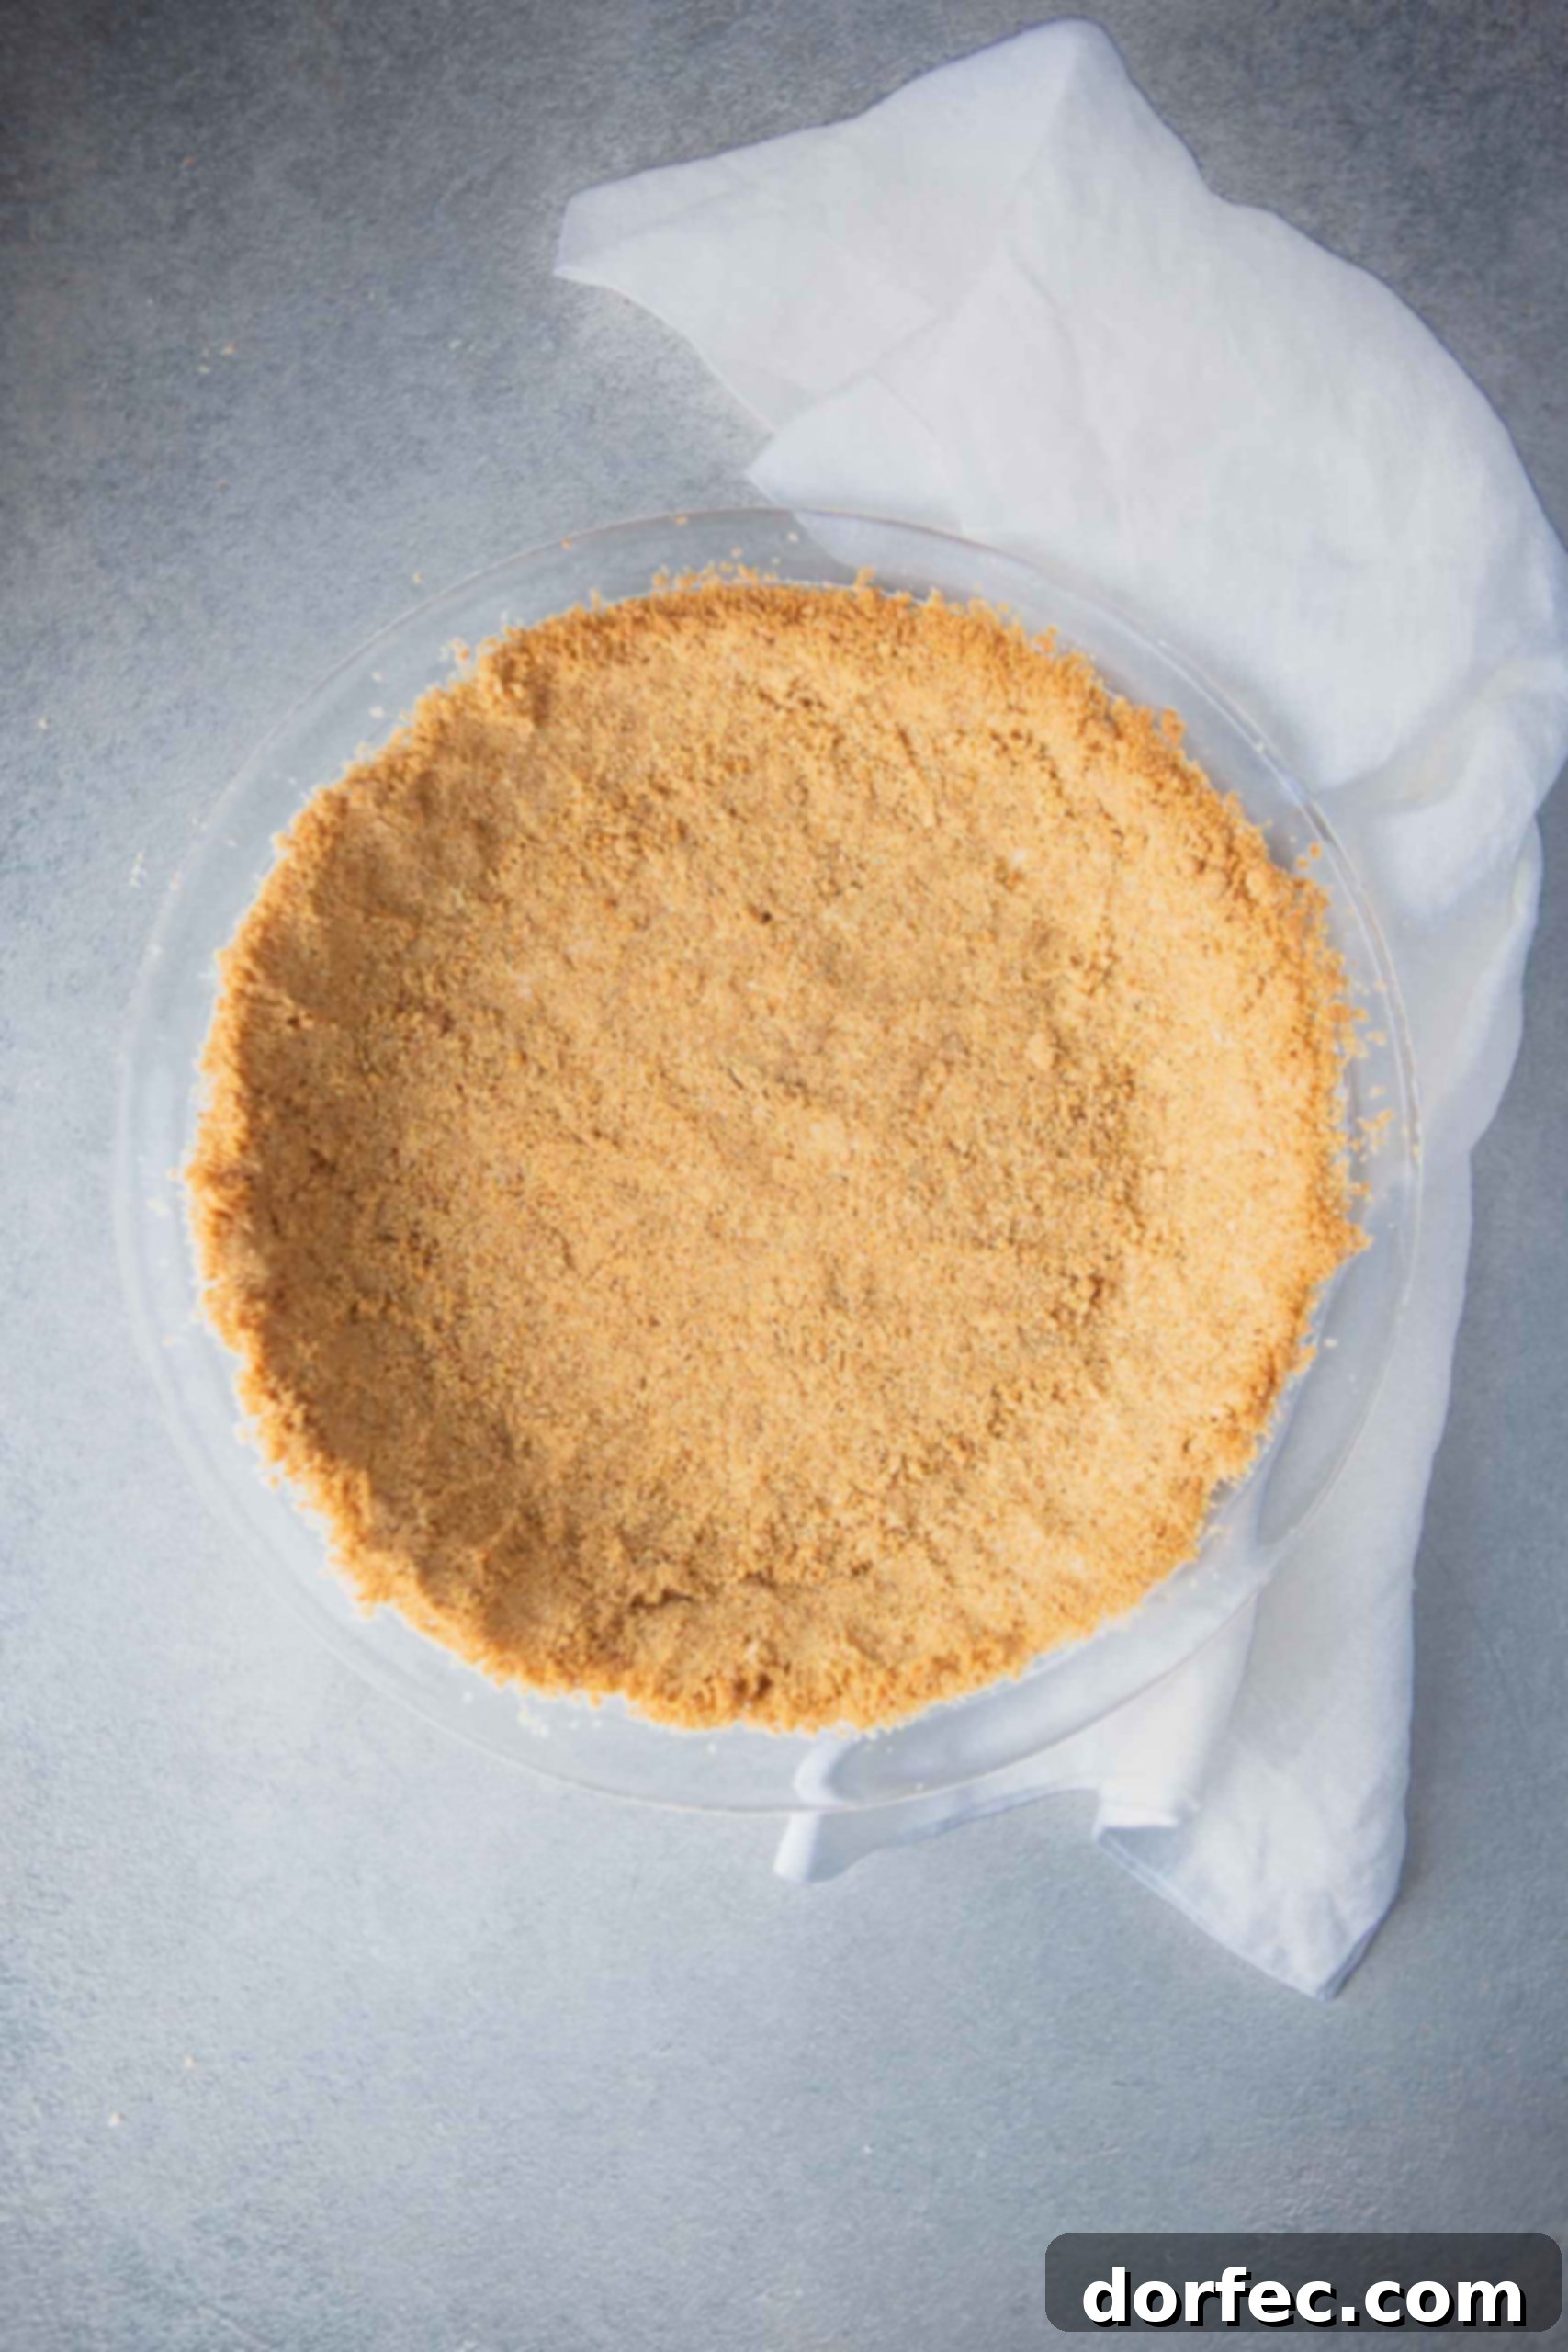
As promised, the beauty of this **easy graham cracker crust recipe** lies in its simplicity. You only need three fundamental ingredients, each playing a crucial role in creating that irresistible texture and flavor:
- Graham Cracker Crumbs: The star of our show! These provide the signature flavor and crisp texture that defines a classic graham cracker crust. Whether you opt for honey, cinnamon, or even chocolate graham crackers, the choice will subtly influence the final taste of your dessert. We’ll delve into how to make your own perfect crumbs shortly.
- Granulated Sugar: Beyond sweetness, sugar contributes to the crust’s structure and helps achieve that delightful golden-brown color when baked. It also aids in binding the crumbs together, ensuring your crust holds its shape.
- Melted Butter: This is the crucial binding agent. Melted butter coats the graham cracker crumbs, allowing them to compact and form a sturdy, cohesive crust. It also imparts a rich, buttery flavor that complements a wide array of fillings. We’ll discuss alternatives to butter if you have dietary preferences or simply run out!
The precise measurements for each ingredient, ensuring an ideal balance of flavor and texture for your **homemade pie crust**, can be found in the detailed recipe card below.
Crafting Your Own Graham Cracker Crumbs: A Step-by-Step Guide
While readily available in most grocery stores, making your own **graham cracker crumbs** offers a superior fresh flavor and allows you to control the texture. Plus, it’s incredibly simple and can be quite satisfying! Here are a few popular methods to achieve perfectly uniform crumbs:
Using a Blender or Food Processor: The Fastest Method
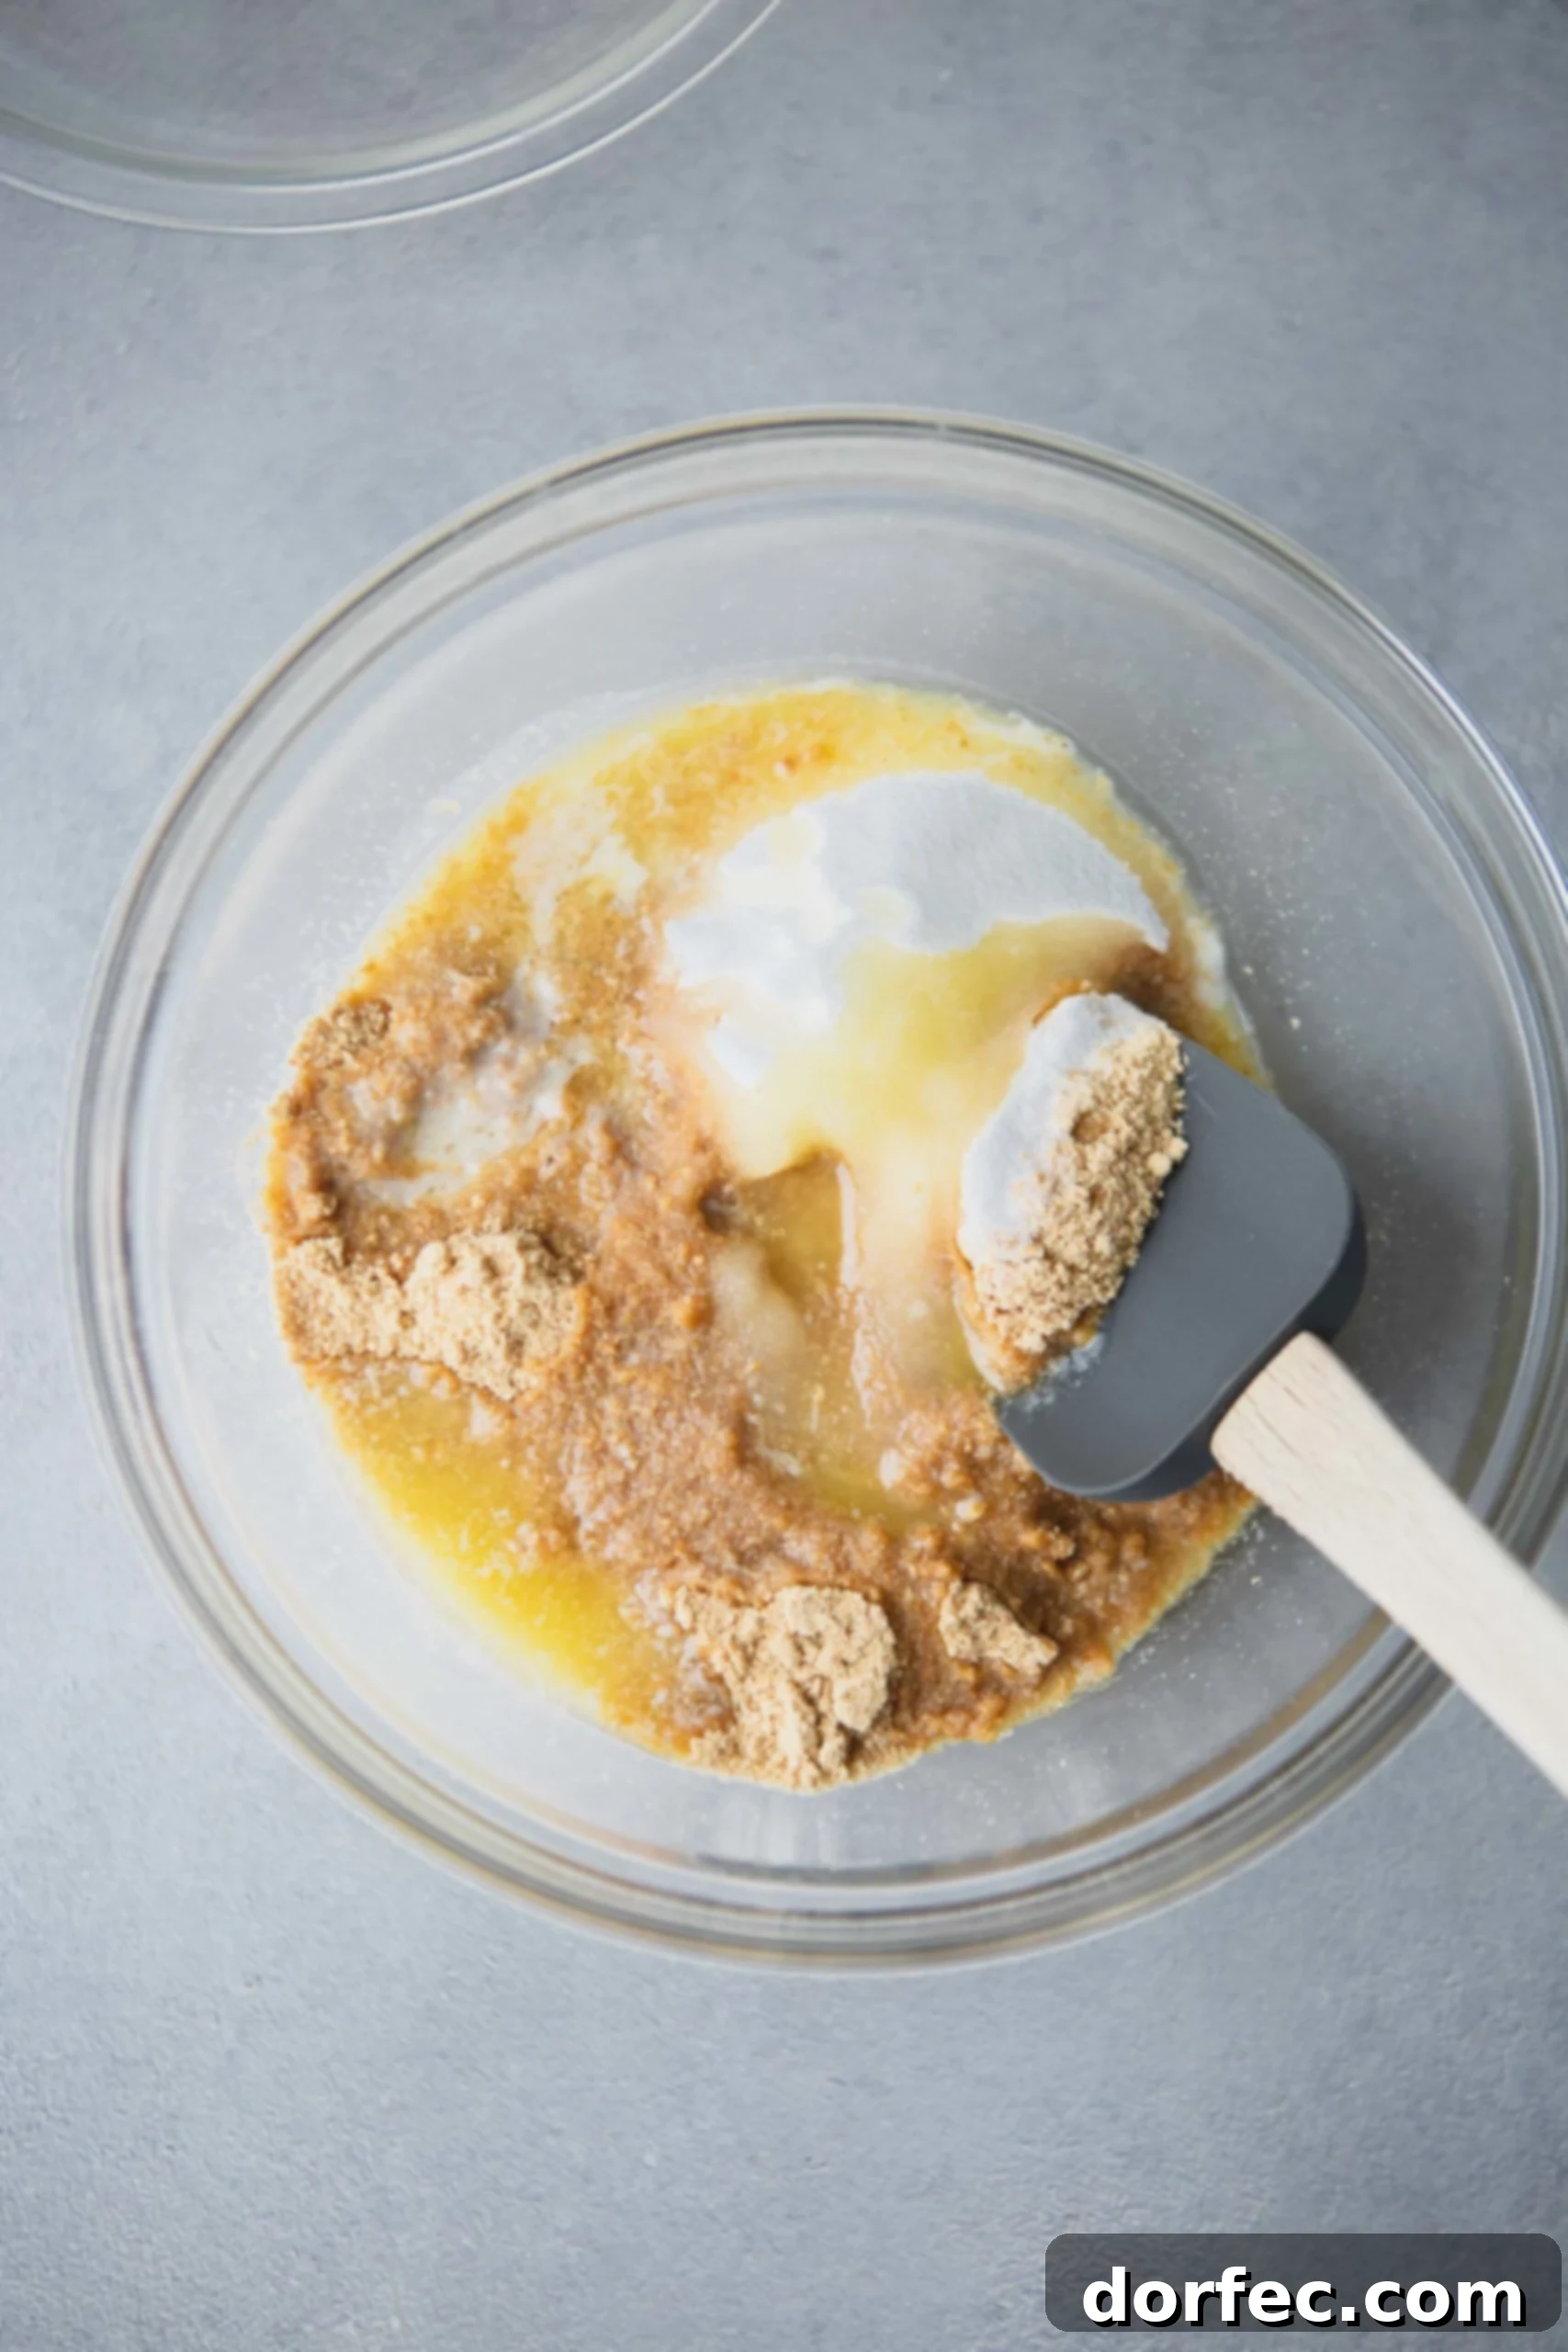
This is my personal favorite for its speed and efficiency. I simply break full graham cracker sheets into halves or quarters and toss them into my trusty blender. The powerful blades quickly pulverize the crackers into fine, consistent crumbs. A food processor works just as effectively, offering similar results. When using either appliance:
- Pulse, Don’t Blend Continuously: Use short, quick pulses rather than running the machine constantly. This allows you to control the crumb size and prevents the crackers from turning into a fine powder or, worse, a paste if processed too long.
- Aim for Fine, Even Crumbs: You want crumbs that resemble coarse sand – not too powdery, not too chunky. This texture ensures a smooth, compact crust that binds beautifully with the butter.
The Low-Tech Approach: Ziploc Bag and Rolling Pin
No fancy equipment? No problem! This method is just as effective and can be a fun, stress-relieving activity:
- Seal the Crackers: Place your graham cracker sheets into a sturdy resealable plastic bag. Remove as much air as possible before sealing to prevent the bag from bursting.
- Start Crushing: Use a rolling pin, a meat mallet, or even the bottom of a heavy skillet to crush the crackers. Begin by gently breaking them into smaller pieces, then roll and press firmly until you achieve your desired crumb consistency.
- Check for Uniformity: Periodically open the bag and check the crumbs, ensuring there are no large pieces remaining. Re-seal and continue crushing until everything is evenly fine.
Whether you choose high-tech or low-tech, making your own **graham cracker crumbs** ensures freshness and gives you complete control over the foundation of your delicious dessert.
How to Make the Best Graham Cracker Crust: Two Simple Steps
Creating a perfect **homemade graham cracker crust** is so incredibly simple, it’s almost dangerous! With just two straightforward steps, you’ll have a delightful base ready for your favorite fillings. The trick lies in understanding the subtle nuances of these steps to ensure a flawless crust every time.
-
Combine All Ingredients Thoroughly
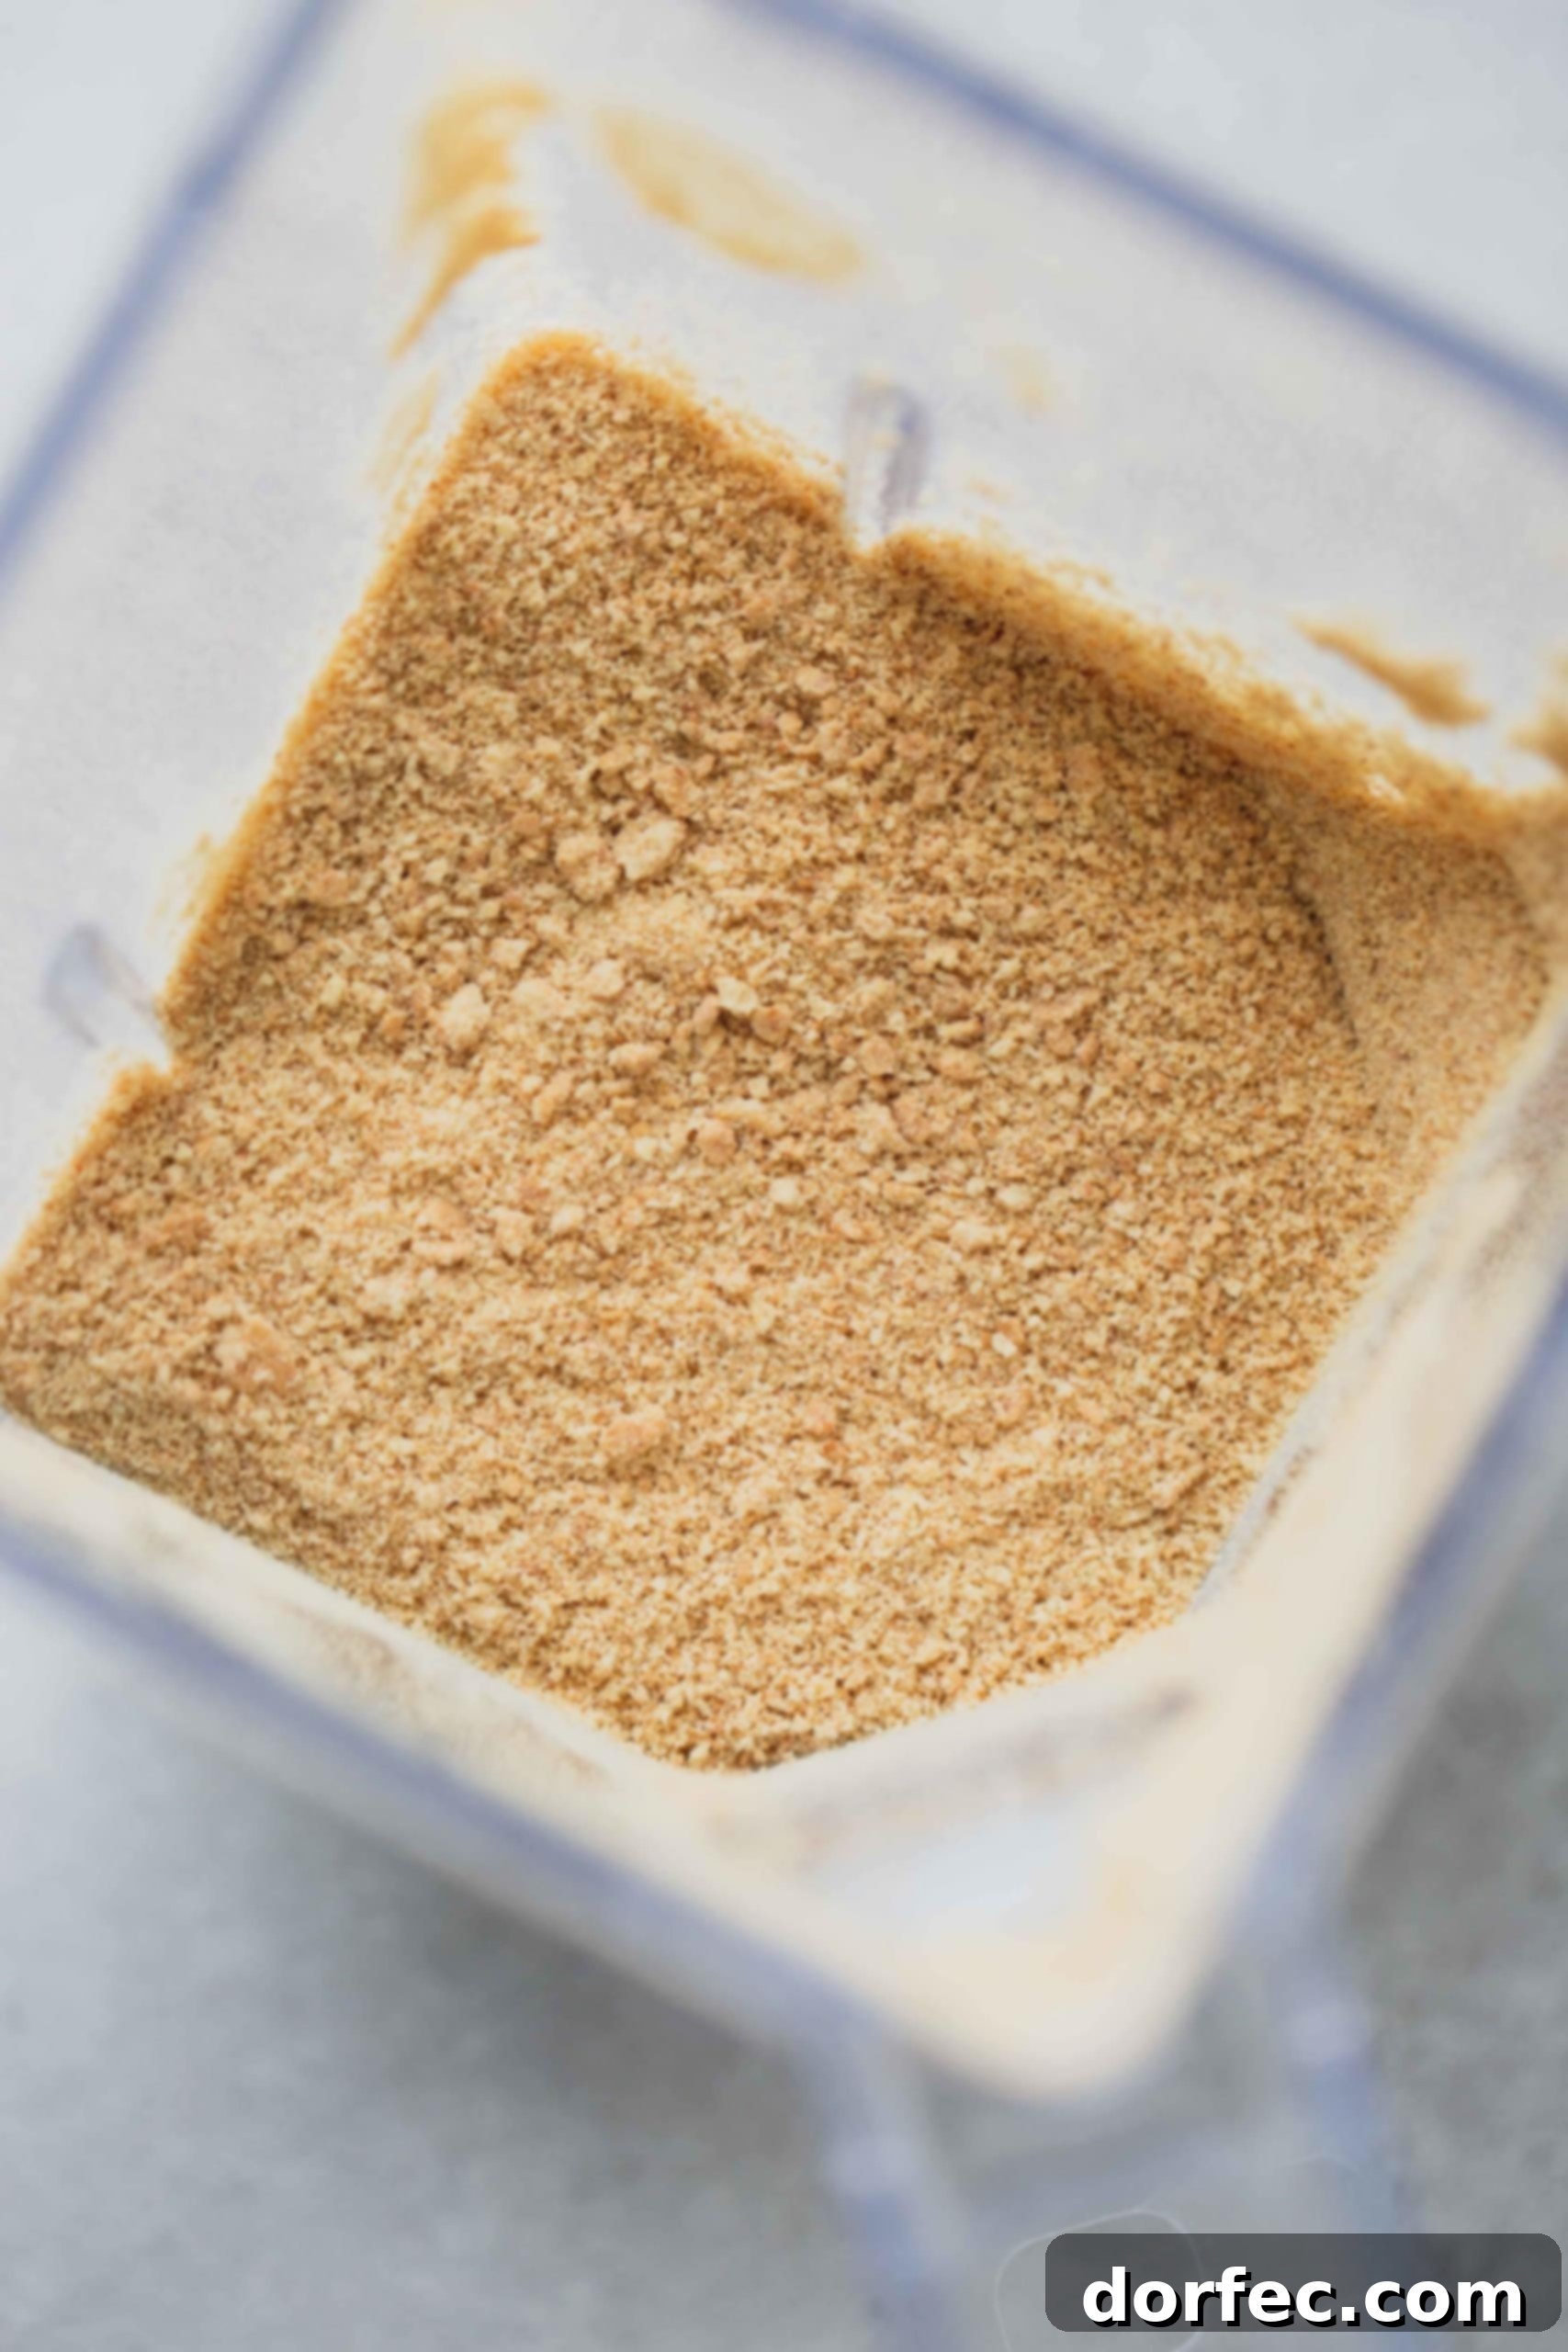
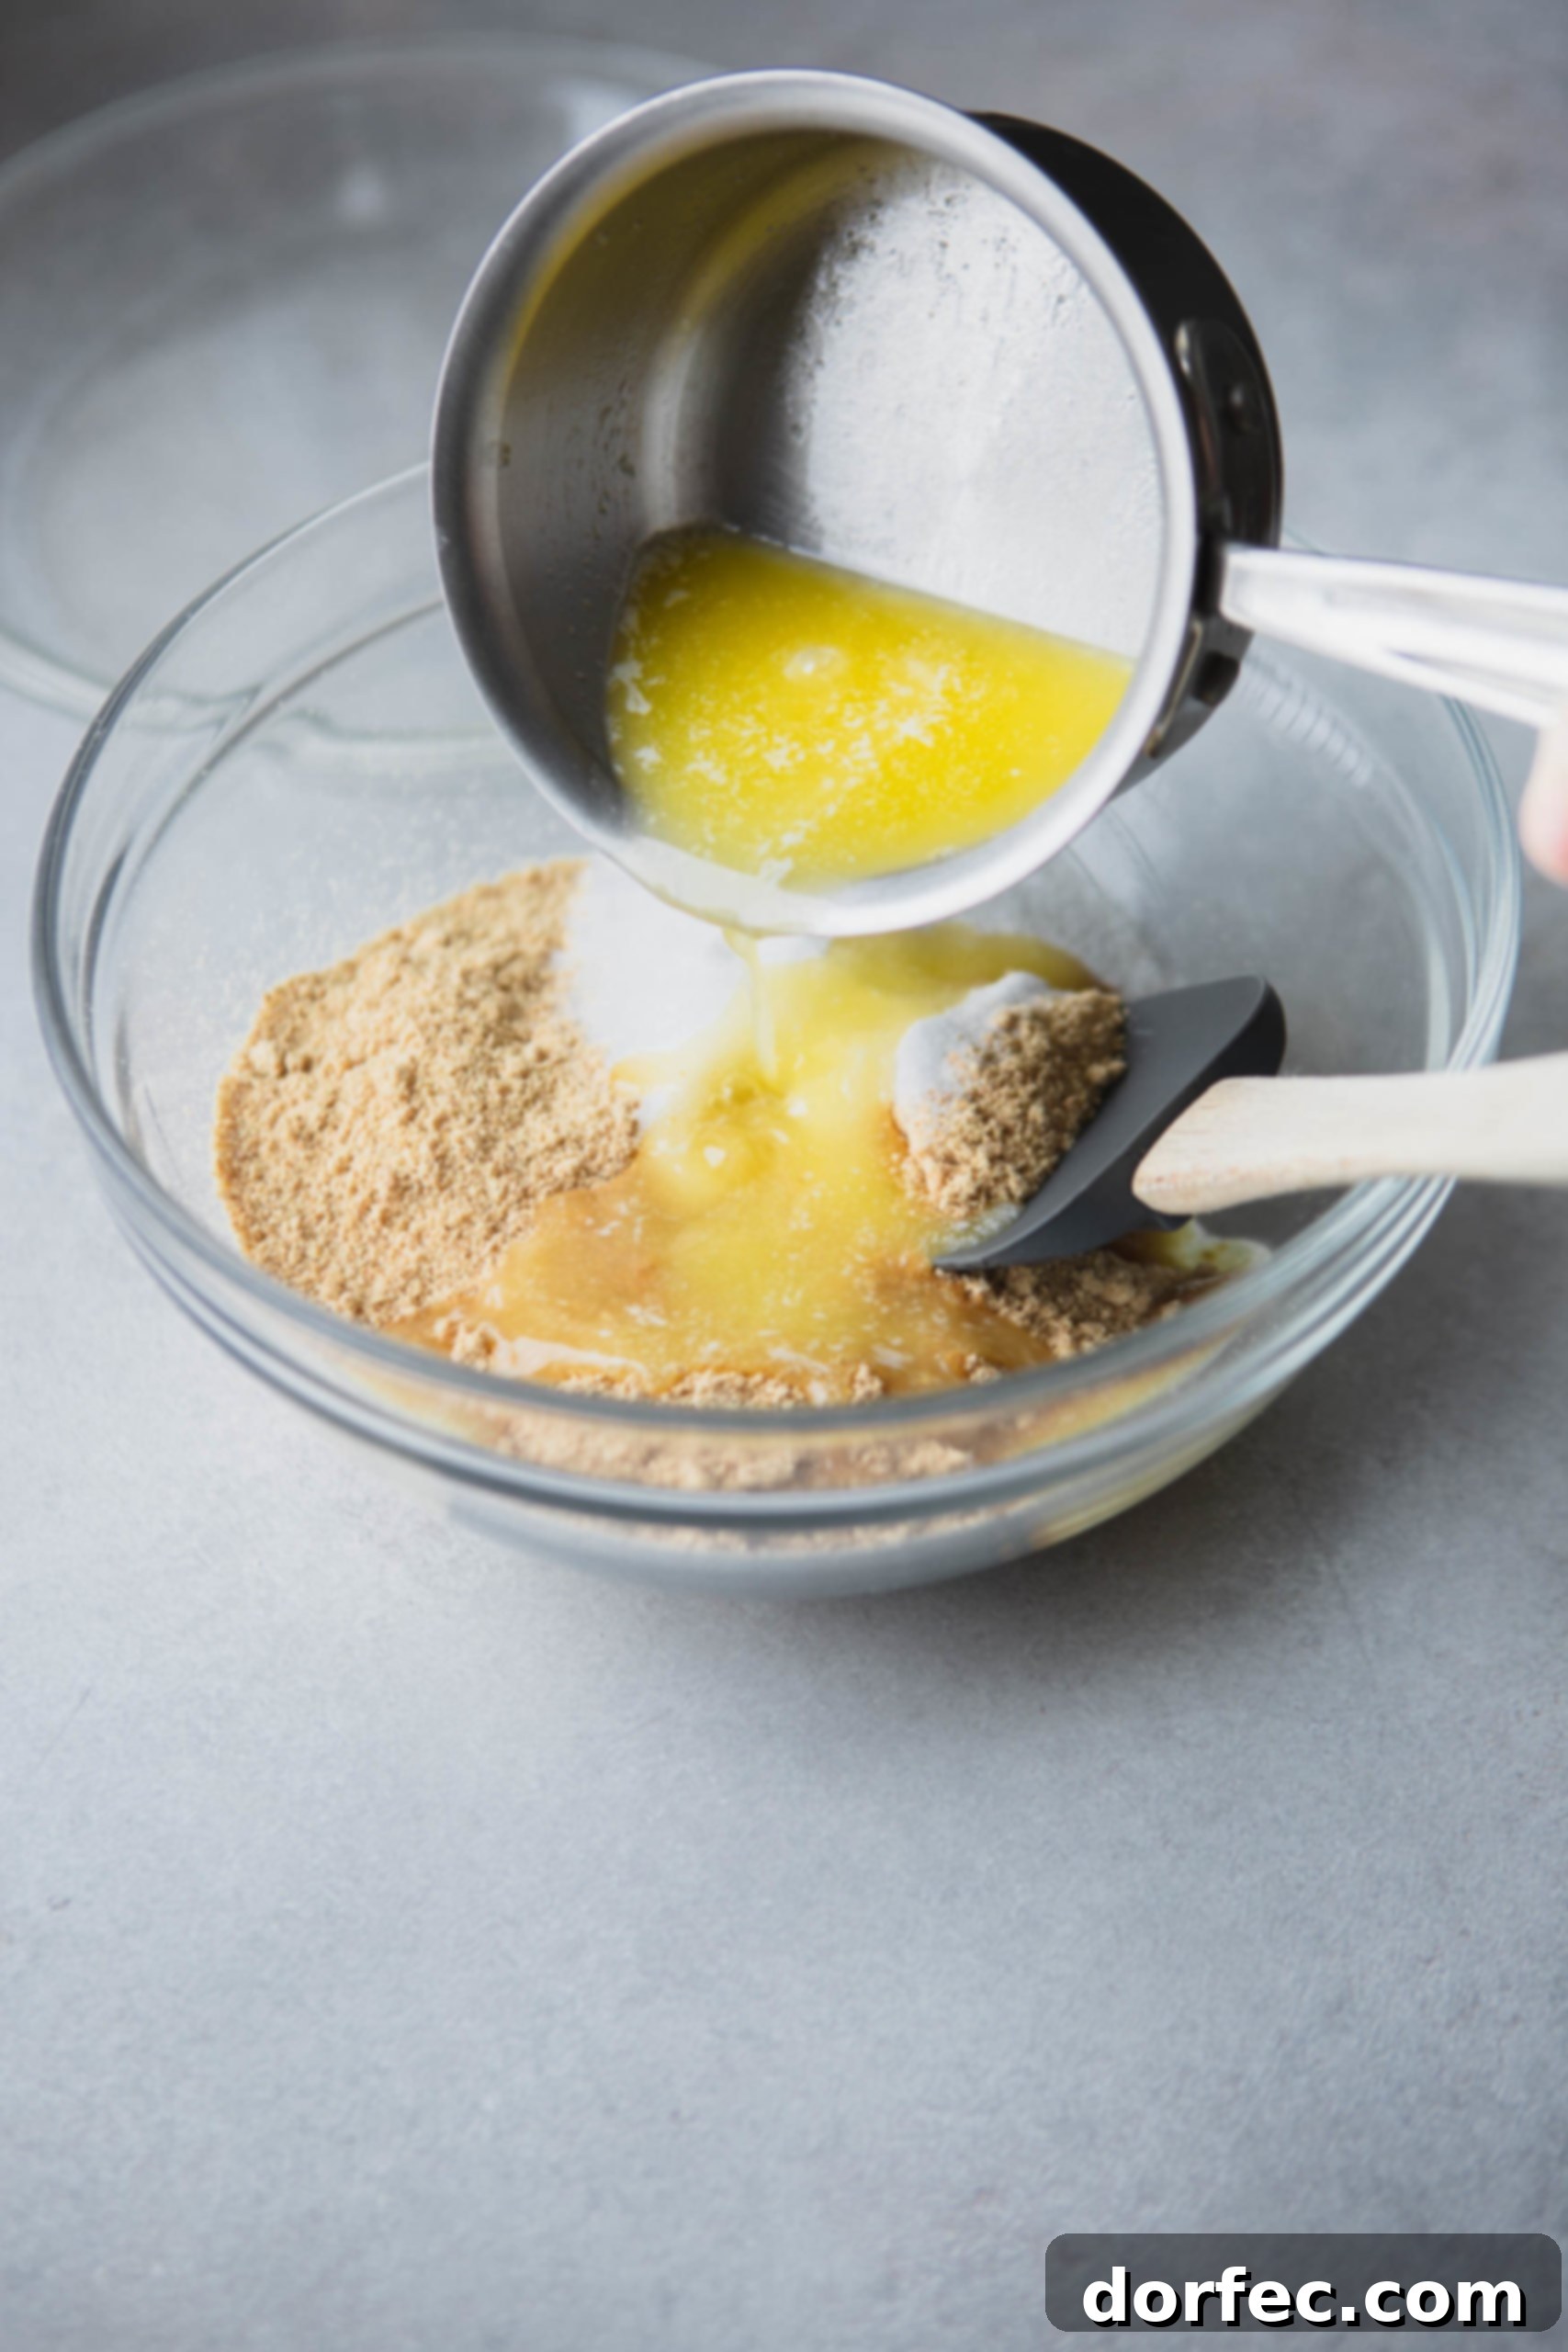
In a medium-sized mixing bowl, combine your **graham cracker crumbs**, granulated sugar, and melted butter. This step is more than just a quick stir; it’s about ensuring every single crumb is evenly coated with butter. This even coating is paramount for a crust that holds together perfectly and doesn’t crumble when sliced.
- Achieving the Right Consistency: Use a fork or a rubber spatula to mix until the mixture resembles wet sand. When you squeeze a small amount in your hand, it should clump together. If it’s too dry, add a tiny bit more melted butter, one teaspoon at a time, until the desired consistency is reached. Conversely, if it feels overly greasy, you might need a few more crumbs.
- Flavor Boost (Optional): This is a fantastic opportunity to add extra flavor! A pinch of cinnamon, nutmeg, or even a tablespoon of cocoa powder can dramatically change the character of your **pie crust**, making it perfectly tailored to your dessert. For citrus-based pies, a hint of lemon or lime zest can brighten the crust beautifully.
-
Press into the Pie Plate and Bake (or Chill!)
Once your crumb mixture is perfectly combined, transfer it to a 9-inch pie plate. Now comes the crucial step of pressing it firmly into shape.
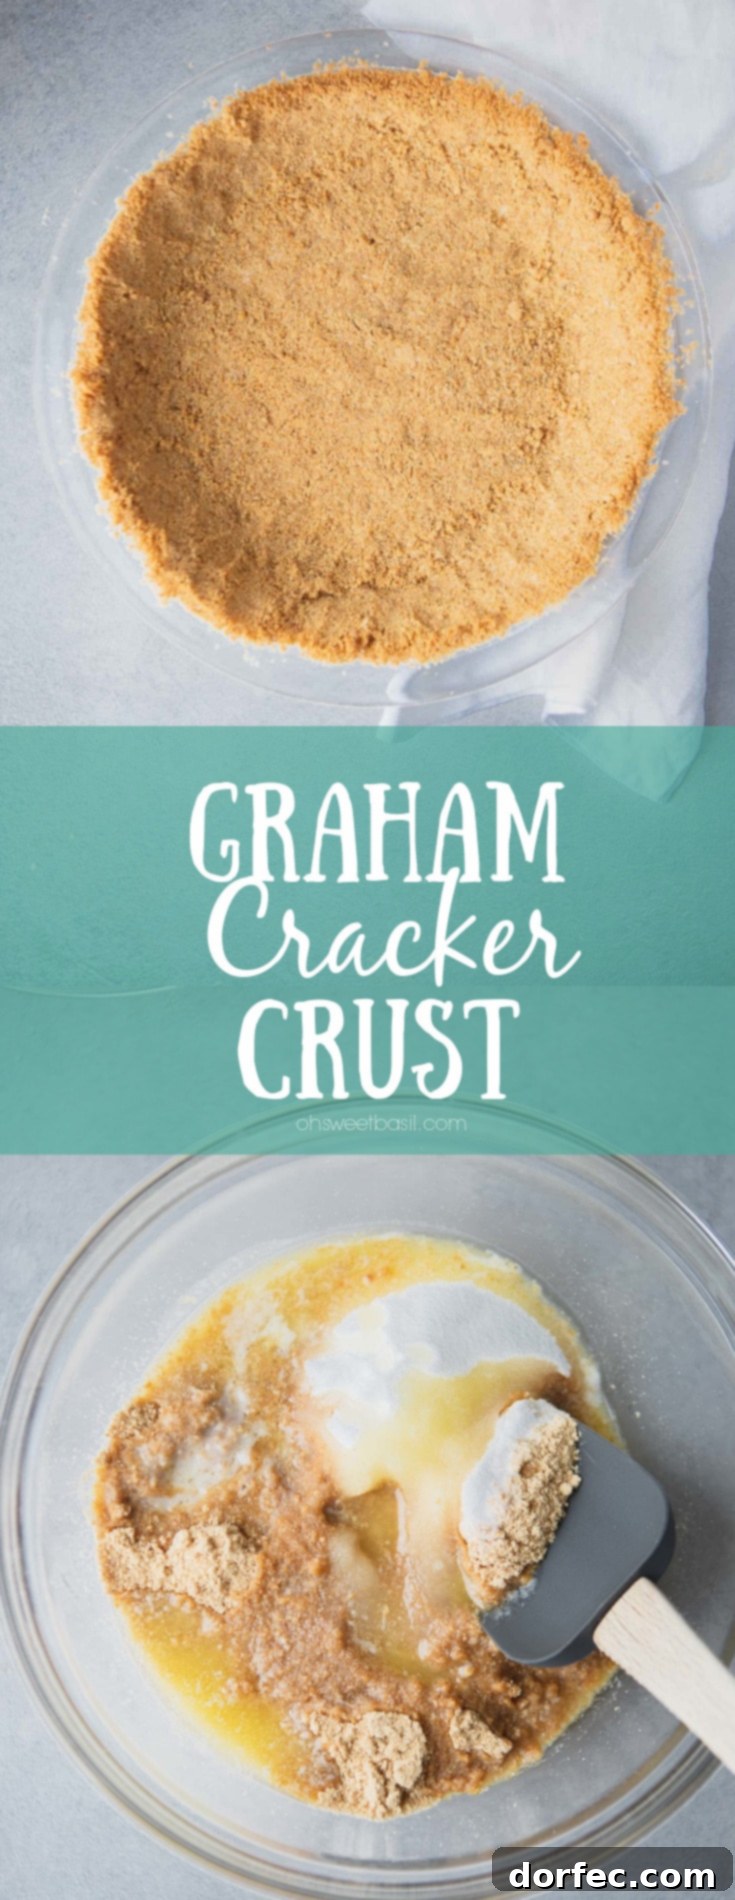
- The Art of Pressing: Start by distributing the mixture evenly across the bottom of the pie plate. Then, use the bottom of a flat measuring cup, a flat-bottomed glass, or even your clean hands to press the crumbs firmly and evenly across the bottom and up the sides of the plate. The key here is firmness. A tightly packed crust is less likely to crumble when you serve your dessert. The harder you press, the more cohesive and sturdy your **graham cracker crust** will be.
- PRO TIP: My favorite tool for this is the flat bottom of a measuring cup. It allows for even pressure and creates a wonderfully smooth surface, both on the bottom and up the sides of the pie plate. Alternatively, you can use the flat side of a small, clean glass.
- Baking Your Crust: Bake the crust in a preheated oven at 350°F (175°C) for 8-10 minutes. Baking the crust briefly helps to set it, making it extra sturdy and preventing it from becoming soggy, especially with moist fillings. It also develops a beautiful golden hue and enhances the nutty flavor of the graham crackers.
- No-Bake Option: If your recipe calls for a no-bake crust, skip the oven. Simply chill the pressed crust in the refrigerator for at least 30 minutes (or preferably longer, up to 2 hours) before adding your filling. This chilling time allows the butter to solidify and bind the crumbs, achieving a firm, sliceable crust without baking.
- Cooling is Key: Whether baked or no-bake, allow your **pie crust** to cool completely before adding any filling. For baked crusts, this prevents condensation and ensures the crust maintains its crispness. For chilled crusts, it ensures maximum firmness.
That’s it! In two easy steps, you’ve mastered the art of making a delicious **homemade graham cracker crust** that will be the perfect canvas for your culinary creations.
Graham Cracker Crust FAQs and Troubleshooting
How Many Graham Crackers Does It Take to Make 2 Cups of Crumbs?
Generally, you will need approximately 44 individual graham crackers, which translates to about 11 full sheets (each sheet typically contains four individual crackers), to yield 2 cups of fine graham cracker crumbs. This can vary slightly based on how finely you crush them, but it’s a good benchmark for your **homemade graham cracker crust** endeavors.
What Can You Use Instead of Butter in Graham Cracker Crust?
If you’re out of butter, have dietary restrictions, or simply prefer an alternative, there are excellent substitutes that work well in a **graham cracker crust**:
- Melted Margarine: A classic substitute, margarine works almost identically to butter in terms of binding and texture. Choose a good quality, unsalted margarine for best results.
- Coconut Oil: For a dairy-free or vegan option, melted coconut oil is a fantastic choice. It provides excellent binding and adds a subtle, pleasant coconut flavor that can be particularly delicious with tropical-inspired desserts. Ensure it’s fully melted before mixing.
- Vegetable Shortening: While it lacks the rich flavor of butter, melted vegetable shortening can also bind the crumbs effectively. It will result in a flakier texture.
Why Is My Graham Cracker Crust Crumbly or Soggy?
Achieving the perfect **homemade pie crust** texture is key. Here are common reasons for issues and how to troubleshoot them:
- Crumbly Crust: This usually means there isn’t enough melted butter to bind the crumbs properly, or the crumbs weren’t pressed firmly enough into the pie plate. Ensure every crumb is coated with butter (it should resemble wet sand), and really pack it down tightly with a flat tool.
- Soggy Crust: A soggy crust often occurs when the filling is too wet and seeps into an unbaked or improperly baked crust. Baking the crust beforehand (as recommended in our recipe) creates a barrier. If using a no-bake crust with a moist filling, consider brushing the inside of the chilled crust with a thin layer of melted white chocolate or a bit of egg white and baking for a few minutes to create a seal. Also, ensure your crust is completely cooled before adding filling.
Can Graham Cracker Crust Be Frozen?
Yes, **graham cracker crust** freezes beautifully, making it an excellent component for make-ahead desserts! This is true for both baked and unbaked crusts.
- To Freeze an Unbaked Crust: Press the crumb mixture firmly into your pie plate. Wrap the entire pie plate tightly in several layers of plastic wrap, then an additional layer of aluminum foil. Label with the date. It will keep for 2-3 months in the freezer. When ready to use, thaw in the refrigerator, then bake as directed or proceed with a no-bake filling.
- To Freeze a Baked Crust: Allow the baked crust to cool completely. Wrap it tightly as described above. It can be frozen for 2-3 months. Thaw in the refrigerator or at room temperature before filling.
- To Freeze a Pie with a Graham Cracker Crust: Most pies and cheesecakes made with a **graham cracker crust** also freeze well. Ensure the pie is completely chilled or frozen solid before wrapping. Wrap tightly in plastic wrap and then foil.
Freezing allows you to prepare ahead for holidays, gatherings, or simply to have a dessert base ready when a craving strikes!
The Ultimate Graham Cracker Crust Recipe
Graham Cracker Crust
By Sweet Basil
Prep: 5 mins
Cook: 10 mins
Total: 15 mins
Servings: 8
Ingredients
- 1 3/4 Cups Graham Cracker Crumbs
- 1/3 Cup Sugar
- 7 Tablespoons Butter, melted
US Customary – Metric
Instructions
- Combine all ingredients in a bowl. (1 3/4 Cups Graham Cracker Crumbs, 1/3 Cup Sugar, 7 Tablespoons Butter)
- Press into a 9″ pie dish and bake at 350°F (175°C) for 8-10 minutes. Remove from oven to cool completely.
Recipe Notes
Graham Cracker crust can be frozen for 2-3 months.
Nutrition
Serving: 1g, Calories: 187kcal, Carbohydrates: 20g, Protein: 1g, Fat: 12g, Saturated Fat: 7g, Trans Fat: 1g, Cholesterol: 26mg, Sodium: 191mg, Potassium: 31mg, Fiber: 1g, Sugar: 12g, Vitamin A: 306IU, Calcium: 15mg, Iron: 1mg
Nutrition information is automatically calculated, so should only be used as an approximation.
Delicious Recipes That Use Graham Cracker Crusts
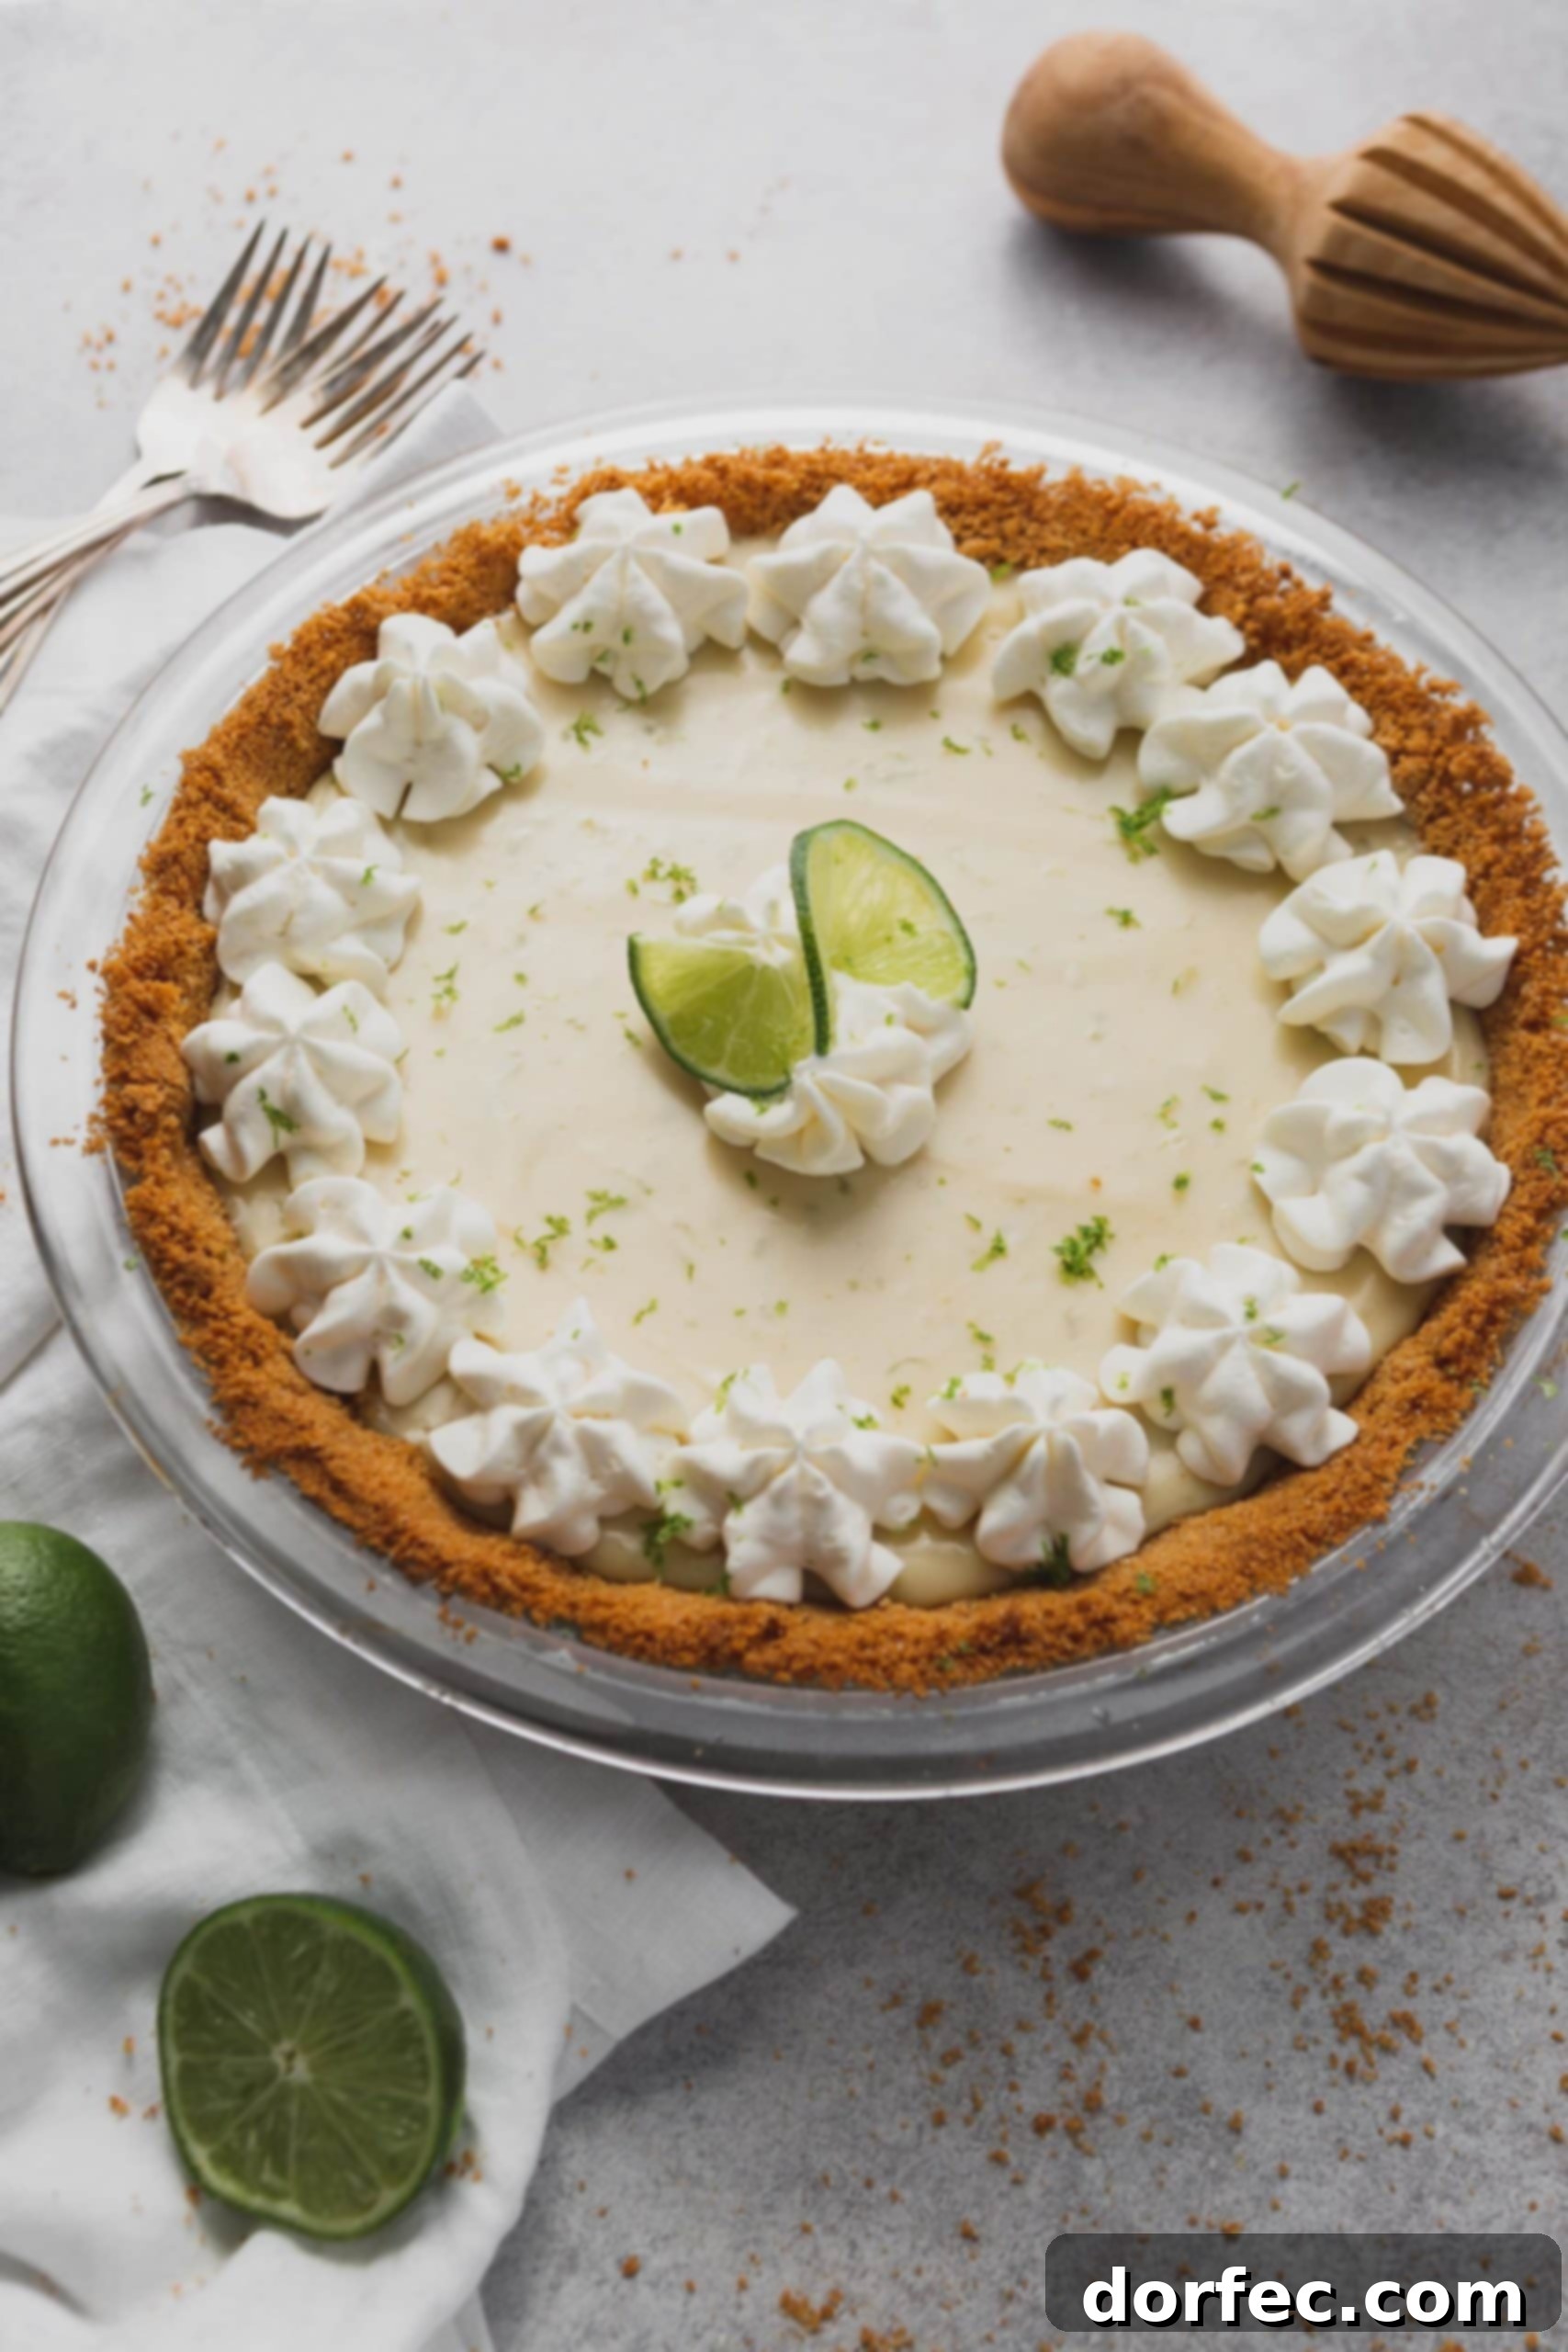
The beauty of a **graham cracker crust** lies in its incredible versatility. It pairs perfectly with a vast array of fillings, making it the ideal base for countless desserts. Here are some inspiring recipes where this simple crust truly shines:
- Lemon Blueberry No-Bake Cheesecake: A refreshing and vibrant dessert, perfectly complemented by the sweet crunch of the crust.
- Peanut Butter Banana Cream Pie: The rich, creamy texture and bold flavors are beautifully grounded by a crisp graham cracker base.
- Mini Strawberry Cheesecakes: Individual portions of pure delight, each with its own perfect little crust.
- Lemon Raspberry Cheesecake Bars: Easy to serve and full of tangy-sweet flavor, all held together by a sturdy crust.
- Caramel Cheesecake Bars: A decadent treat where the crust provides a wonderful textural contrast to the gooey caramel.
- Mini Cheesecakes with Raspberry Sauce: A delightful blend of creamy and fruity, starting with that reliable base.
- Lime Cheesecake with Triple Berry Sauce: A zesty, berry-filled sensation, perfectly balanced by the buttery crust.
- White Chocolate Coconut Cream Pie: An indulgent, tropical dream that relies on the graham cracker base for its structure and taste.
So there you have it: a comprehensive guide to crafting the most reliable, delicious **homemade graham cracker crust** for all your dessert needs. From simple pies to elaborate cheesecakes, this foundation will serve you well. It’s short and sweet, quick and easy, and truly a tradition worth embracing in your kitchen. Say goodbye to mediocre store-bought crusts and hello to the superior taste and texture of homemade!
REMEMBER TO SUBSCRIBE TO our FREE Oh Sweet Basil NEWSLETTER AND RECEIVE EASY RECIPES DELIVERED INTO YOUR INBOX EVERY DAY!
When you try a recipe, please use the hashtag #ohsweetbasil on INSTAGRAM for a chance to be featured in our stories! FOLLOW OH, SWEET BASIL ON FACEBOOK | INSTAGRAM | PINTEREST | TWITTER FOR ALL OF OUR LATEST CONTENT, RECIPES AND STORIES.