
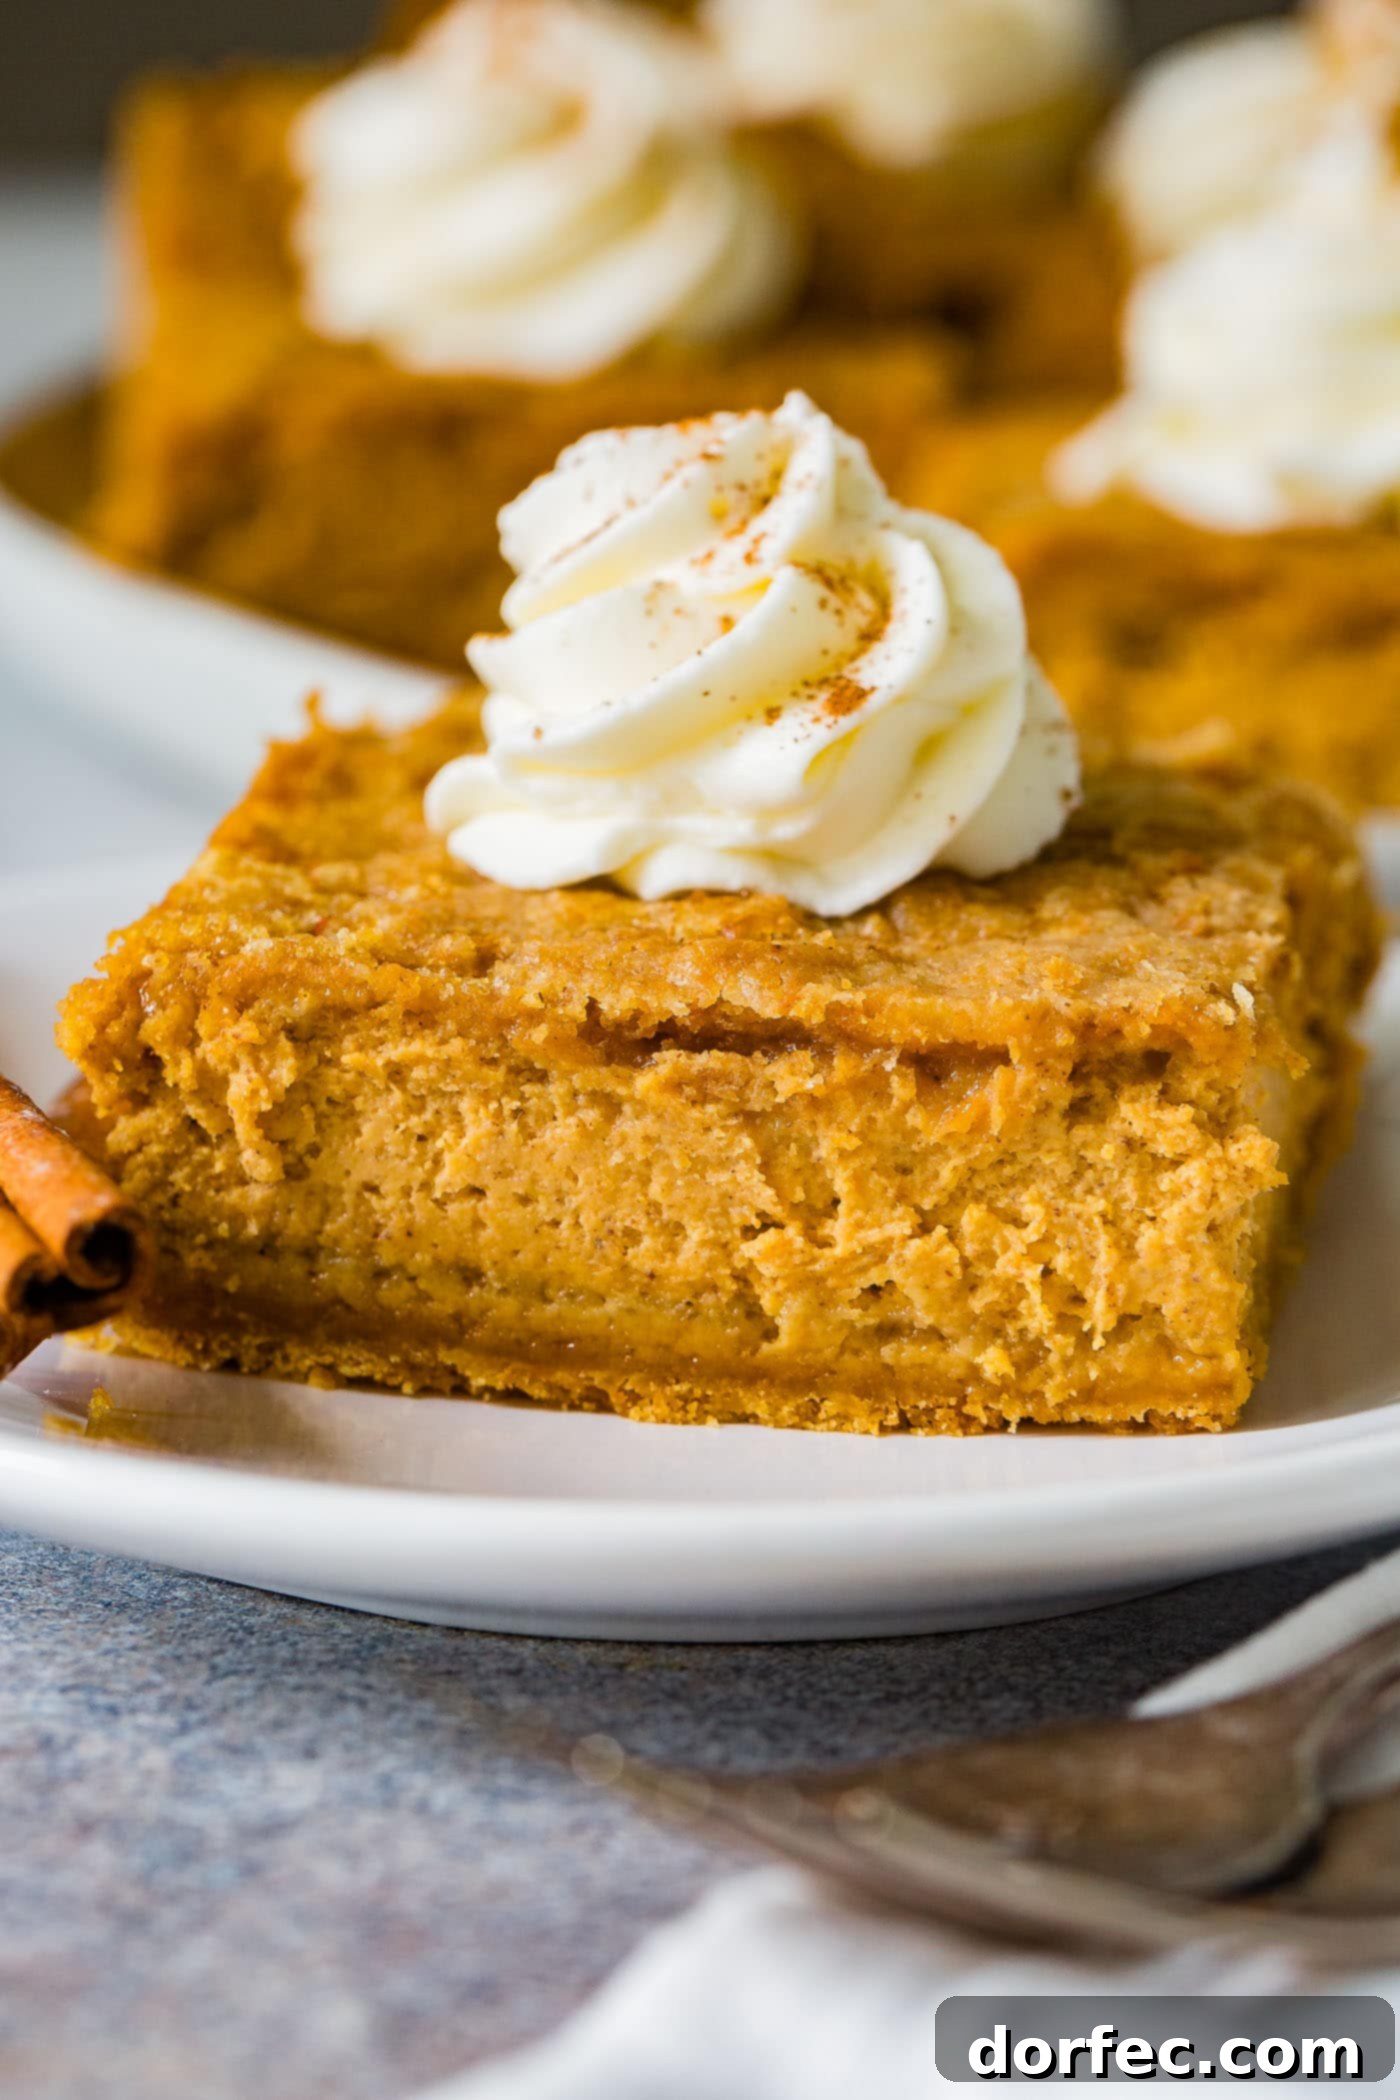
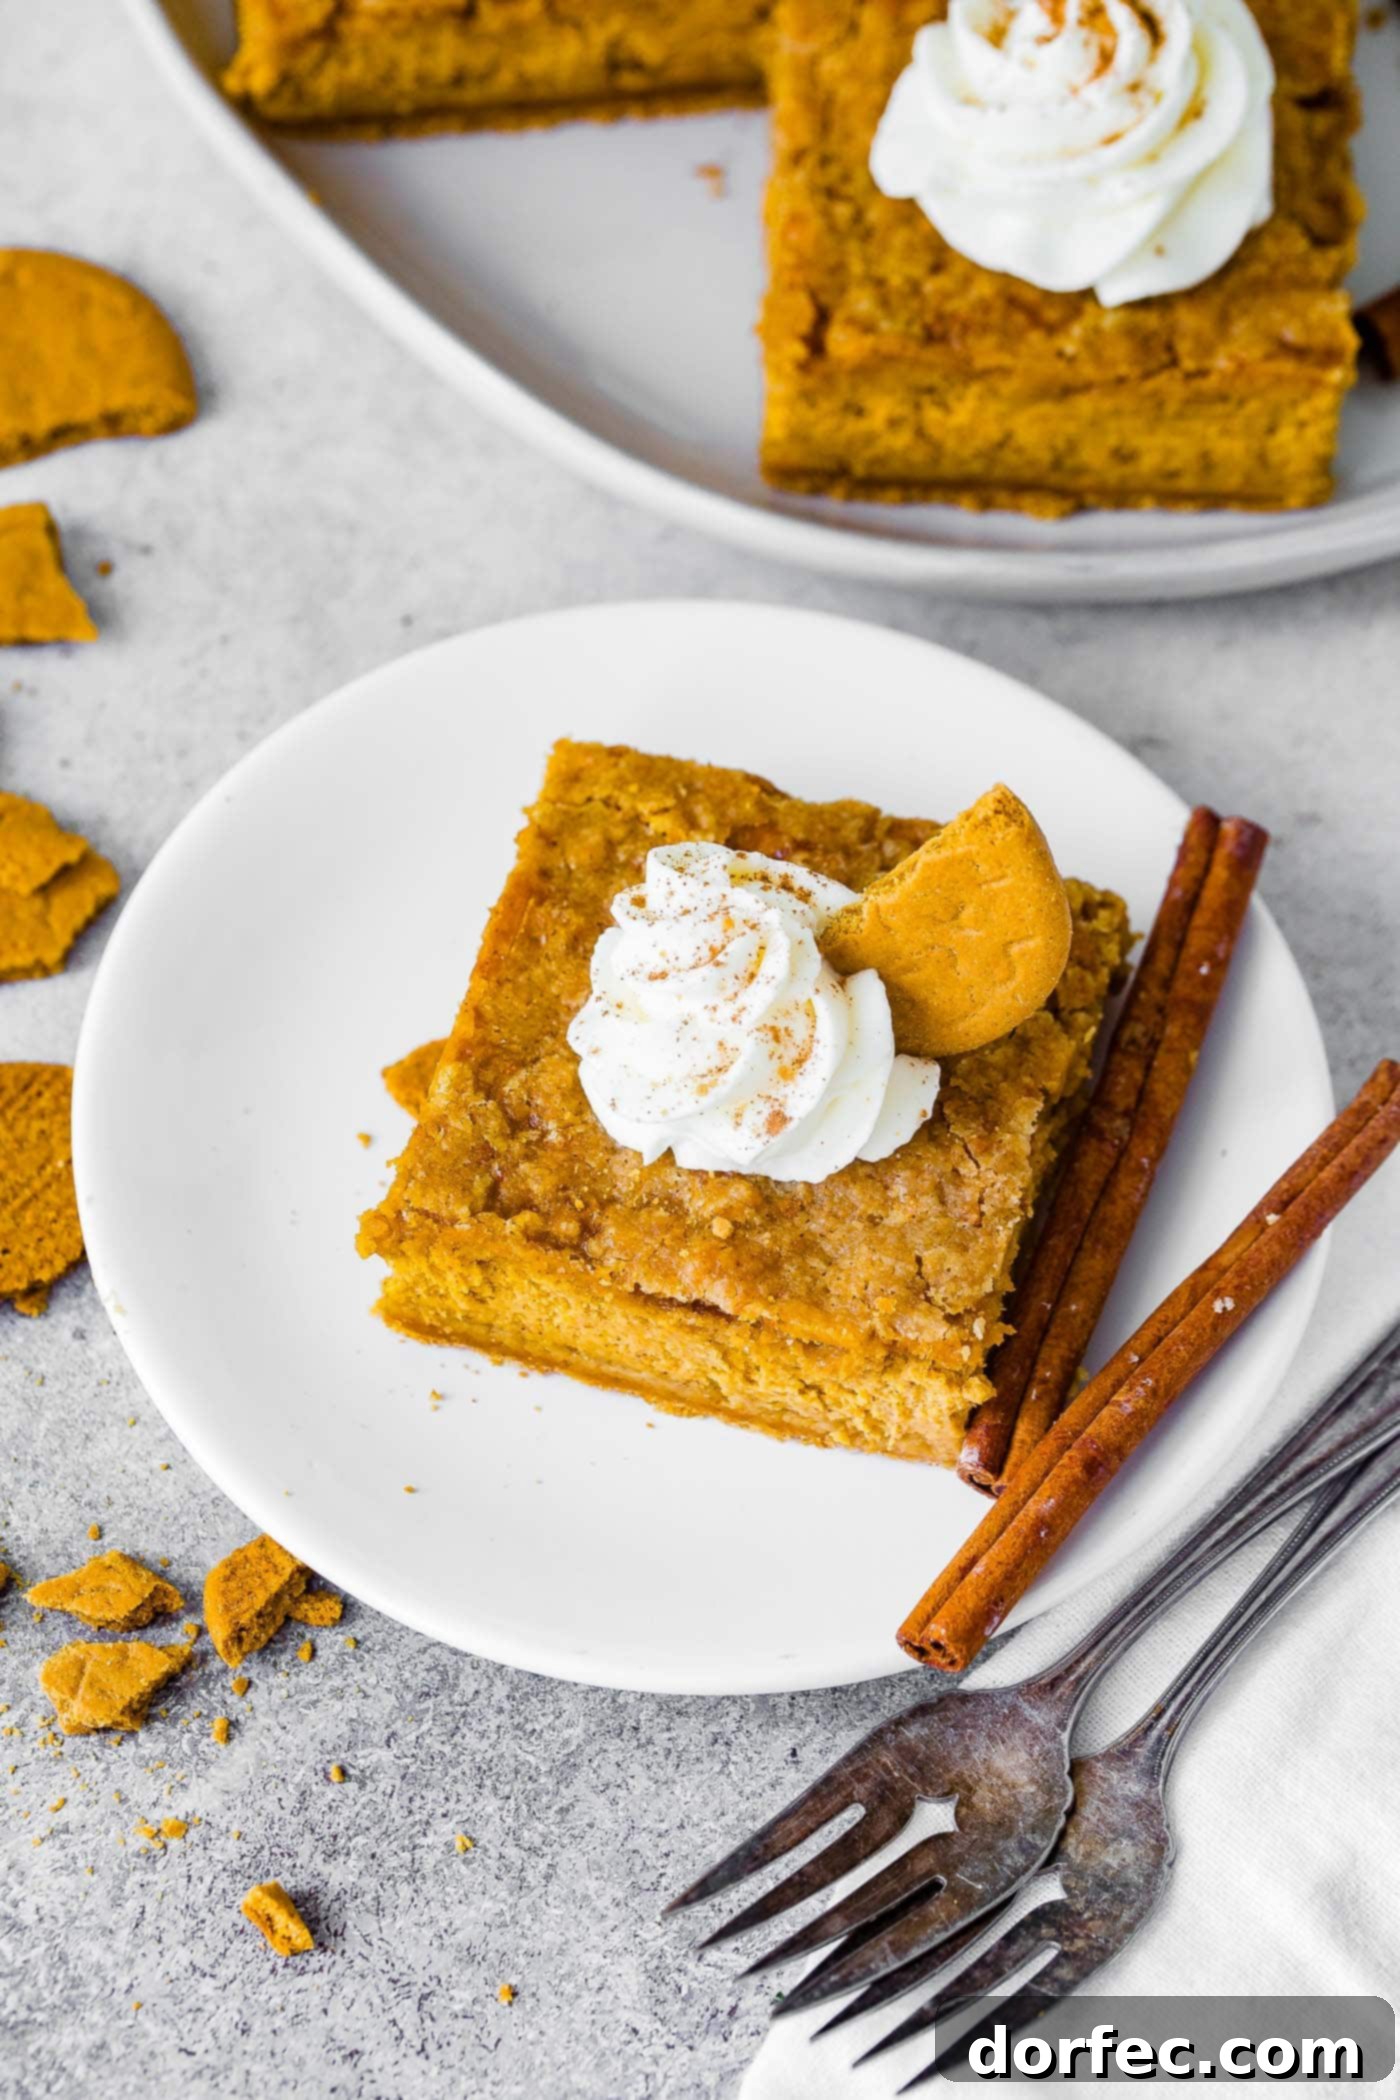
Prepare to say goodbye to your traditional fall favorites because these Gingersnap Pumpkin Cheesecake Bars are about to revolutionize your dessert world. Forget everything you thought you knew about pumpkin pie; with a chewy, spiced crust, a luxurious, silky pumpkin cheesecake center, and a delightful gingersnap crumble topping, this recipe truly stands out as my ultimate pumpkin dessert. It’s a game-changer, perfectly blending the comforting flavors of pumpkin with the rich creaminess of cheesecake and the irresistible crunch of gingersnap.
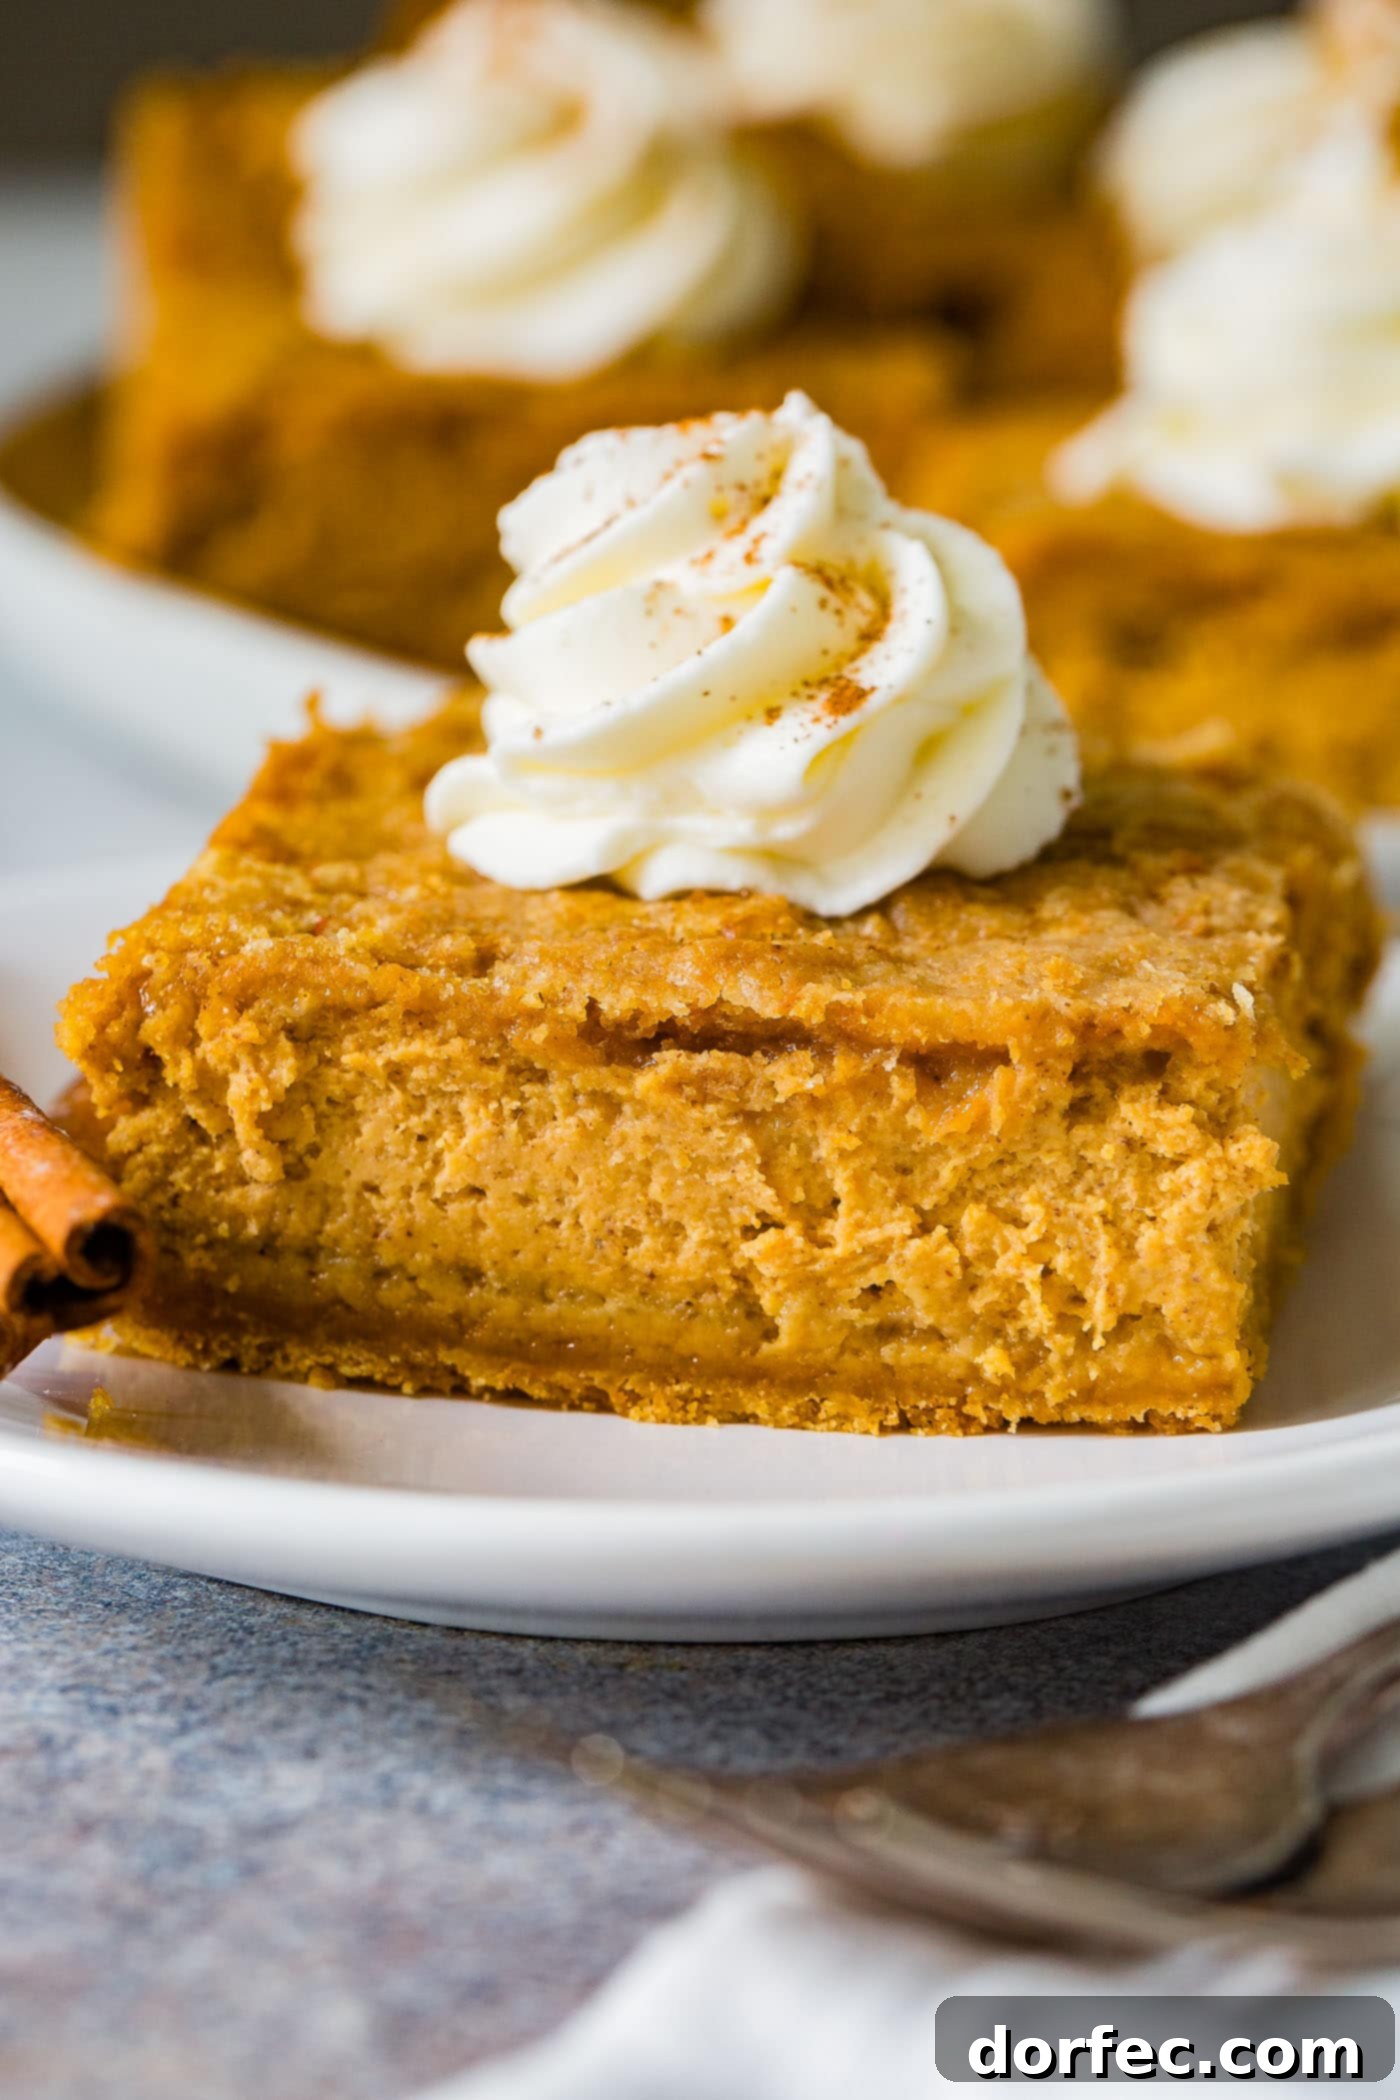
The Ultimate Fall & Holiday Dessert: Gingersnap Pumpkin Cheesecake Bars
This is not an exaggeration! It’s time to re-evaluate your holiday dessert menu. While a perfectly baked Pumpkin Pie has always held a special place at our Thanksgiving and Christmas tables, these Gingersnap Pumpkin Cheesecake Bars offer an exciting and undeniably delicious alternative. They might not be in the traditional circular shape, but trust me, no one will mind once they experience the explosion of flavors and textures in every single bite. This dessert is designed to impress, offering a sophisticated twist on classic pumpkin indulgence that is simply out of this world.
For years, a well-made pumpkin pie, especially with a generous dollop of freshly whipped cream, was my go-to. Then, as my culinary adventures expanded, I discovered other fantastic options like Pumpkin Gooey Butter Cake, which quickly became another contender for my favorite fall dessert. The world of pumpkin desserts is vast and wonderful, ranging from savory delights like our slow cooker pumpkin chili and apple cider pumpkin chili (yes, pumpkin chili!) to an endless array of sweet treats. But when it comes to the pinnacle of holiday baking, you truly want the best of the best, and these bars deliver precisely that.
This year, tradition takes a delightful detour. If you pass up the opportunity to make these gingersnap pumpkin cheesecake bars, you will genuinely be missing out on what we confidently proclaim is the BEST PUMPKIN DESSERT EVER. They represent a harmonious marriage of flavors and textures, offering something truly special for all your festive gatherings. Whether it’s a cozy autumn evening, a bustling Thanksgiving feast, or a joyous Christmas celebration, these bars are guaranteed to be the star of the dessert table.
A Delicious Alternative to Traditional Pumpkin Pie
Now, if you’re still set on serving a pumpkin pie but are perhaps a bit intimidated by baking a traditional crust from scratch, our No Bake Pumpkin Pie with Gingersnap Crust is an excellent, fuss-free option. It still delivers that classic pumpkin flavor with the added spice of gingersnap in an easy-to-prepare format. However, if you’re open to exploring a different presentation – a delicious bar instead of a pie – then these Gingersnap Pumpkin Cheesecake Bars are hands down the most delicious dessert we’ve created this year.
That’s a bold claim, we know! But don’t let the “cheesecake” in the name deter you if you’re more of a pumpkin bar enthusiast. While these bars boast the silky, creamy goodness characteristic of a cheesecake, their overall profile leans heavily towards a rich, spiced pumpkin bar. This delightful balance ensures they’ll please everyone, regardless of their preferred pumpkin dessert style. The fusion of flavors and textures is simply irresistible, making these bars a guaranteed crowd-pleaser for any occasion.
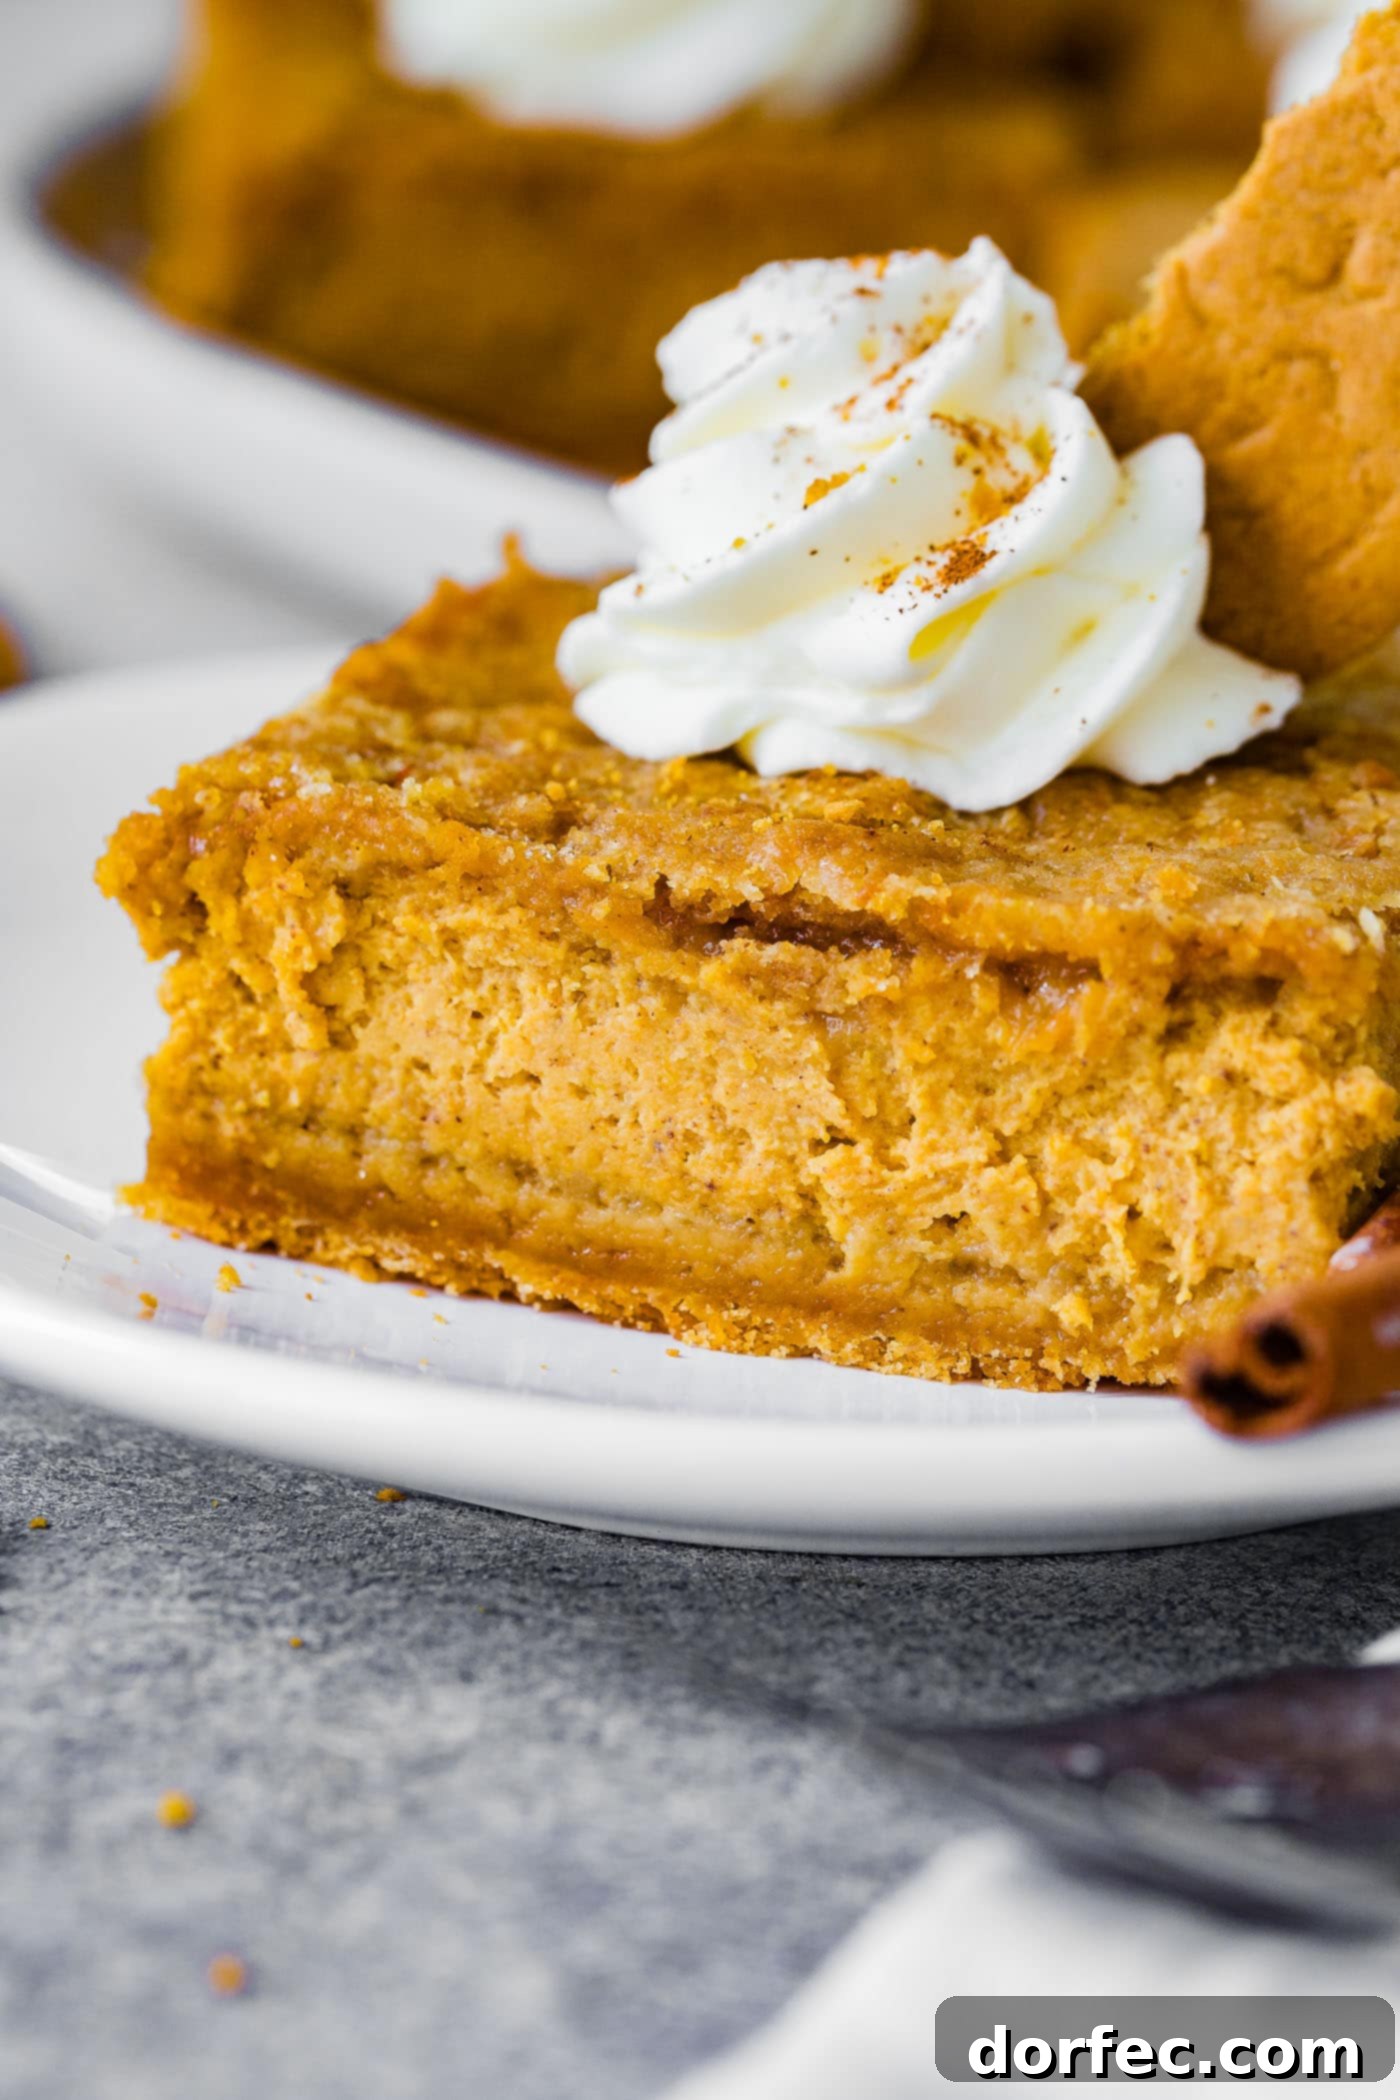
Why These Pumpkin Cheesecake Bars Are a Must-Make
These Gingersnap Pumpkin Cheesecake Bars truly are an exceptional dessert. Each component is thoughtfully crafted to contribute to an unforgettable experience:
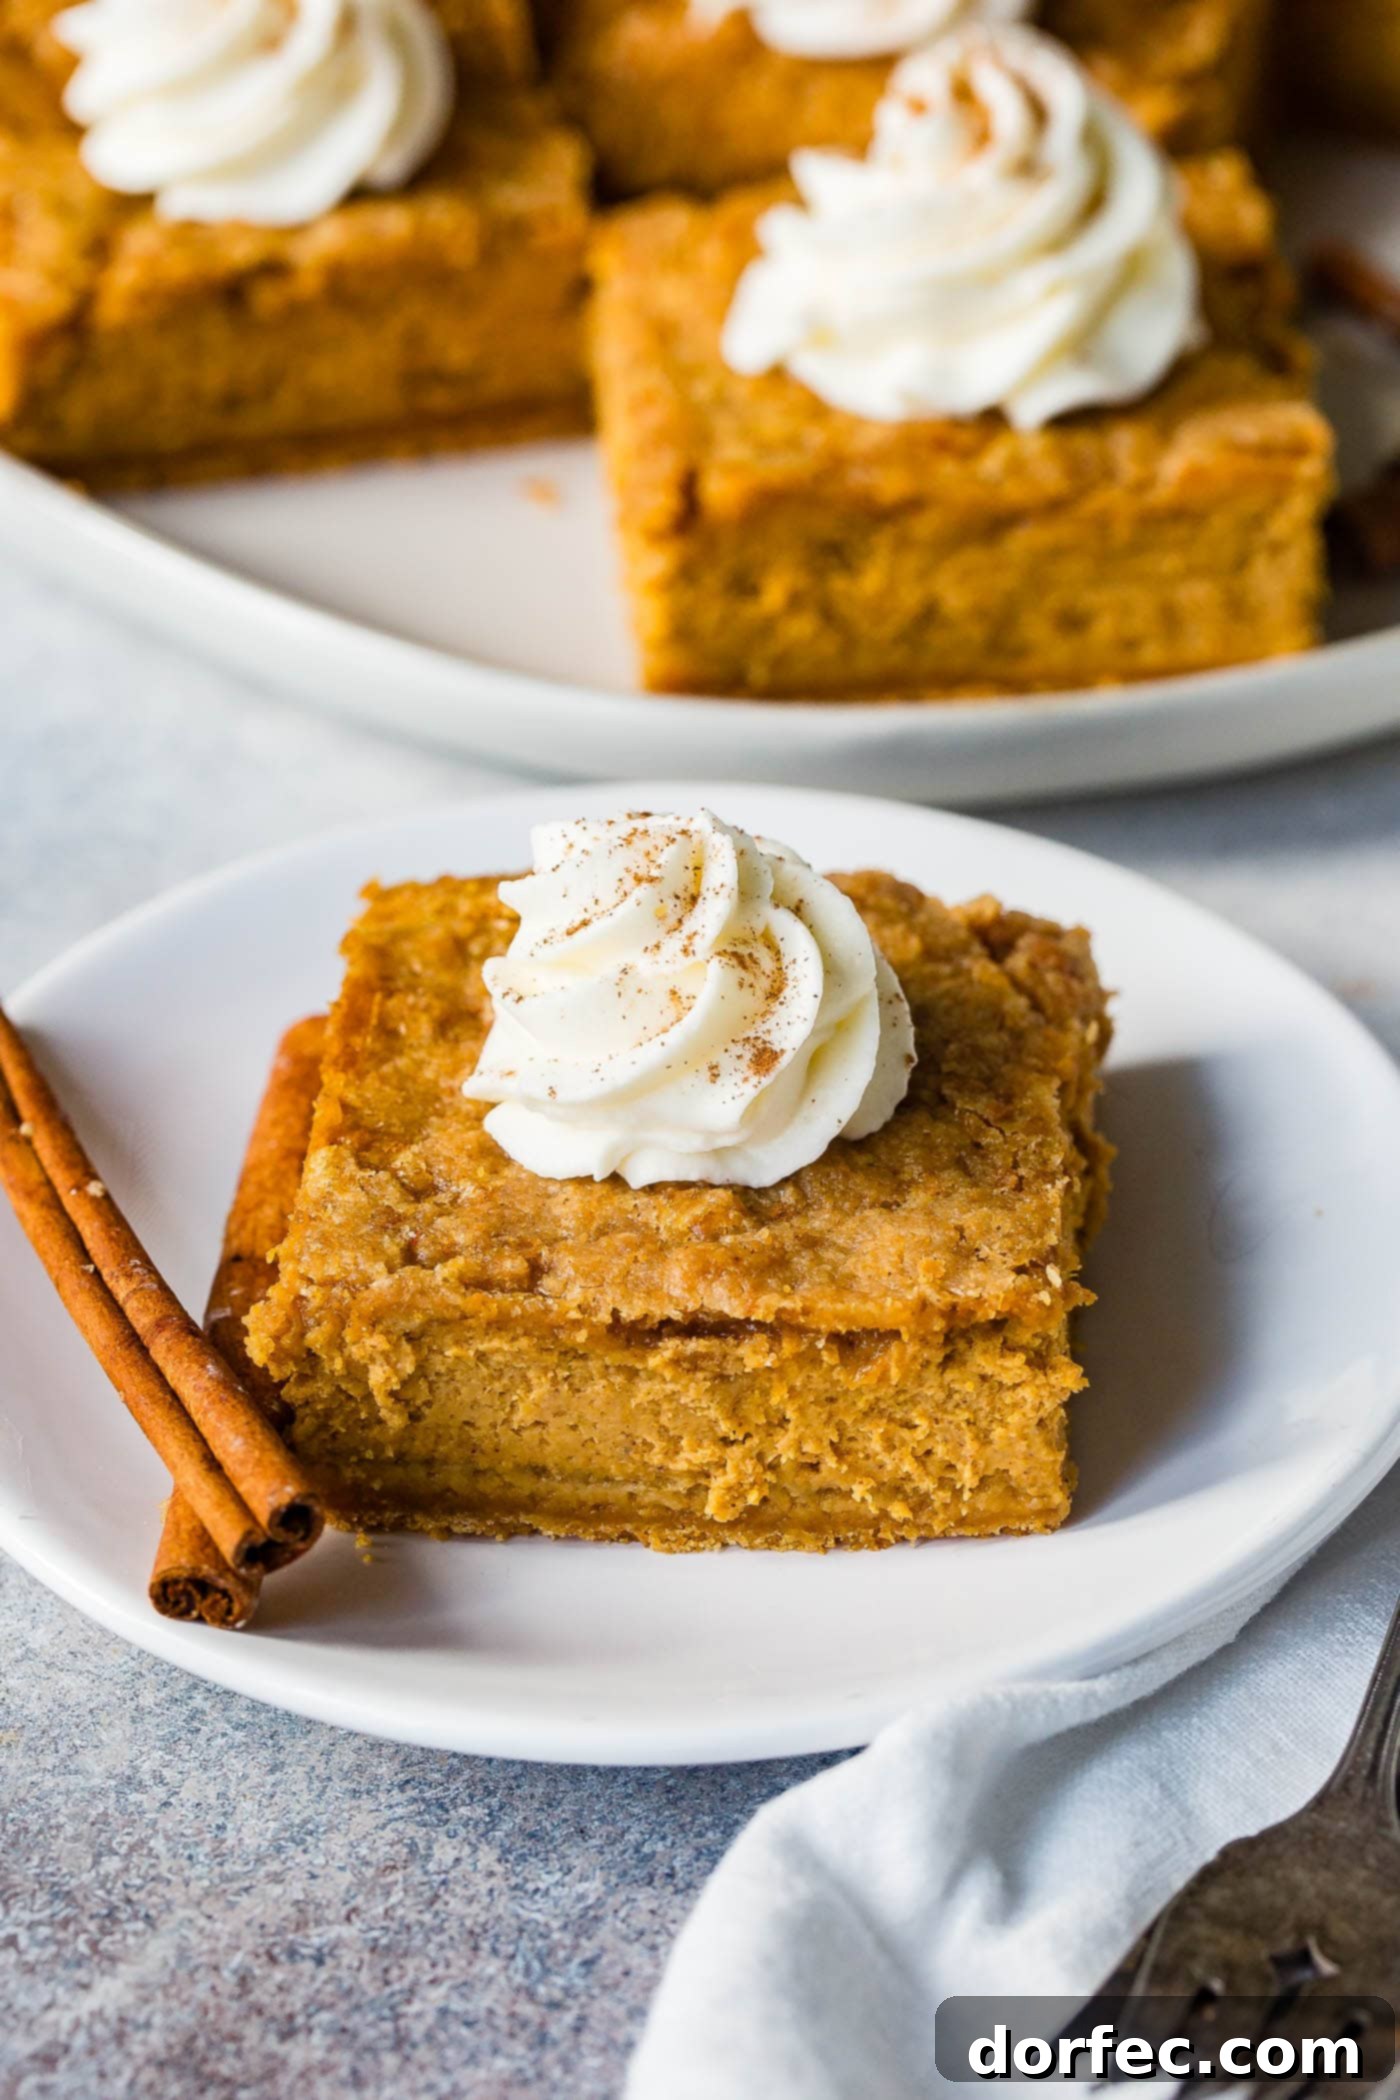
- The Chewy, Spiced Gingersnap Crust: Unlike many pie crusts that can become soggy or crumbly, this gingersnap-infused crust holds up beautifully. It’s not just a base; it’s an integral part of the flavor profile, offering a delightful chewiness and a warm, spicy kick that perfectly complements the pumpkin filling. The blend of gingersnap cookies and yellow cake mix creates a unique foundation that is both flavorful and structurally sound.
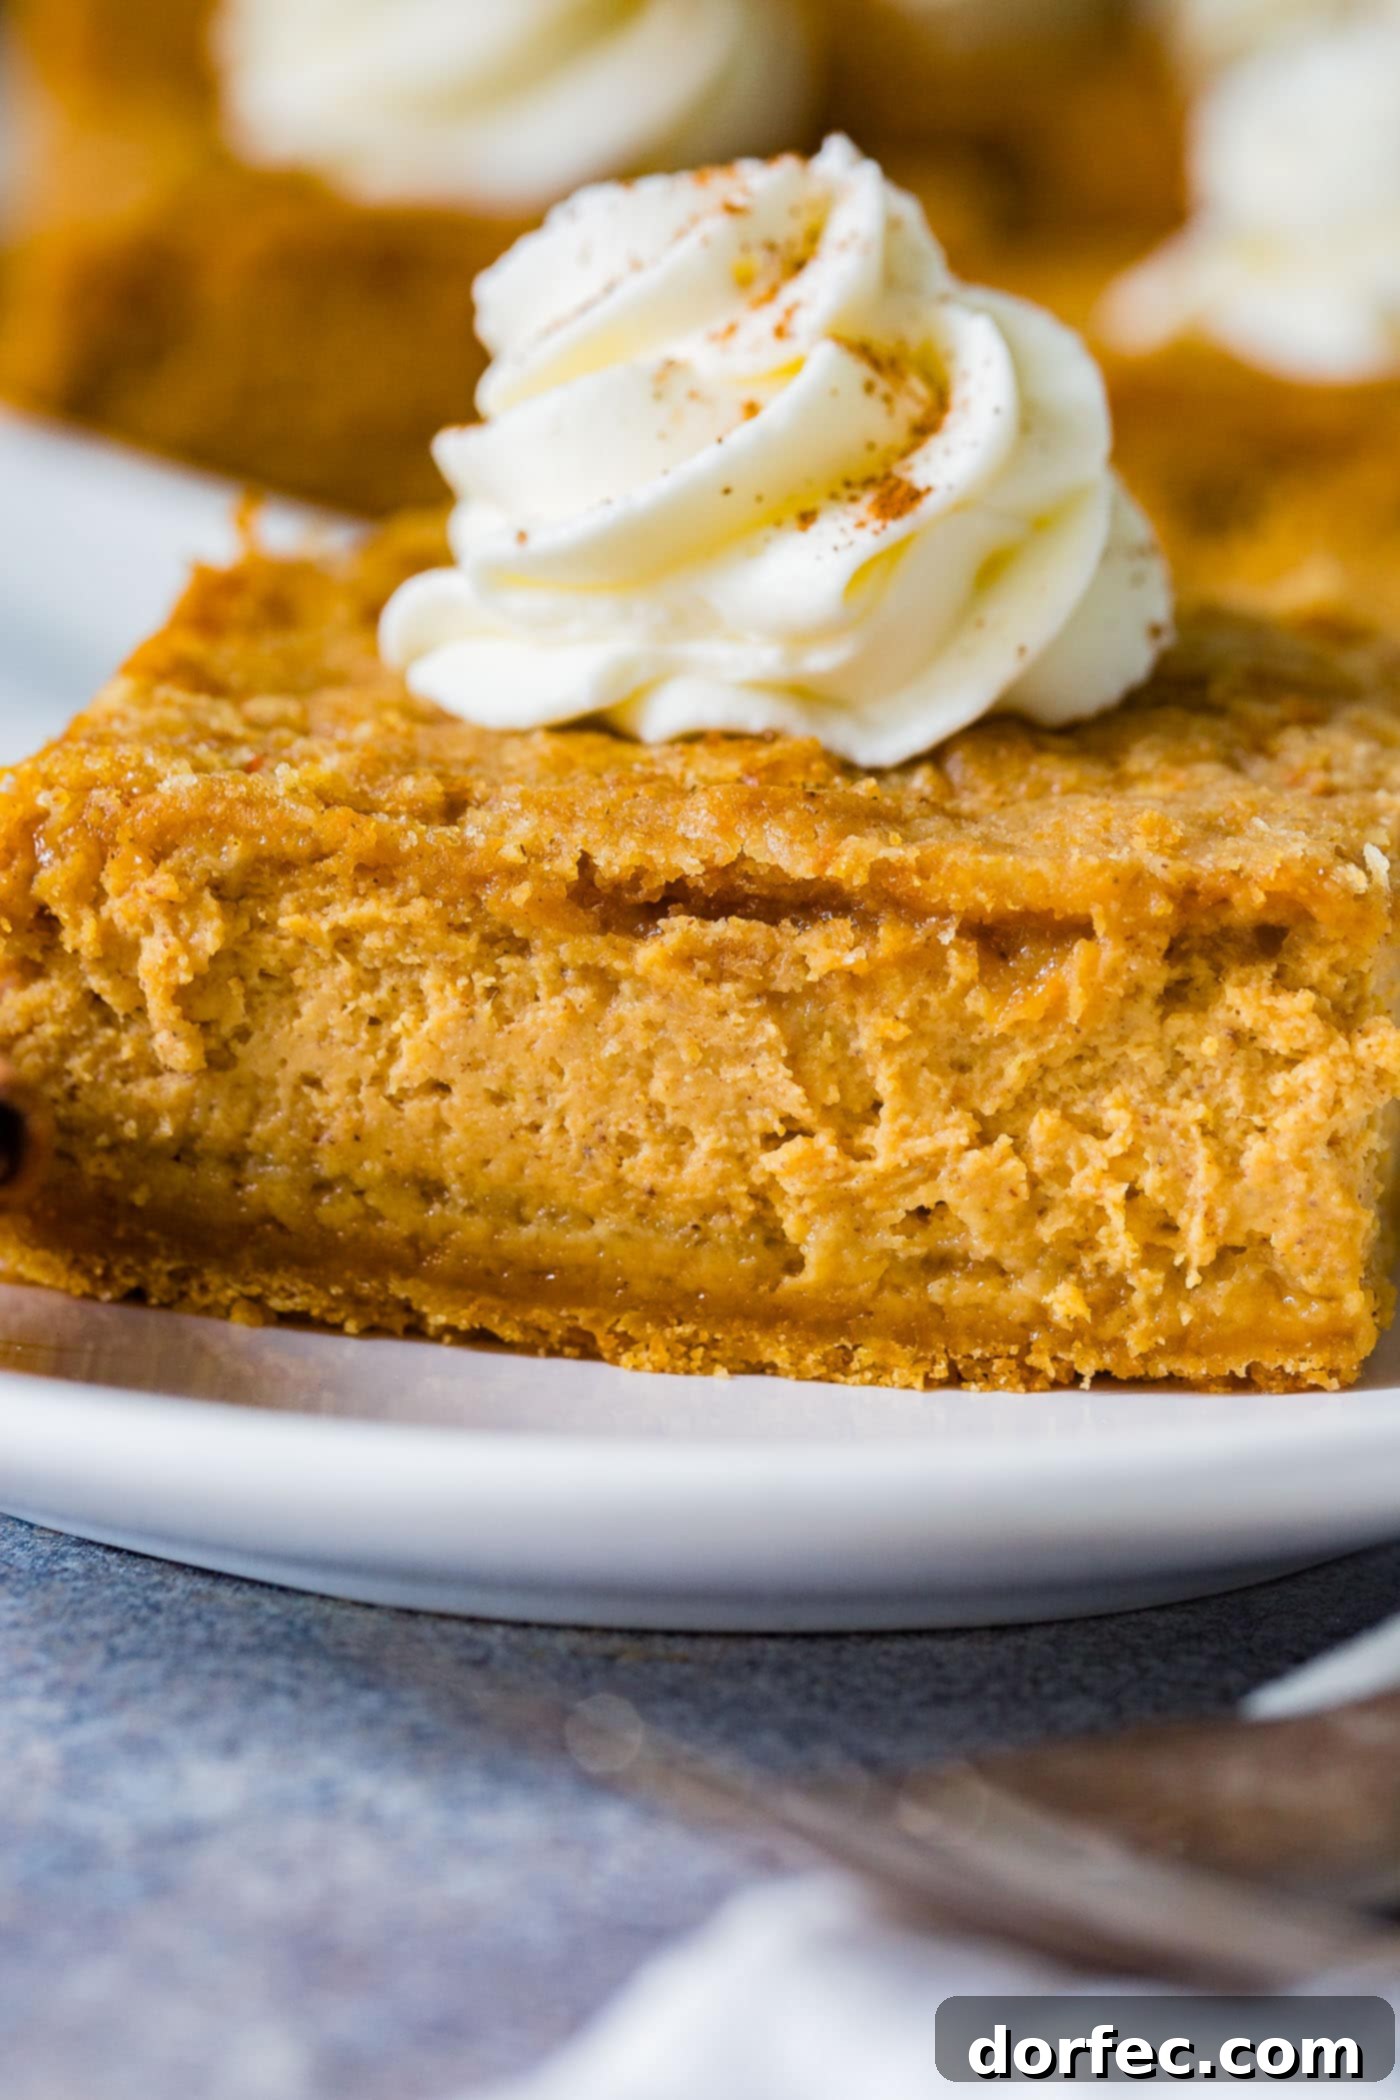
- The Silky, Creamy Pumpkin Cheesecake Filling: This isn’t just any cheesecake; it’s a straightforward pumpkin cheesecake that astonishingly requires no water bath! This simplifies the baking process significantly, making it accessible even for novice bakers. The filling is light yet incredibly creamy, bursting with the authentic taste of fall spices and luscious pumpkin puree. It’s rich without being overly heavy, providing a perfect contrast to the crust.
- The Irresistible Gingersnap Crumble Topping: While subtle at first glance, the delicate gingersnap crisp or crumble sprinkled on top is where all the magic truly happens. That first bite reveals a wonderful textural contrast and an extra layer of warm, zesty ginger spice that ties everything together. It’s everything you adore about gingersnap cookies, classic pumpkin pie, and decadent cheesecake, all expertly combined into one harmonious bar.
And let’s not forget the optional, but highly recommended, dollop of freshly whipped cream. While not strictly necessary for the bars to be divine, the light, airy cream adds a refreshing counterpoint, enhancing the overall richness and making each bite feel even more indulgent.
How to Master Your Gingersnap Pumpkin Cheesecake Bars
Crafting these sensational bars involves three distinct layers, but don’t be daunted! Each layer comes together quickly and efficiently. The process is designed to be enjoyable, leading to a dessert that’s not only delicious but also a joy to prepare.
Layer 1: The Flavorful Gingersnap Cookie Cake Crust
To create a tart-like crust with impressive speed and flavor, we ingeniously combine crumbled gingersnap cookies with a yellow cake mix. This shortcut doesn’t compromise on taste; instead, it yields a uniquely chewy and spiced base that outshines many traditional crusts.
Before You Begin: Essential Preparations
- Take a moment to separate approximately 3/4 cup of the yellow cake mix into a small, separate bowl. This portion will be reserved for the topping.
- Similarly, set aside about 1/2 cup of your crushed gingersnap cookie crumbs and add them to the bowl with the reserved cake mix. This foresight ensures you have all components ready for the crumble topping later.
Crafting the Perfect Crust: Step-by-Step
- In a medium-sized mixing bowl, combine the remaining yellow cake mix and the bulk of the gingersnap cookie crumbs. Mix these dry ingredients thoroughly until they are uniformly distributed.
- Next, incorporate the melted butter and the large egg into the cookie and cake mix. Stir vigorously until all ingredients are well combined and a moist, cohesive batter forms.
- Evenly press this delectable batter into the bottom of a parchment-lined 9×13-inch baking pan. Ensure it forms a firm and consistent layer.
- Set the prepared crust aside while you move on to the luxurious filling.
Expert Tip for Pressing Out Crust Batter
Pressing out a dense, sticky dough batter into the corners of a baking pan, similar to preparing caramel brownies, can sometimes be a bit tricky and frustrating. You want an even layer across the entire bottom of the pan, but the dough might not always cooperate easily.
Instead of struggling with a spatula or your fingertips, try a clever technique: use your knuckles. Gently yet firmly roll and dab your knuckles across the dough, working it outwards from the center to all the edges and corners of the pan. This method provides better leverage and distributes pressure more effectively, allowing you to achieve a perfectly even and compact crust without all the fuss.
Centering Your Dough for Even Coverage
Another helpful tip for achieving a uniform crust: it’s generally best to begin pressing the dough from the very center of the pan, gradually working your way outwards. This approach helps to distribute the dough more evenly, preventing thick spots on one side and thin, sparse areas on the other. Starting from the center allows you to exert consistent pressure and ensure every inch of the pan bottom is covered with a beautiful, cohesive layer of crust.
Ingredient Insights & Substitutions for Your Pumpkin Cheesecake Bars
Understanding your ingredients and potential substitutions can elevate your baking experience and ensure success, even when faced with limited options.
What Can You Substitute for Cream Cheese?
Given that these are indeed cheesecake bars, the star ingredient, cream cheese, is fairly irreplaceable for achieving that signature tangy, creamy texture. The most direct substitute would be Neufchâtel cheese, which is very similar in flavor and texture but typically has less fat. For all intents and purposes, they are interchangeable in most recipes.
If you absolutely cannot source cream cheese or Neufchâtel, you could experiment with full-fat ricotta cheese or a very thick, whole-fat Greek yogurt. However, be aware that the results will differ significantly. Ricotta will yield a slightly grainier, lighter texture, and Greek yogurt will introduce a much sharper tang. These alternatives will create a delicious dessert in their own right, but it won’t be the classic cheesecake experience.
Can You Use Fresh Pumpkin Instead of Canned Puree?
Absolutely! Using fresh pumpkin puree in these bars is not only possible but highly recommended if you have the time and access to baking pumpkins. Fresh pumpkin puree can lend an even more silky and wonderfully nuanced flavor to your cheesecake filling. The effort is minimal for the elevated taste it provides.
How to Make Homemade Fresh Pumpkin Puree
For the best results, always select baking pumpkins (sometimes called “sugar pumpkins” or “pie pumpkins”) from your grocery store. These are small, round, and specifically cultivated for their sweet, dense flesh, unlike the larger, stringier carving pumpkins used for Halloween decorations. If you’re unsure, don’t hesitate to ask your grocer for guidance.
Step-by-Step Guide to Fresh Pumpkin Puree:
- Begin by preheating your oven to 350 degrees Fahrenheit (175 degrees Celsius).
- Carefully cut the pumpkin in half and use a spoon to thoroughly scrape out all the seeds and fibrous strands.
- Place the pumpkin halves, cut-side down, on a baking sheet. Roast them in the preheated oven for approximately 1 hour, or until the pumpkin flesh is fork-tender and easily pierced.
- Once cooled slightly, scoop out all the cooked pumpkin meat from the skin. Transfer the flesh to a blender or food processor.
- Puree the pumpkin until it reaches a completely smooth and lump-free consistency. For an extra silky texture, you can pass it through a fine-mesh sieve.
- To remove excess moisture, which is crucial for a firm cheesecake, line a colander with several layers of cheesecloth or a clean, damp, thick paper towel. Pour the pumpkin puree into the lined colander and allow it to strain for at least an hour. This step concentrates the pumpkin flavor and prevents a watery filling.
- Measure out 2 cups of the strained, homemade pumpkin puree to use for your cheesecake bar recipe. Store any leftover puree in an airtight container in the refrigerator for up to a week, or freeze for longer storage.
Spice It Up: Pumpkin Pie Spice & Storage
What Can You Substitute for Pumpkin Pie Spice?
Don’t have a pre-made pumpkin pie spice blend on hand? No problem! You can easily create your own aromatic mix with common pantry spices. This homemade blend is not only convenient but also allows you to adjust the ratios to your personal preference for a truly custom flavor profile.
Homemade Pumpkin Pie Spice Blend:
- 3 Tablespoons Ground Cinnamon
- 2 Teaspoons Ground Ginger
- 2 Teaspoons Ground Nutmeg
- 1 ½ Teaspoons Ground Cloves
- 1 ½ Teaspoons Allspice
To prepare, simply combine all the listed spices in a small jar or airtight container. Secure it with a lid and give it a good shake to ensure everything is thoroughly mixed. Store this fragrant blend in your pantry, and it will be ready whenever you need to infuse your fall baking with that quintessential pumpkin spice flavor.
Can Pumpkin Cheesecake Be Left Out?
No! Due to its rich dairy content (cream cheese, eggs, and heavy cream), pumpkin cheesecake is perishable and requires refrigeration. While it can safely sit out at room temperature for a very short period—generally no more than 2 to 4 hours, especially if your kitchen is warm—it’s crucial to get this delicious dessert into the refrigerator as quickly as possible. Prompt refrigeration helps to maintain its quality, texture, and food safety.
Can You Freeze Pumpkin Cheesecake Bars?
Yes, these Gingersnap Pumpkin Cheesecake Bars freeze beautifully, making them an excellent make-ahead dessert or a way to enjoy leftovers for an extended period. To freeze, ensure the bars are completely cooled. Then, wrap individual slices or the entire batch tightly first with plastic wrap, followed by a layer of aluminum foil. This double-layer protection helps to prevent freezer burn and preserve their fresh taste and texture. Properly wrapped, these bars can be stored in the freezer for up to 6 weeks. When ready to enjoy, simply thaw them in the refrigerator overnight before serving.
Elevating Your Dessert: Stabilized Whipped Cream
A beautiful dessert deserves a topping that holds its magnificent shape. This is where stabilized whipped cream comes in. Unlike regular whipped cream, which tends to deflate and weep after a short time, stabilized whipped cream maintains its airy peaks and elegant form for several days.
Why Choose Stabilized Whipped Cream?
Have you ever spent time piping gorgeous swirls of whipped cream onto a dessert, only to return 30 minutes later and find it’s melted into a sad, deflated mess or even a watery puddle? It’s a common frustration that can undermine all your presentation efforts! The secret isn’t necessarily whipping your cream more intensely; it’s about a slight modification to the preparation method.
The magic of stabilized whipped cream lies in the addition of unflavored gelatin. This simple ingredient acts as a stabilizer, helping the cream maintain its structure. While it’s a slightly longer process than making regular whipped cream, the results are well worth the extra few steps, especially when you’re presenting a dessert for a special occasion or need it to hold up for a longer period.
How to Make Stabilized Whipped Cream
For the best possible results, it’s always a good practice to chill your mixing bowl and beaters for 10-15 minutes before you begin. While I sometimes skip this step and still achieve good results, chilling provides an optimal environment for whipping cream.
Step-by-Step Stabilized Whipped Cream:
- In a very small microwave-safe bowl or a small saucepan, pour 2 teaspoons of cold water. Evenly sprinkle 1 teaspoon of unflavored gelatin powder over the water.
- Allow the gelatin to “bloom” by letting it sit undisturbed for 3 to 5 minutes. It will absorb the water and become thick and spongy.
- Gently warm the bowl with the bloomed gelatin in the microwave for just a few seconds (5-10 seconds is usually enough) or over very low heat on the stovetop. The goal is just to dissolve the gelatin, not to boil it. It should be clear and completely liquid. Set it aside to cool slightly, ensuring it’s still liquid but not hot.
- In your chilled mixing bowl, combine 1 cup of cold heavy cream with 1/2 cup of powdered sugar (also known as confectioners’ sugar).
- Using an electric mixer, beat the heavy cream and powdered sugar on medium-high speed until it begins to thicken and becomes fluffy.
- With the mixer still running on low speed, slowly and steadily drizzle the slightly cooled, dissolved gelatin into the whipping cream mixture.
- Increase the mixer speed to medium-high and continue beating until stiff peaks just begin to form. Be careful not to overbeat, or it will become grainy.
- Transfer the stabilized whipped cream to a piping bag fitted with your desired tip, and pipe it onto your Gingersnap Pumpkin Cheesecake Bars or any other dessert that deserves a beautiful, long-lasting topping.
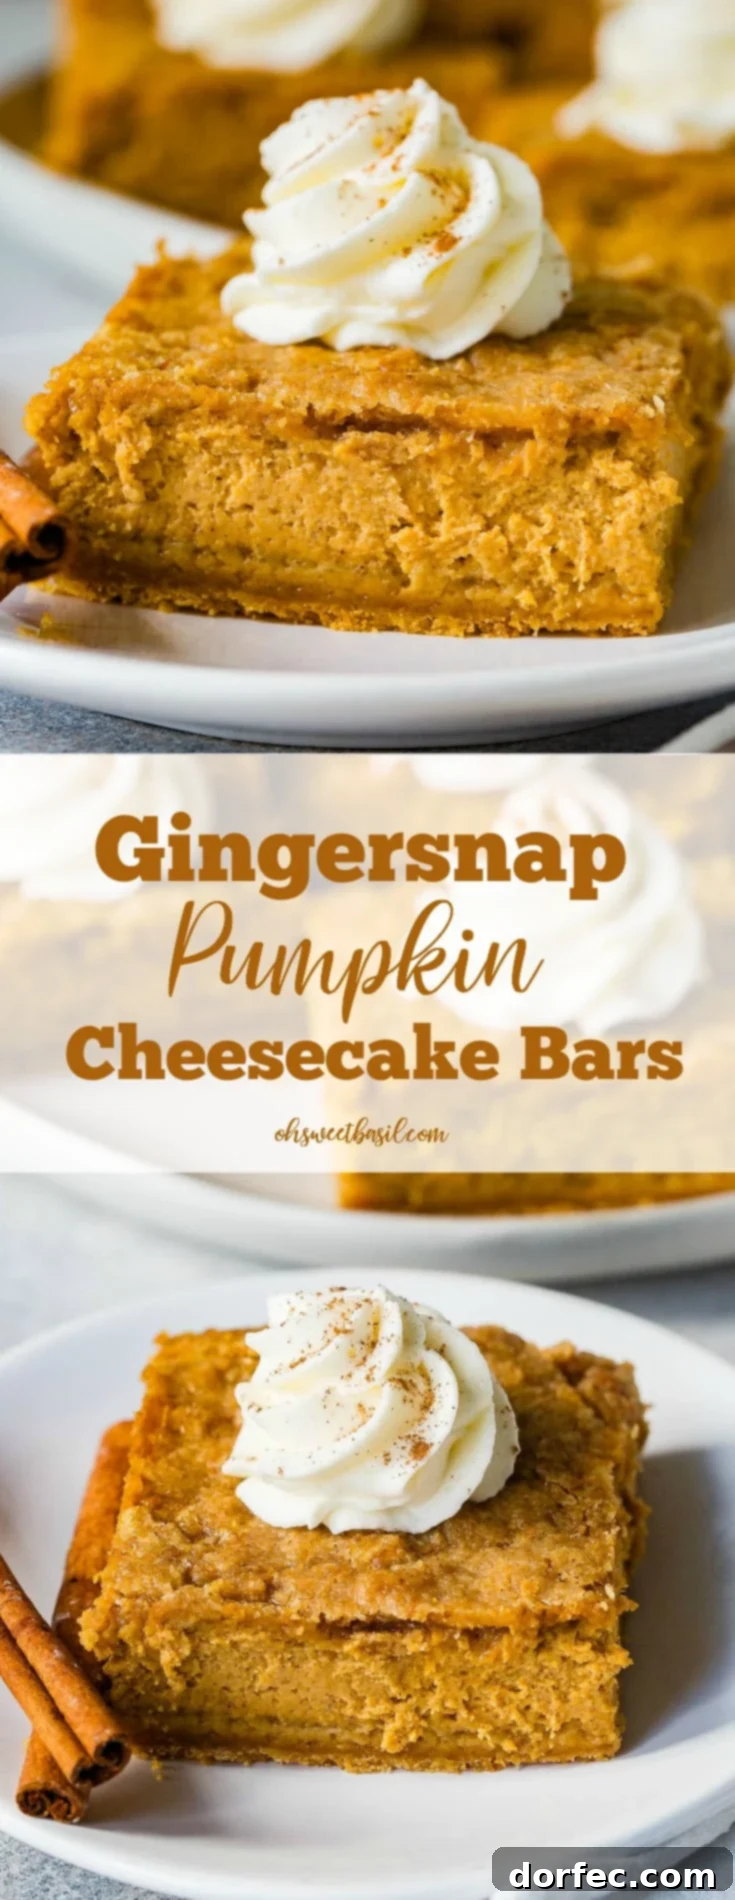
Gingersnap Pumpkin Bars Recipe
By Sweet Basil
Prep Time: 40 mins
Cook Time: 1 hr 10 mins
Total Time: 1 hr 50 mins
Servings: 18 bars
Creamy pumpkin cheesecake filling is sandwiched between a gingersnap cookie crumble.
Ingredients
Crust
- 1 Package Yellow Cake Mix (approximately 15.25 oz or 432g)
- 1 Cup Crushed Gingersnap Cookies (about 20-25 cookies)
- 1/2 Cup Butter, melted
- 1 Large Egg
Filling
- 1 Package (8 ounces) Cream Cheese, softened
- 2/3 Cup Brown Sugar (dark brown sugar is preferred for richer flavor)
- 3 Large Eggs, whisked
- 1 Can (29 ounces) Pumpkin Puree
- 1/4 Cup Heavy Cream
- 1 teaspoon Ground Cinnamon
- 1 1/2 teaspoons Pumpkin Pie Spice
- 2 teaspoons Vanilla Extract
Topping
- 1/2 Cup Crushed Gingersnap Cookies
- 2 Tablespoons Granulated Sugar
- 2 Tablespoons Brown Sugar
- 1/2 Cup Cold Butter, cubed
Instructions
- Preheat your oven to 325 degrees Fahrenheit (160 degrees Celsius). Line a 9×13-inch baking pan with parchment paper, leaving an overhang on the sides for easy lifting.
- Set aside 3/4 cup of the yellow cake mix in a separate small bowl. This is for the topping.
- In a medium bowl, combine 1 cup of crushed gingersnap cookies and the remaining yellow cake mix. Mix thoroughly until well combined.
- Add the 1/2 cup of melted butter and the 1 large egg to the cookie-cake mix. Stir until a uniform batter forms. Press this batter evenly into the bottom of the prepared 9×13-inch baking pan. Set the crust aside.
- In a large mixing bowl, using a hand mixer, beat the softened cream cheese and 2/3 cup of brown sugar until the mixture is smooth and creamy.
- Add the 3 whisked eggs, one at a time, beating until each is just incorporated and the mixture is smooth.
- Scrape the entire can of pumpkin puree into the bowl. Add the heavy cream, ground cinnamon, pumpkin pie spice, and vanilla extract. Beat only until the ingredients are just combined. Do not overmix the filling, as this can affect the texture of the cheesecake.
- Pour the pumpkin cheesecake filling evenly over the prepared gingersnap crust. Use a rubber spatula to gently spread it to the edges.
- In the bowl with the reserved 3/4 cup of yellow cake mix, add the 1/2 cup of crushed gingersnap cookies, 2 tablespoons of granulated sugar, and 2 tablespoons of brown sugar. Mix until combined to form an even topping mixture.
- Add the 1/2 cup of cold, cubed butter to the topping mixture. Using a pastry cutter or your fingertips, cut the butter into the dry ingredients until the mixture resembles coarse crumbs.
- Evenly sprinkle this gingersnap crumble topping over the pumpkin cheesecake filling.
- Carefully transfer the baking pan to the center rack of your preheated oven. Bake for 70-75 minutes, or until the center of the cheesecake bars reaches an internal temperature of 160 degrees Fahrenheit (71 degrees Celsius) and has only a slight jiggle.
- Once baked, remove the bars from the oven and let them cool completely on a wire rack for at least 2 hours. This cooling time is essential for the cheesecake to set properly.
- Serve the cooled Gingersnap Pumpkin Cheesecake Bars with a generous dollop of freshly whipped cream, if desired.
- Store any leftover bars in an airtight container in the refrigerator.
For the Filling:
For the Topping:
Recipe Notes
- This recipe has been slightly adapted from a Taste of Home original.
- For an added layer of flavor and texture, consider adding chopped pecans or walnuts to either the crust or the topping.
- Experiment with different flavored whipped creams! A cinnamon-infused or maple-flavored whipped cream would be a delightful accompaniment to these bars.
- When stored in an airtight container in the refrigerator, these delicious bars will remain fresh and enjoyable for up to 3 days.
Nutrition
Serving: 1 bar, Calories: 417kcal, Carbohydrates: 50g, Protein: 5g, Fat: 23g, Saturated Fat: 12g, Polyunsaturated Fat: 2g, Monounsaturated Fat: 7g, Trans Fat: 1g, Cholesterol: 89mg, Sodium: 453mg, Potassium: 139mg, Fiber: 1g, Sugar: 27g, Vitamin A: 4283IU, Vitamin C: 1mg, Calcium: 110mg, Iron: 2mg
Nutrition information is automatically calculated, so should only be used as an approximation.
Like this? Leave a comment below!