
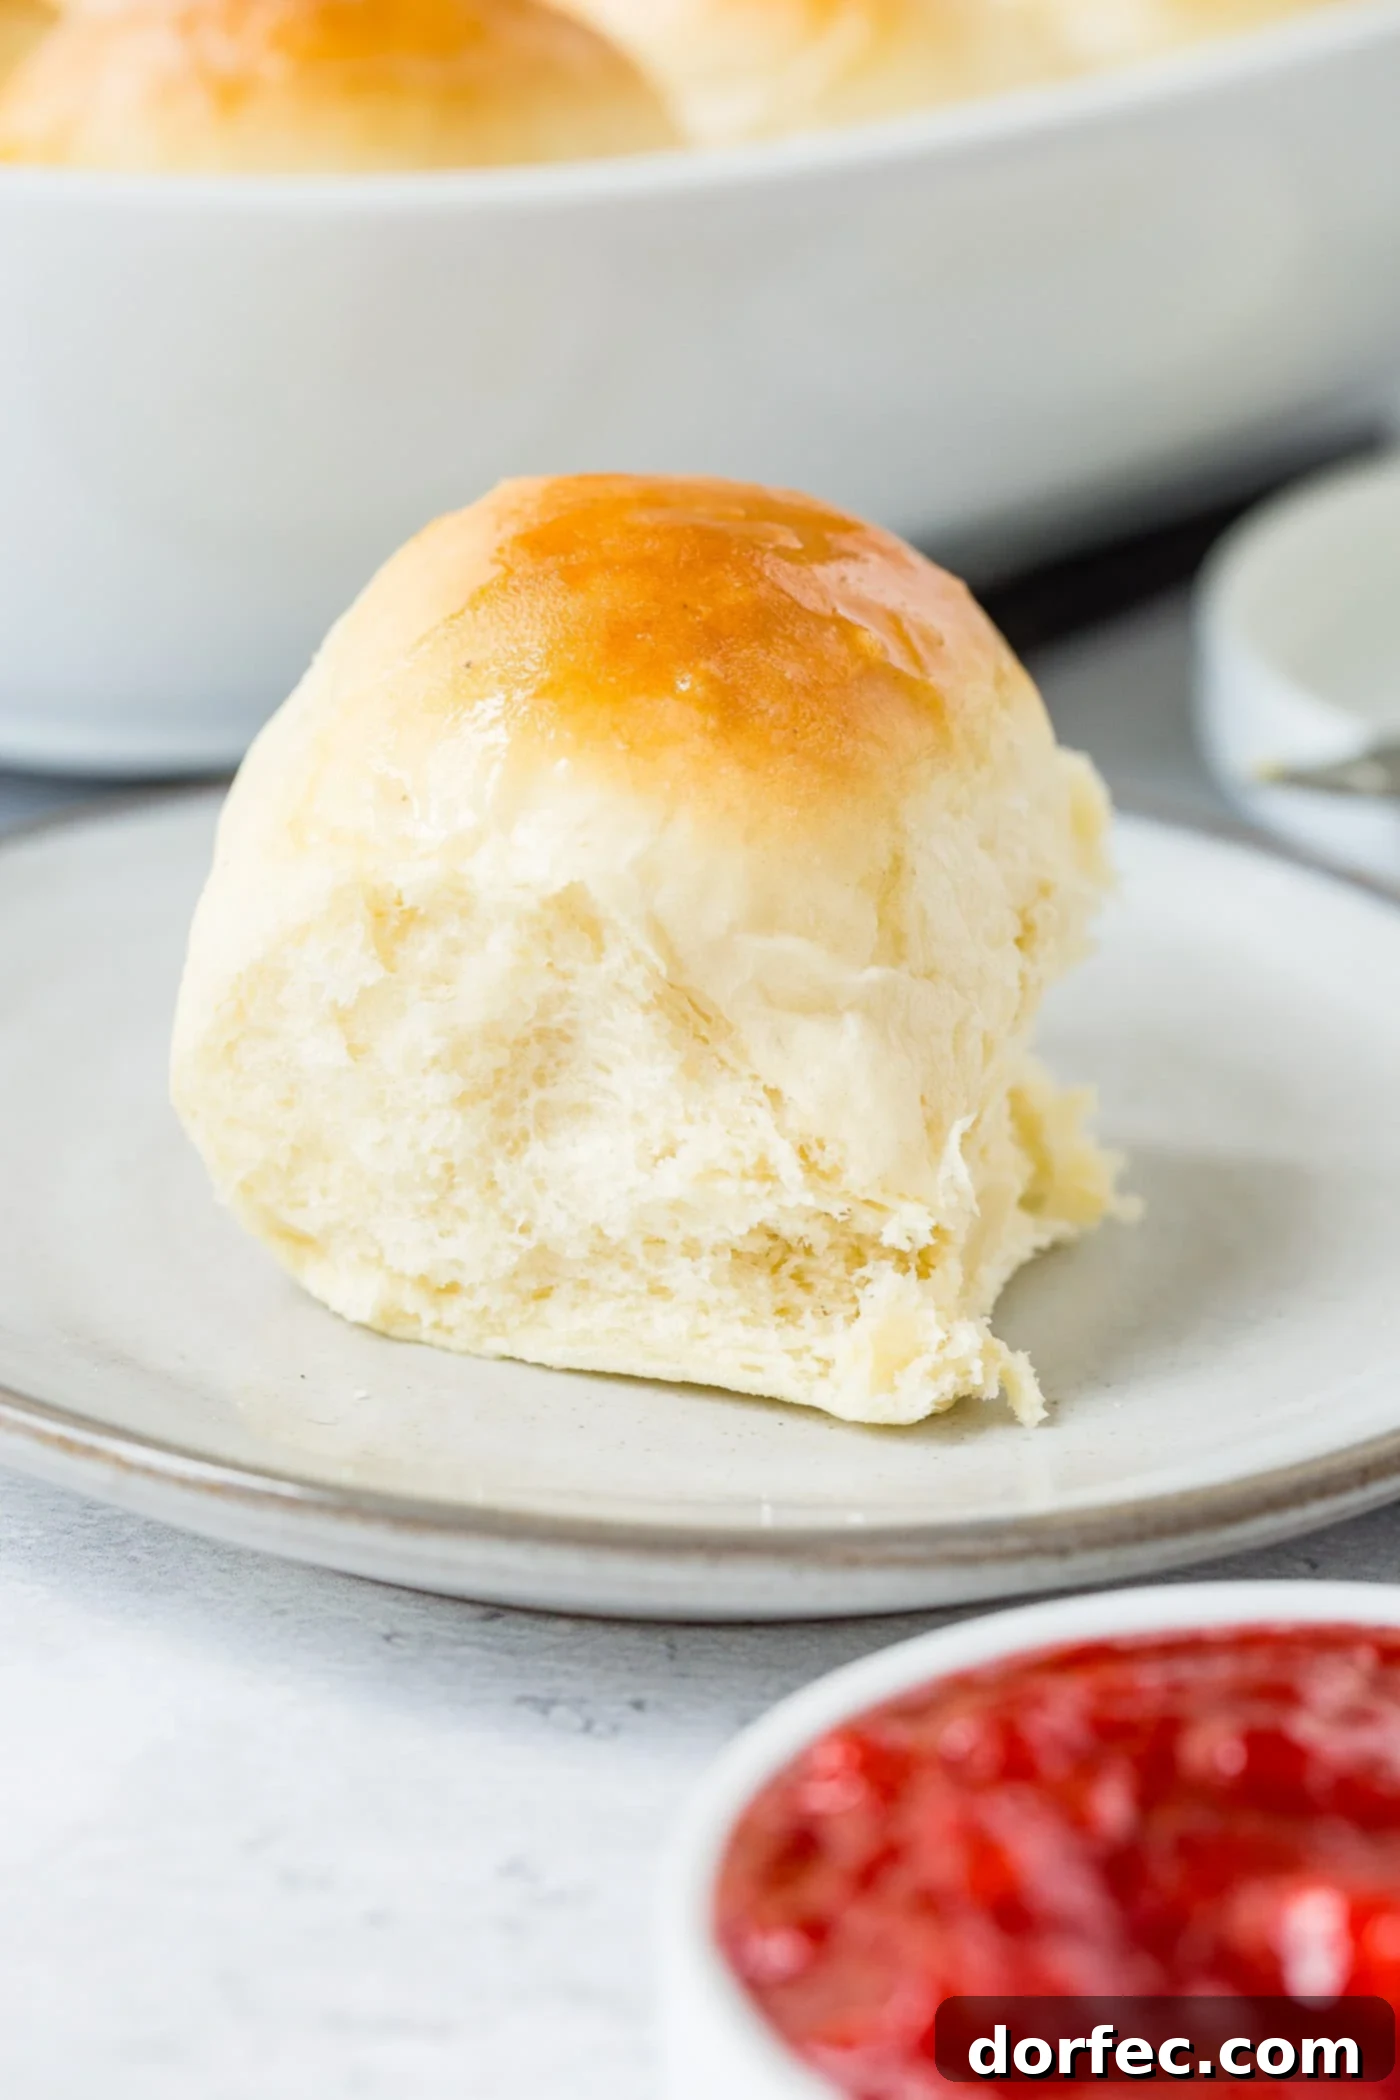
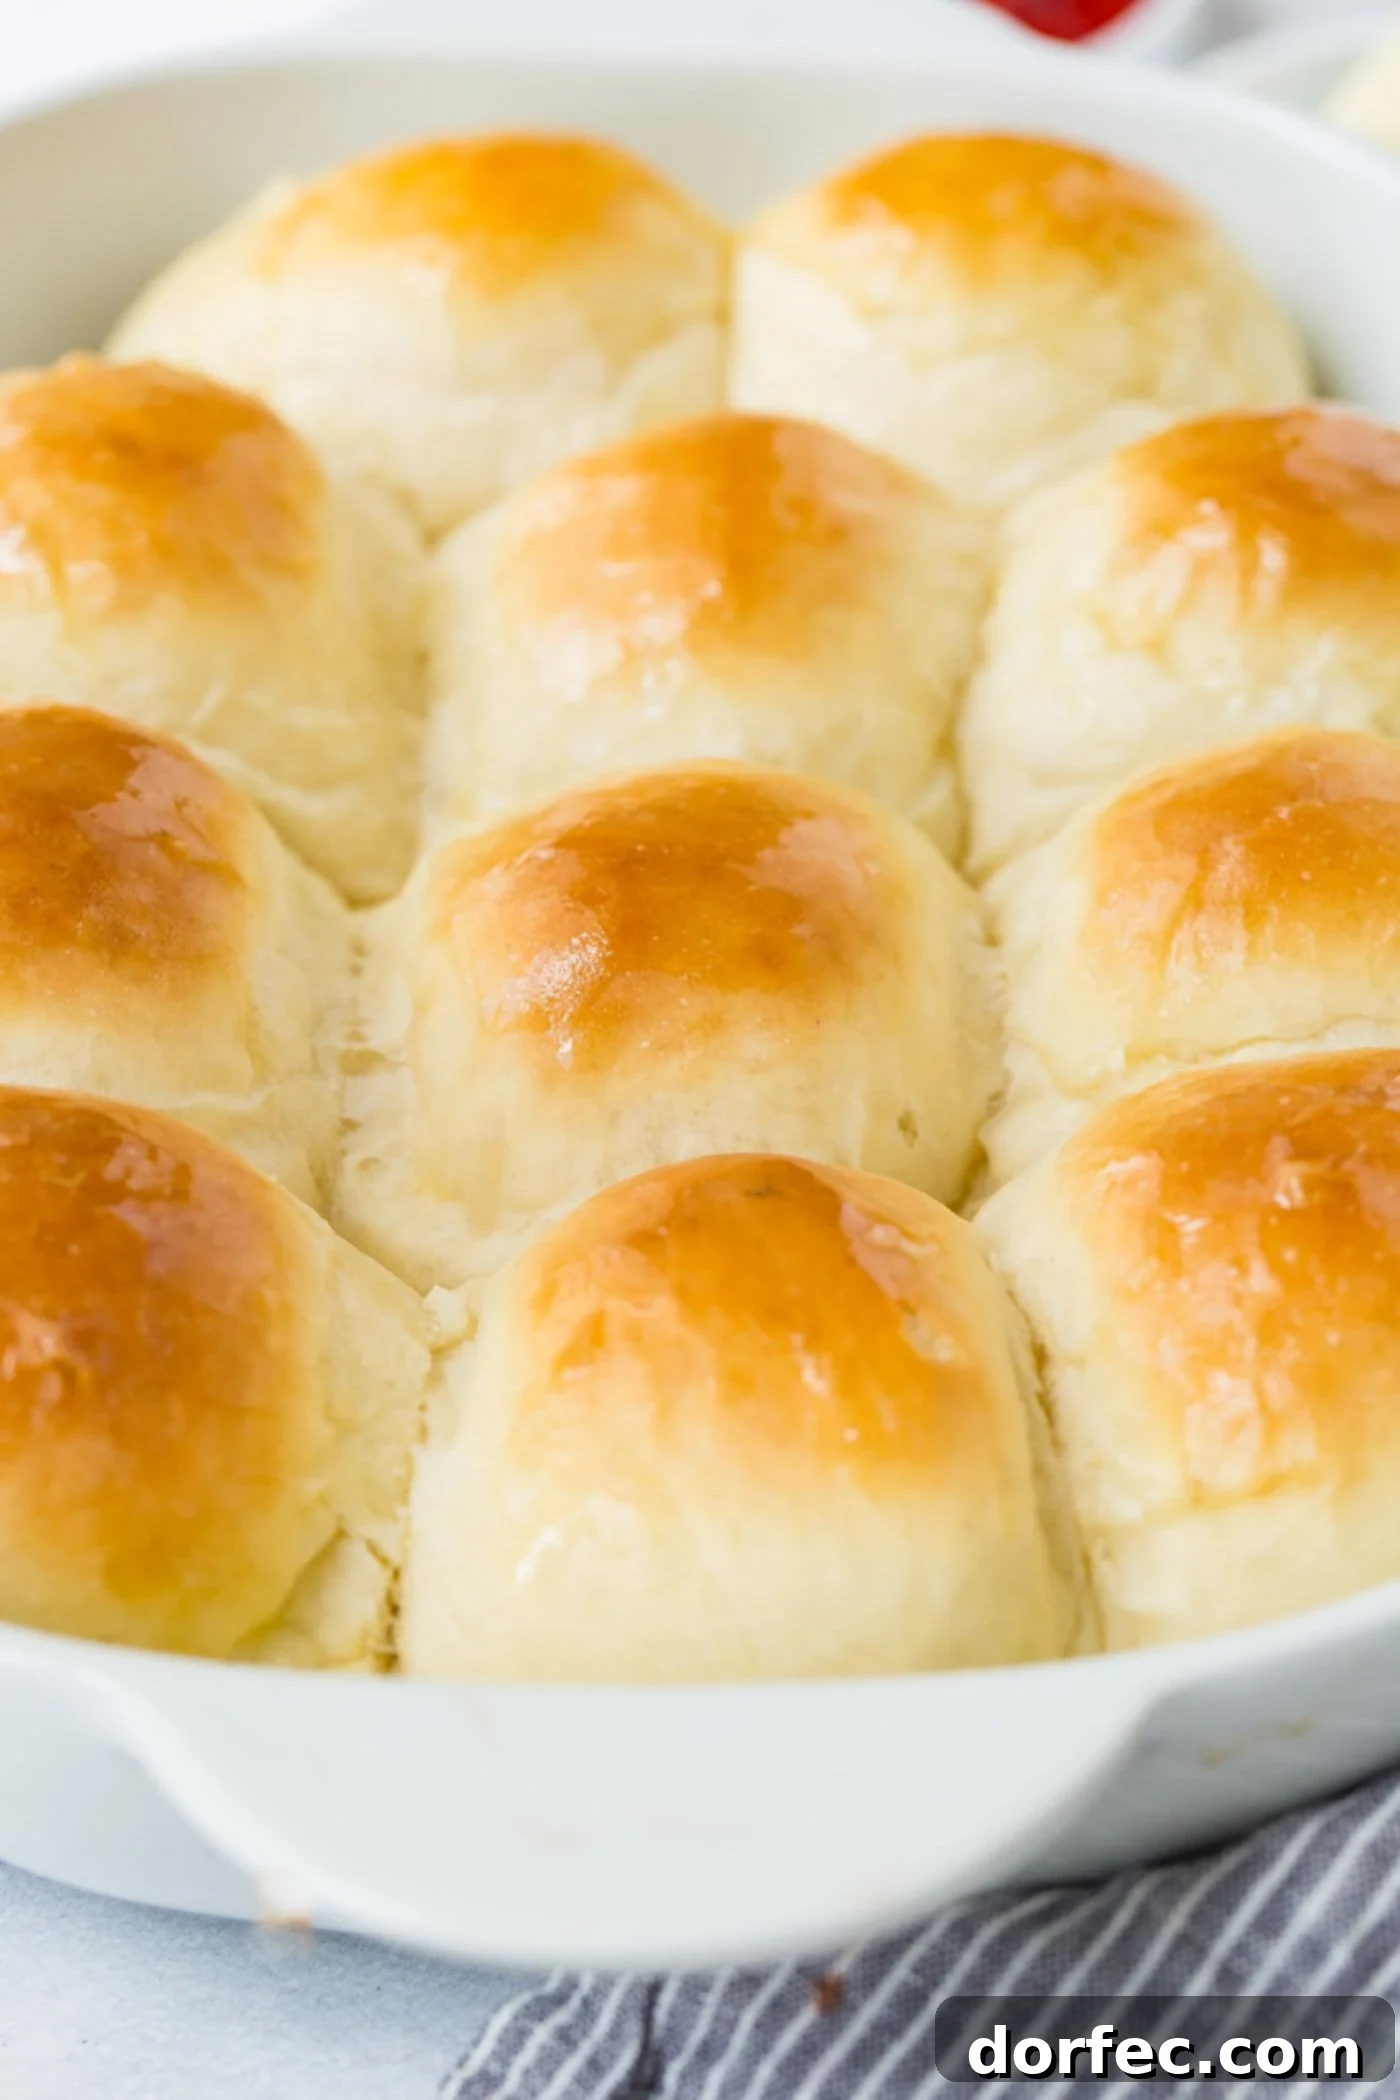
There’s nothing quite like the aroma of freshly baked bread wafting through your home. And when it comes to comfort food, few things rival the sheer delight of a warm, pillowy, soft homemade dinner roll. This isn’t just a recipe; it’s an invitation to create unforgettable moments, a staple that promises to elevate any meal from ordinary to extraordinary. Imagine sinking your teeth into a tender roll, perfectly golden on the outside and wonderfully fluffy within, with a delicate hint of butter that melts in your mouth. This comprehensive guide will walk you through crafting the softest homemade dinner rolls you’ve ever tasted, complete with essential tips and tricks that guarantee baking success every single time.
For me, Sunday dinner was always a truly cherished occasion during my childhood. I hold crystal-clear memories of my mother, donned in her apron and Sunday best, bustling energetically around the kitchen. Her mission: to get the pot roast simmering in the oven before we headed off to church. My immediate assignment, without fail, was “Jell-O duty.”
Now, before you pass judgment, let me explain.
From Jell-O Duty to Baking Bliss: My Journey with Homemade Rolls
Jell-O was my domain. Not only did I relish the process of making it, but I was also the undisputed champion of licking the bowl clean. As I stood mesmerized, stirring and stirring, watching the gentle red waves and the slow disappearance of gelatin crystals, Mom was diligently preparing the rest of our Sunday feast. With each passing year, my kitchen responsibilities grew, evolving from peeling potatoes to browning the roast. Yet, the thought of making dinner rolls always felt daunting.
It seemed like such a long, intricate process. The idea of dedicating multiple hours to what appeared to be a tedious task simply didn’t appeal to my younger self. Little did I know, this intimidating challenge would eventually become my passion. If you’ve ever tried our renowned Potato Rolls recipe, you’ll understand the magic I’m talking about. Mastering the art of making homemade yeast rolls has become one of my favorite culinary pursuits, and I’m excited to share all the secrets to creating truly exceptional, tender bread that will impress everyone at your table.
Essential Ingredients for the Softest Dinner Rolls
Crafting truly extraordinary homemade dinner rolls begins with selecting the right ingredients. Each component plays a vital role in achieving that perfect fluffy texture and rich, buttery flavor. Here’s what you’ll need, along with a brief explanation of why each ingredient is crucial for your success:
- Instant Yeast: This leavening agent is key to quick rising and ensures your rolls are light, airy, and wonderfully fluffy. Instant yeast can be mixed directly with dry ingredients, making the process more straightforward.
- Milk: Adds a luxurious richness and contributes significantly to the tenderness of the rolls. It also helps the crust achieve that desirable golden-brown hue.
- Water: Works in conjunction with milk to provide the necessary liquid for the dough, keeping it soft, pliable, and easy to work with.
- Sugar: Not only does sugar feed the yeast, promoting a strong rise, but it also imparts a delicate sweetness to the rolls and aids in browning the crust.
- Honey: Offers an extra layer of moisture and a subtle, comforting sweetness that complements the other flavors beautifully.
- Butter (unsalted): The true secret to that irresistible melt-in-your-mouth texture and rich, savory buttery goodness that makes these rolls so addictive. Using unsalted butter allows you to control the overall salt content of the recipe.
- Fine Sea Salt: Essential for balancing the sweetness from the sugar and honey, enhancing the overall flavor profile of the rolls, and strengthening the gluten structure.
- Vegetable Oil: Contributes to the incredible tenderness of the rolls, helping them stay soft and fresh, even on the second day.
- Evaporated Milk: Provides a creamy depth of flavor and helps the rolls achieve a beautifully consistent golden color during baking.
- Egg: Adds richness, helps bind the dough, and contributes to the rolls’ structure, allowing them to hold their lovely, rounded shape.
- All-Purpose Flour: The foundation of our rolls. Using the right amount is crucial to ensure the rolls remain light, soft, and pillowy, rather than dense.
Two Keys for Flawless Homemade Dinner Rolls
Achieving truly perfect homemade dinner rolls, those that are consistently soft, fluffy, and full of flavor, boils down to a couple of crucial techniques. These aren’t complicated, but they make all the difference:

- Understanding the Dough’s Feel: Baking yeast breads is as much about intuition as it is about precise measurements. The more you make your favorite recipes, the more familiar you’ll become with the ideal “feel” of the dough. It should be soft, pliable, and slightly tacky, but not overly sticky. Learning to adjust flour amounts based on humidity and how the dough responds is a skill that comes with practice, ensuring your rolls are never too dry or too dense.
- The Importance of Scalded Milk: While many bread recipes require hours of kneading and multiple rises, our recipe simplifies this process without sacrificing quality. The most significant factor in achieving these incredibly soft rolls is the use of scalded milk. Scalding milk involves heating it to just below boiling. This process deactivates the whey proteins in milk that can weaken gluten and result in a less tender crumb. By scalding the milk, we ensure the rolls remain exceptionally soft and moist, preventing any potential toughness. It’s a simple step with a profound impact on the final texture.
Mastering the Art of Homemade Yeast Rolls: A Step-by-Step Guide
Ready to bake the best yeast rolls from scratch? We’ll begin with the crucial step: scalding the milk. Remember how we emphasized its importance? We weren’t kidding—it truly makes all the difference for achieving that signature softness.
Step 1: Scald the Milk and Activate the Yeast
- In a medium saucepan, combine the specified amount of milk. Place it over medium heat and cook, stirring occasionally, until you see small bubbles beginning to form around the edges of the pan and the milk is well-warmed. It should not come to a full boil.
- Once the milk is scalded, remove the pan from the heat. Gently add the butter (cut into pieces to help it melt faster), water, sugar, and honey into the warm milk. Stir until the butter has completely melted and all ingredients are combined. Allow this mixture to cool down until it is lukewarm. It should feel comfortably warm to the touch (around 105-115°F or 40-46°C)—not too hot to kill the yeast, but warm enough to activate it.
- Sprinkle the instant yeast evenly over the lukewarm milk mixture. Give it a gentle stir to combine. Carefully pour this mixture into the bowl of a standing mixer (or a large mixing bowl if kneading by hand). Let it rest for 3-5 minutes, or until the yeast becomes foamy and bubbly. This indicates that your yeast is active and ready to work its magic.
Step 2: Prepare and Knead the Roll Dough
- To the foamy yeast mixture in the standing mixer bowl, add the vegetable oil, fine sea salt, evaporated milk, and the whisked egg. Stir well to ensure all these wet ingredients are thoroughly combined.
- Begin by adding 8 cups of all-purpose flour to the mixture. Attach the dough hook to your standing mixer and start mixing on low speed. Continue mixing until the dough starts to come together into a shaggy mass.
- Gradually add the remaining 1-3 cups of flour, approximately half a cup at a time, until the dough comes together in a cohesive ball around the dough hook. The dough should be soft, elastic, and slightly tacky to the touch, but it should not stick excessively to the sides of the bowl or your hands. Avoid adding too much flour, as this can lead to dry, dense rolls.
- Once the dough has reached the right consistency, remove the bowl from the mixer. Cover the bowl with a clean kitchen towel or plastic wrap. Place it in a warm, draft-free spot to rise for approximately 1 hour, or until the dough has visibly doubled in size.
Step 3: Shape Your Dinner Rolls
- After the first rise, generously sprinkle all-purpose flour on your clean work surface. Gently turn the risen dough out onto the floured surface.
- Flip the dough over once or twice to ensure both sides are lightly coated with flour. This will prevent it from sticking to your hands and the work surface, making it much easier to handle and shape.
- Now, it’s time to shape your rolls. You can either gently roll the dough into a log and cut it into 42 evenly sized pieces, or simply pull off small sections of dough and roll them into smooth, evenly sized balls. Aim for consistent sizes to ensure even baking.
- Arrange the shaped dinner roll dough balls on a lightly greased baking sheet. Leave about 1 to 1½ inches of space between each roll to allow for their second rise.
- Cover the baking sheet loosely with a clean cloth or plastic wrap and let the rolls rise again in a warm place until they have doubled in size. This second rise typically takes 30-45 minutes, depending on the warmth of your kitchen environment.
Step 4: Bake and Finish Your Buttery Rolls
- While your rolls are undergoing their second rise, preheat your oven to 350°F (175°C).
- Bake the rolls in the preheated oven for 15-20 minutes, or until they turn a beautiful golden brown on top and sound hollow when lightly tapped on the bottom, indicating they are fully cooked and no longer doughy inside.
- Immediately upon removing the rolls from the oven, gently rub a pat of softened butter all over their warm tops. This adds an extra layer of rich flavor, creates a wonderfully soft crust, and gives them a lovely sheen.
- Serve your softest homemade dinner rolls warm and enjoy!
Serving Suggestions and Perfect Pairings for Homemade Dinner Rolls
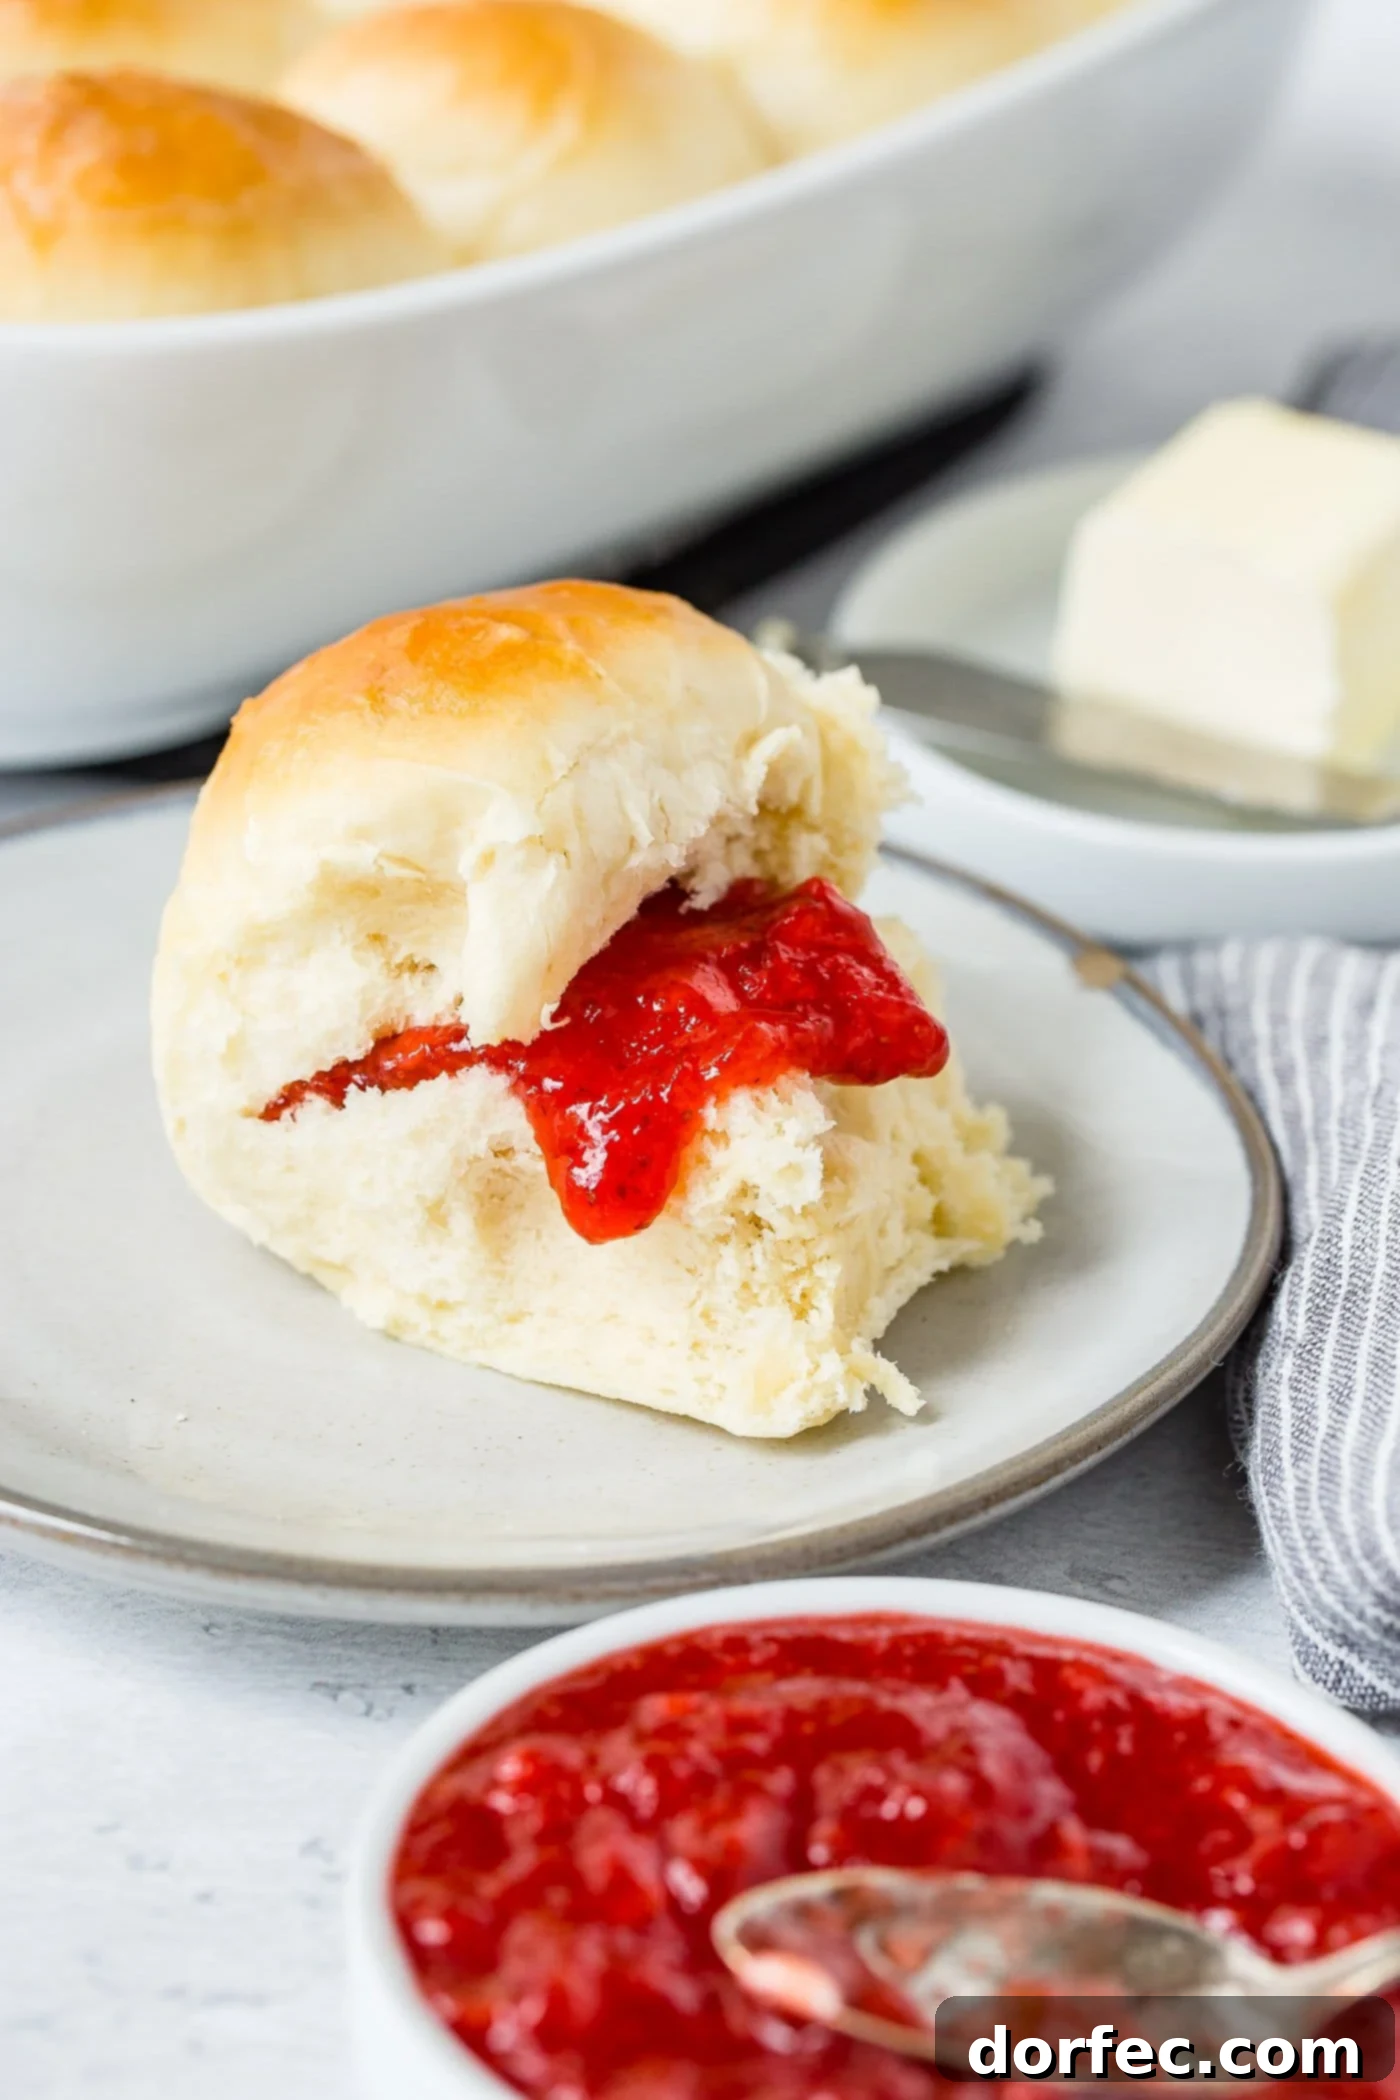
These buttery dinner rolls are incredibly versatile and truly shine alongside a variety of dishes. They’re not just a side; they can be the star of the meal! Imagine them dipped into a hearty bowl of creamy Broccoli Cheese Soup, soaking up every last bit of flavor. They also pair wonderfully with a succulent Easy Garlic Butter Steak, providing the perfect accompaniment to a savory main course. Or, honestly, simply enjoy them warm, split open, and generously loaded with even more butter – a simple pleasure that needs no excuse! 😋
Of course, homemade dinner rolls are an absolute must-have for all holiday dinners. Picture them complementing a tender brown sugar glazed ham at Easter, serving as the ideal partner to a perfectly oven-roasted Thanksgiving turkey, or gracing the table alongside a majestic prime rib at Christmas. But don’t wait for a special occasion! These rolls are so simple and satisfying that you won’t need a holiday, or any other excuse, to whip up a fresh batch. They truly go with anything and everything!
Common Questions About Homemade Dinner Rolls
What is the Difference Between Instant Yeast and Active Dry Yeast?
The primary distinction between instant yeast and active dry yeast lies in their activation process. Active dry yeast typically needs to be “proofed” or dissolved in a small amount of warm water (and sometimes a pinch of sugar) before being added to your other ingredients. This step ensures the yeast is alive and active. In contrast, instant yeast (also sometimes called rapid-rise or bread machine yeast) is designed to be mixed directly into your dry ingredients without prior rehydration. It works more quickly, often allowing for shorter rising times, which simplifies the baking process and makes it a favorite for many home bakers.
What Can You Substitute for Evaporated Milk?
If you don’t have evaporated milk on hand, there are a couple of excellent substitutes that will work for your dinner rolls. The most straightforward method is to make your own: simply simmer 2¼ cups of regular whole milk over medium-low heat until it reduces down to about 1 cup. This concentrates the milk’s flavor and richness, mimicking evaporated milk. Alternatively, you can use a combination of half-and-half and whole milk, or even a thicker milk alternative like full-fat canned coconut milk for a slightly different flavor profile, though regular milk can also work in a pinch, just be aware the richness might be slightly less.
How Long Will Homemade Dinner Rolls Keep?
Freshly baked homemade dinner rolls are best enjoyed the day they are made, but they will maintain their deliciousness for 5-7 days when stored properly. To keep them soft and fresh, ensure they are wrapped tightly in plastic wrap or placed in an airtight plastic bag. You can store them at room temperature on your countertop, or for a slightly extended shelf life, keep them in the refrigerator. To refresh day-old rolls, a quick warm-up in the microwave or a few minutes in a preheated oven (300°F/150°C) will bring back their soft texture.
Can You Freeze Dinner Roll Dough or Baked Rolls?
Yes, you absolutely can! Freezing is a fantastic way to prepare these easy dinner rolls ahead of time. Bread dough can be frozen for up to 6 months. To freeze unbaked dough, simply shape the rolls as instructed, then arrange them on a baking sheet and flash-freeze until solid. Once frozen, transfer the rolls to an airtight freezer-safe bag or container. Wrap them tightly in plastic wrap several times to prevent freezer burn and ensure they are airtight. To bake them later, transfer the frozen dough to the refrigerator for 24 hours to thaw slowly. Once thawed, bring the dough out onto the counter and let it come to room temperature and complete its second rise. Then, proceed with baking as instructed in the recipe. Baked dinner rolls also freeze well for up to 3 months. Once completely cooled, wrap them tightly and freeze. Thaw at room temperature and reheat gently when ready to serve.
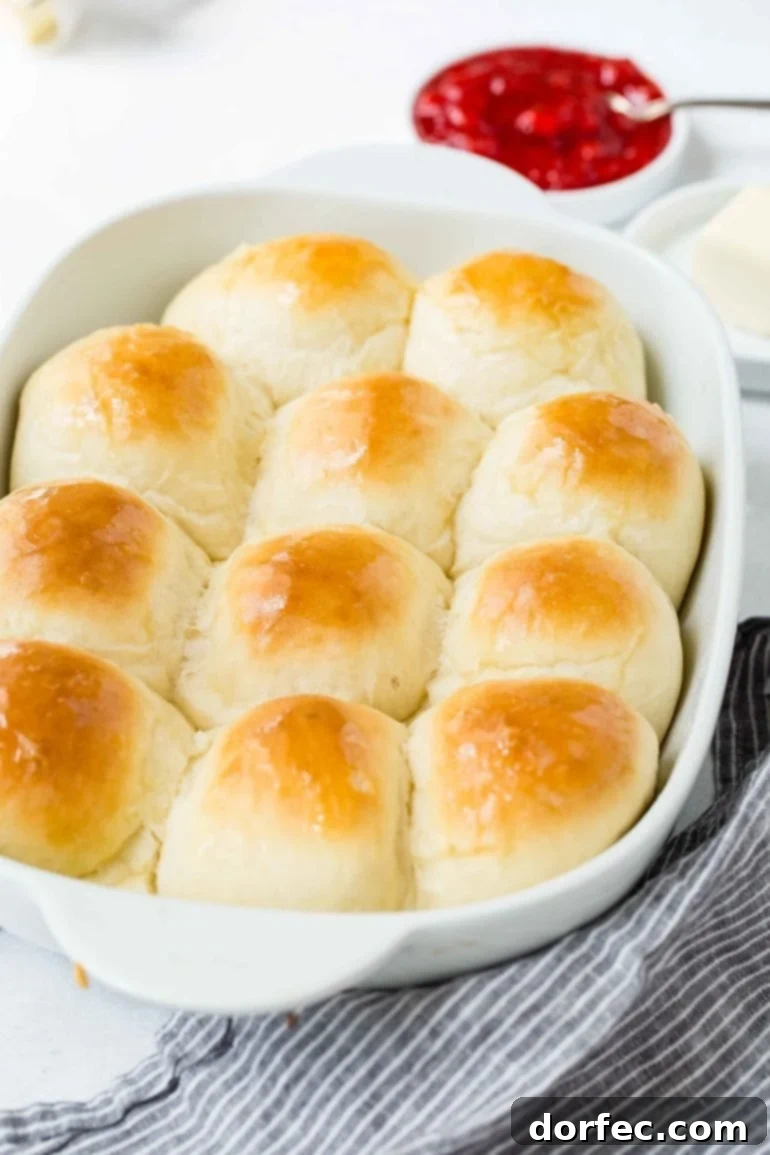
There’s something uniquely comforting about the scent of fresh, buttery rolls straight from the oven that instantly feels like home. These pillowy, soft dinner rolls aren’t just a side dish—they’re the kind of recipe that takes you straight back to those cherished Sunday afternoons in the kitchen with loved ones. Baking a batch of these glorious rolls is a simple act of love, a way to share warmth and comfort with family and friends. Savor that little bit of magic that only truly homemade bread can bring, and prepare to be amazed by the ultimate soft and fluffy dinner rolls you’ve ever made!
More Delicious Homemade Bread Recipes
- The Easiest Herbed Focaccia Bread
- Simple Unleavened Bread
- Our Famous Potato Rolls Recipe
- Easy No-Knead Artisan Bread
- Delicious Homemade Naan
- Moist Sweet Cornbread Recipe
- Irresistible Orange Rolls
Homemade Dinner Rolls Recipe
By Carrian Cheney
These soft, buttery dinner rolls are the kind that bring everyone to the table. Perfectly golden, fluffy, and ideal for holidays or any cozy meal.
Preparation & Cooking Details
- Prep Time: 2 hours (includes rising time)
- Cook Time: 15-20 minutes
- Total Time: Approximately 2 hours 20 minutes
- Yields: About 42 rolls
Ingredients
- 2 Cups Milk
- ¼ Cup Unsalted Butter
- 2 Cups Water
- ¼ Cup Granulated Sugar
- ¼ Cup Honey
- 3 Tablespoons Instant Yeast
- ¼ Cup Vegetable Oil
- 2 Tablespoons Fine Sea Salt
- ¾ Cup Evaporated Milk
- 1 Large Egg, whisked
- 9-11 Cups All-Purpose Flour (divided)
Instructions
- Scald the Milk: In a saucepan over medium heat, add the milk. Cook until it just begins to foam around the edges and is thoroughly warmed (do not boil).
- Combine Wet Ingredients: Remove the saucepan from heat. Add the butter, water, sugar, and honey to the warm milk. Stir until the butter has melted completely. Allow the mixture to cool to lukewarm (about 105-115°F or 40-46°C).
- Activate Yeast: Sprinkle the instant yeast over the lukewarm mixture and stir gently to combine. Pour this mixture into the bowl of a stand mixer and let it rest for 3-5 minutes, or until it becomes foamy.
- Add Remaining Wet Ingredients: To the foamy yeast mixture, pour in the vegetable oil, fine sea salt, evaporated milk, and the whisked egg. Stir to combine thoroughly.
- Begin Adding Flour: Add 8 cups of all-purpose flour to the mixture. Using a dough hook attachment on your stand mixer, mix the dough on low speed until it just begins to come together.
- Adjust Flour Content: Carefully add the remaining 1-3 cups of flour, one cup at a time, until the dough comes together in a soft, pliable ball around the hook. The dough should be soft and slightly tacky but not sticky. Avoid over-mixing or adding too much flour.
- First Rise: Remove the bowl from the mixer, cover it with a clean kitchen cloth, and let the dough rise in a warm, draft-free place for 1 hour, or until it has doubled in size.
- Prepare Work Surface: Once the first rise is complete, heavily sprinkle your work surface with flour and turn the dough out onto it.
- Coat Dough: Flip the dough over to ensure all sides are lightly floured and no longer sticky, making it easier to handle.
- Shape Rolls: Divide the dough into 42 evenly sized portions and roll each portion into a smooth, round dinner roll ball.
- Arrange on Baking Sheet: Place the shaped rolls about 1 to 1½ inches apart on a lightly greased baking sheet.
- Second Rise: Cover the baking sheet loosely with a clean cloth or plastic wrap and allow the dinner roll dough balls to rise again until doubled in size (approximately 30-45 minutes).
- Bake: Preheat your oven to 350°F (175°C). Bake the rolls for 15-20 minutes, or until they are golden brown and cooked through.
- Butter the Tops: Remove from the oven and immediately rub softened butter all over the tops of the hot rolls for added flavor and a soft crust.
- Store: Store any leftover rolls wrapped tightly in plastic wrap or in bread bags at room temperature for up to 1 week, or freeze for up to 1 month.
Recipe Notes
For longer storage, homemade dinner rolls can be frozen for up to 3 months. Ensure they are completely cooled before wrapping tightly and freezing. Thaw overnight in the refrigerator or at room temperature, then reheat gently before serving for best results.
Nutrition Information (Approximate)
Per 1 Roll Serving:
- Calories: 151 kcal
- Carbohydrates: 26g
- Protein: 4g
- Fat: 4g
- Saturated Fat: 2g
- Cholesterol: 9mg
- Sodium: 521mg
- Potassium: 64mg
- Fiber: 1g
- Sugar: 6g
- Vitamin A: 69 IU
- Vitamin C: 1mg
- Calcium: 31mg
- Iron: 1mg
Nutrition information is automatically calculated and should only be used as an approximation.