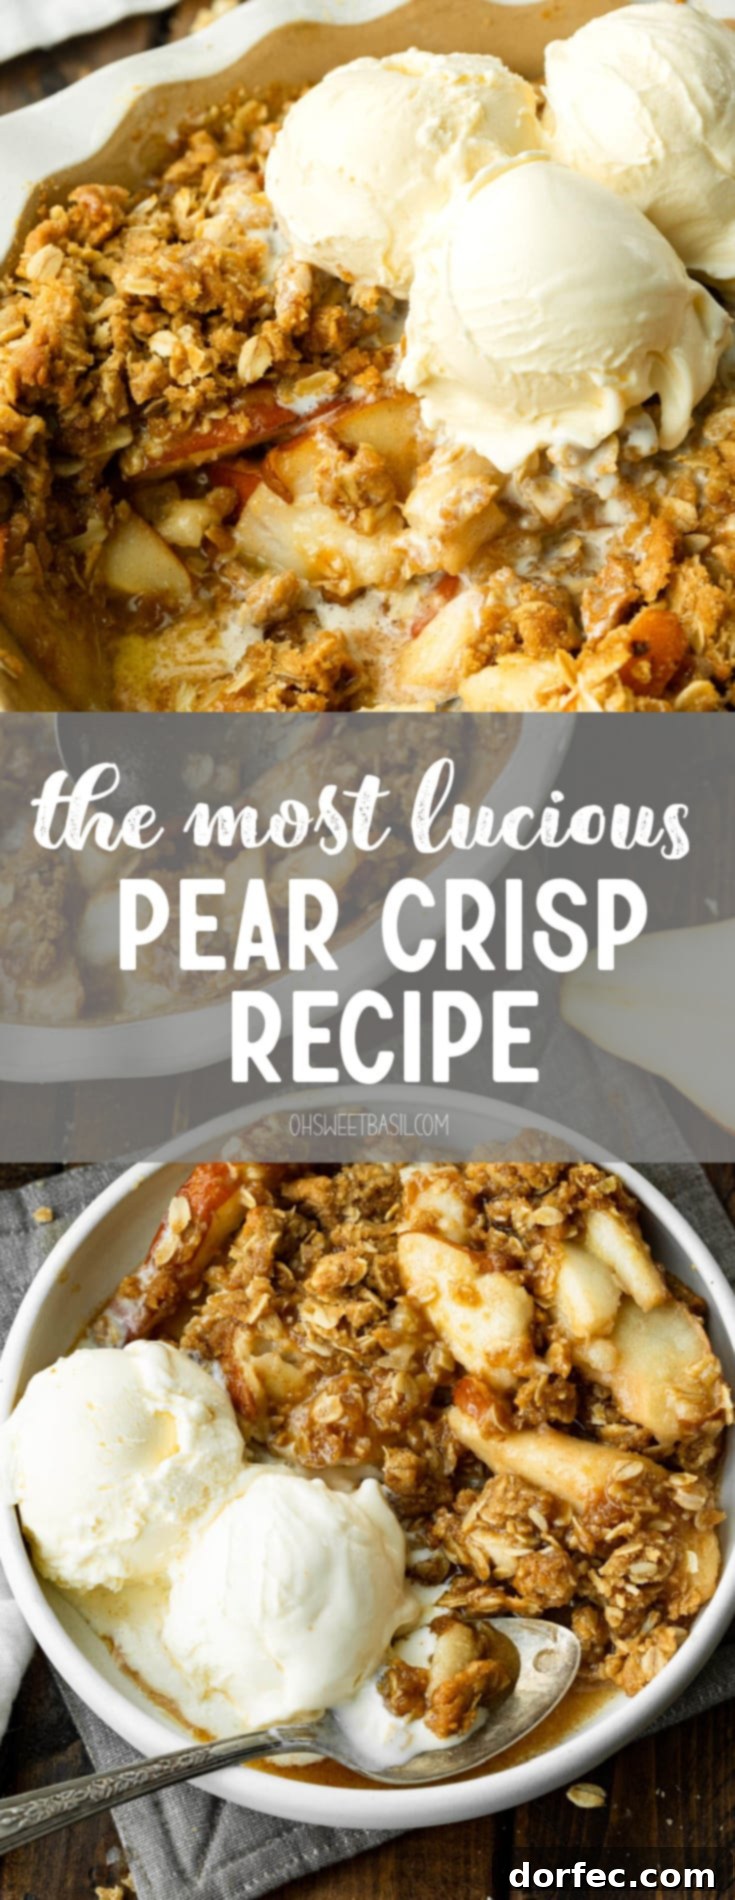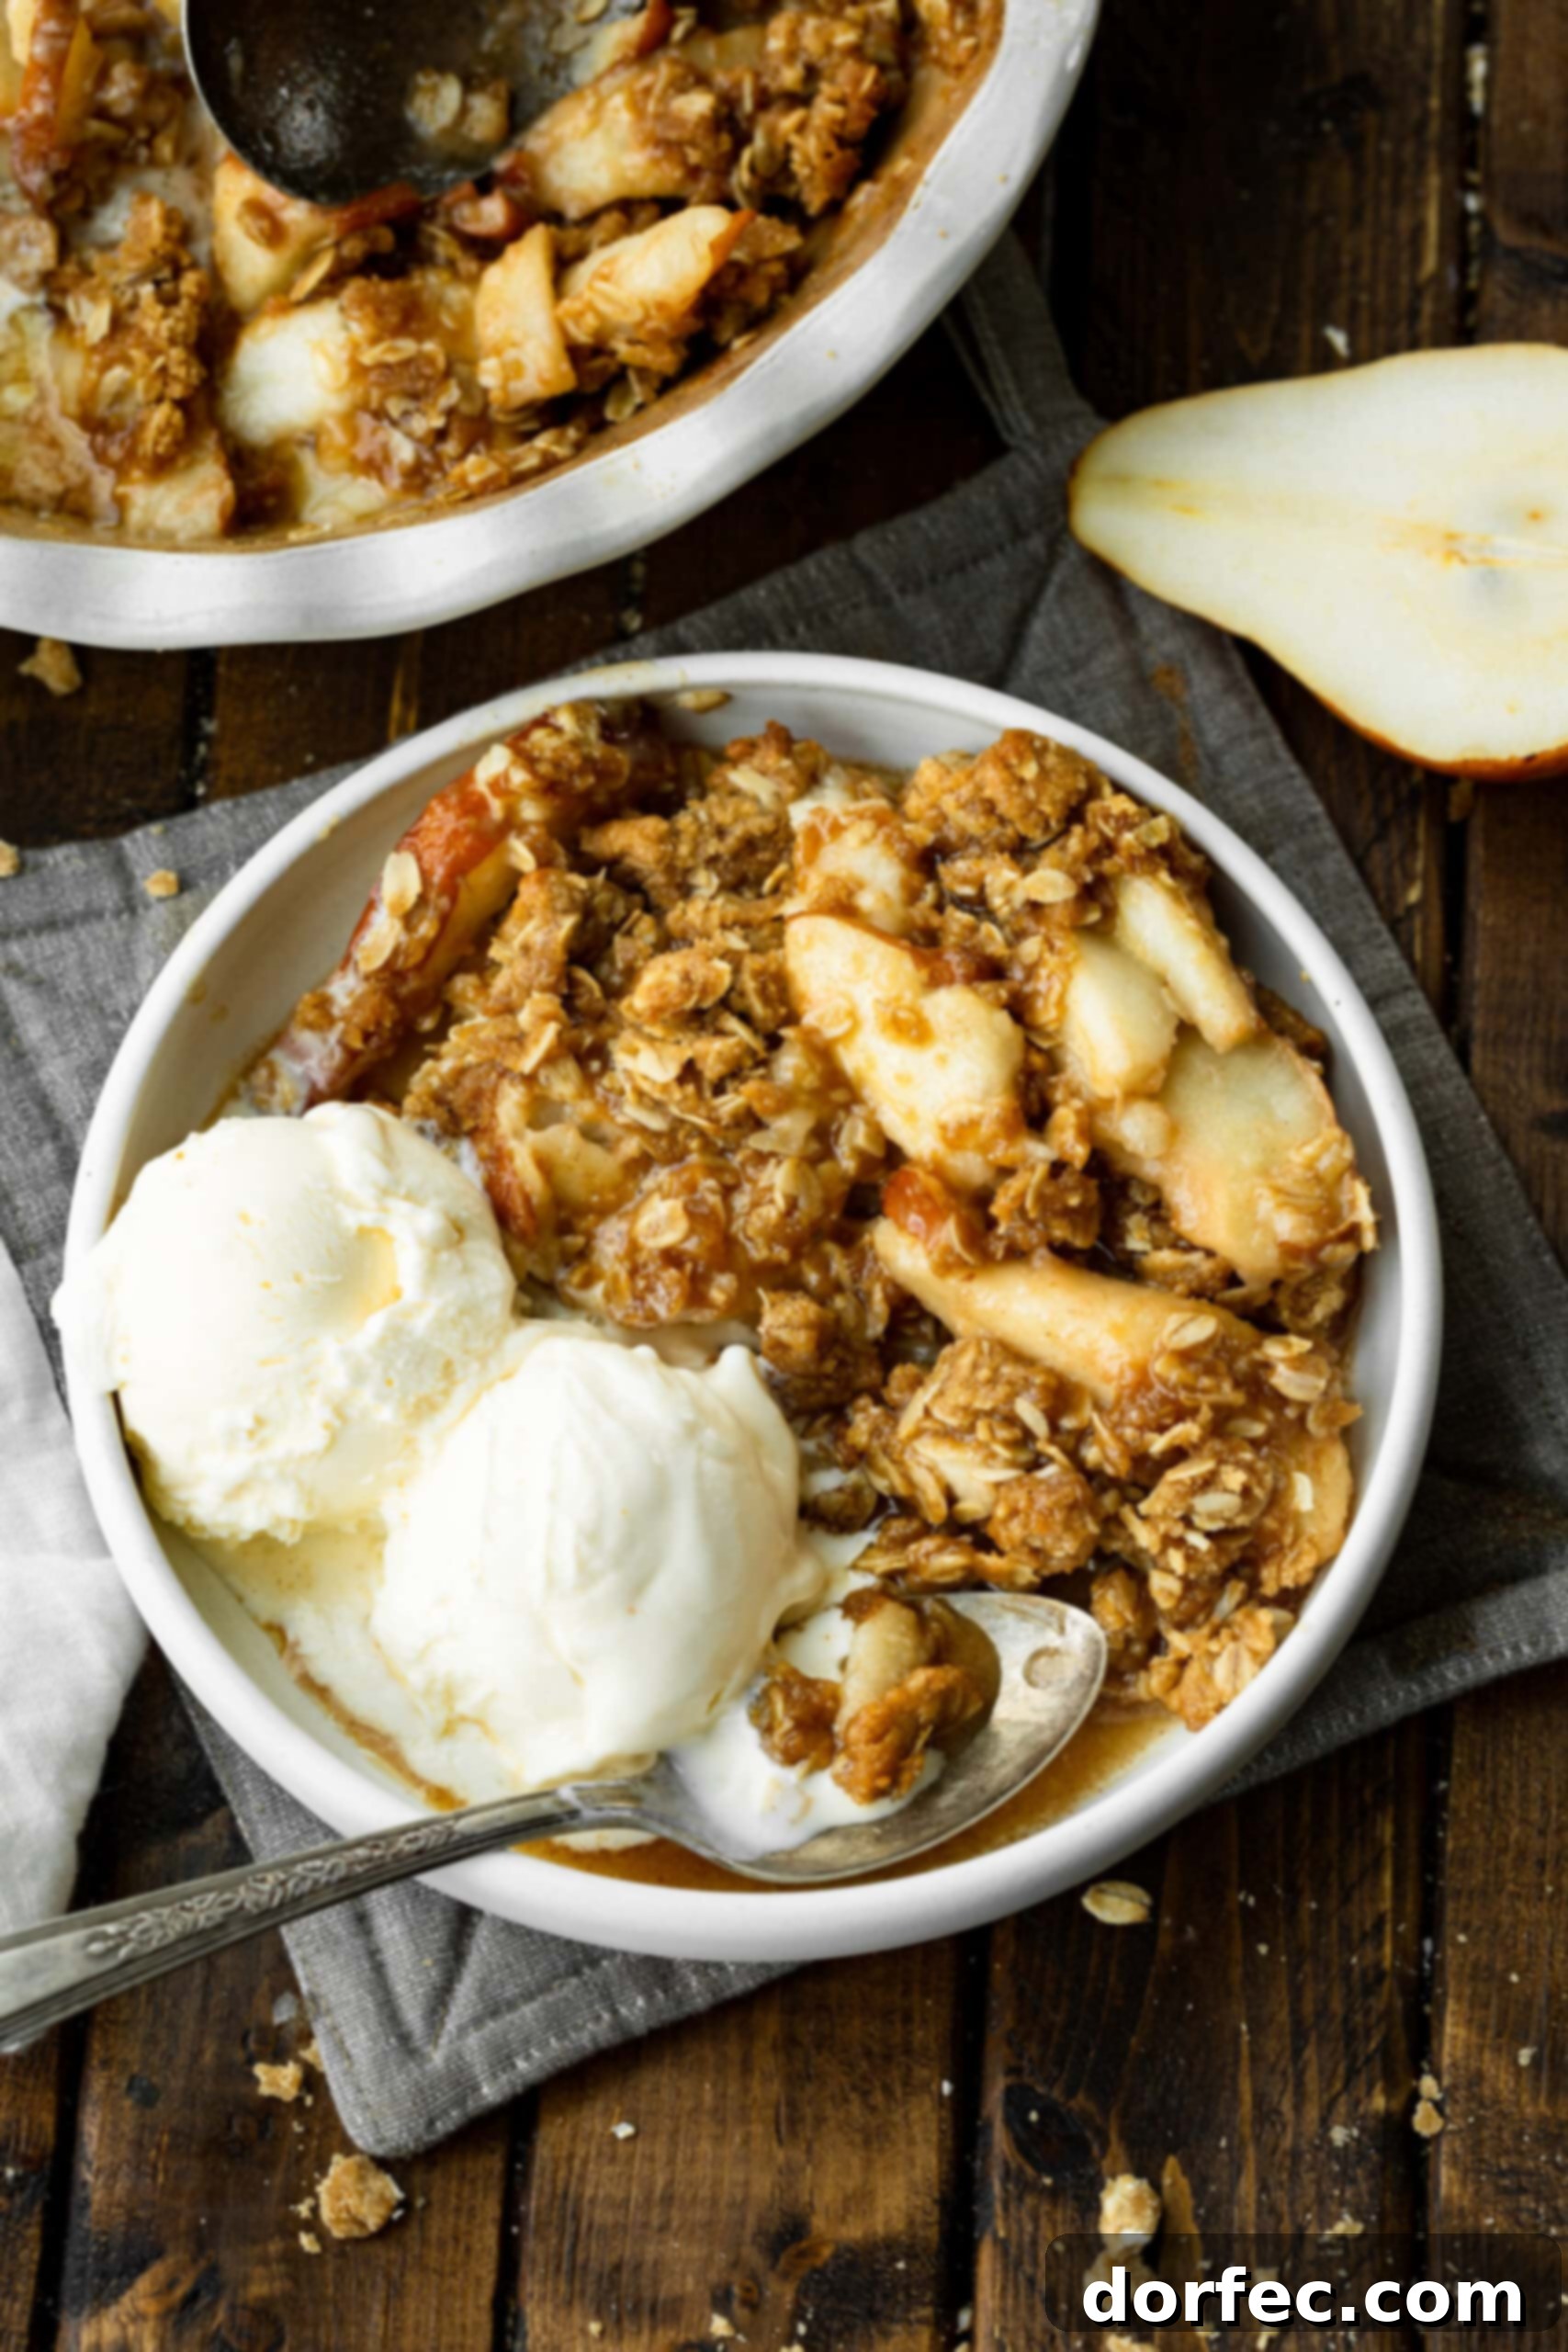
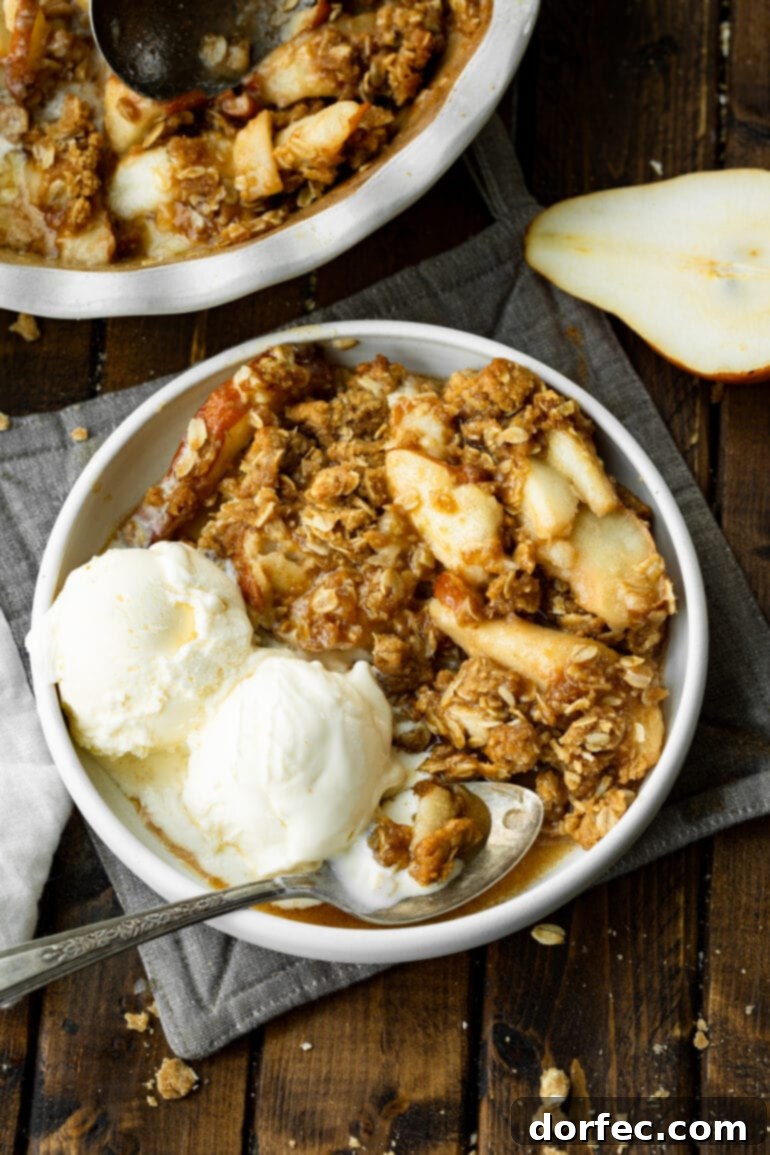
Warm, gently spiced pears topped with a crunchy, buttery oat streusel – this **pear crisp recipe** is not just a dessert, it’s a comforting classic redefined. Forget apple crisp for a moment; this rendition elevates the humble pear to star status, creating an irresistible treat that will undoubtedly become your new favorite way to enjoy a **fruit crisp**.
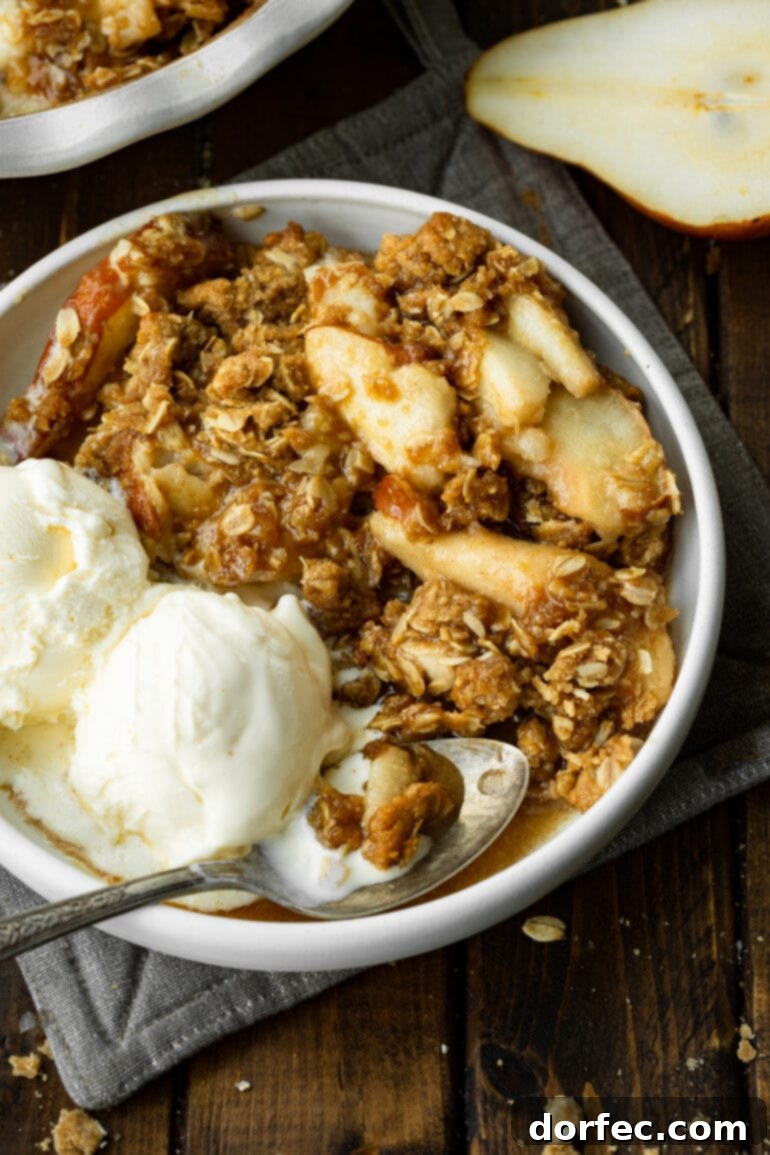
Why This Pear Crisp Will Become Your New Favorite Fall Dessert
In countless conversations with our cherished readers, the question of a favorite recipe often arises. While a definitive answer remains elusive, heavily swayed by mood and season, one category consistently ranks high on the list: fruit crisps. And among them, this particular **pear crisp** holds a special place. There’s something magical about the delicate, subtle sweetness of perfectly baked pears nestled beneath a gloriously crunchy, chewy, and cinnamon-kissed oat topping.
This **fall dessert** encapsulates everything wonderful about the season. It’s effortless to prepare, filling your home with an aroma that signals warmth, coziness, and impending deliciousness. The tender pear filling, combined with the golden-brown crisp topping, creates a delightful contrast in textures and flavors that truly satisfies the soul. It’s a testament to simple ingredients coming together to create extraordinary comfort.
The Enduring Appeal of a Classic Fruit Crisp
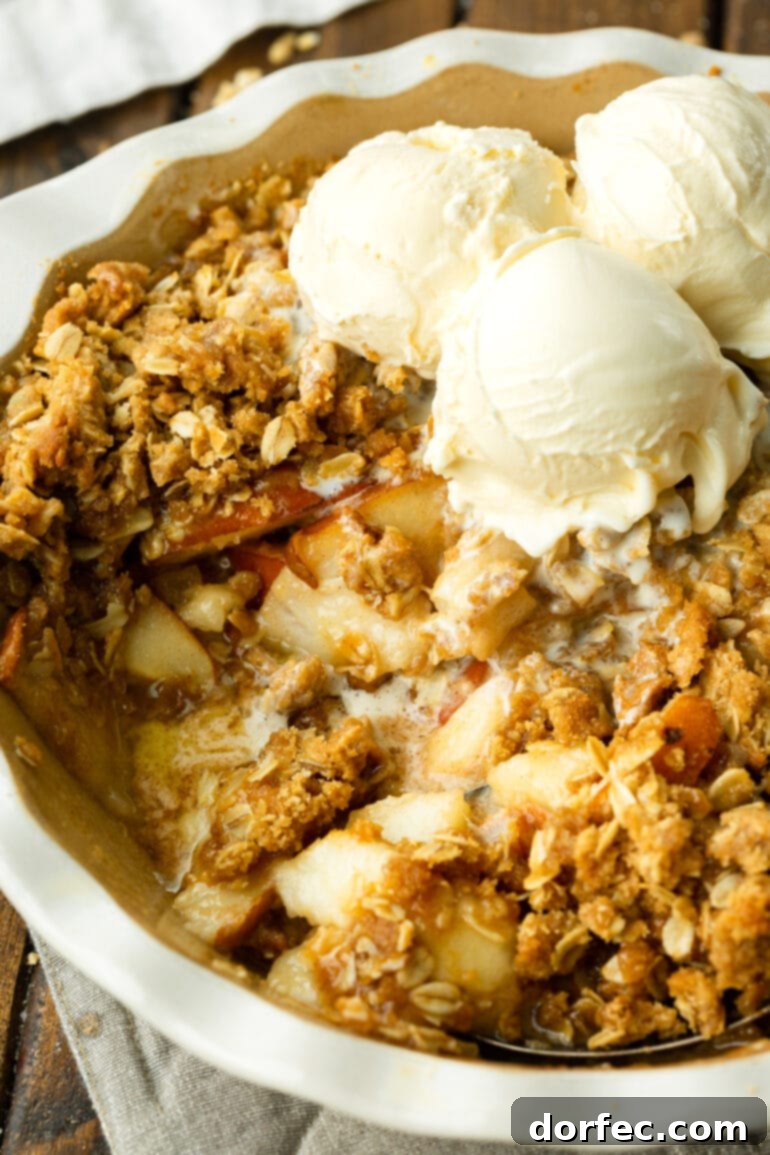
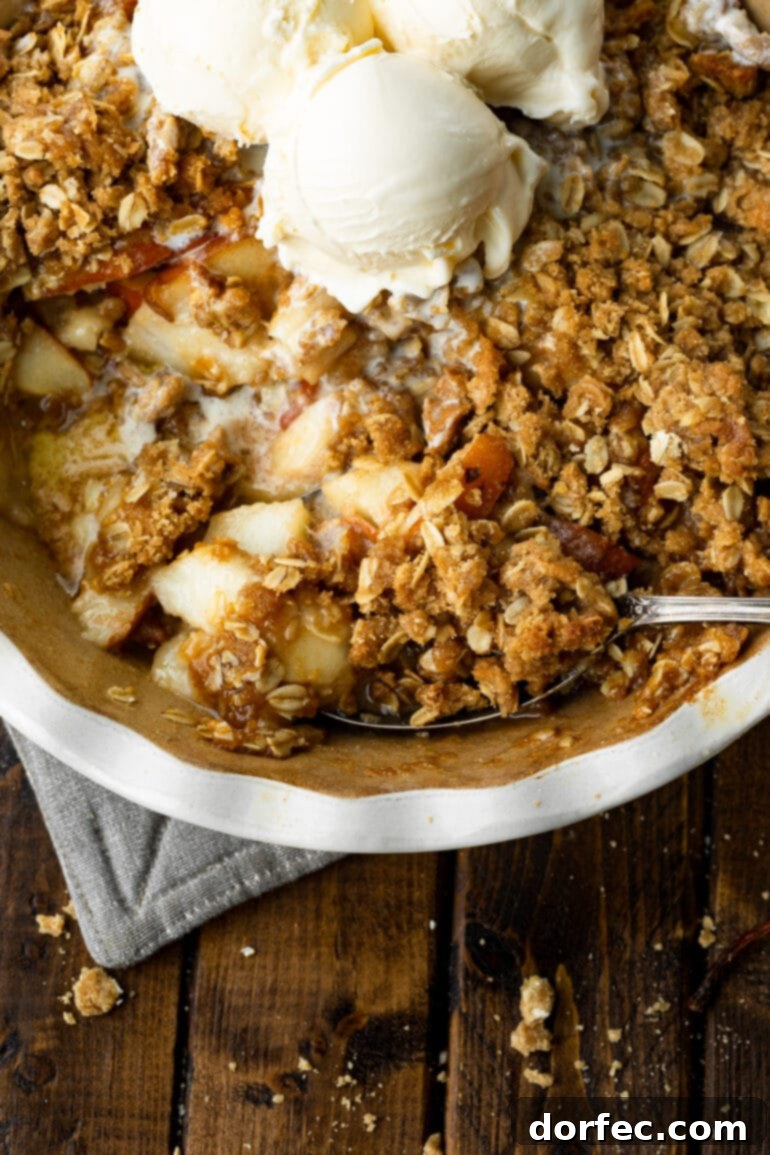
A **crisp recipe** possesses an unparalleled, timeless quality. It transcends fleeting culinary trends, forever remaining a beloved staple in homes across generations. Whether served hot from the oven with a generous scoop of vanilla bean ice cream or enjoyed on its own for breakfast the next morning, a fruit crisp is always a good idea.
Its versatility makes it a year-round delight. From the quintessential apple crisp of autumn to vibrant summer variations like marionberry crisp or peach crisp, there’s a crisp for every season and every fruit imaginable. These desserts evoke powerful memories – perhaps a childhood camping trip where Mom lifted the lid off a Dutch oven, steam billowing out as anticipation built for dessert under the stars. This pear crisp is an invitation to create new cherished memories, filling your home with irresistible scents and your heart with contentment.
Essential Ingredients for the Best Pear Crisp
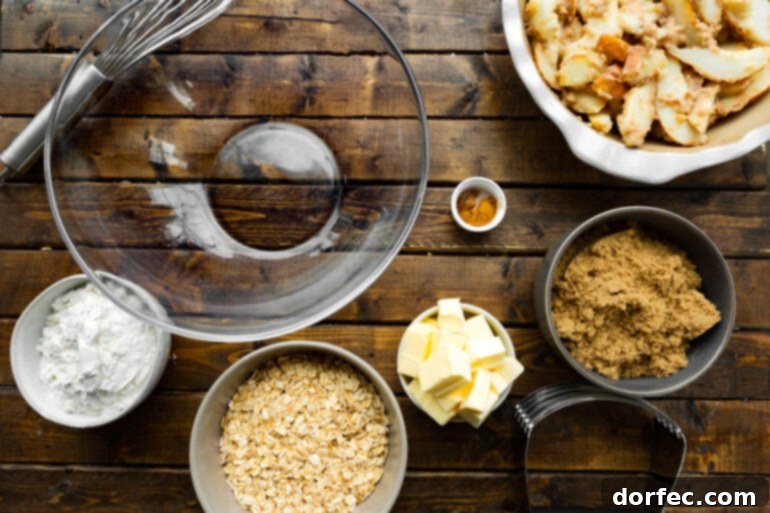
Crafting this delightful **pear crisp** requires a thoughtful selection of ingredients, each playing a crucial role in achieving that perfect balance of sweet, spiced, and crunchy. Here’s a detailed look at what you’ll need to create this comforting **fall dessert**:
For the Luscious Pear Filling:
- Pears: The star of our show! We highly recommend Bosc or Bartlett pears for their firm texture and delicate sweetness, which hold up beautifully during baking.
- Butter: Adds a rich, luxurious flavor and necessary moisture to the pear filling, ensuring it’s tender and succulent.
- All-Purpose Flour: Acts as a thickening agent, ensuring that the natural juices released by the pears during baking transform into a glossy, flavorful sauce rather than a watery base.
- For a **gluten-free pear crisp**, simply substitute cornstarch for flour (refer to the recipe card for exact measurements).
- Lemon Juice: A crucial ingredient that brightens the flavors, cuts through the sweetness, and prevents the pears from oxidizing (browning) too quickly.
- Heavy Cream: Lends an incredible richness and creamy texture to the pear filling, enhancing its overall indulgence.
- Vanilla Extract: A touch of vanilla always complements fruit desserts, adding a layer of aromatic warmth.
- Brown Sugar and White Granulated Sugar: A combination of both sugars provides depth of sweetness, with brown sugar adding a lovely molasses note.
- Ground Cinnamon: The quintessential fall spice, infusing the pears with warm, inviting aroma and flavor.
- Ground Nutmeg: A pinch of nutmeg goes a long way, offering a subtle yet distinct warmth that pairs wonderfully with pears.
- Salt: A dash of salt is essential for balancing and enhancing all the sweet and spicy flavors, making them truly pop.
- Candied Ginger (Optional): For an extra layer of warm, zesty spice, a teaspoon of finely chopped candied ginger can be a delightful addition.
For the Irresistible Crunchy Topping:
- All-Purpose Flour: Provides the structural base for our crumbly, golden oat topping.
- Old-Fashioned Rolled Oats: The heart of the crisp topping, offering fantastic chewiness and a rustic texture that sets crisps apart from crumbles.
- Brown Sugar: Adds a deep, caramelized sweetness and helps achieve that golden-brown color and crunchy texture.
- Ground Cinnamon: Continues the warm spice theme, ensuring every bite of topping is as fragrant as the filling.
- Salt: Balances the sweetness in the topping and enhances the overall flavor profile.
- Unsalted Butter: Crucial for binding the topping ingredients together and ensuring they bake into a beautifully crisp, golden crust. Remember, **cold butter is key** for the best crumbly texture!
This overview provides a general understanding of the ingredients. Please refer to the comprehensive recipe card at the end of this post for precise measurements and detailed instructions.
How to Make the Best Pear Crisp: A Simple Step-by-Step Guide
One of the most appealing aspects of any fruit crisp, and this **easy pear crisp recipe** in particular, is its straightforward preparation. You don’t need to be an expert baker to achieve delicious results. Here’s a simple breakdown of the process to guide you:
- Prepare Your Oven and Dish: Begin by preheating your oven to the specified temperature (usually 375°F or 190°C) and lightly greasing your chosen baking dish. A square or round dish works perfectly, typically 8×8 or 9×9 inches.
- Craft the Pear Filling: In a large mixing bowl, combine all the filling ingredients, *except for the sliced pears*. Whisk them together until you have a smooth, well-blended mixture. This ensures even distribution of flavors.
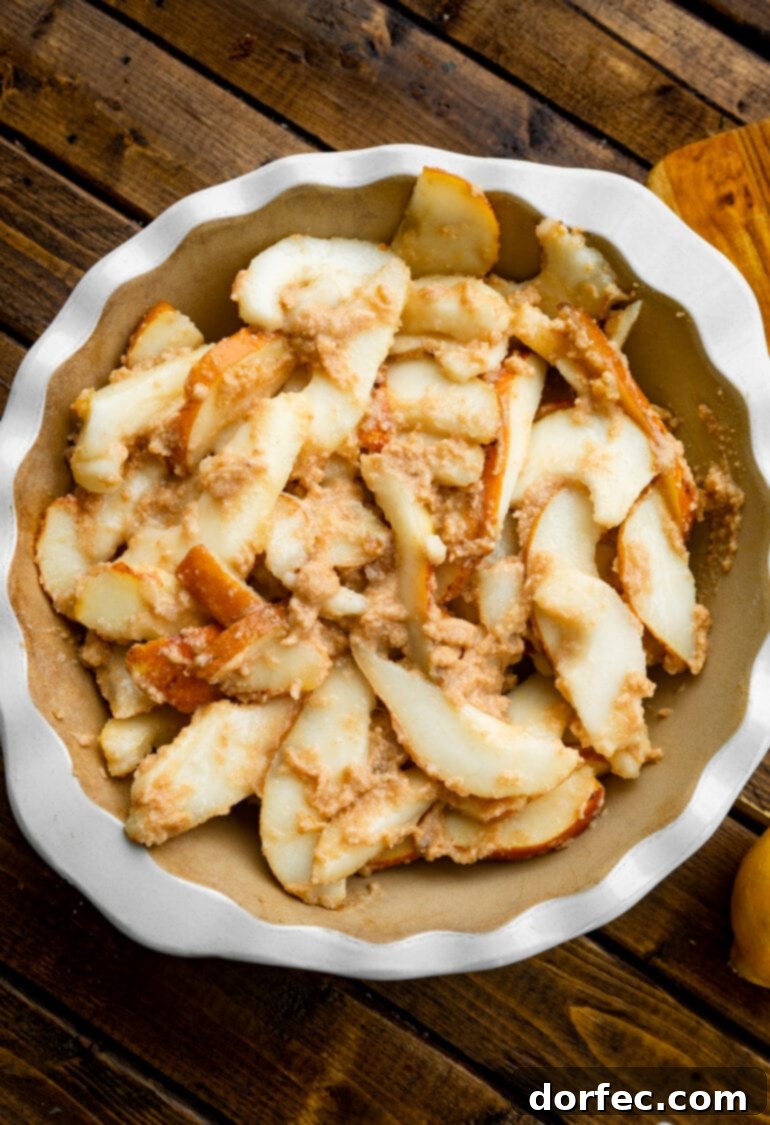
- Add Pears and Arrange: Gently fold the sliced pears into the prepared filling mixture, ensuring each piece is thoroughly coated. Then, evenly spread the pear mixture into the bottom of your greased baking dish.
- PRO TIP for Pears: For consistent baking, it’s important to slice your pears into similar sizes. Avoid cutting them too thin, as they can become mushy during baking. Aim for slices about ¼ to ½ inch thick.
- Prepare the Crunchy Topping: In a separate bowl, whisk together the dry ingredients for the topping (flour, oats, brown sugar, cinnamon, salt). Then, add the cold, cubed butter. Using a pastry blender or your fingertips, cut the butter into the dry mixture until it resembles coarse crumbs with some pea-sized butter pieces. Continue to mix and squeeze with your hands to create delightful clumps – these will bake into extra-crispy bits!
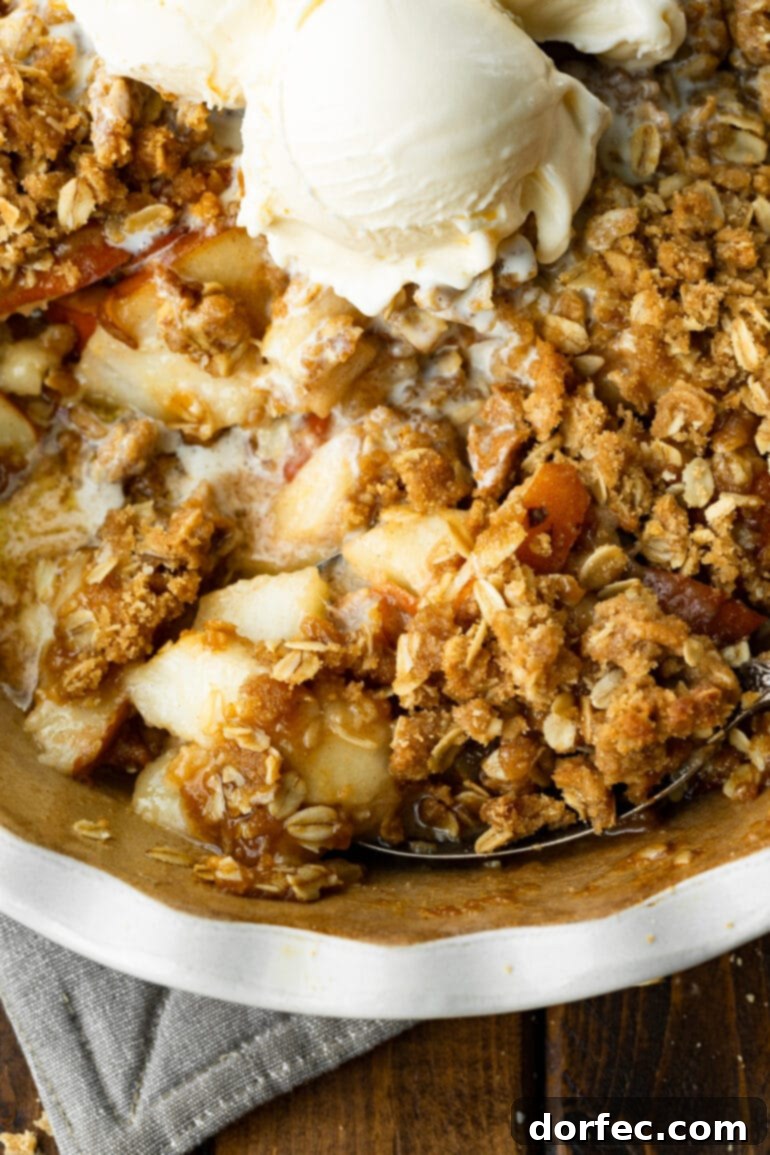
- Assemble and Bake: Evenly sprinkle the prepared oat topping over the entire surface of the pear filling. Transfer the baking dish to your preheated oven and bake until the topping is golden brown and the pear filling is bubbling and tender.
- Serve Warm: Allow the crisp to cool for a few minutes after baking to let the filling set slightly. Then, serve warm, preferably with a generous scoop of vanilla ice cream. The combination of warm crisp and cold ice cream is pure bliss!
You’ll find the full, detailed instructions, including exact temperatures and baking times, in the recipe card at the bottom of this post. You can also easily save or print the recipe from there for your convenience.
Choosing and Ripening Pears for Baking Perfection
The success of your **homemade pear crisp** largely hinges on selecting the right pears and ensuring they are perfectly ripe. Pears are an often underutilized fruit in baking, but with the right choice, they yield a wonderfully tender and flavorful dessert.
Which Pear Varieties are Best for Baking?
When it comes to baking, certain pear varieties maintain their shape and offer a superior texture and flavor profile. **Bosc** and **Anjou** pears are top contenders. They possess a firm flesh that holds up well under heat, preventing them from turning into mush. Their inherent sweetness and subtle spice notes also make them excellent choices. **Bartlett** pears can also work beautifully, especially if they are slightly firmer. Avoid overly soft or watery varieties, as they can make your crisp filling too liquidy.
How to Pick a Perfectly Ripe Pear
Unlike some fruits, pears don’t ripen well while still on the tree. They are typically picked green and ripen beautifully at room temperature after harvest. To determine if a pear is ripe and ready for your crisp, use the “check the neck” method. Gently press near the stem end of the pear. If it yields slightly to gentle pressure, it’s ripe, sweet, and juicy – perfect for eating or baking!
Tips for Ripening Pears at Home
If you’ve purchased pears that are still a bit firm, ripening them at home is simple. Place them in a fruit bowl at room temperature. You can speed up the ripening process by placing them in a paper bag with other ethylene-producing fruits, such as bananas or apples. Check them daily, and once they pass the “check the neck” test, they are ready to transform into a delicious crisp!
To Peel or Not to Peel: A Pear Crisp Dilemma
The decision of whether to peel your pears for a crisp is often a matter of personal preference, and there’s no single right answer. Here’s a little insight to help you decide for your **pear crisp**:
- Peeling Pears: Many bakers prefer to peel pears for crisps or crumbles. The argument here is that pear skins, while edible, can sometimes be a bit tougher or have a slightly different texture than the soft, cooked fruit. Removing the skin ensures a consistently tender filling that won’t compete with the crunch of the oat topping. If you’re aiming for a silky-smooth fruit base, peeling is the way to go.
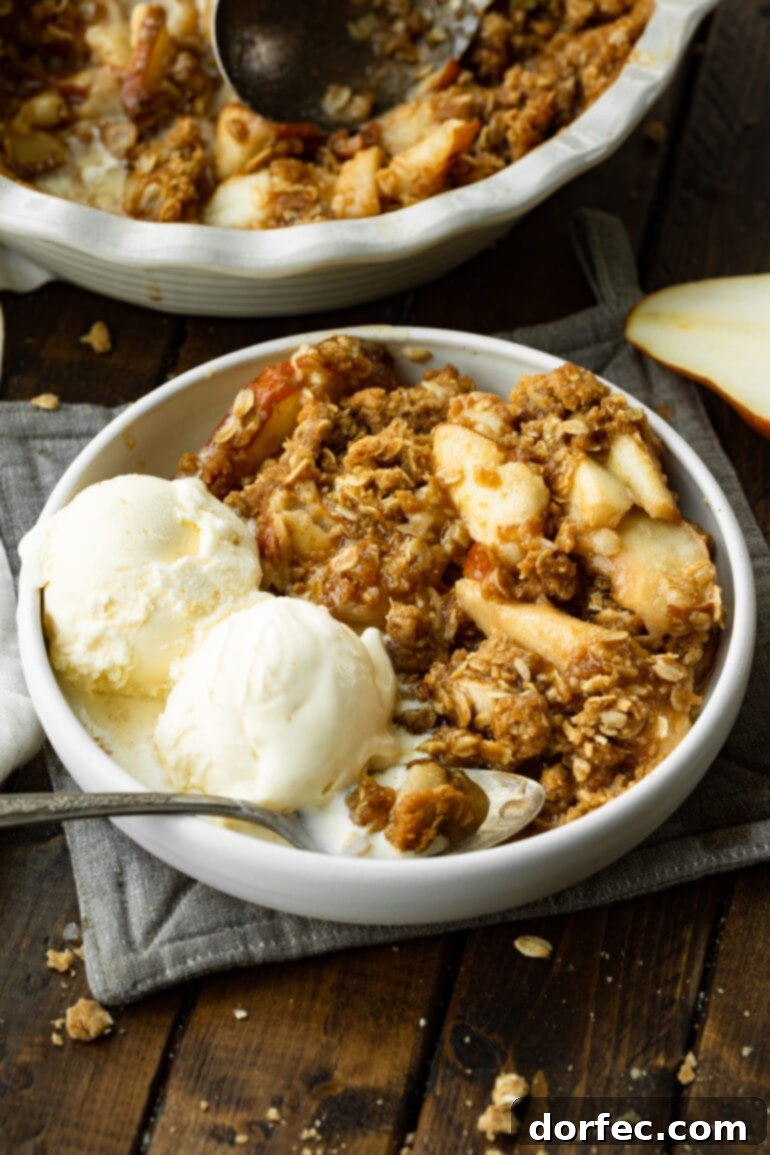
- Leaving Skins On: On the other hand, leaving the skins on offers several advantages. It adds extra fiber and nutrients to your dessert. Visually, the varying colors of the pear skins can create an appealing, rustic look in the finished crisp. Furthermore, the skins can help the pear slices maintain their shape a bit better during baking. For recipes like a galette or tart, where the fruit is more exposed, the skins often contribute to the aesthetic. While it might go against traditional crisp-making for some, leaving the skins on for a crisp is perfectly acceptable and can be surprisingly delicious, as demonstrated in some of our own photos!
Ultimately, try it both ways if you’re unsure. The most important thing is that you enjoy the final result!
Delicious Variations to Elevate Your Pear Crisp
While this **pear crisp recipe** is perfect as is, it also serves as a fantastic canvas for customization. Feel free to get creative and add your unique touch to this comforting **fruit crisp**:
- Spice It Up! Beyond cinnamon and nutmeg, consider adding a pinch of ground ginger, cardamom, or even a tiny bit of cloves to the pear filling for a more complex spice profile. You can also add these to the oat topping for an extra kick.
- Nutty Additions: Introduce a delightful crunch and rich flavor by incorporating chopped nuts into either the topping or the pear filling. Toasted pecans, walnuts, or sliced almonds would be absolutely delicious and complement the pears beautifully.
- Fruity Twists: Mix in dried cranberries (craisins) or golden raisins with the pears before baking. Their chewy texture and tart-sweetness would be a wonderful contrast. You could also experiment with adding other fruits that pair well with pears, such as a handful of fresh berries or thinly sliced apples, for a mixed fruit crisp.
- Coconut Flair: For a tropical hint, stir some shredded coconut flakes into the oat topping. As it bakes, the coconut will toast and become wonderfully fragrant and crispy.
- Citrus Zest: Enhance the bright notes of the lemon juice in the filling by adding a teaspoon of finely grated lemon or orange zest. This can add a lovely aromatic lift.
- Caramel Swirl: For an even more decadent treat, drizzle a little homemade or store-bought caramel sauce over the pear filling before adding the topping, or serve it drizzled over the baked crisp with ice cream.
These variations allow you to tailor the pear crisp to your taste or what you have on hand, ensuring a fresh and exciting experience every time!
Storing, Freezing, Reheating, and Making Ahead: Your Pear Crisp Guide
This **pear crisp** is not only delicious fresh from the oven, but it’s also incredibly versatile when it comes to storage and preparation. Here’s everything you need to know to enjoy it for days or weeks to come:
Storing Leftover Pear Crisp
If you happen to have any leftovers, they can be safely **stored** at room temperature for 2-3 days. For extended freshness and to maintain quality, transfer the crisp to the refrigerator, where it will keep for up to 5 days. To help prevent the topping from becoming soggy, place a paper towel directly over the crisp before covering the dish tightly with plastic wrap or aluminum foil. This helps absorb any excess moisture from the pears.
Freezing Pear Crisp for Later Enjoyment
This **fruit crisp** freezes exceptionally well, making it a perfect make-ahead dessert! Ensure the crisp has cooled completely to room temperature before freezing. Use the same paper towel trick mentioned above, then wrap the entire baking dish tightly with plastic wrap, followed by a layer of aluminum foil. This double-layer protection helps prevent freezer burn. It will keep beautifully in the freezer for up to 3 months.
Reheating Your Pear Crisp
To **reheat** a cooled pear crisp (either from room temperature or the refrigerator), preheat your oven to 350°F (175°C). Bake for approximately 15 minutes, or until warmed through and the topping is crisp again. If you’re reheating a frozen crisp, bake it directly from the freezer at the same temperature, but allow a few extra minutes, typically around 20-30 minutes, or until thoroughly heated and bubbly.
Making Pear Crisp Ahead of Time
This recipe is an excellent candidate for **making ahead of time**, which is perfect for entertaining or busy schedules. You can prepare both the pear filling and the oat topping in advance. Store the pear filling covered in the refrigerator for up to 2 days. Keep the topping mixture in an airtight container in the refrigerator for the same amount of time. When you’re ready to bake, simply combine them in the baking dish and proceed with the baking instructions. This ensures the topping remains perfectly crisp and fresh.
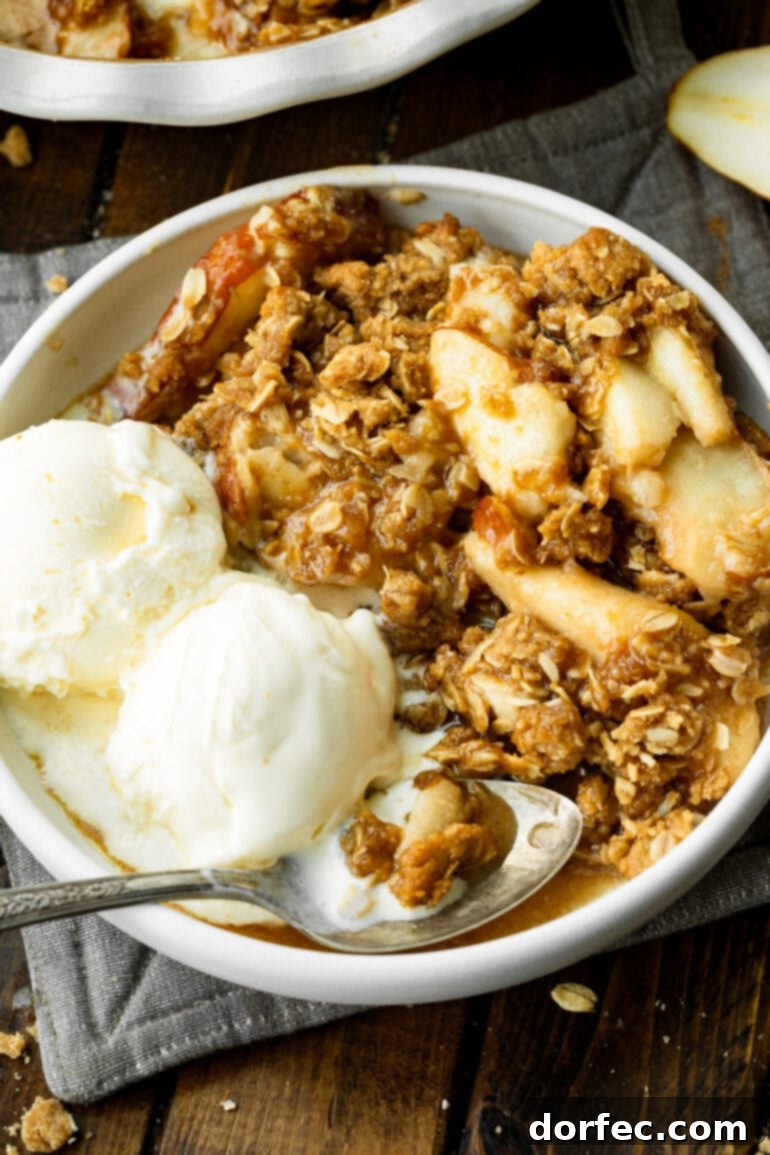
Pears, glorious pears! They are often overlooked in the world of desserts, but this **pear crisp recipe** truly brings them to the forefront. It’s more than just a sweet treat; it’s a symbol of home, a vessel of comfort, and undoubtedly the **best fall dessert**. Every bite transports you back to cherished memories, like those mountain camping trips with Mom, preparing this very **pear dessert** in a Dutch oven under the vast, starry sky.
The Most Luscious Pear Crisp
Ingredients
For the Pears
- 5 Pears, Bosc or Bartlett, sliced
- 4 Tablespoons Butter, melted
- 4 Tablespoons Flour, or 3 tablespoons cornstarch
- 1 Squeeze Lemon Juice
- 4 Tablespoons Heavy Cream
- 1/2 teaspoon Vanilla
- 1/4 Cup Brown Sugar
- 1 Tablespoon White Sugar
- 1 teaspoon Cinnamon
- 1/4 teaspoon Nutmeg
- Dash of Salt
- 1 teaspoon Candied Ginger, optional
For the Topping
- 1 Cup Flour
- 1 1/2 Cups Old Fashioned Oatmeal
- 1 1/2 Cups Brown Sugar
- 1 teaspoon Cinnamon
- Dash Salt
- 3/4 Cup Unsalted Butter, cut into small cubes*
Instructions
-
Heat the oven to 375°F (190°C) and spray an 8×9″ baking dish with nonstick spray.
For the Pears
-
Place the melted butter in a large bowl, and whisk in the flour, lemon juice, heavy cream, and vanilla until smooth.4 Tablespoons Butter, 4 Tablespoons Flour, 1 Squeeze Lemon Juice, 4 Tablespoons Heavy Cream, 1/2 teaspoon Vanilla
-
Add the brown and white sugars and seasonings (cinnamon, nutmeg, salt) and whisk again until smooth.1/4 Cup Brown Sugar, 1 Tablespoon White Sugar, 1 teaspoon Cinnamon, 1/4 teaspoon Nutmeg, Dash of Salt
-
Add the sliced pears and candied ginger (if using) and gently fold to coat entirely.5 Pears
-
Spread the coated pears evenly in the bottom of the prepared baking dish and set aside.
For the Topping
-
In a large bowl, combine the flour, old fashioned oatmeal, brown sugar, cinnamon, and salt.1 Cup Flour, 1 1/2 Cups Old Fashioned Oatmeal, 1 1/2 Cups Brown Sugar, 1 teaspoon Cinnamon, Dash Salt
-
Stir all the dry ingredients together until well combined.
-
Add the cold butter cubes. Using a pastry cutter or your fingers, cut the butter into the mixture until it resembles coarse crumbs. Continue to work the mixture with your hands, squeezing it together to form thick dough clumps. Ensure no dry flour remains. These clumps will create a wonderfully crunchy topping.3/4 Cup Unsalted Butter
-
Evenly sprinkle the prepared topping mixture over the pears in the baking dish. Bake for 18-20 minutes, or until the topping is lightly golden brown and the filling is bubbly.
-
Allow the crisp to cool for 5-10 minutes before serving warm with a scoop of vanilla ice cream.
Recipe Notes
This pear crisp can be prepared (filling and topping separately) and frozen to bake later, or baked and frozen for up to 3 months.
Nutrition
Nutrition information is automatically calculated, so should only be used as an approximation.