
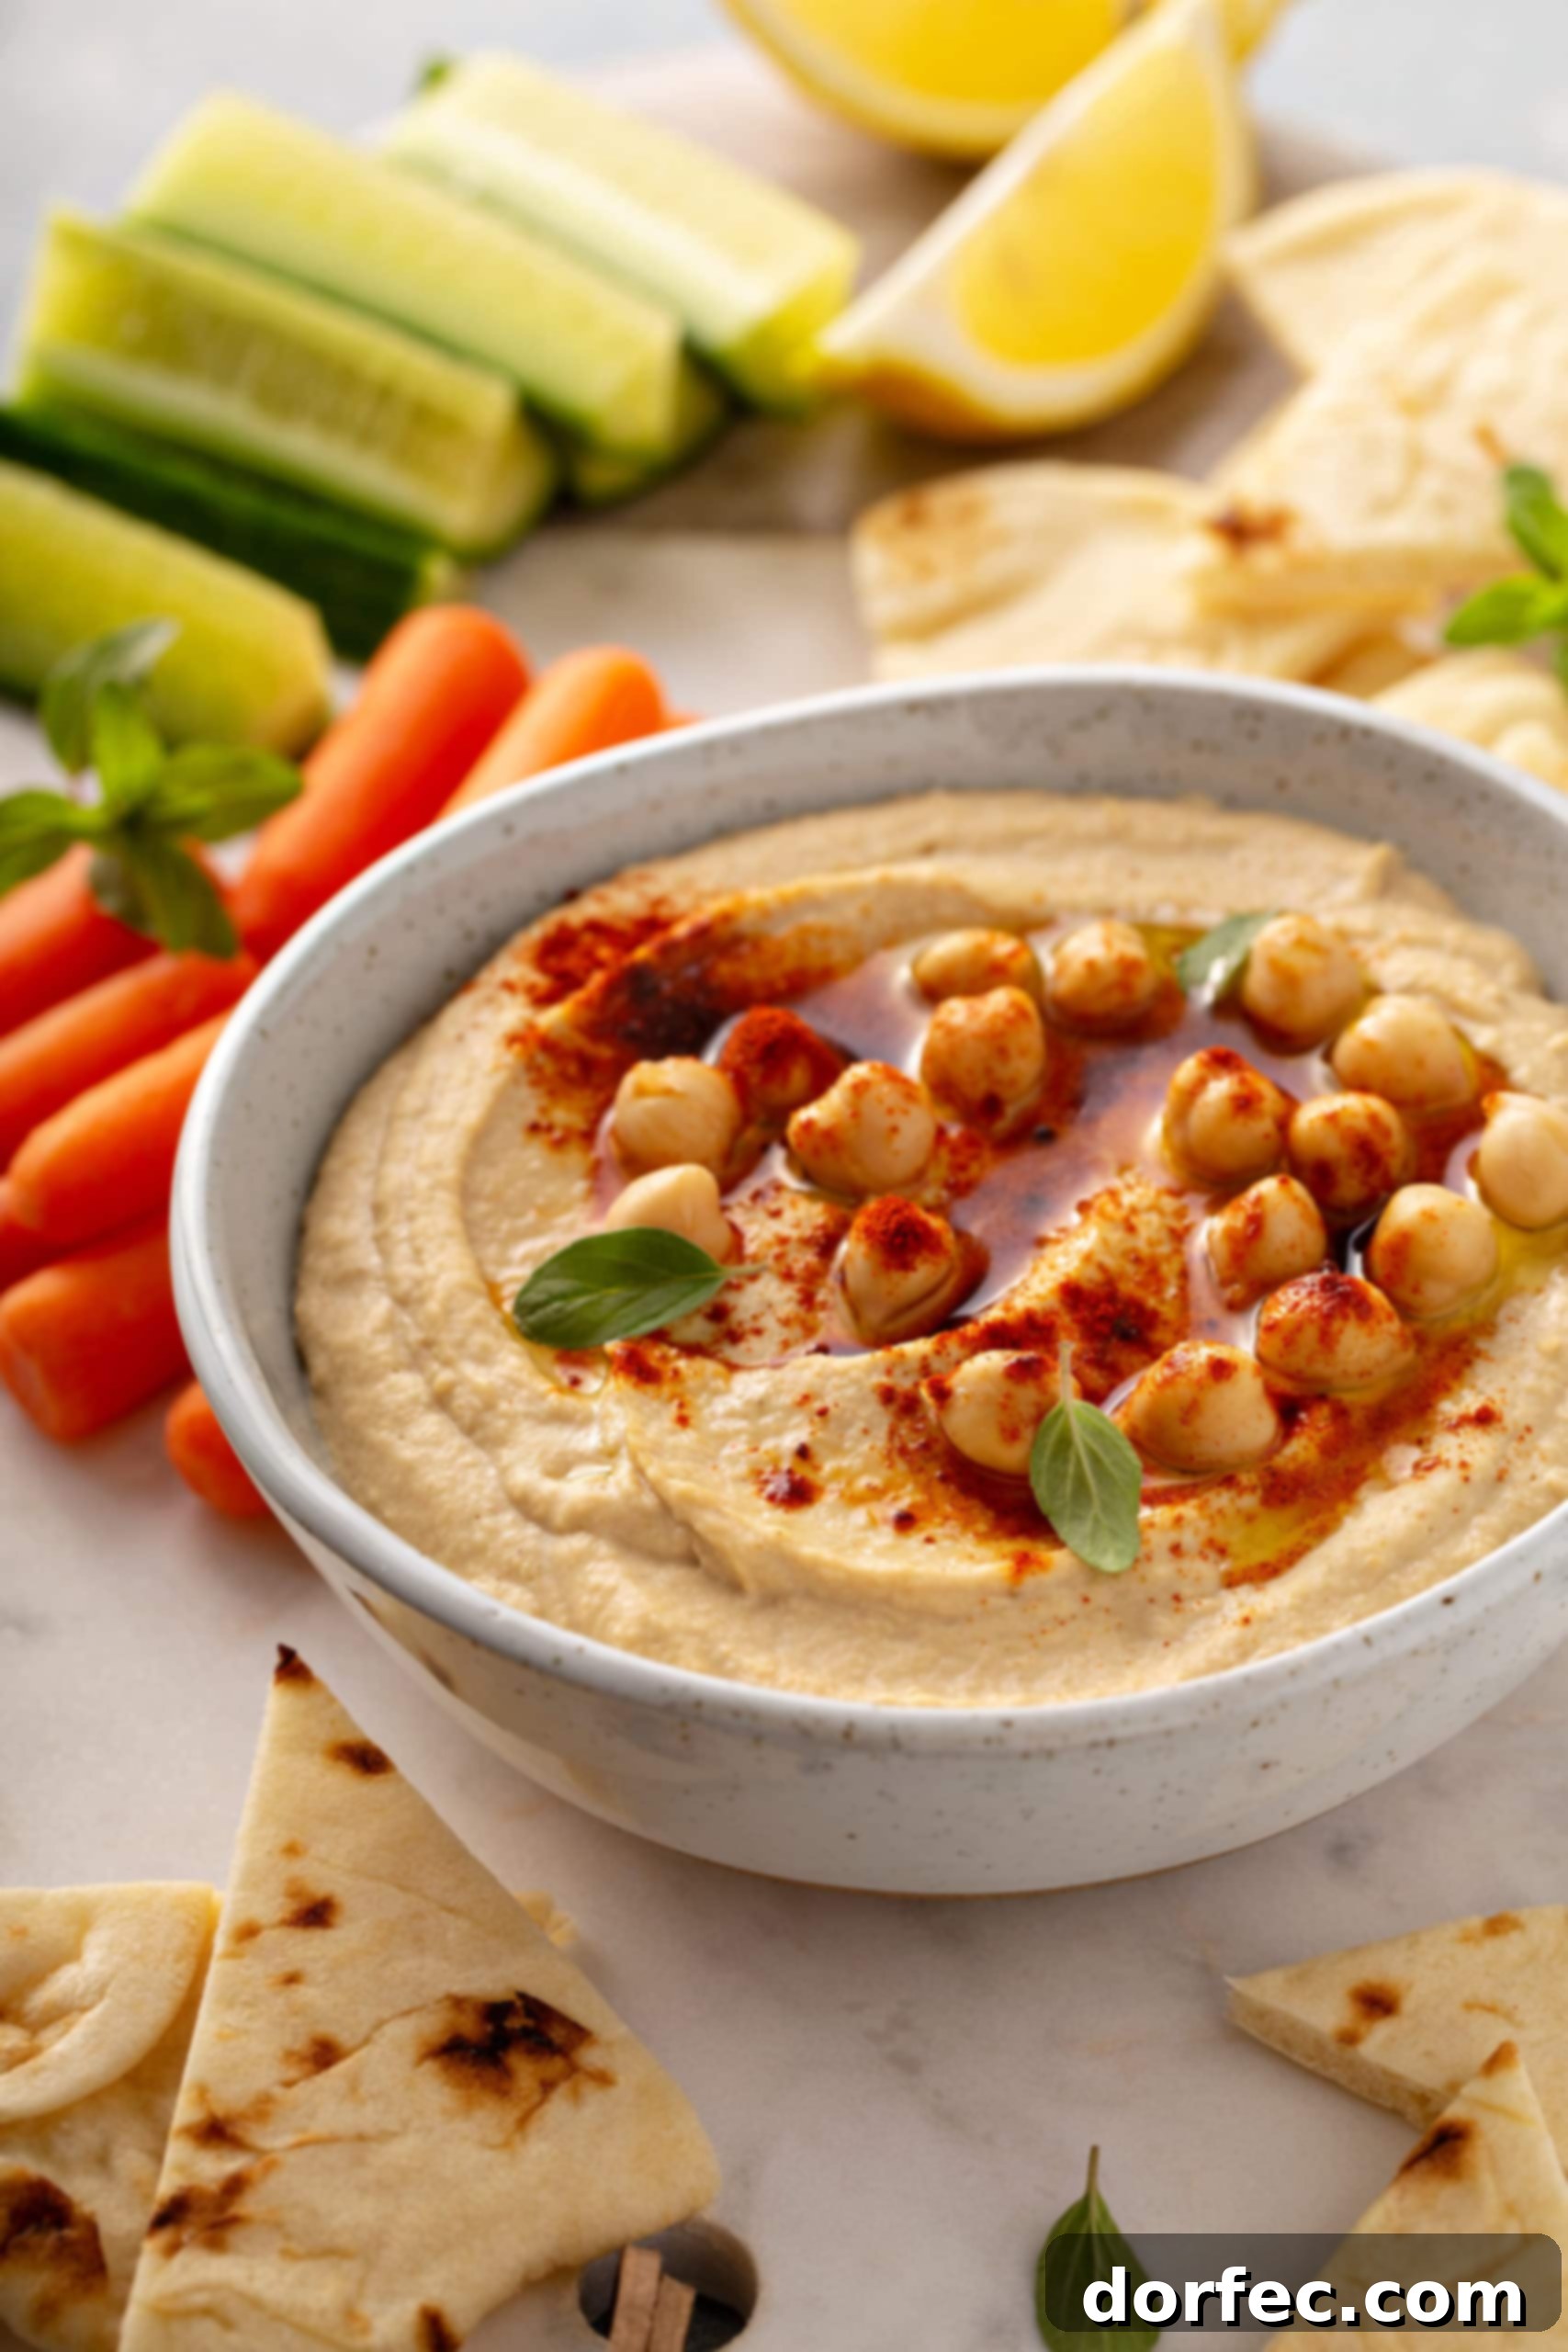
Unlock the secret to truly decadent, creamy homemade hummus that rivals your favorite Mediterranean restaurant. Forget the store-bought versions; crafting this velvety, flavorful dip in your own kitchen is surprisingly simple and incredibly rewarding. Perfect as a healthy snack, a vibrant appetizer, or a versatile component of any meal, this easy hummus recipe is about to become a staple in your culinary repertoire.
With just a few pantry staples and some clever tricks, you can achieve that sought-after silky smooth texture and a burst of authentic flavor. We’re talking about humble chickpeas, rich tahini, bright lemon, fragrant garlic, and a touch of spice—all transforming into a dip that’s both nourishing and utterly delicious. Get ready to impress your family and friends with the best homemade hummus they’ve ever tasted!
Why Make Homemade Hummus? The Difference is Delicious
You might be wondering, “Why bother making hummus from scratch when there are so many options at the grocery store?” The answer lies in the unparalleled freshness, customizable flavor, and superior texture of homemade hummus. Store-bought varieties often contain preservatives, unhealthy oils, and can lack the vibrant, balanced taste that fresh ingredients provide. When you make your own, you control every element, ensuring a pure, additive-free, and incredibly satisfying dip.
My journey to perfecting this easy hummus recipe began with a desire for a truly classic and simple rendition. I was preparing for our annual Nativity dinner, and I knew a platter of warm pita bread and smooth hummus would be the perfect centerpiece. While buying it would have been easier, the thought of creating a truly special dip from scratch was far more appealing. After some experimentation, starting with a base recipe from Bon Appetit and adding my own touches, the result was nothing short of fabulous—a flavor profile that beautifully complemented our dinner and left everyone asking for the recipe. This isn’t just a snack; it’s an experience.
Complete Nativity Dinner Menu:
- Hummus
- Wild Rice with Crispy Shallots
- Unleavened Bread
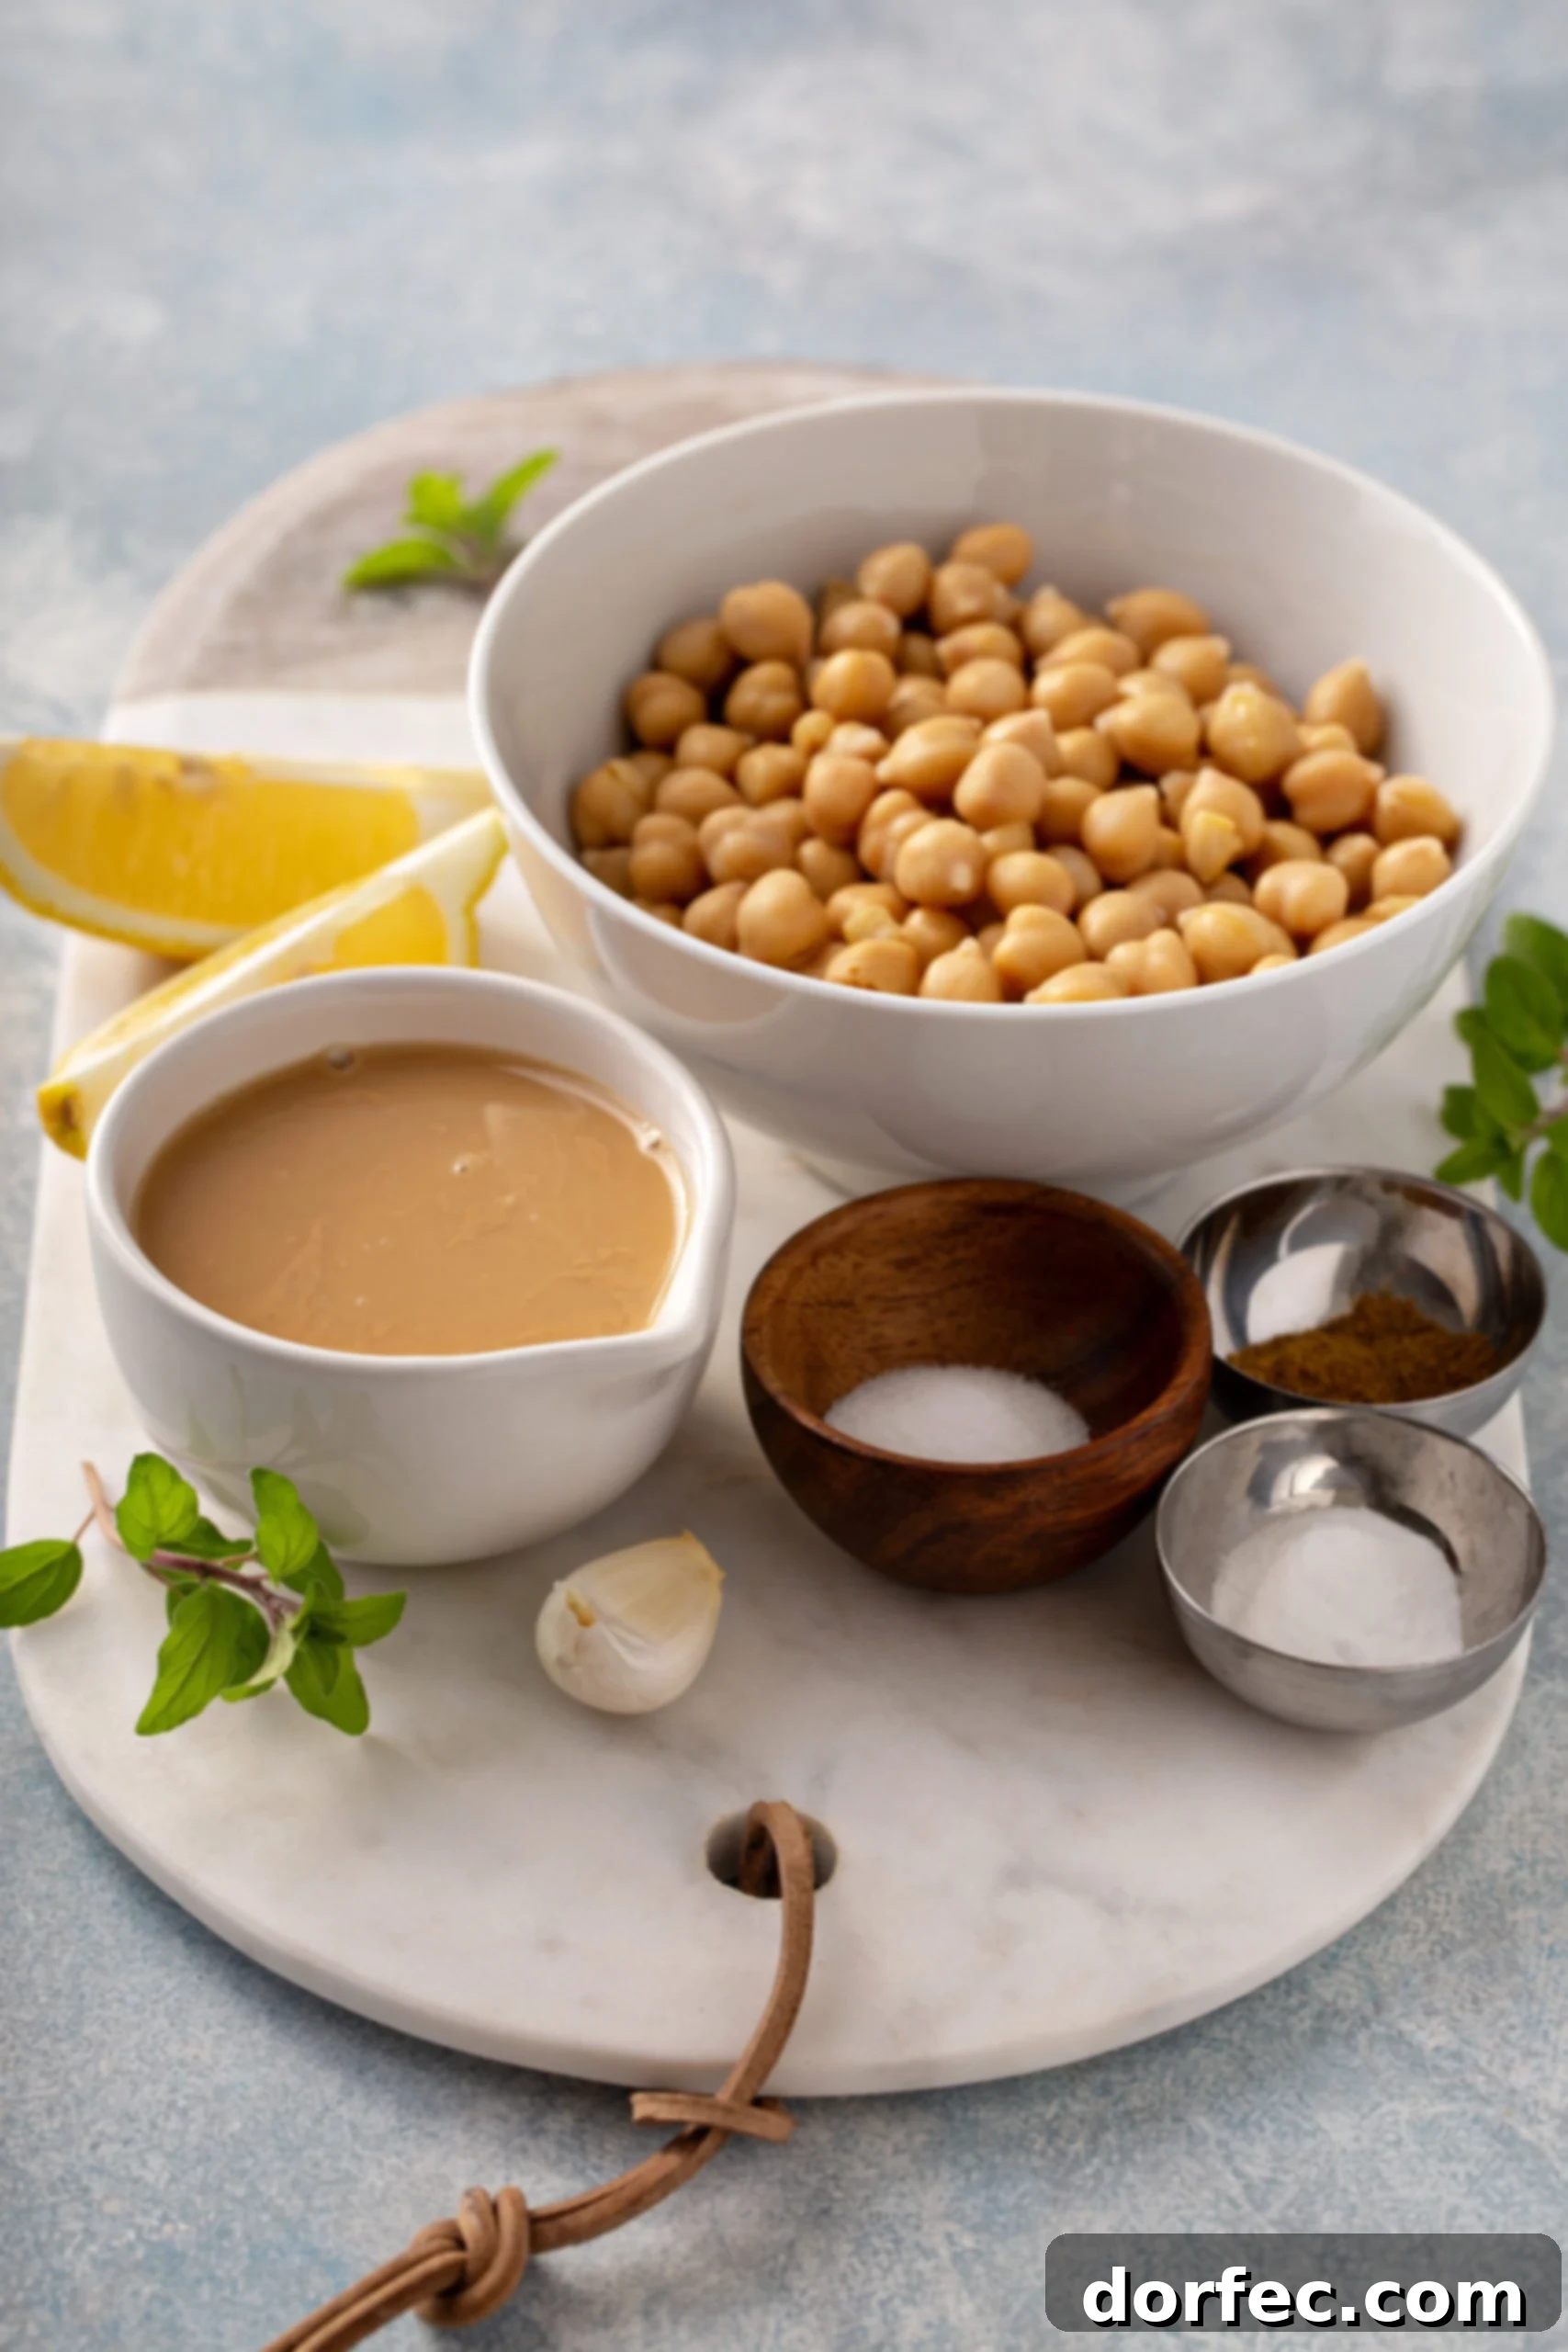
Essential Ingredients for the Best Homemade Hummus
The beauty of this creamy homemade hummus lies in its simplicity. A few high-quality ingredients are all you need to create a dip that’s both authentic and incredibly delicious. Each component plays a vital role in achieving that perfect balance of flavor and texture:
- Chickpeas: The foundation of hummus! We’ll use canned chickpeas for convenience, but a special prepping step ensures ultimate creaminess.
- Baking Soda: A secret weapon! This helps soften the chickpea skins, making them easier to remove and leading to a much smoother hummus.
- Fresh Lemon Juice: Don’t skimp here. Freshly squeezed lemon juice brightens the flavor and adds that signature tang.
- Garlic: A single large clove provides a pungent kick that’s essential for authentic hummus.
- Sea Salt (fine): Enhances all the other flavors. Adjust to your personal preference.
- Tahini: This sesame paste is crucial for hummus. It adds a nutty richness and contributes significantly to the creamy texture. Look for a good quality, runny tahini for the best results.
- Ice Water: Another secret to super smooth hummus. The cold temperature helps emulsify the tahini and creates a light, airy consistency.
- Cumin: Earthy and warm, ground cumin adds depth and a classic Middle Eastern aroma.
- Extra Virgin Olive Oil: Used both in the blending process for richness and as a drizzle for garnish, adding a fruity, peppery note.
- Smoked Paprika: Primarily for garnish, but it also adds a beautiful color and a subtle smoky flavor that complements the hummus perfectly.
How to Make Ultra-Creamy Homemade Hummus
Achieving restaurant-quality hummus at home is easier than you think. Follow these steps for a guaranteed smooth and flavorful dip:
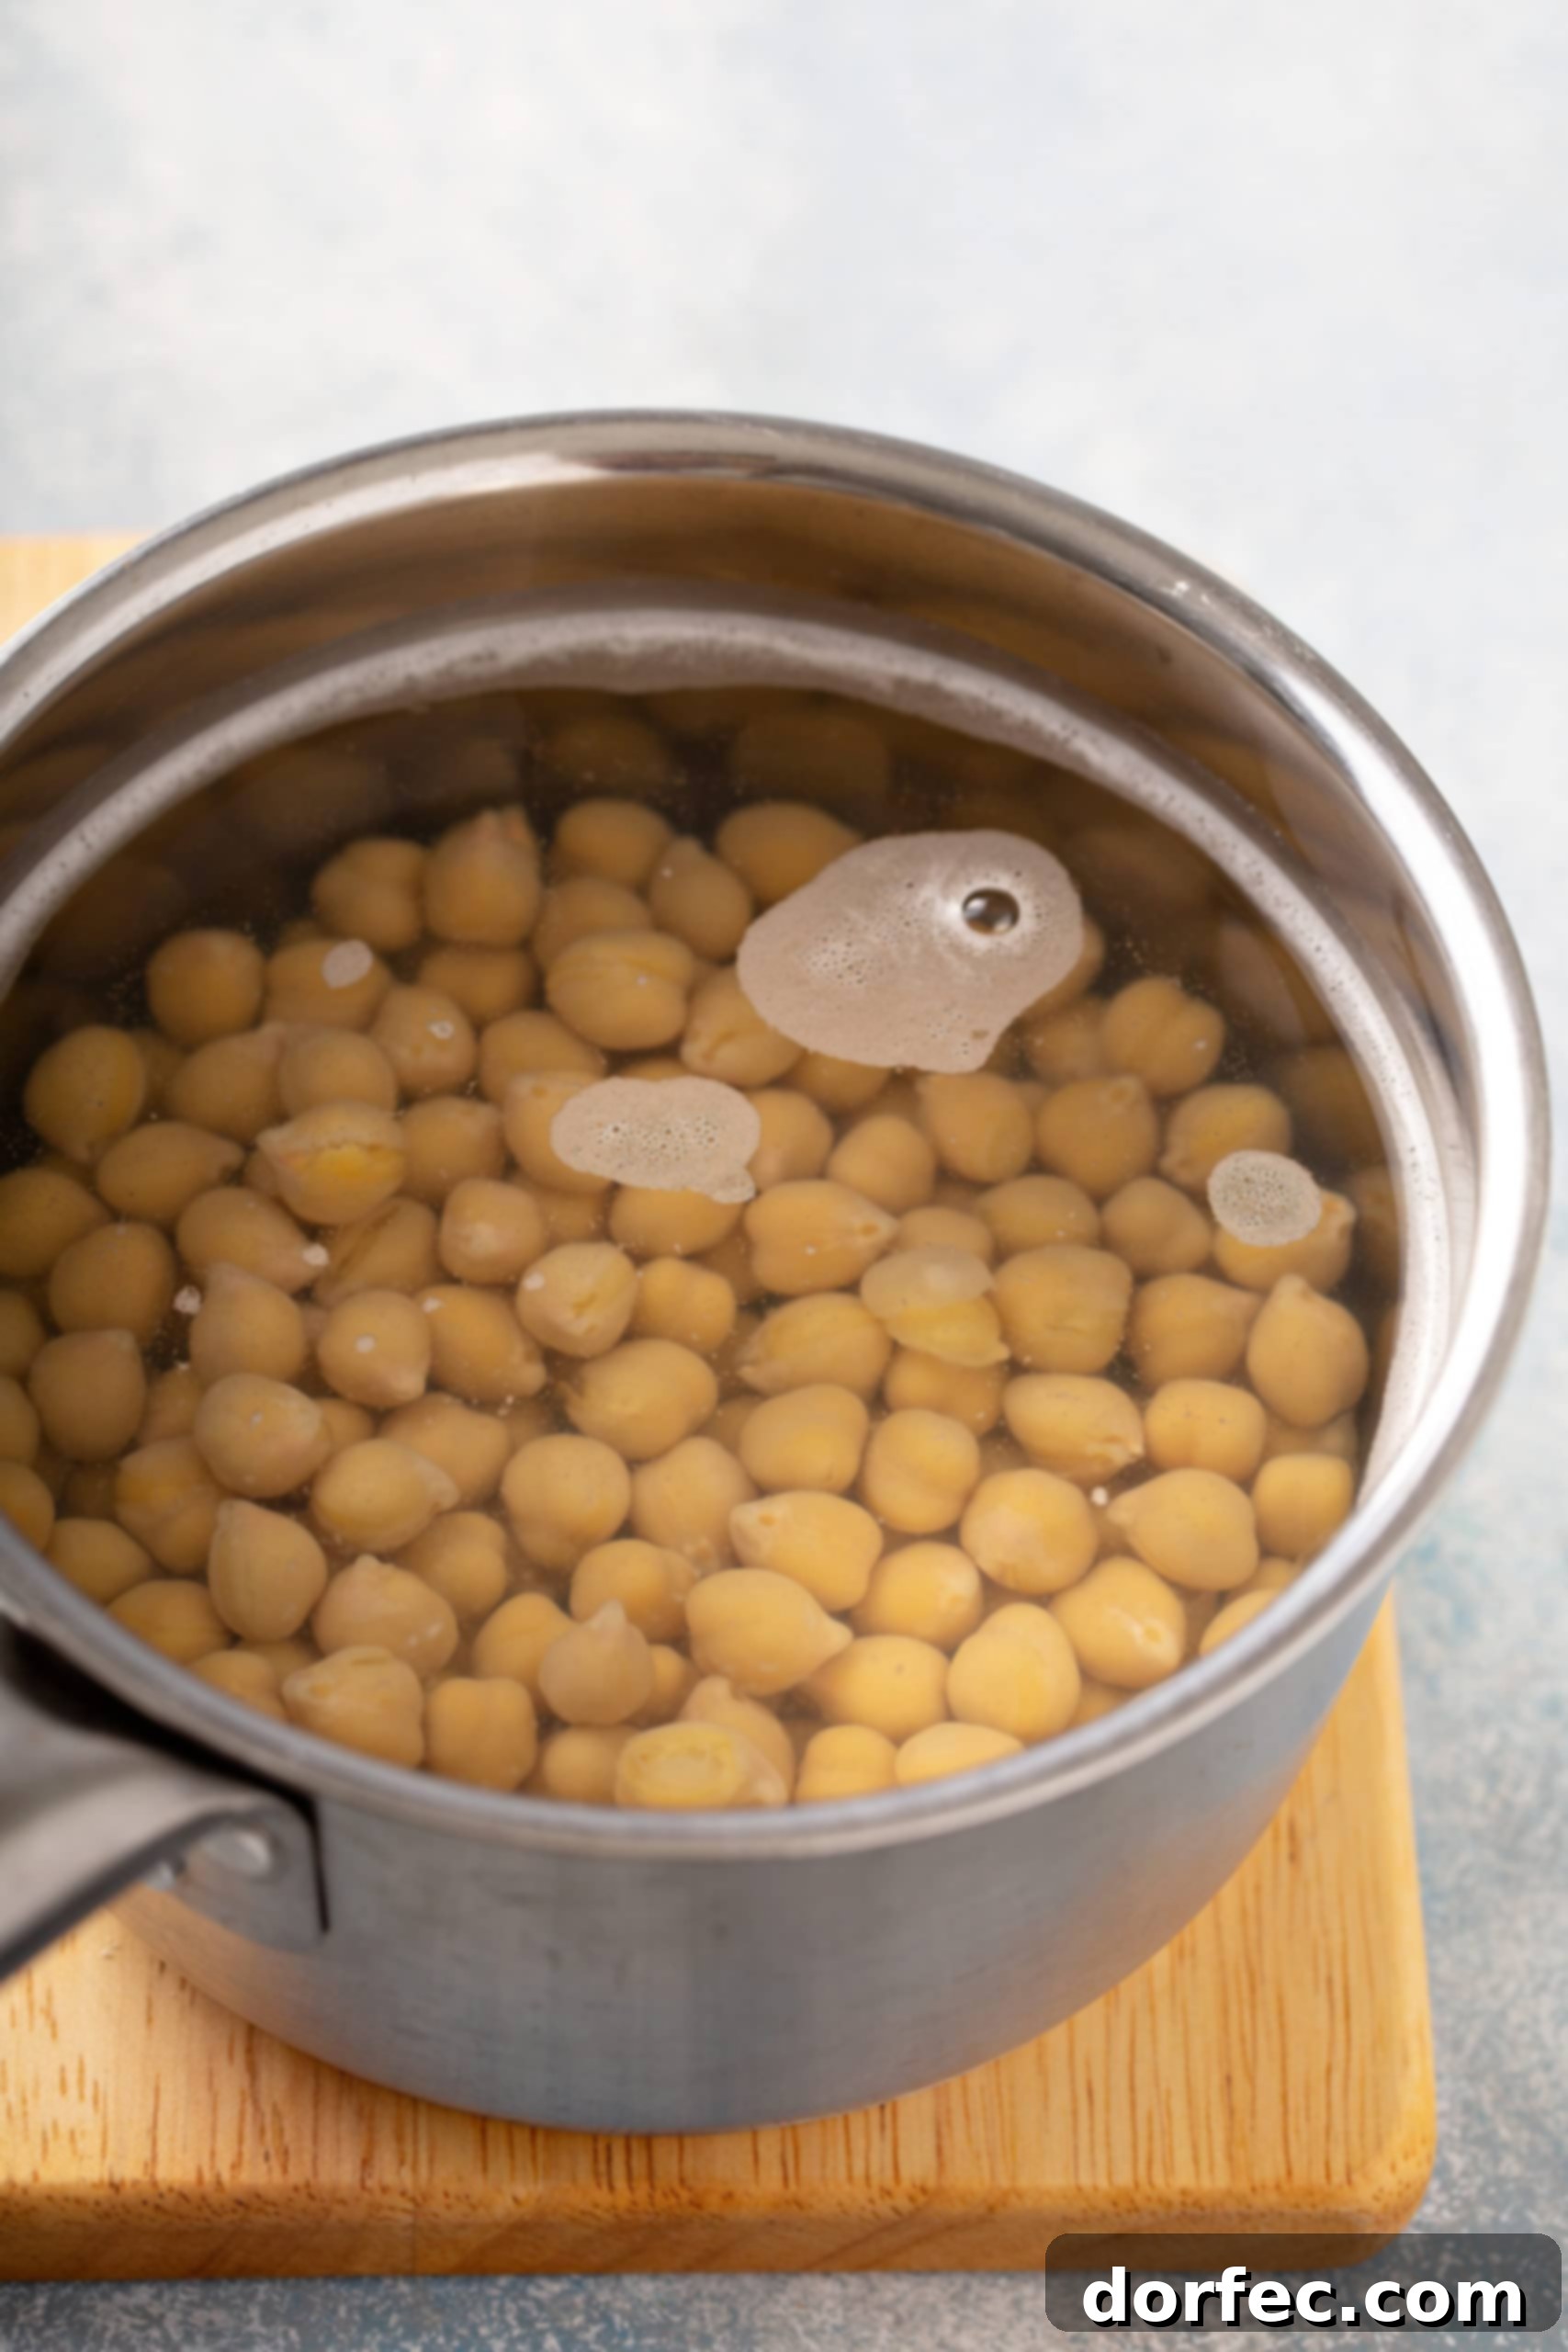
1. Prepare the Chickpeas for Ultimate Smoothness
This step is a game-changer for silky homemade hummus. While you can skip it, taking the time to properly prep your chickpeas will yield a far superior texture.
2. Master the Food Processor Technique
A good food processor or a high-powered blender (like a Blendtec) is essential for achieving that characteristic smooth, airy texture of creamy homemade hummus. Regular blenders might struggle to create the desired consistency, often leaving small chickpea chunks. The key is allowing enough processing time at each stage to fully break down the ingredients.
First, combine the fresh lemon juice, roughly chopped garlic, and fine sea salt in your food processor. Process until the garlic is very finely minced and well incorporated. This initial blend allows the garlic’s flavors to bloom and meld with the lemon and salt, creating a more harmonious base for your hummus. Let this mixture rest for about 15 minutes. This brief pause allows the flavors to truly infuse and mellow, enhancing the overall taste of your hummus.
3. Incorporate the Tahini for Richness
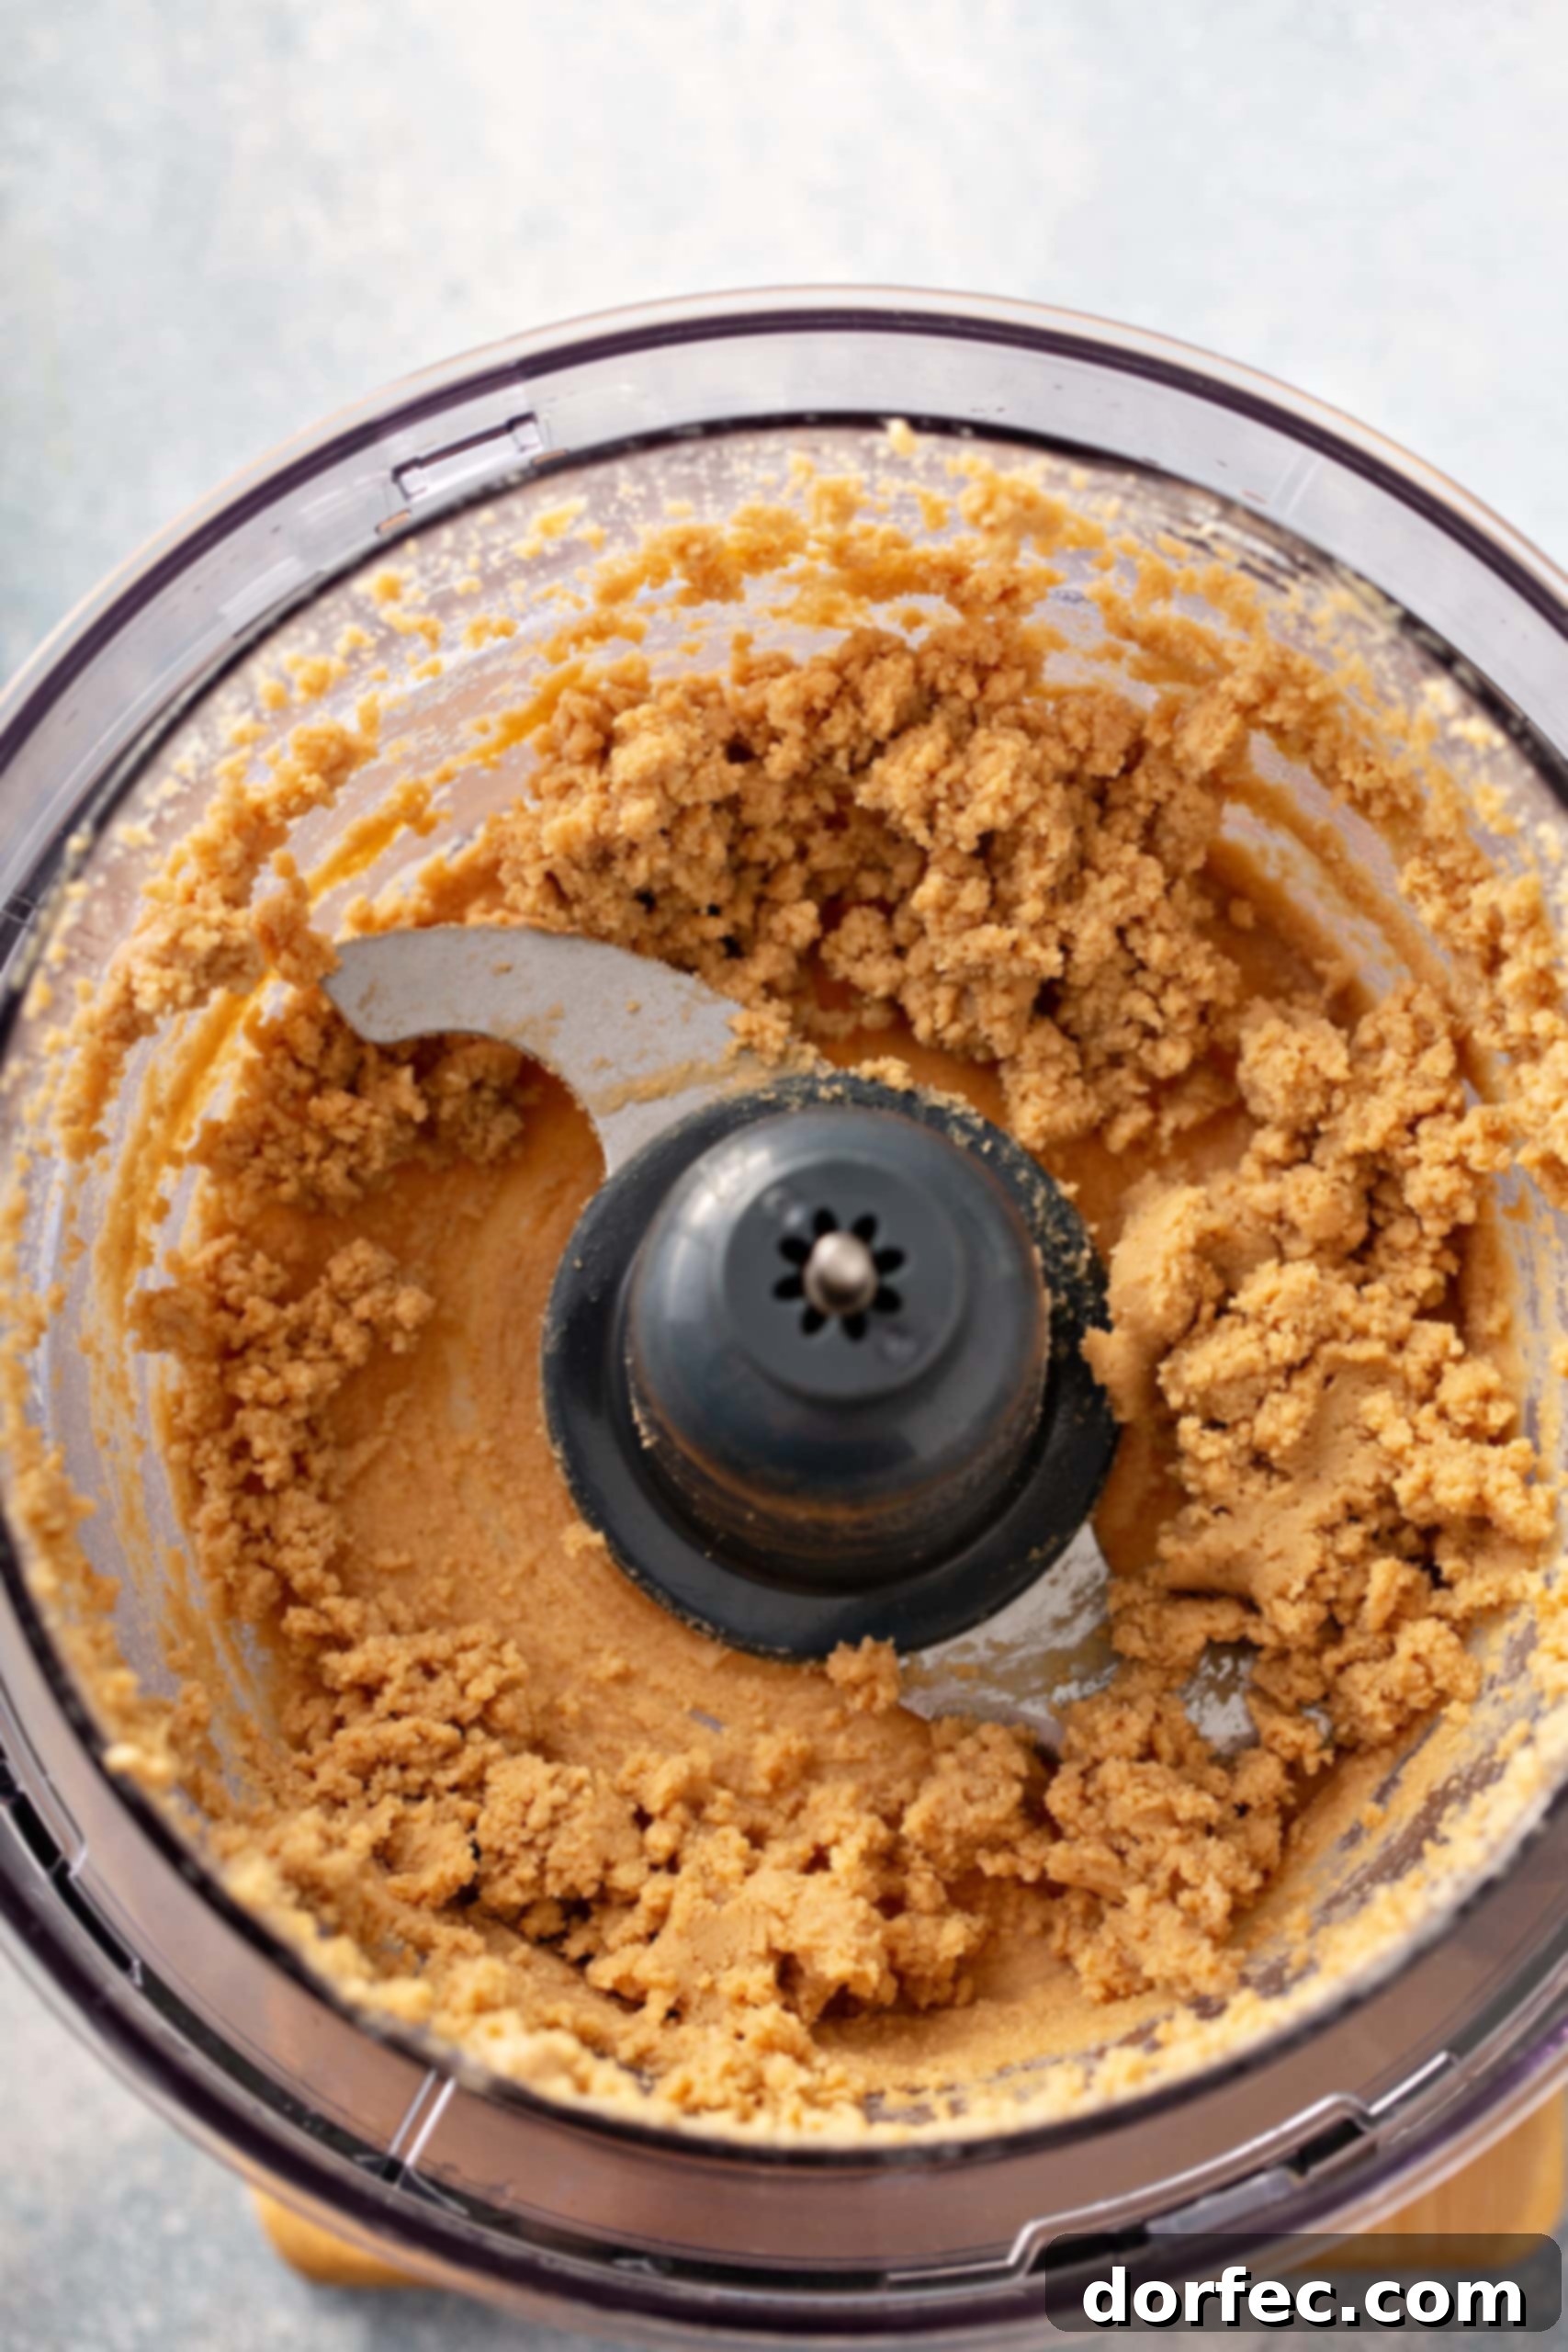
Tahini is more than just an ingredient; it’s a cornerstone of authentic homemade hummus. Made from toasted, ground hulled sesame seeds, it imparts a distinct nutty flavor and contributes significantly to the dip’s signature richness and creamy texture. If your tahini has separated, stir it well before adding.
4. Achieve Silkiness with Ice Cold Water
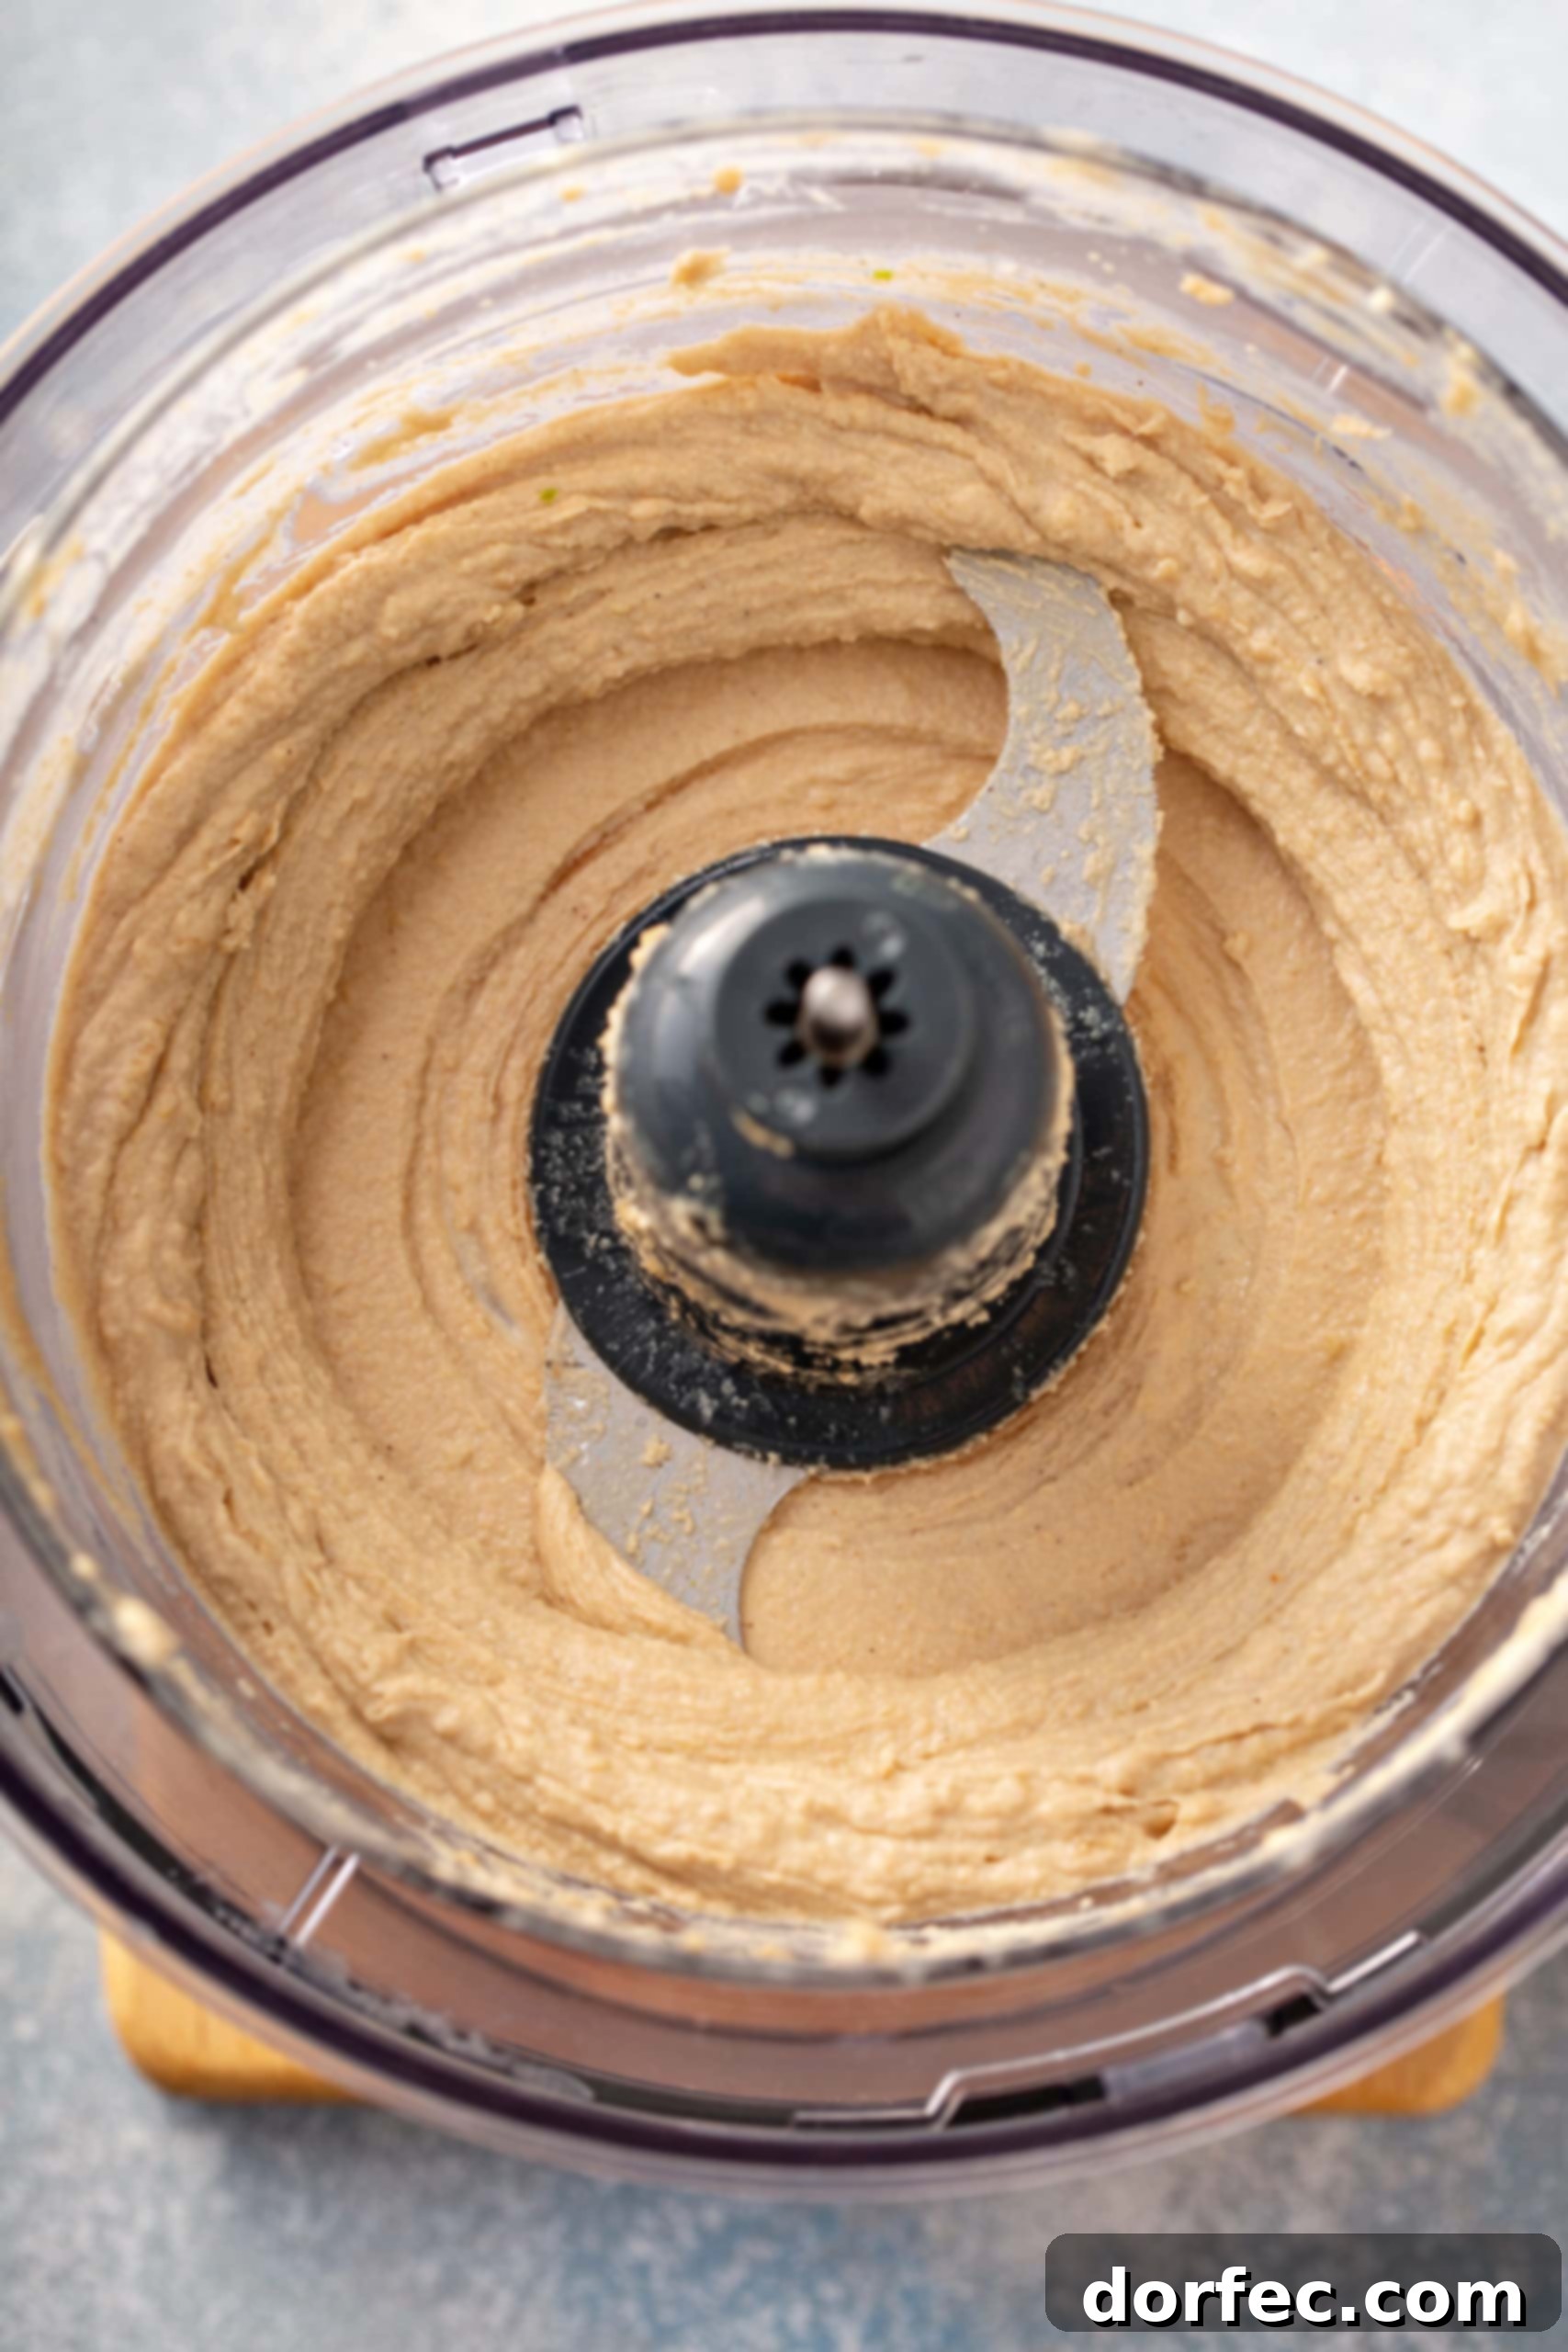
At this point, your hummus mixture will still appear quite thick. The secret to achieving that wonderfully smooth, airy, and pale consistency is the addition of ice-cold water. The cold temperature helps to whip the mixture, creating a light and fluffy texture, much like whipping cream.
While the food processor is running, slowly drizzle in 2-4 tablespoons of ice water. Continue blending for several minutes until the mixture transforms into an ultra-smooth, pale, and creamy dip. The transformation is remarkable! If your tahini was particularly thick, you might need to add an extra 1 to 2 tablespoons of ice water to reach the desired consistency. Don’t rush this step; patient blending is key here.
5. The Flavorful Finish: Cumin, Chickpeas, and Olive Oil
The final step in making this delicious homemade hummus is layering in the remaining flavors and refining the texture. This is where the magic truly comes together.
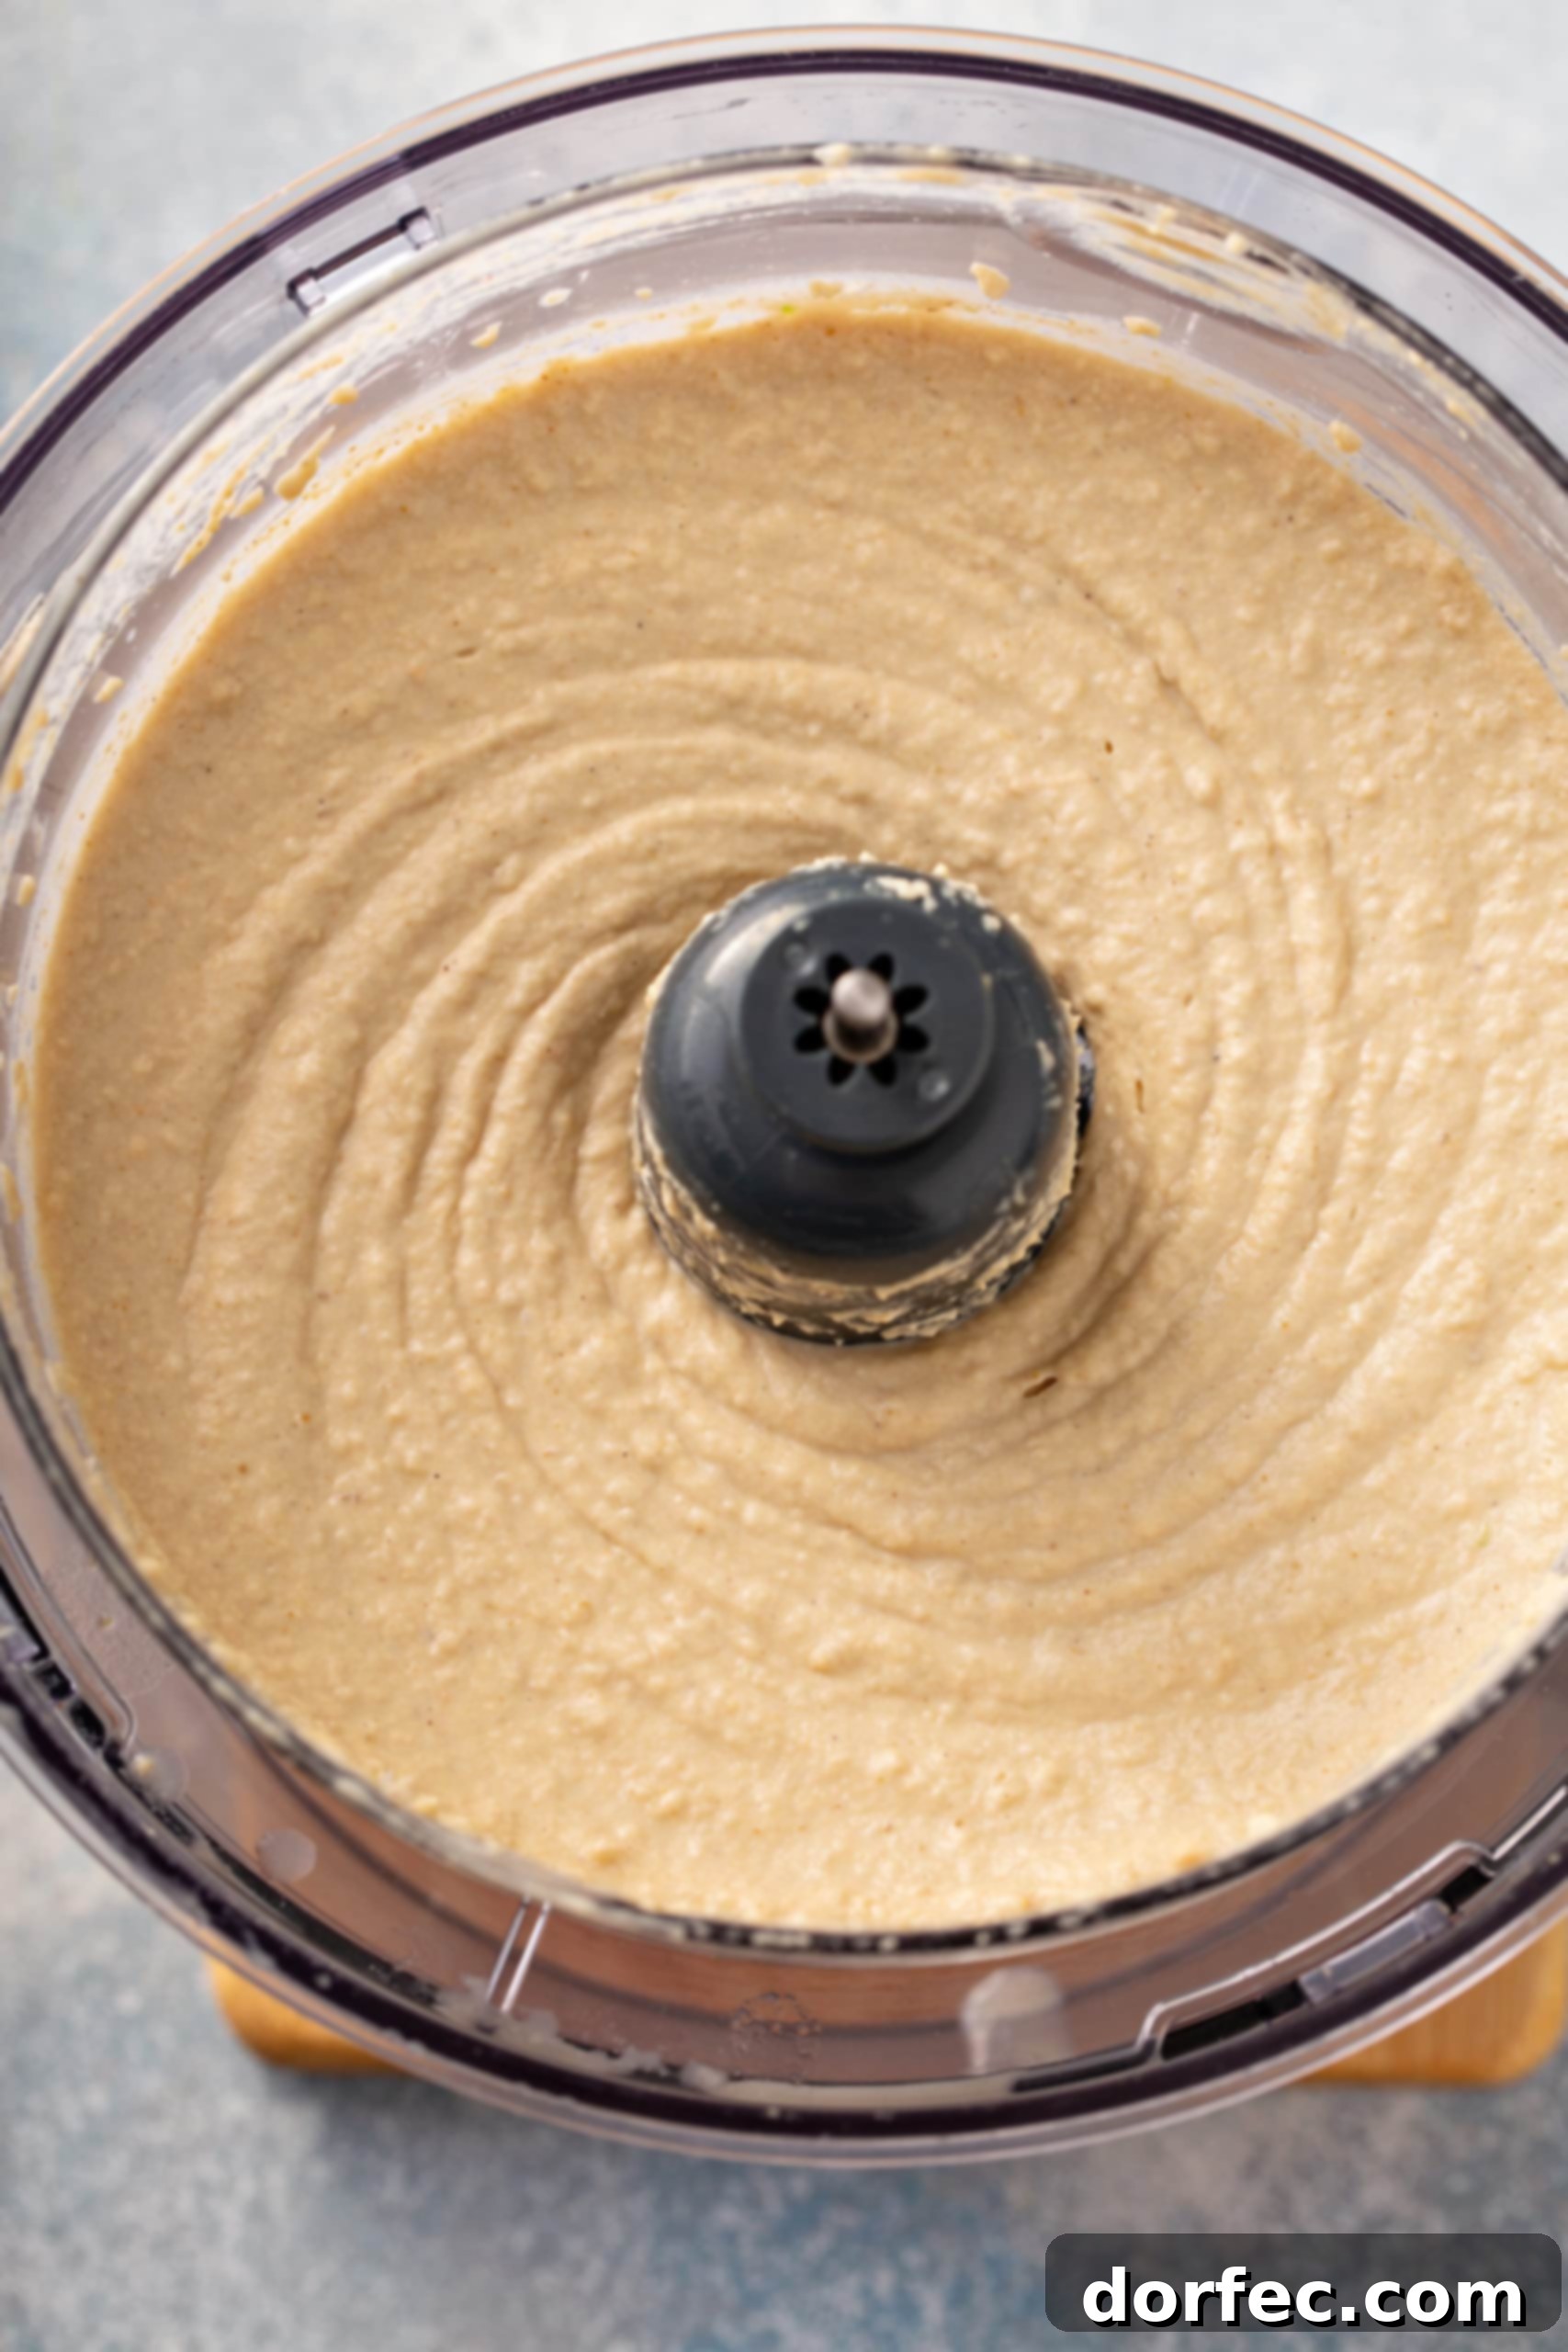
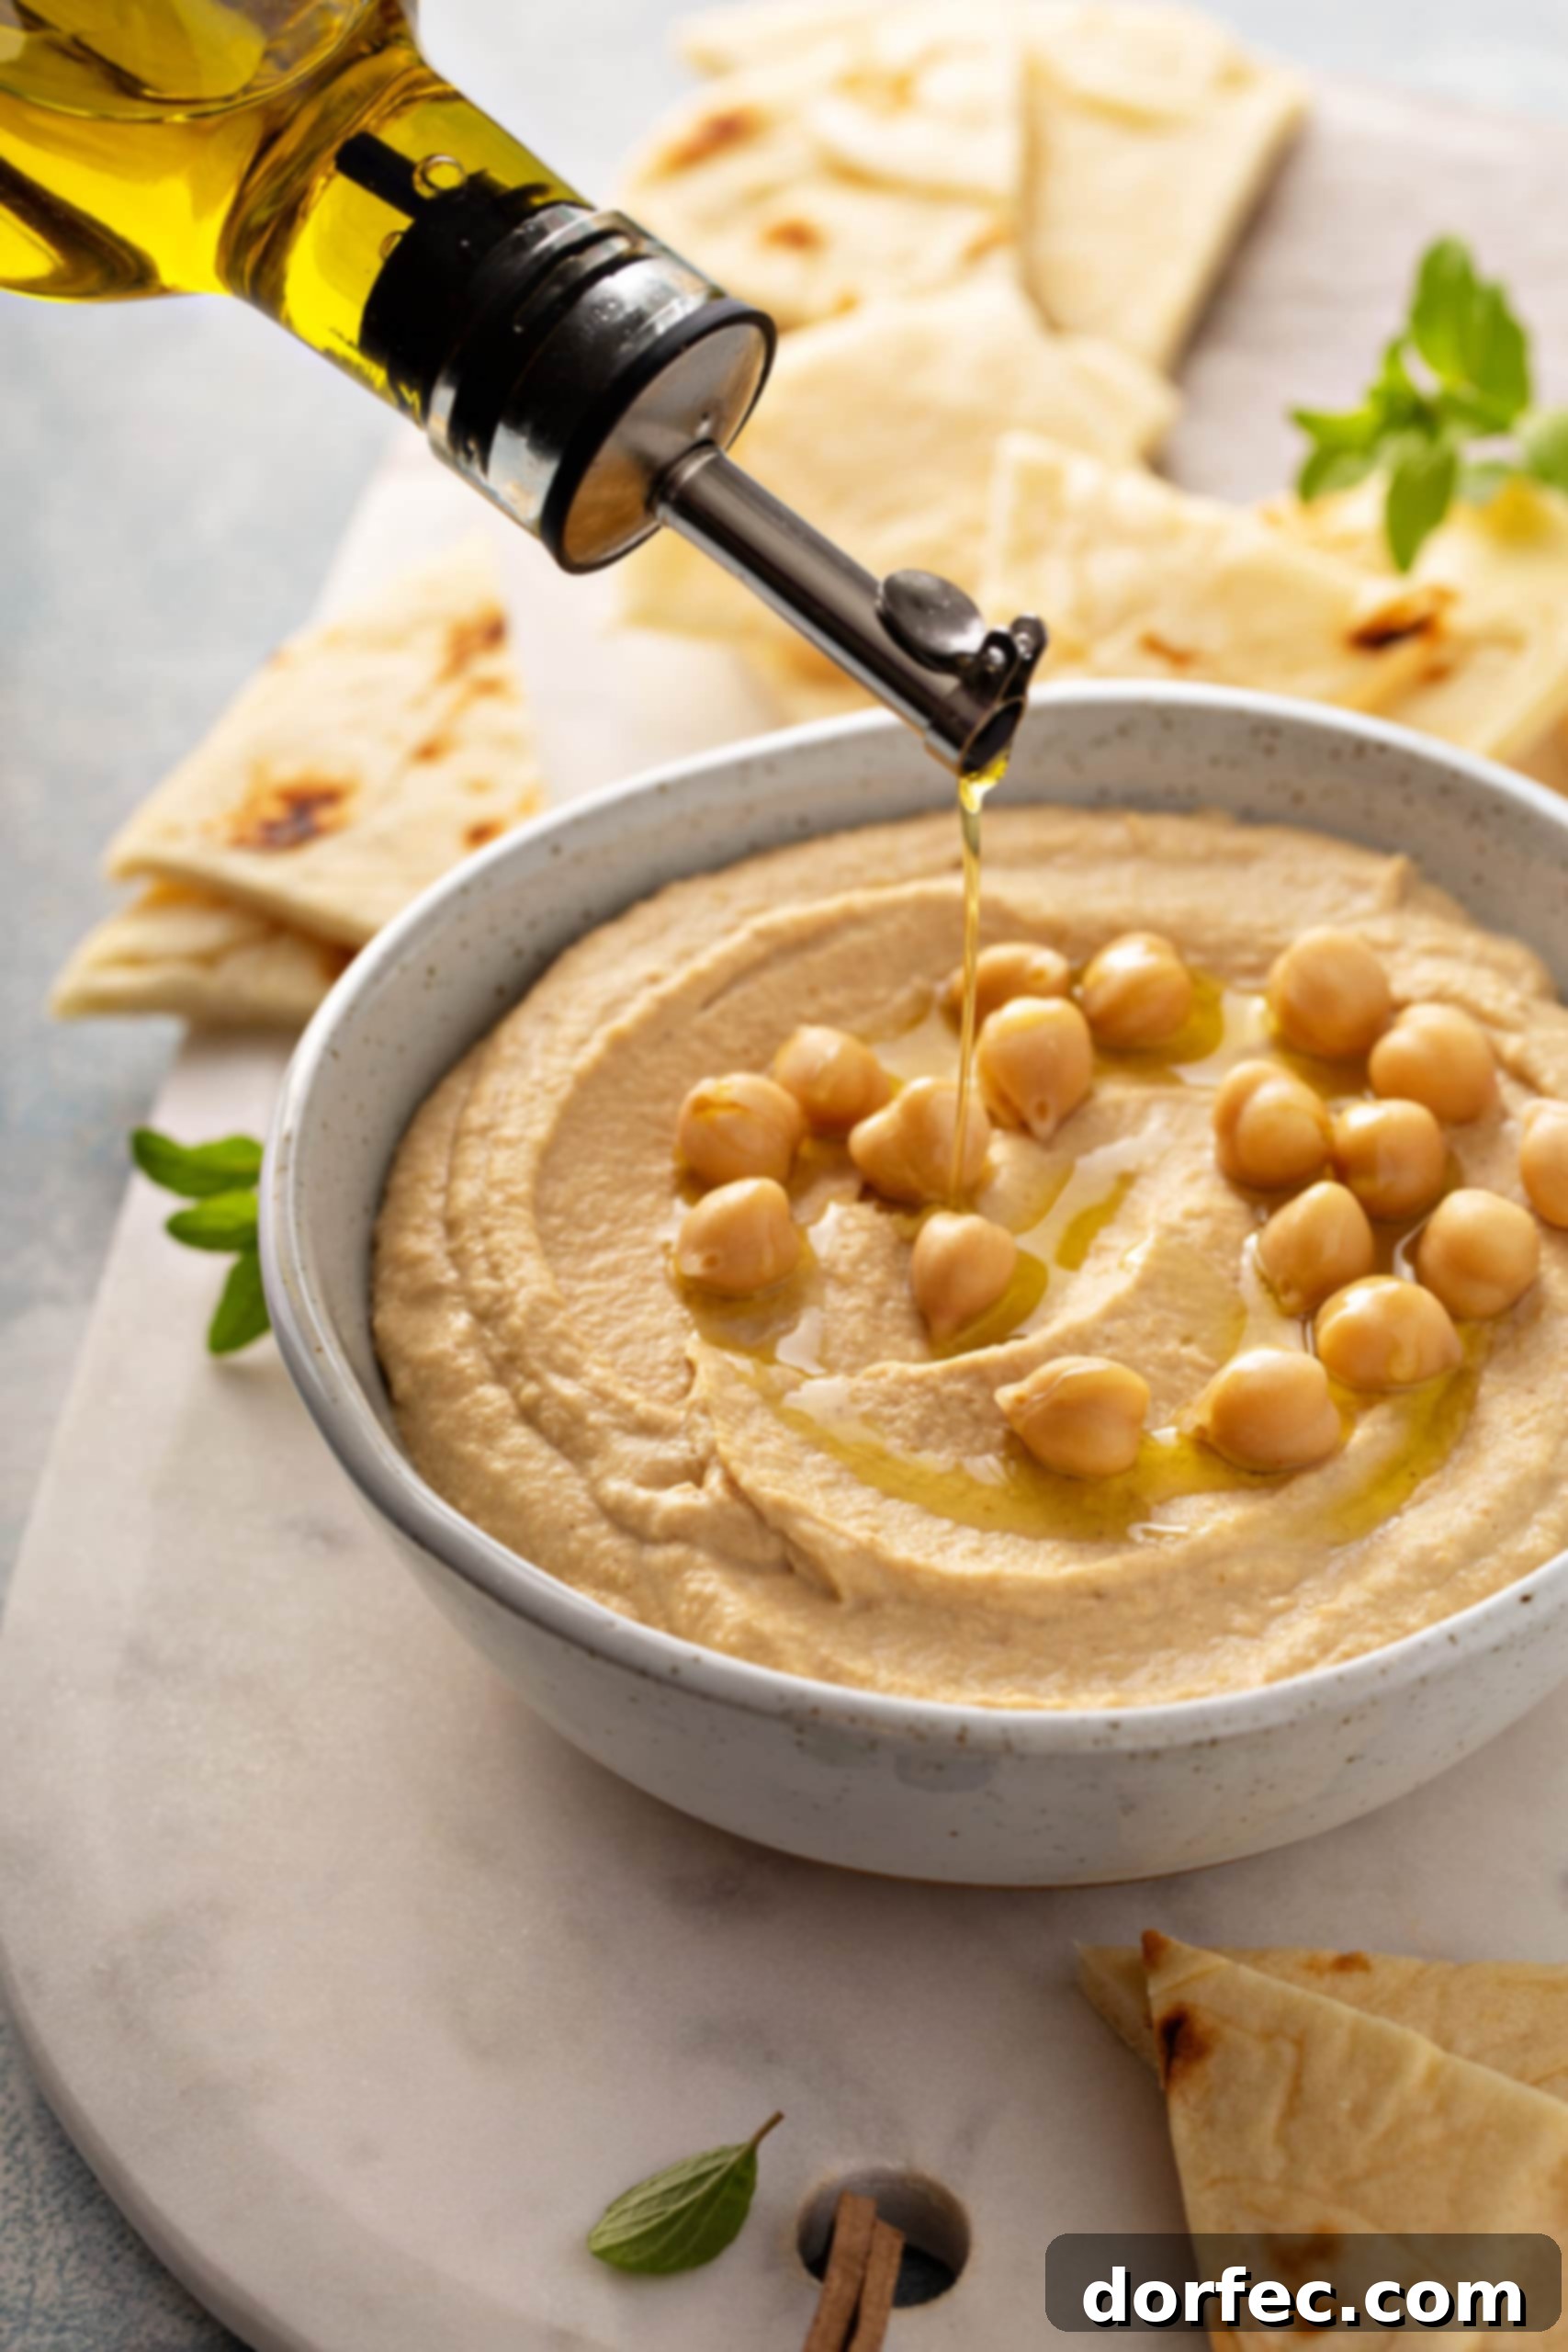
Add the ground cumin and the drained, prepped chickpeas to the food processor with the creamy tahini mixture. With the food processor running, slowly drizzle in the extra virgin olive oil. Continue blending everything for about 2 minutes. During this time, the chickpeas will be fully incorporated, and the olive oil will emulsify, adding richness and a beautiful sheen. Stop the food processor as needed to scrape down the sides, ensuring all ingredients are evenly blended. The goal is a super smooth, light, and airy consistency. If the hummus still seems too thick, add more ice water, one tablespoon at a time, until it reaches your preferred creamy texture. Taste and adjust for salt and lemon juice if necessary.
Serve and Enjoy!
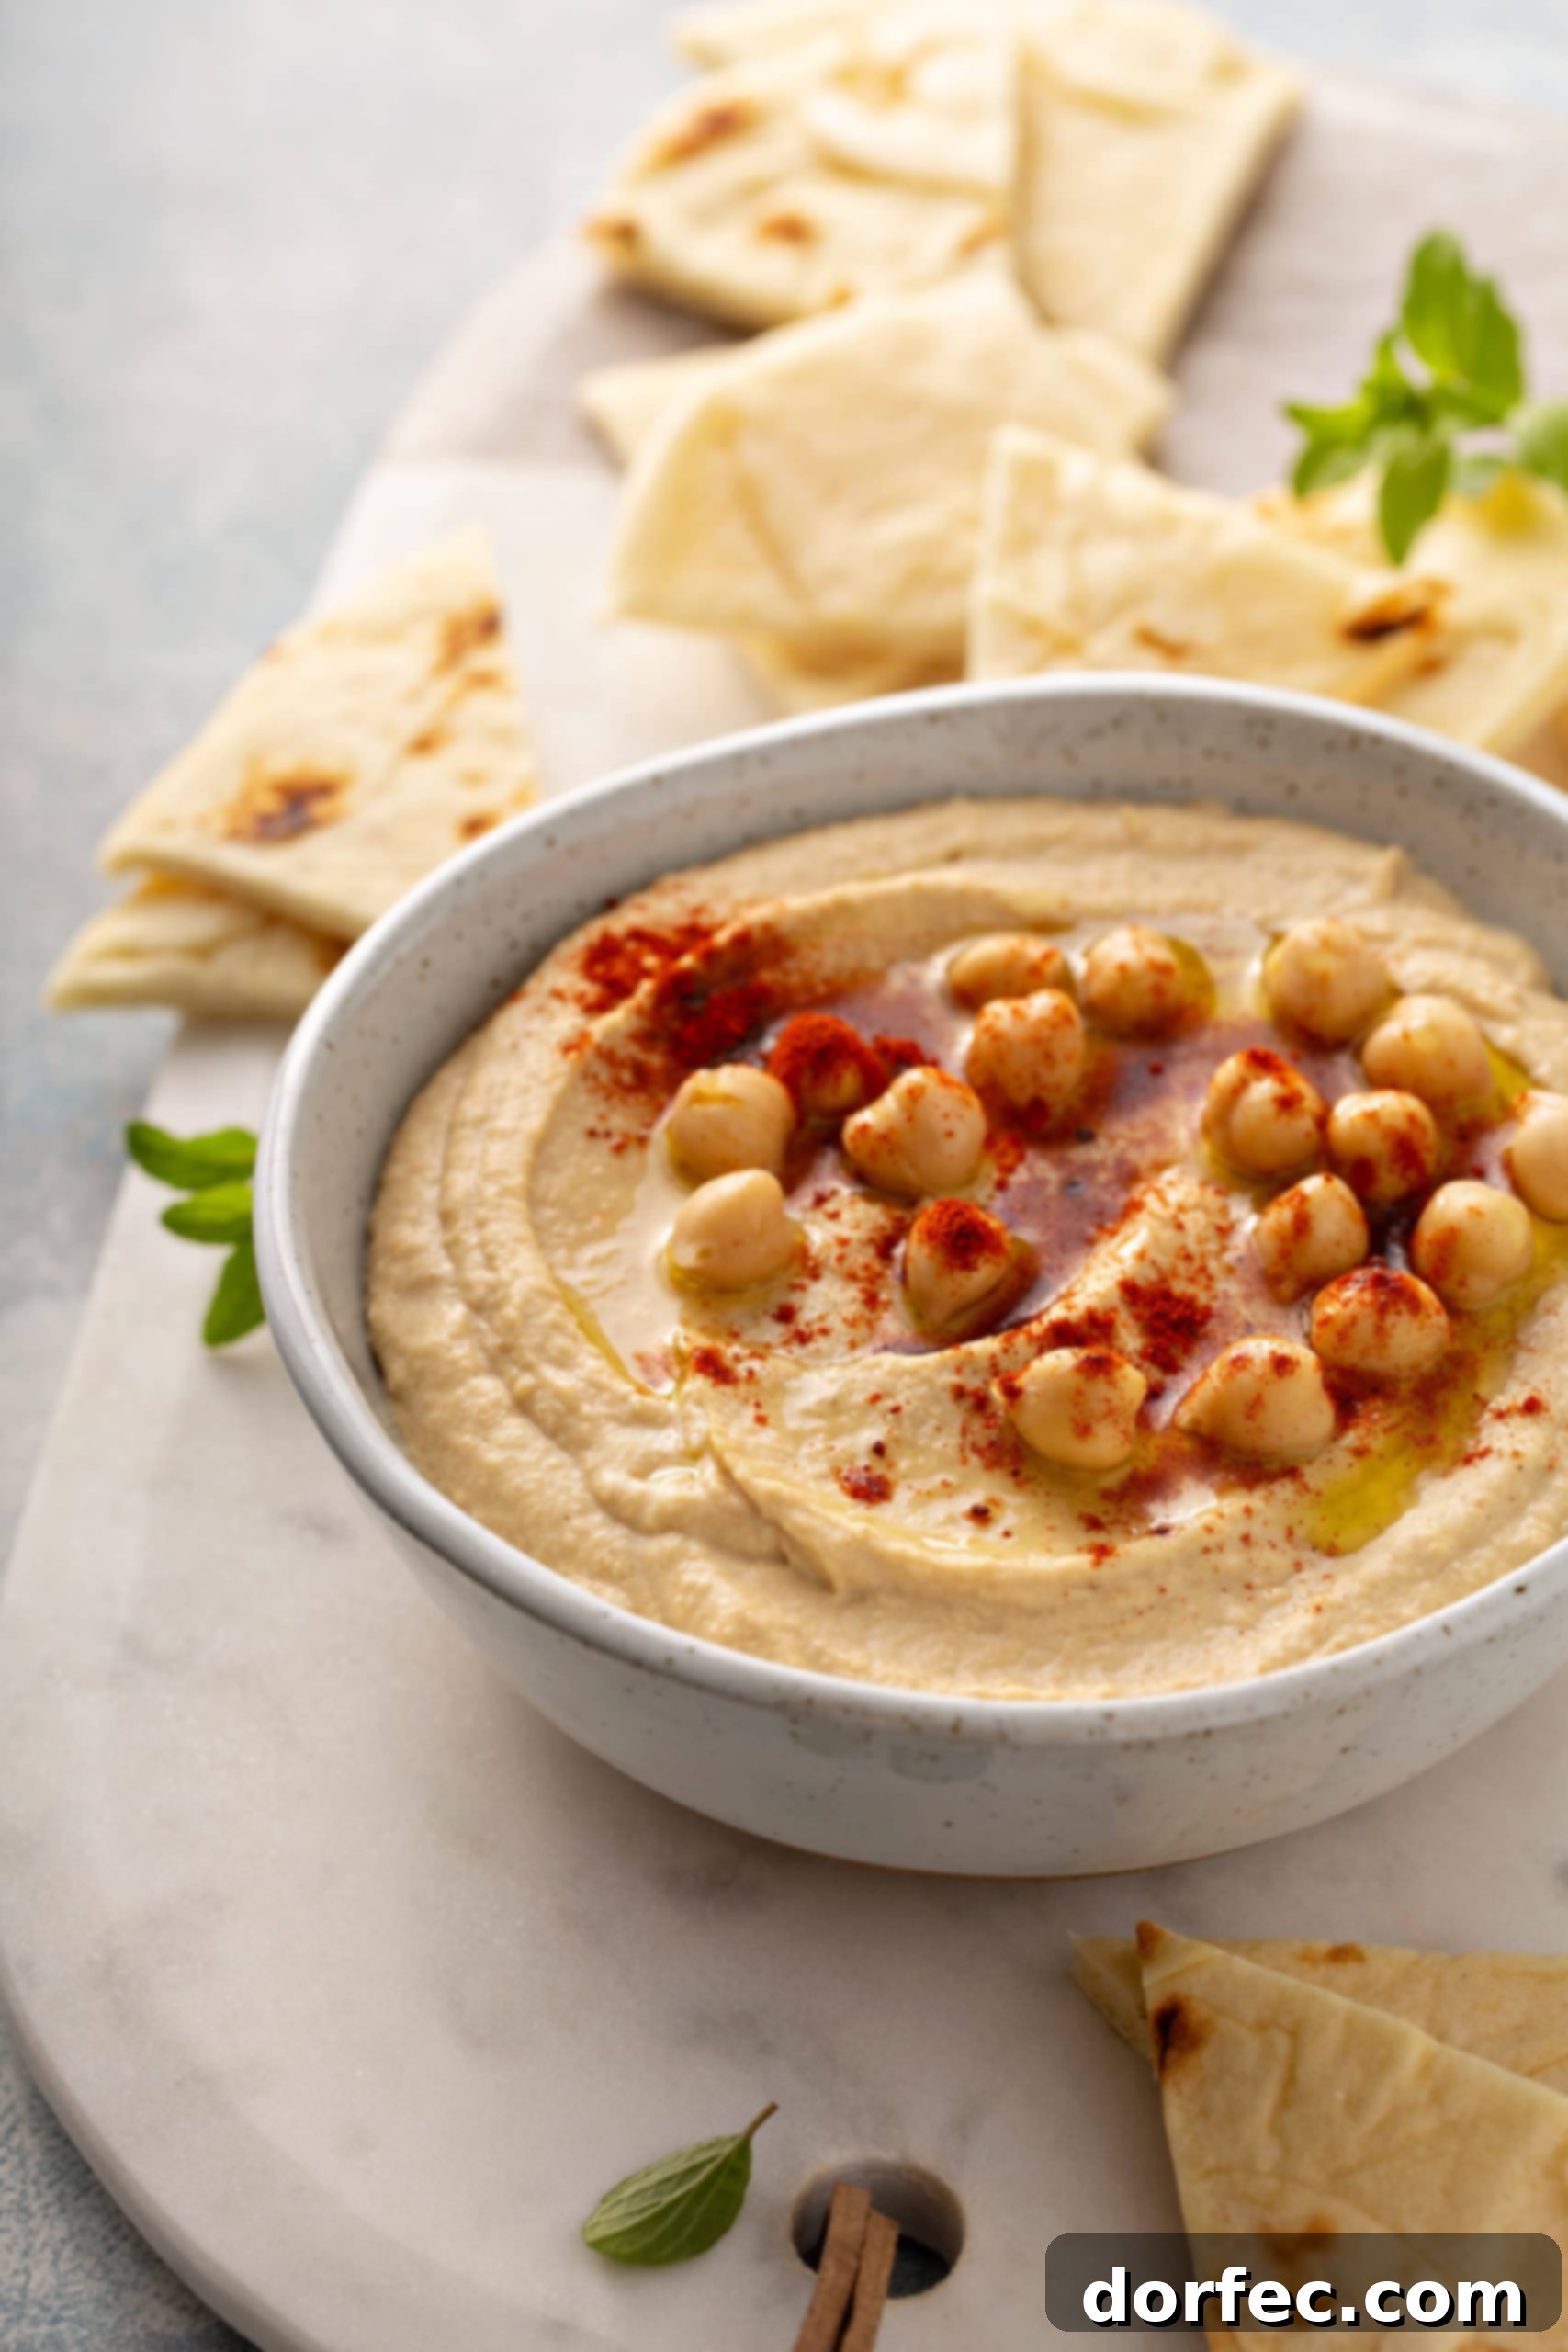
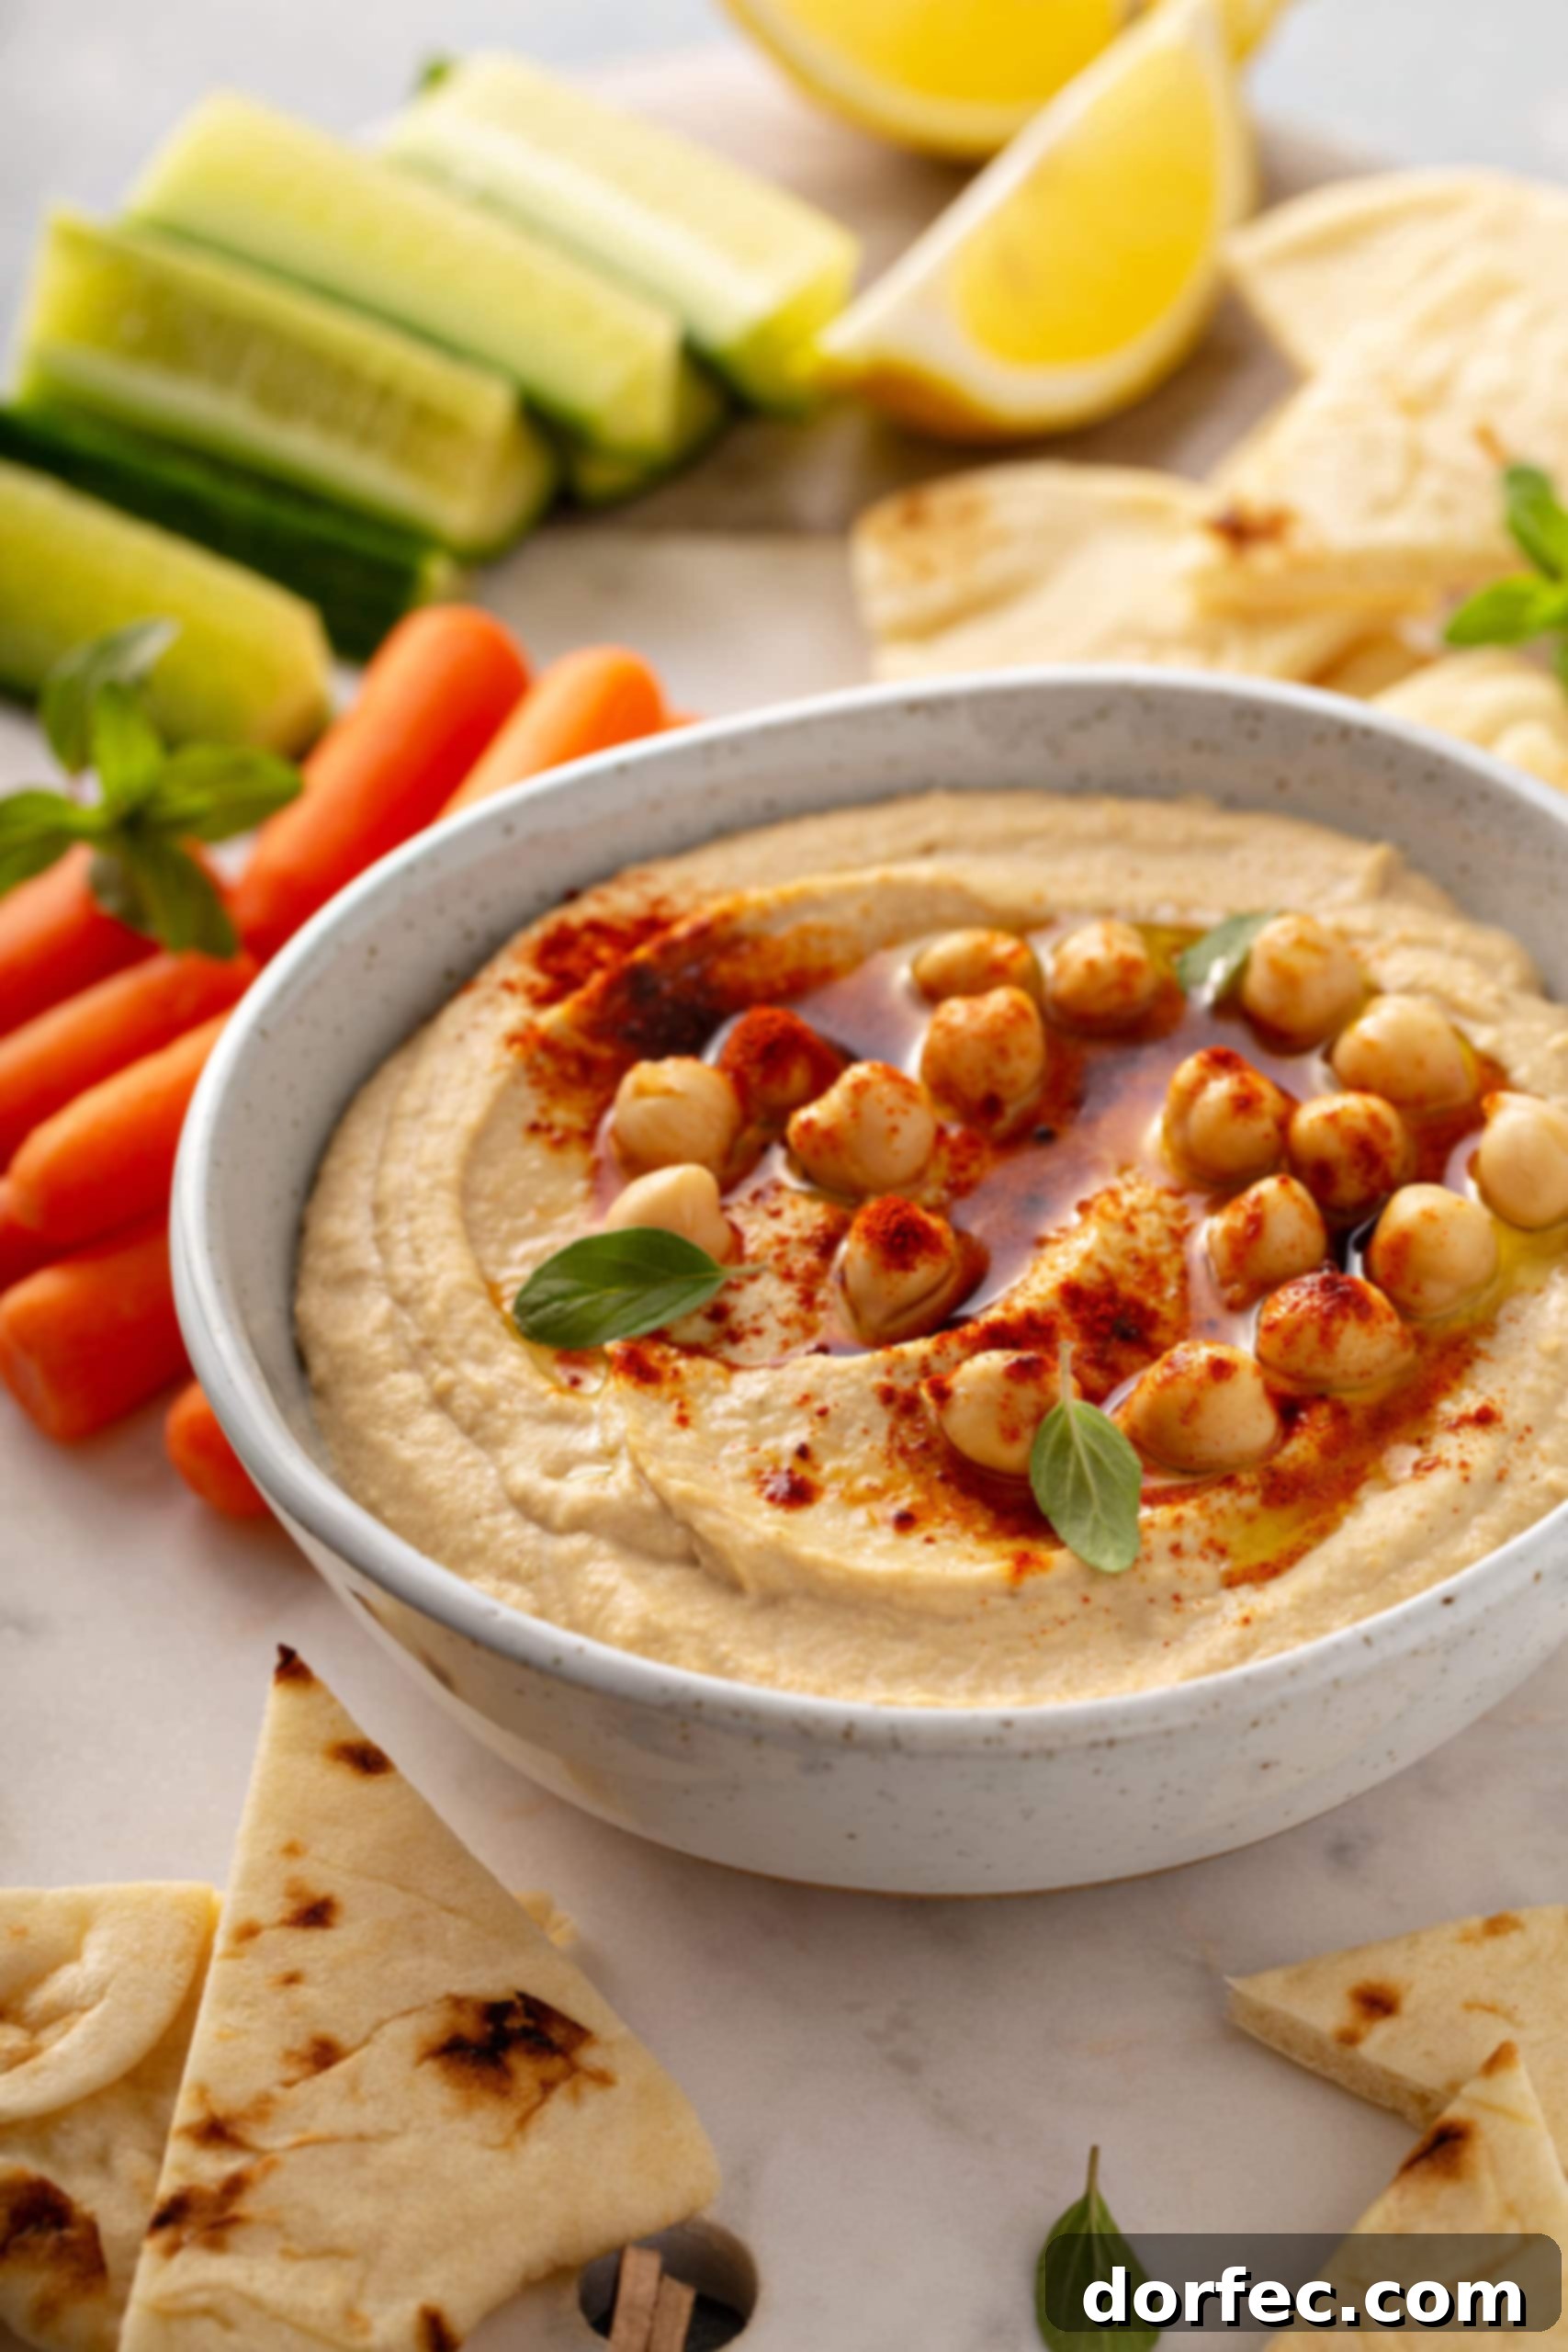
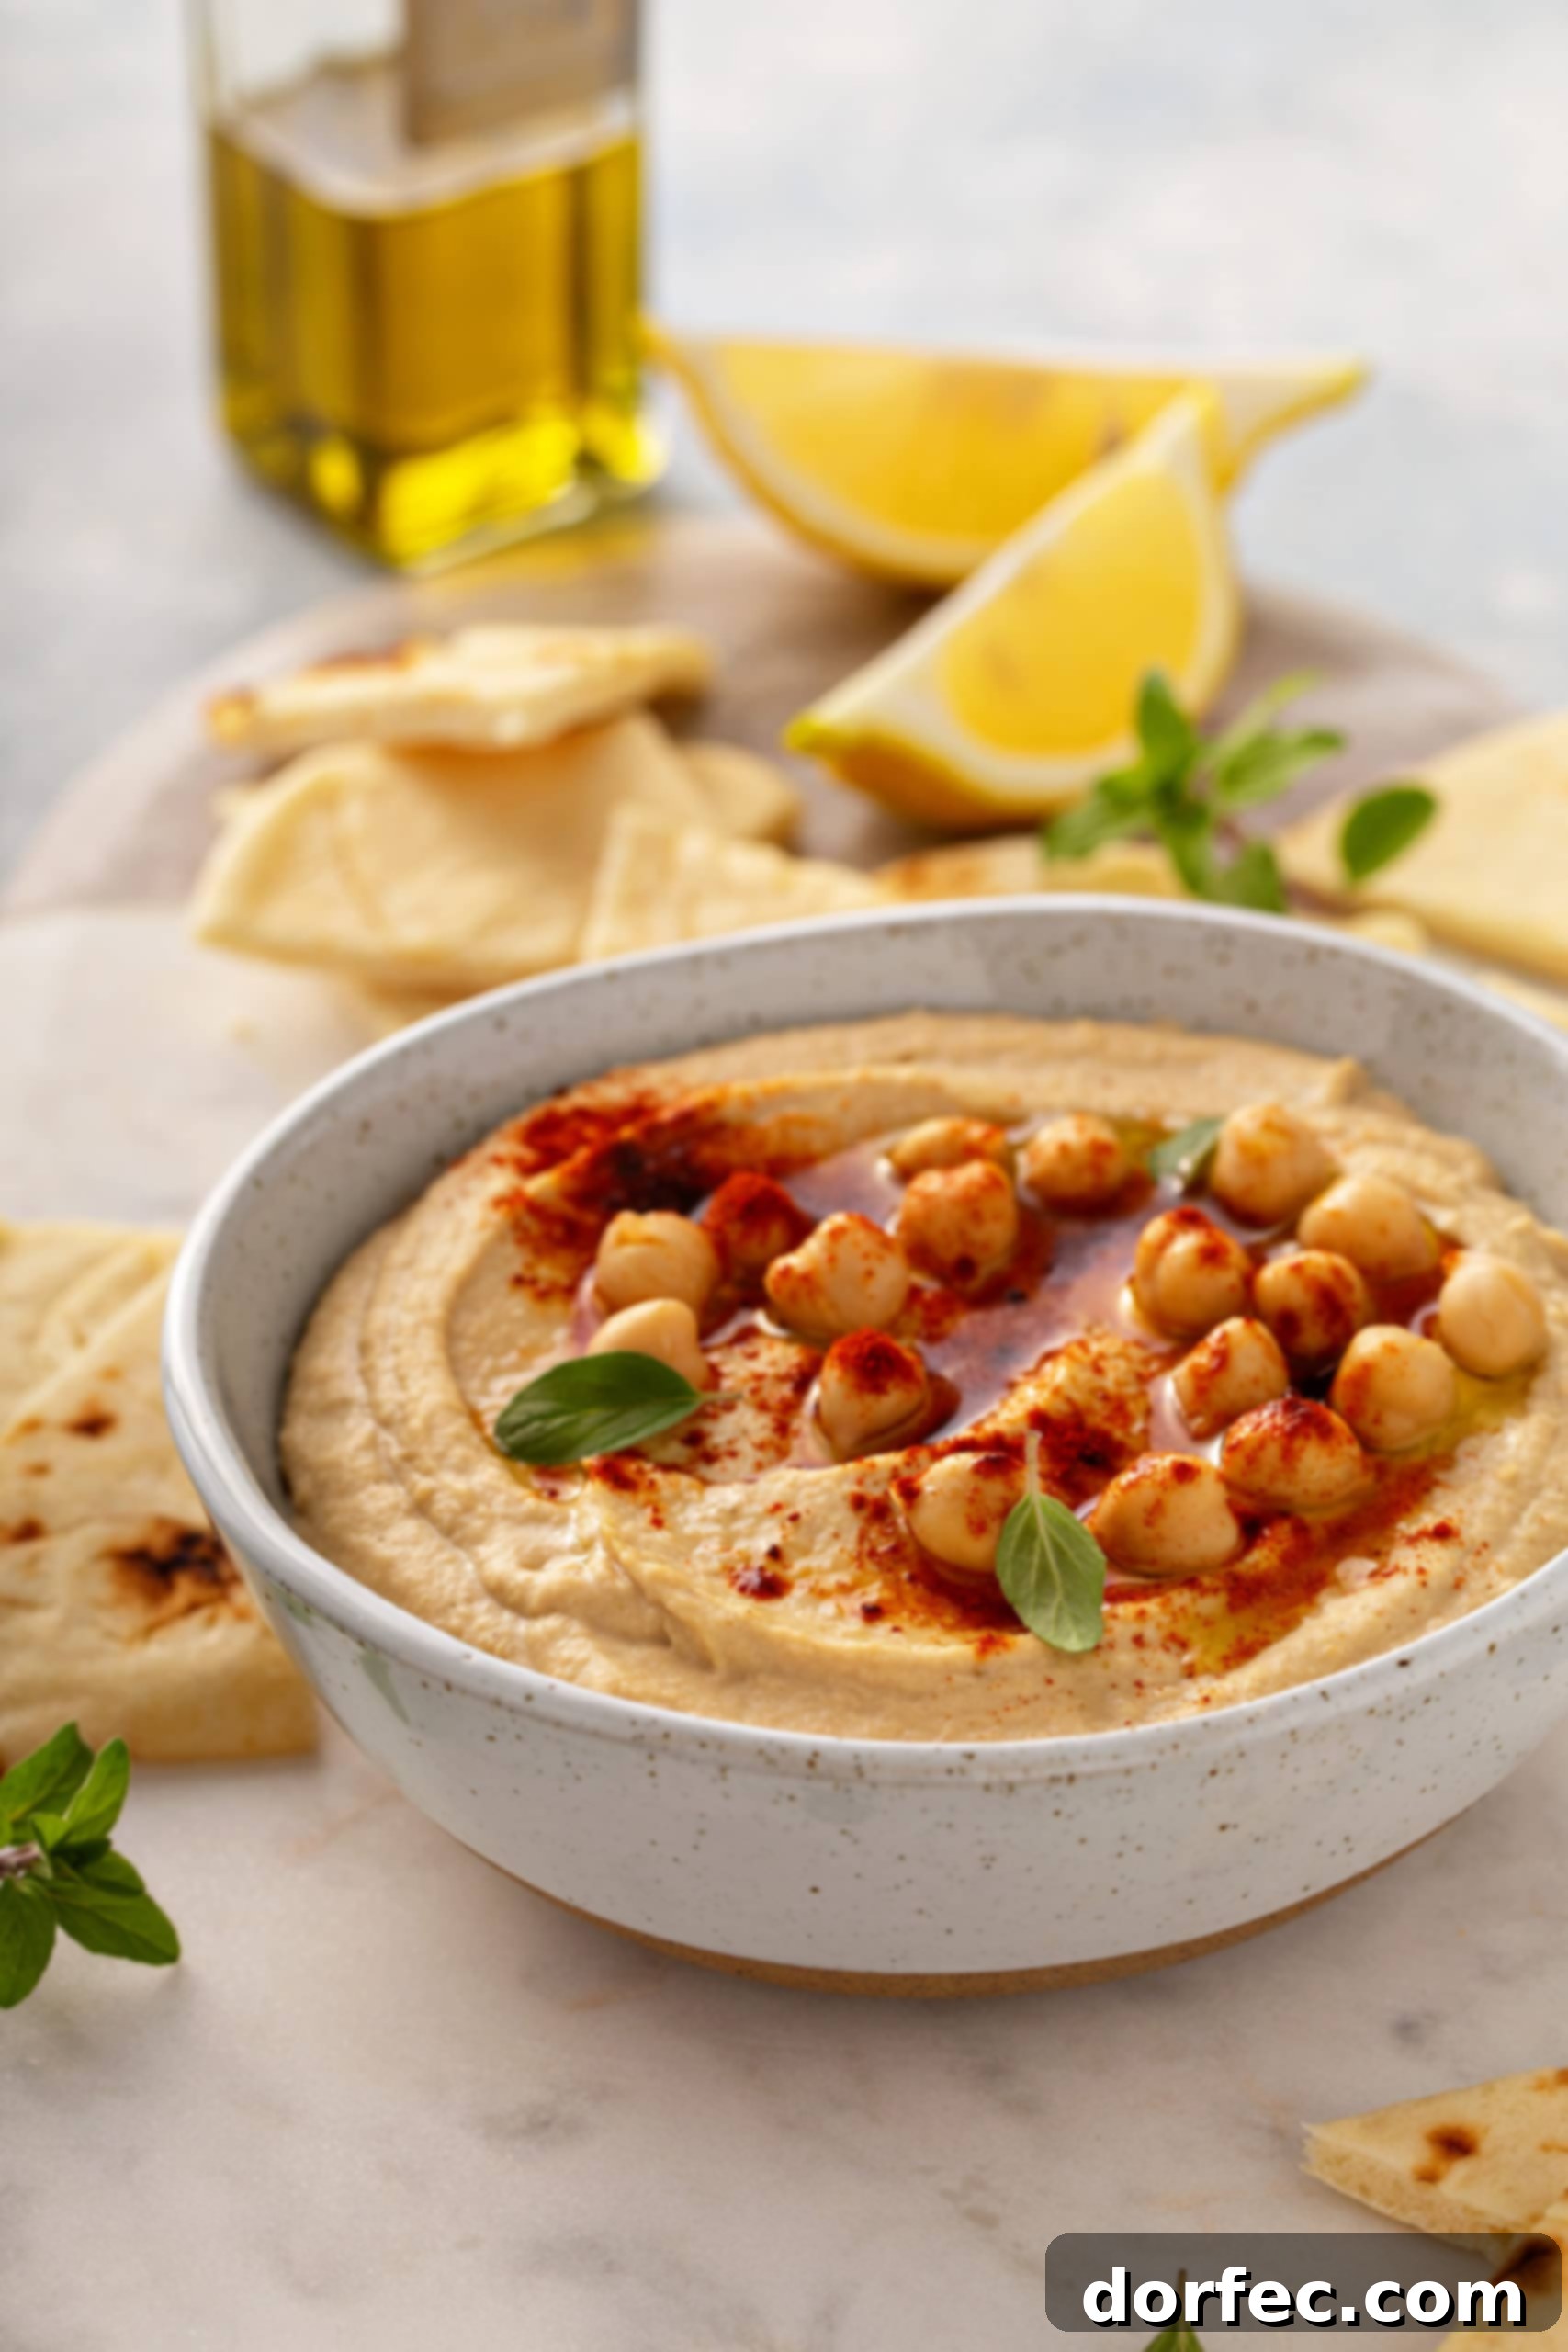
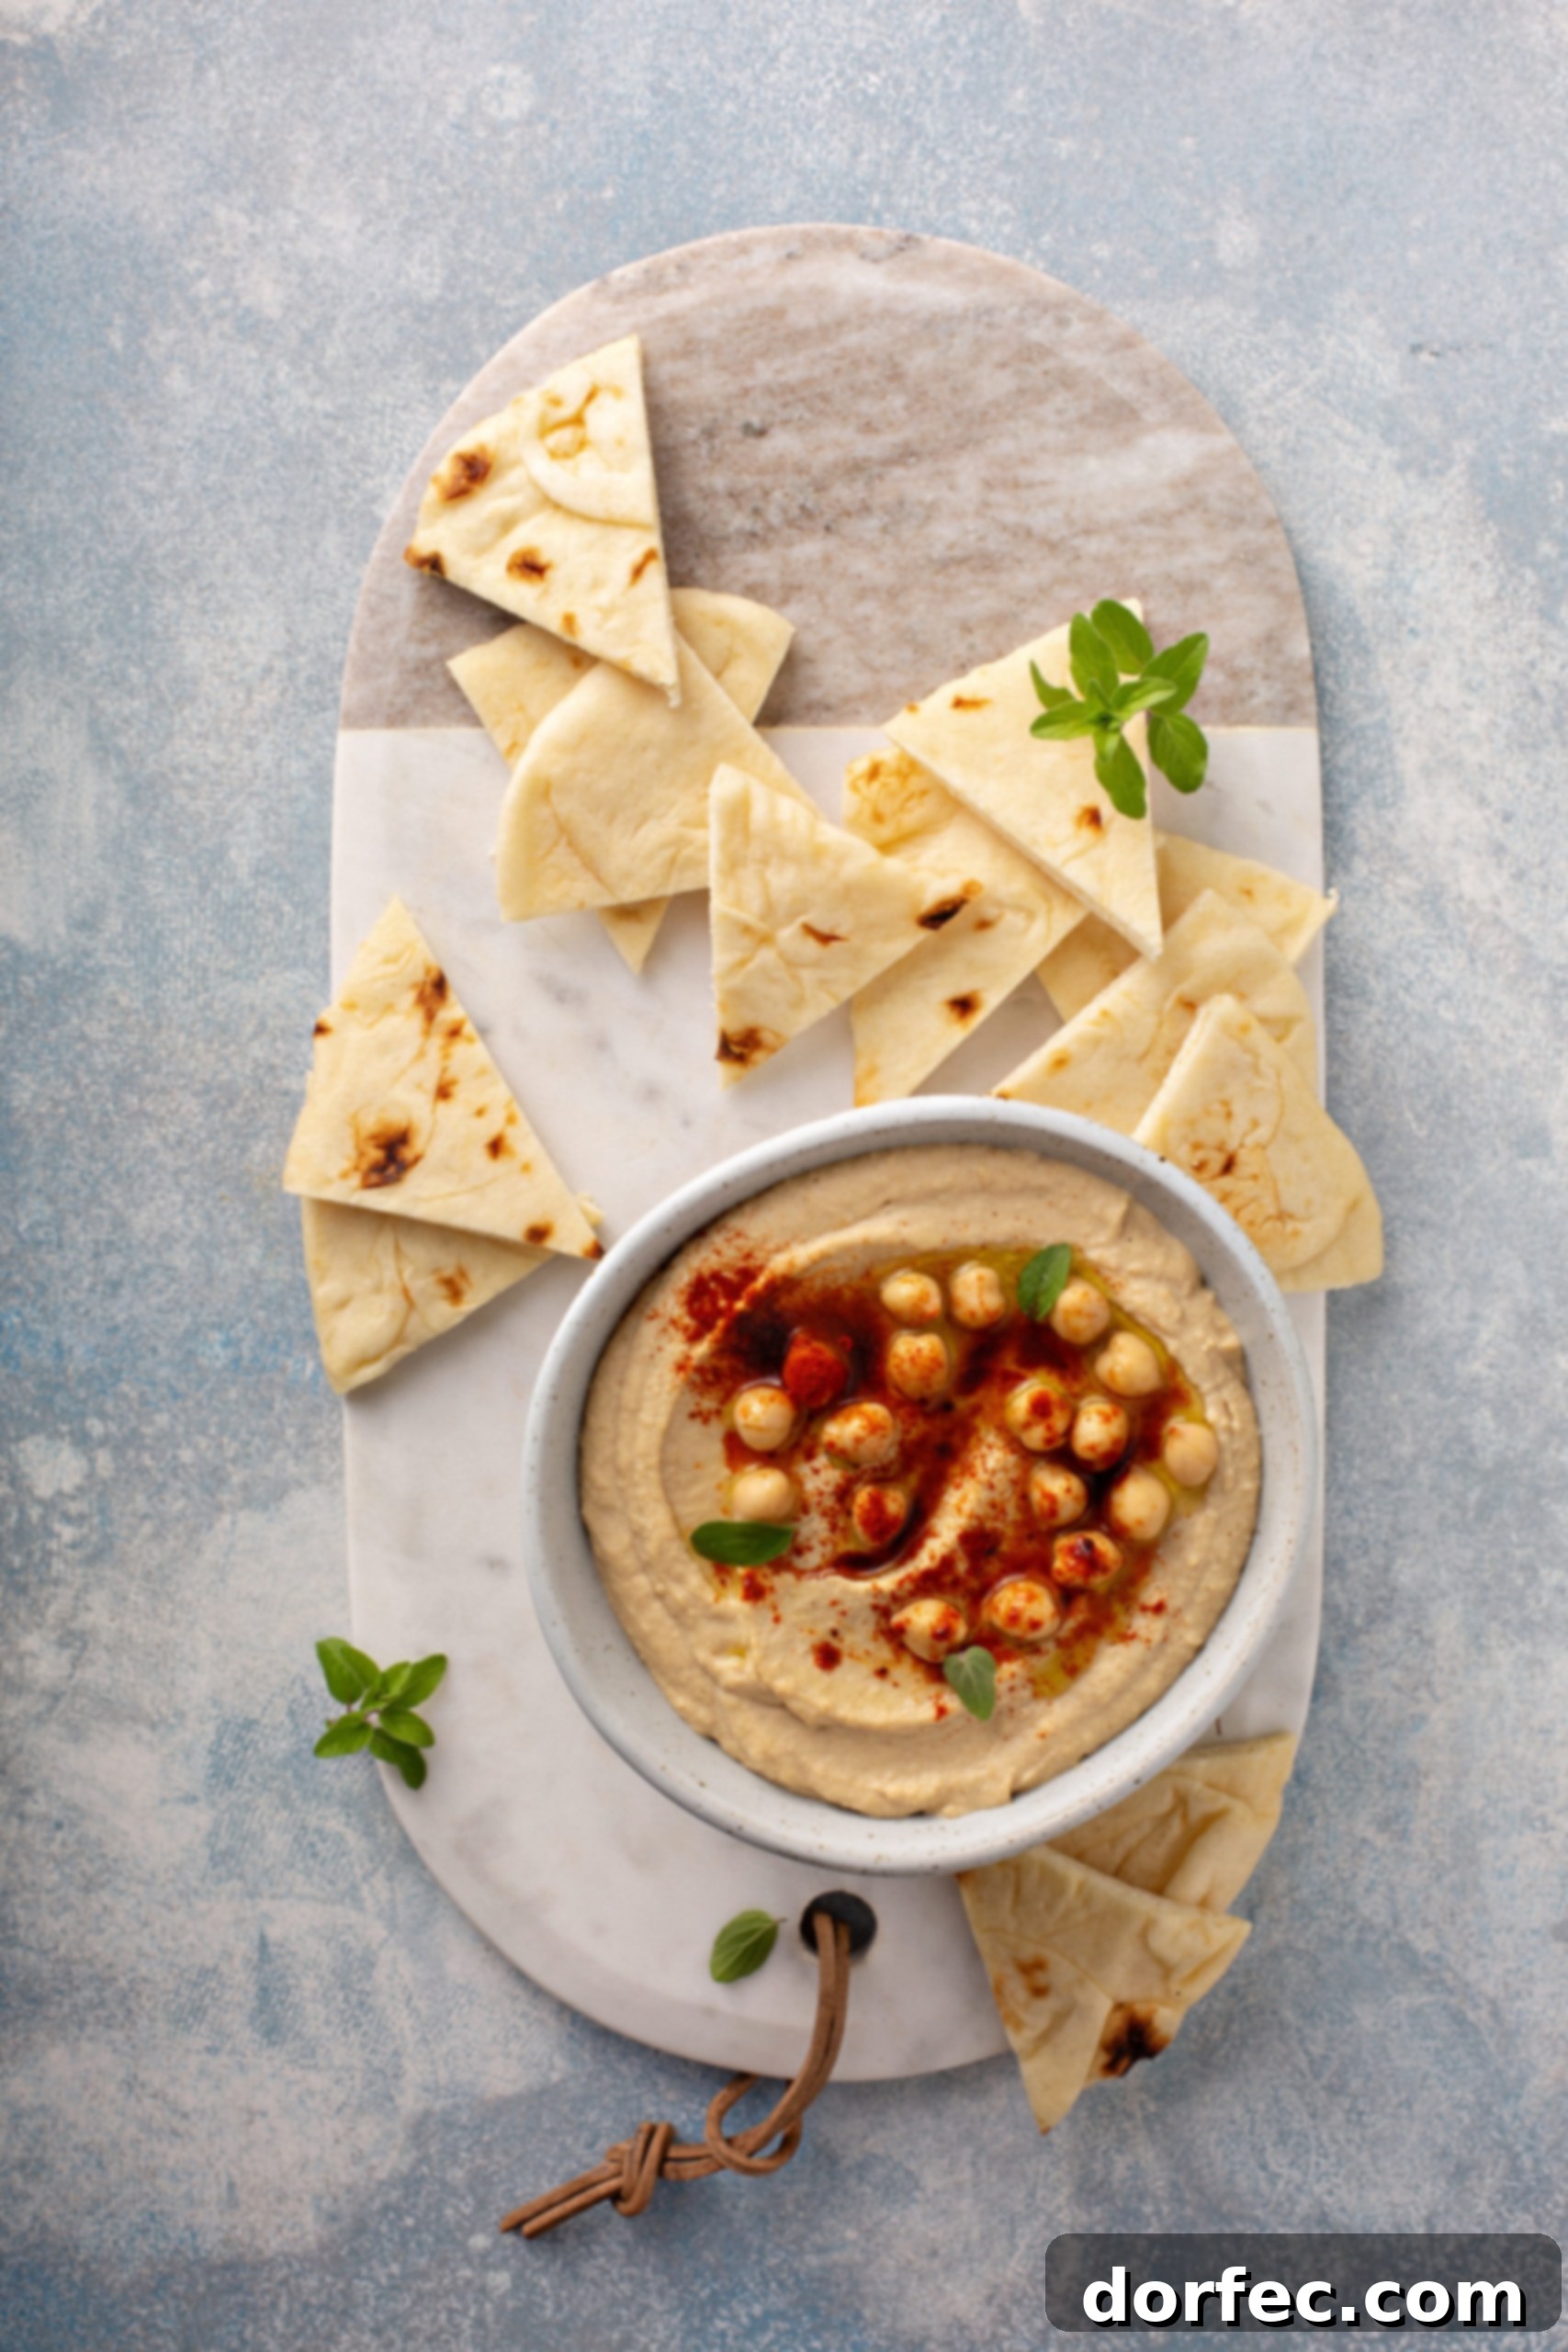
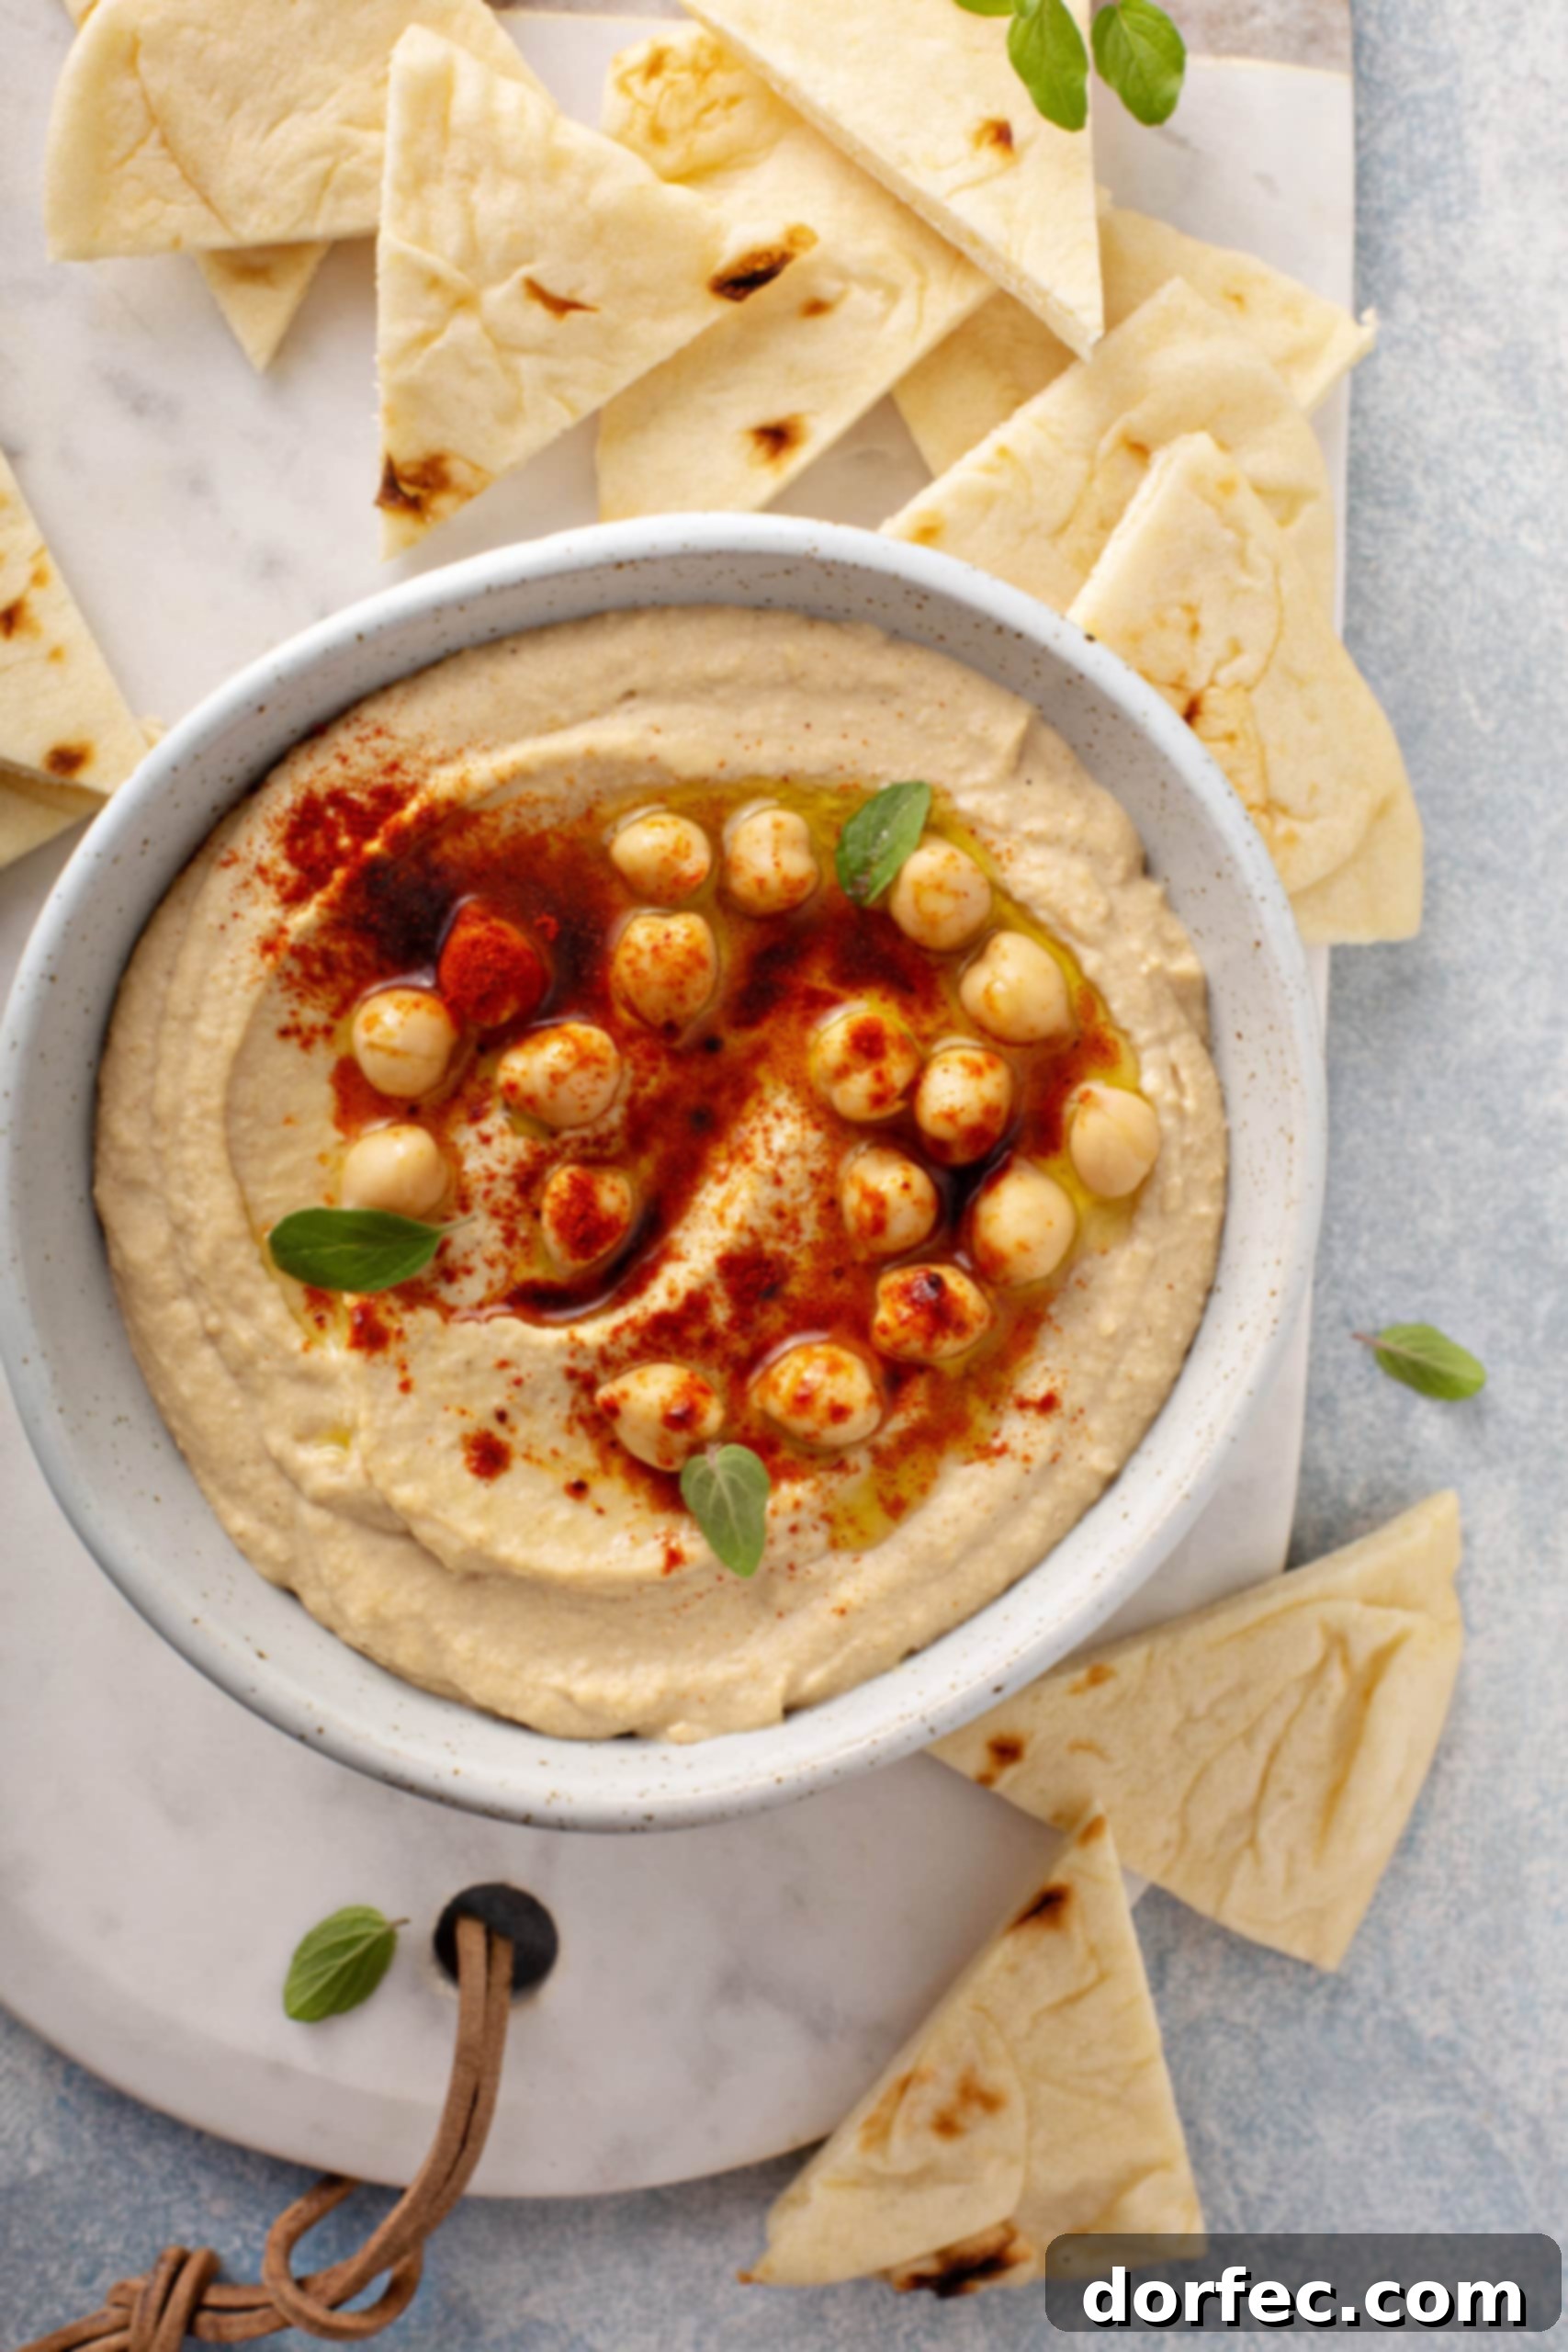
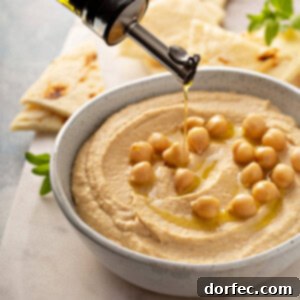
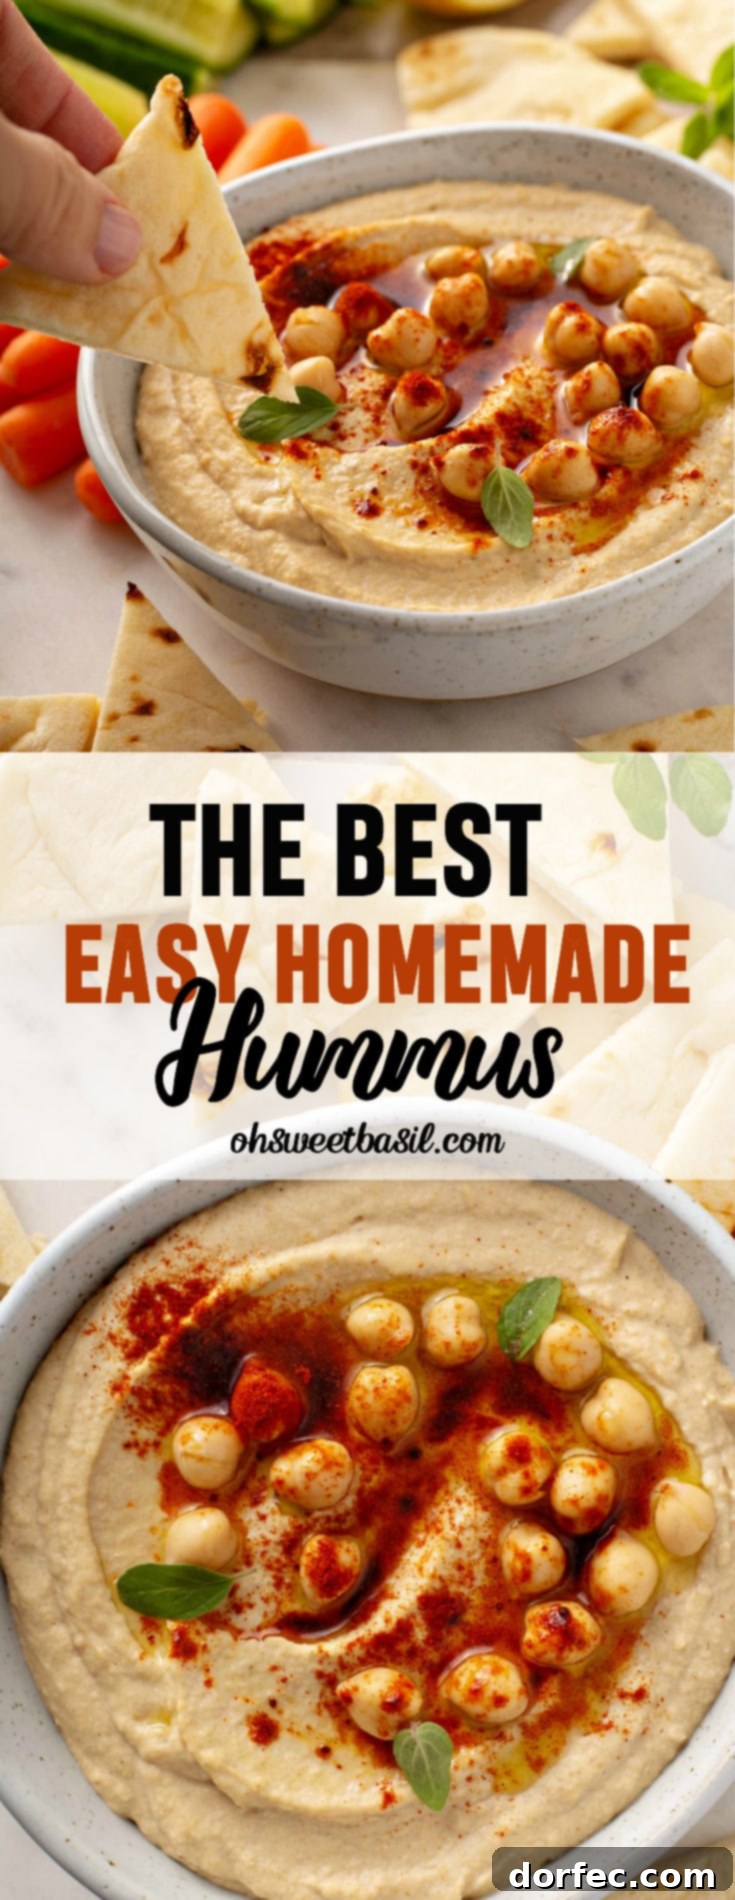
Your fresh easy homemade hummus is now ready to be savored! Scrape the hummus out of the food processor and into a beautiful serving bowl or platter. For a picture-perfect presentation and an extra layer of flavor, we love to drizzle the top with a little more extra virgin olive oil, scatter a few whole chickpeas for texture, and sprinkle generously with smoked paprika. The paprika not only adds a vibrant pop of color but also a wonderful smoky aroma that enhances the overall experience. Serve immediately with your favorite dippers.
What to Traditionally Eat With Hummus? Endless Dipping Possibilities!
Hummus is incredibly versatile, making it the perfect companion for a wide array of foods. I’m a big fan of dipping, and hummus truly shines in this role! While traditional choices are always a hit, don’t be afraid to experiment.
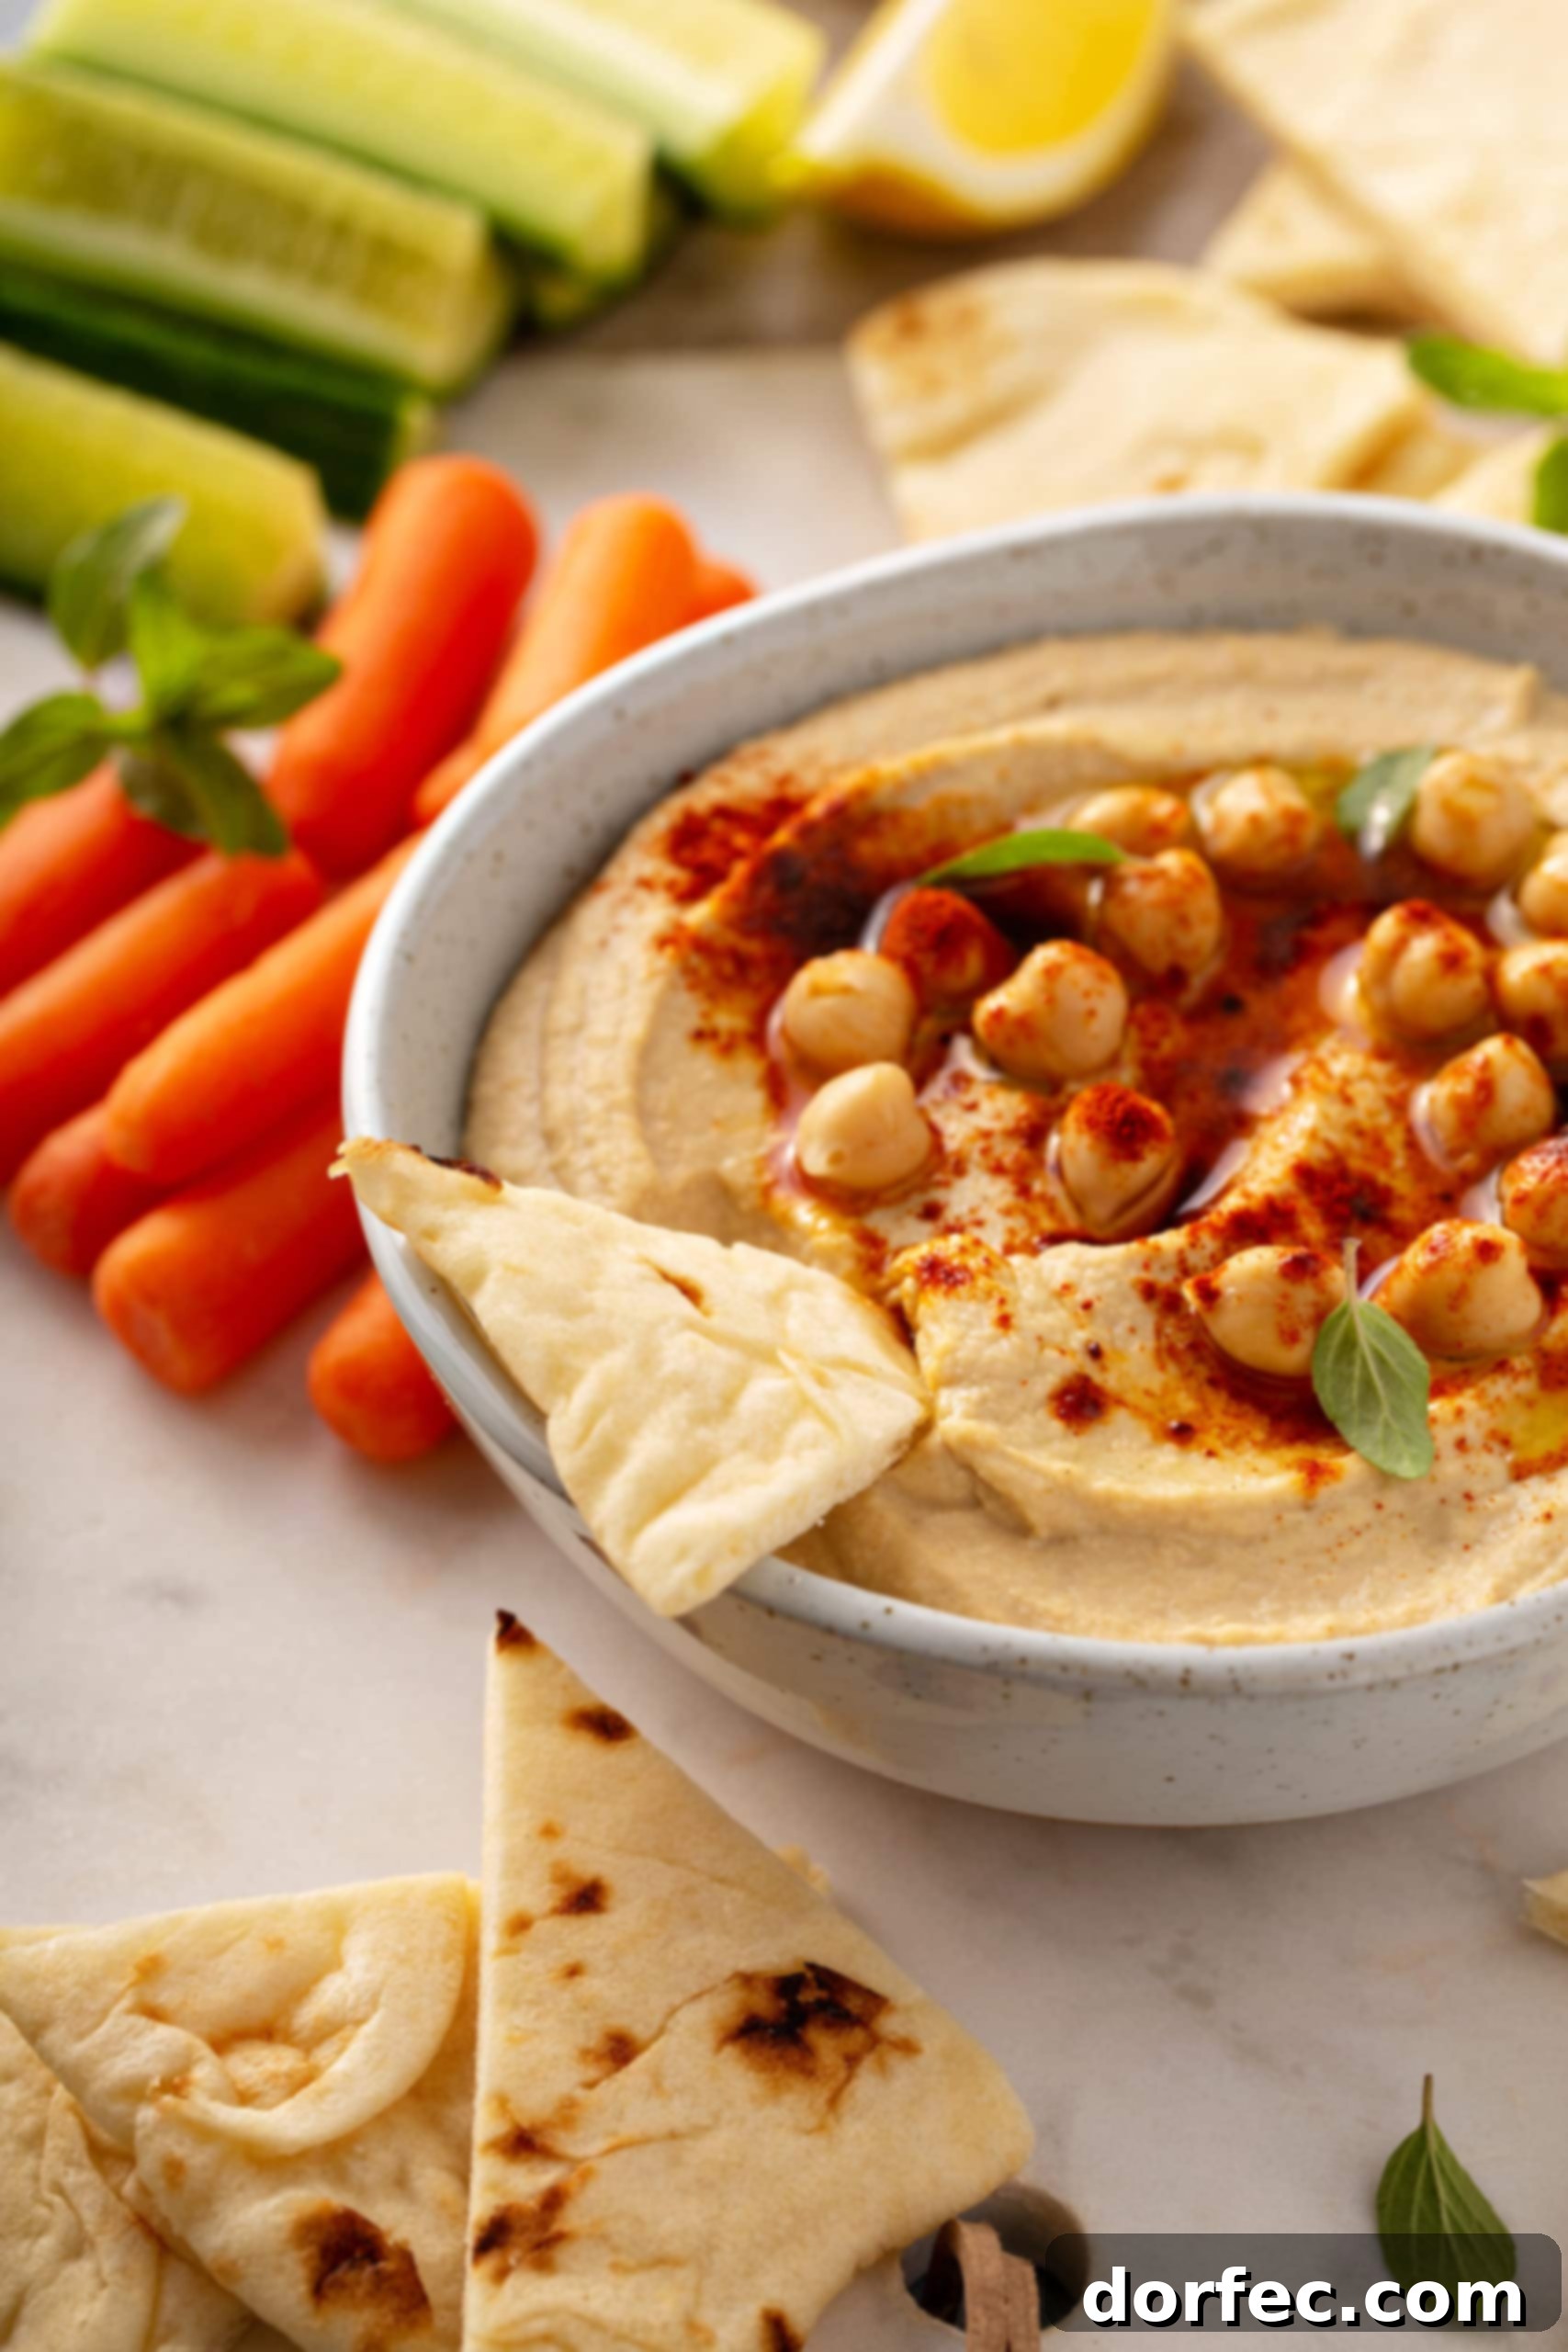
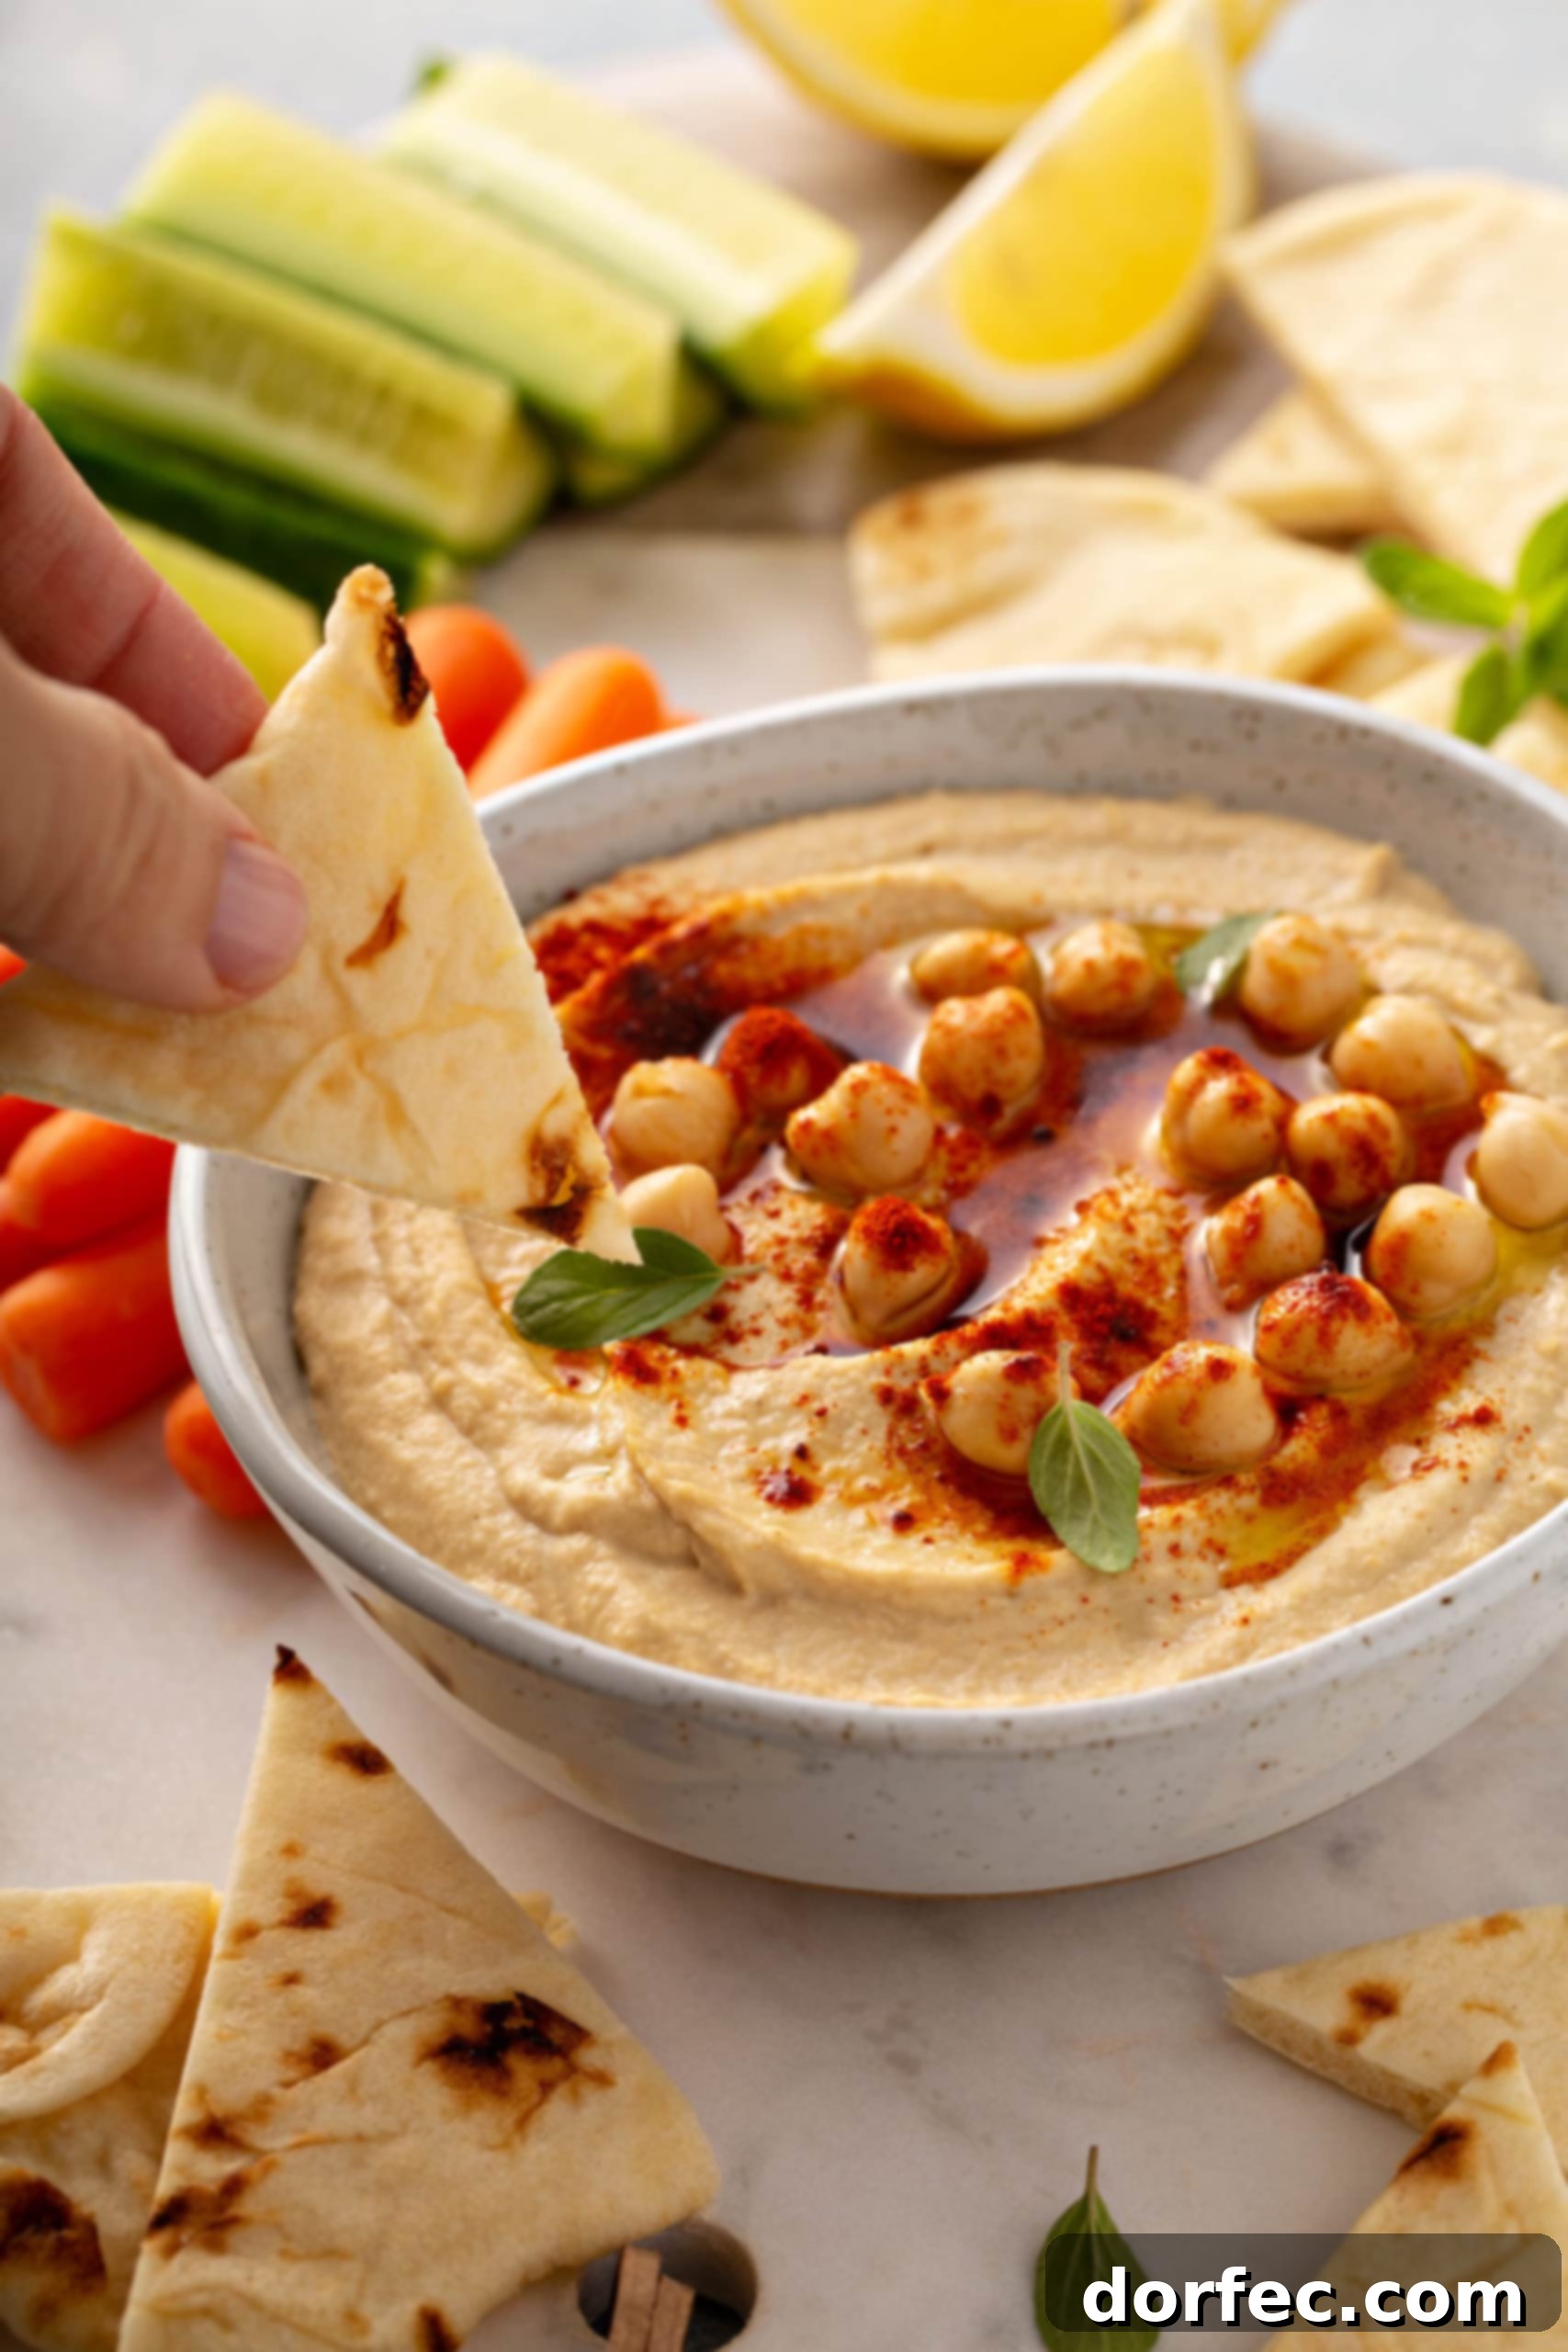
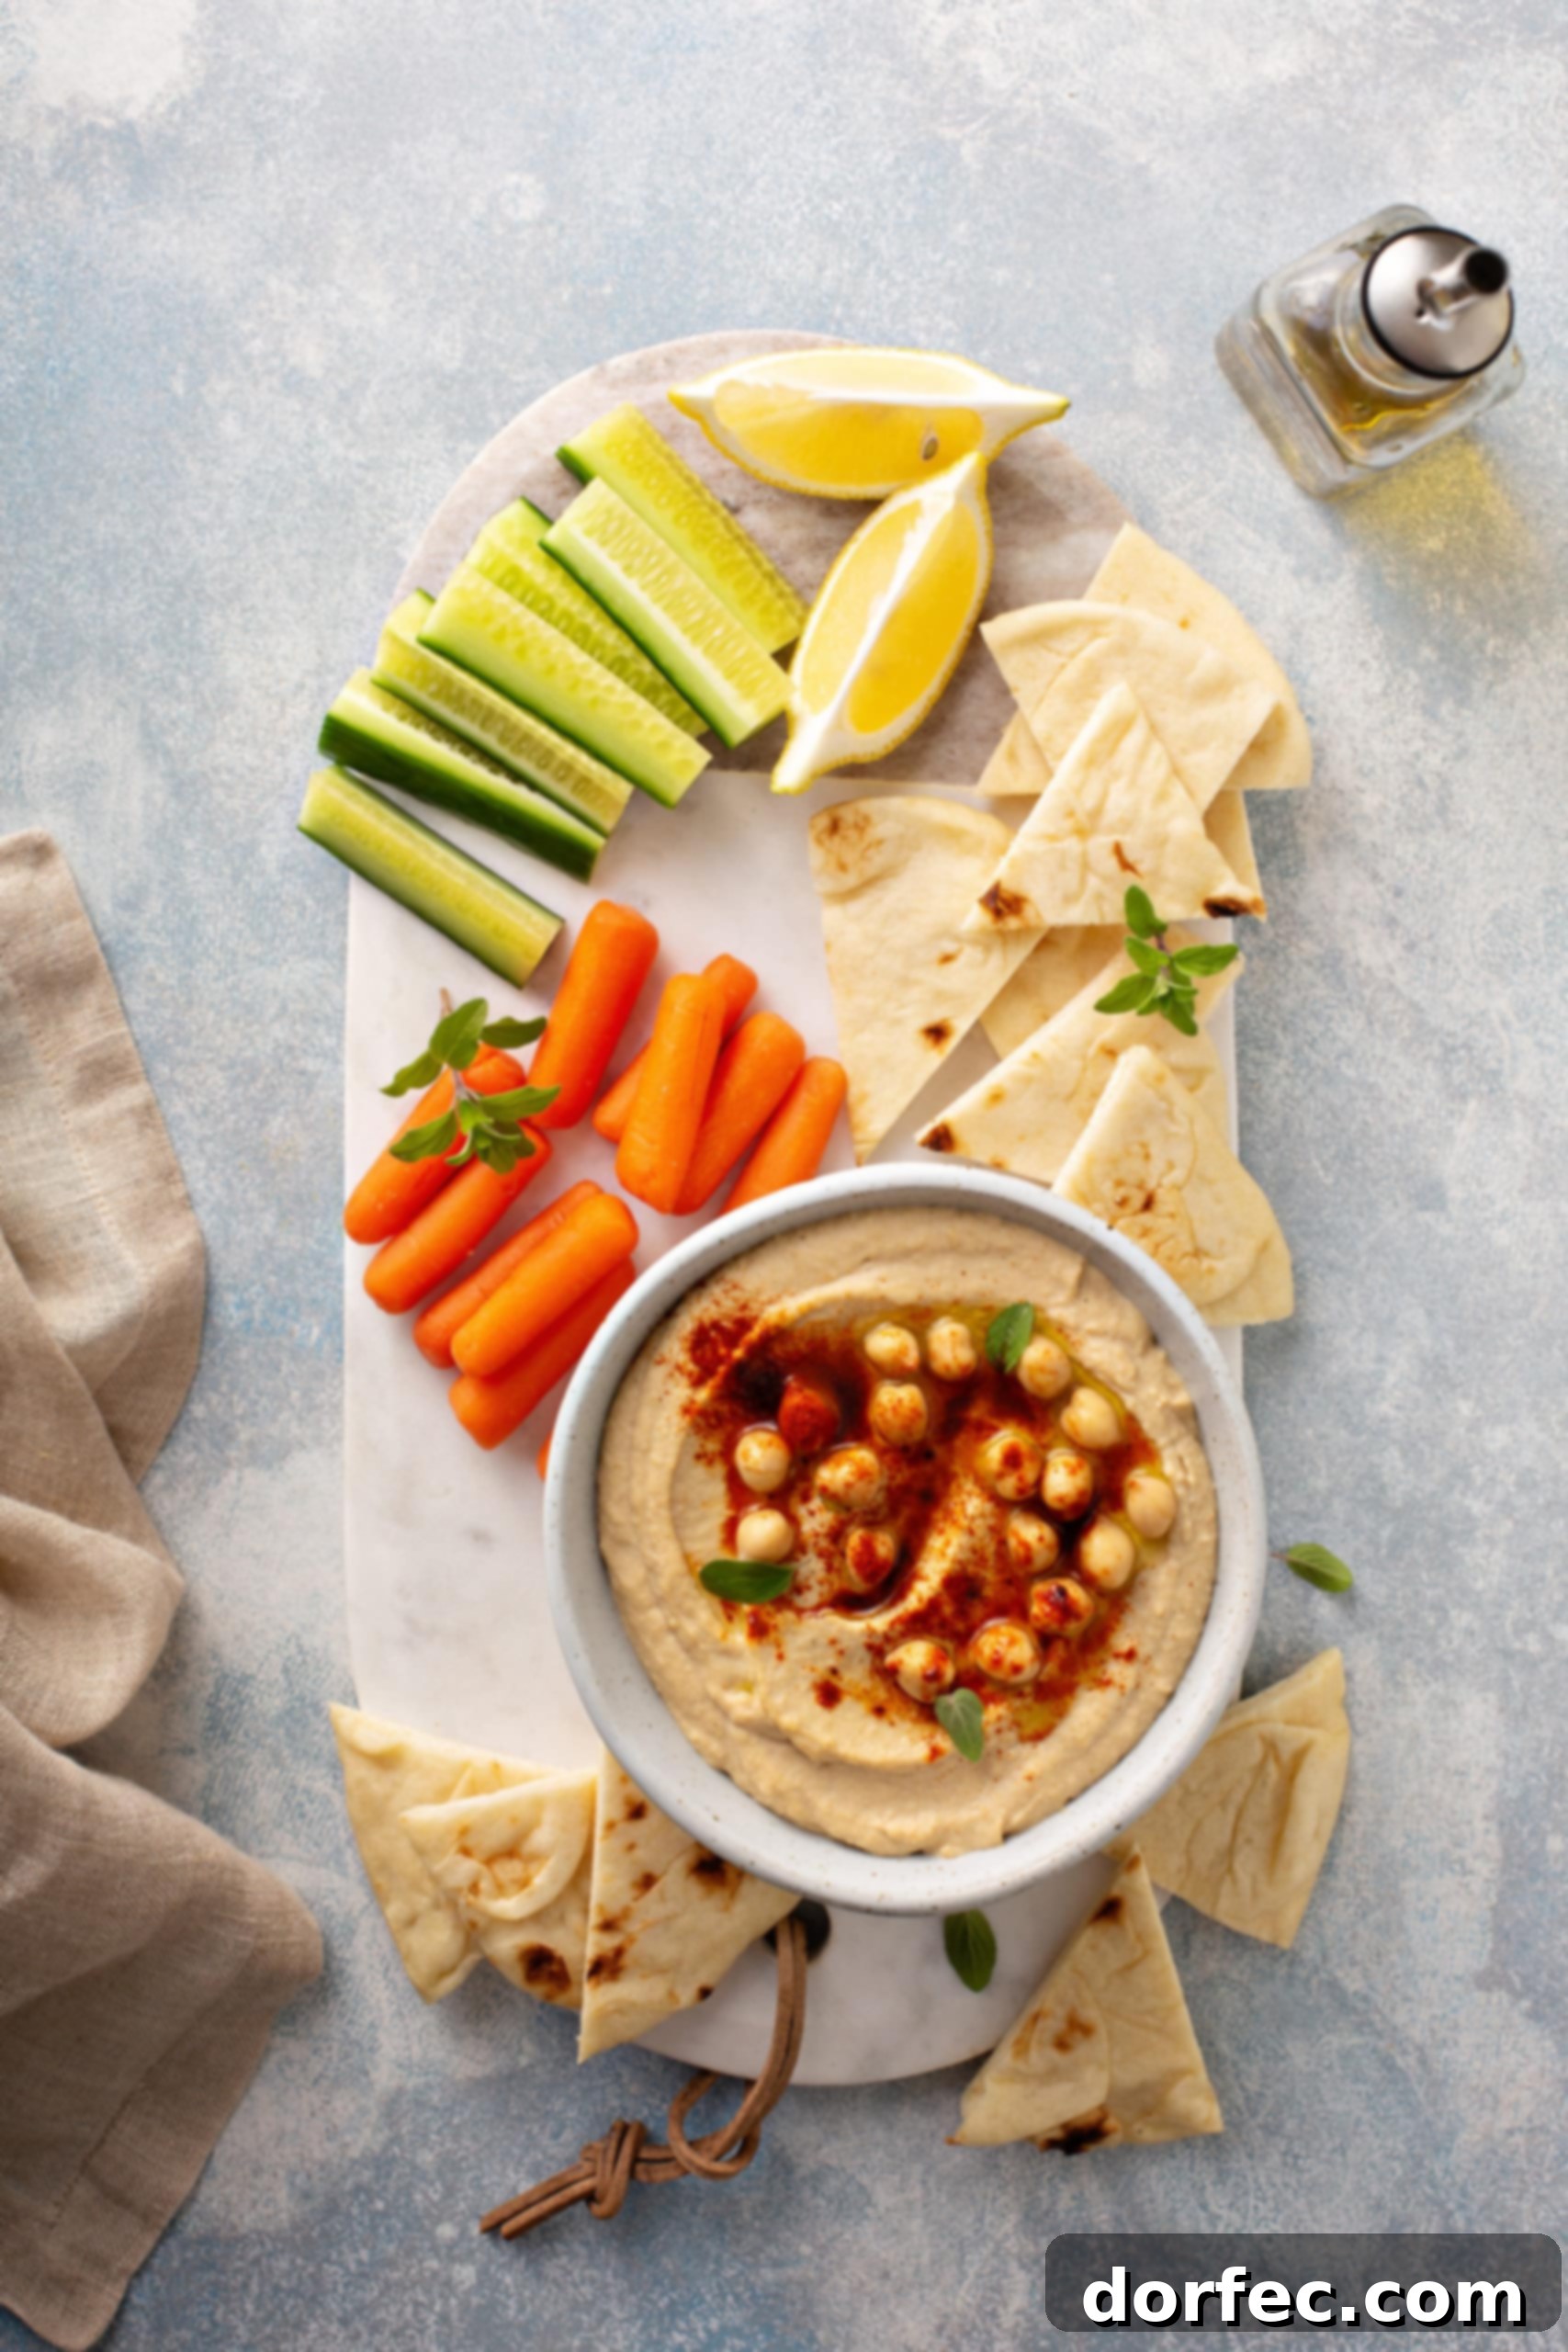
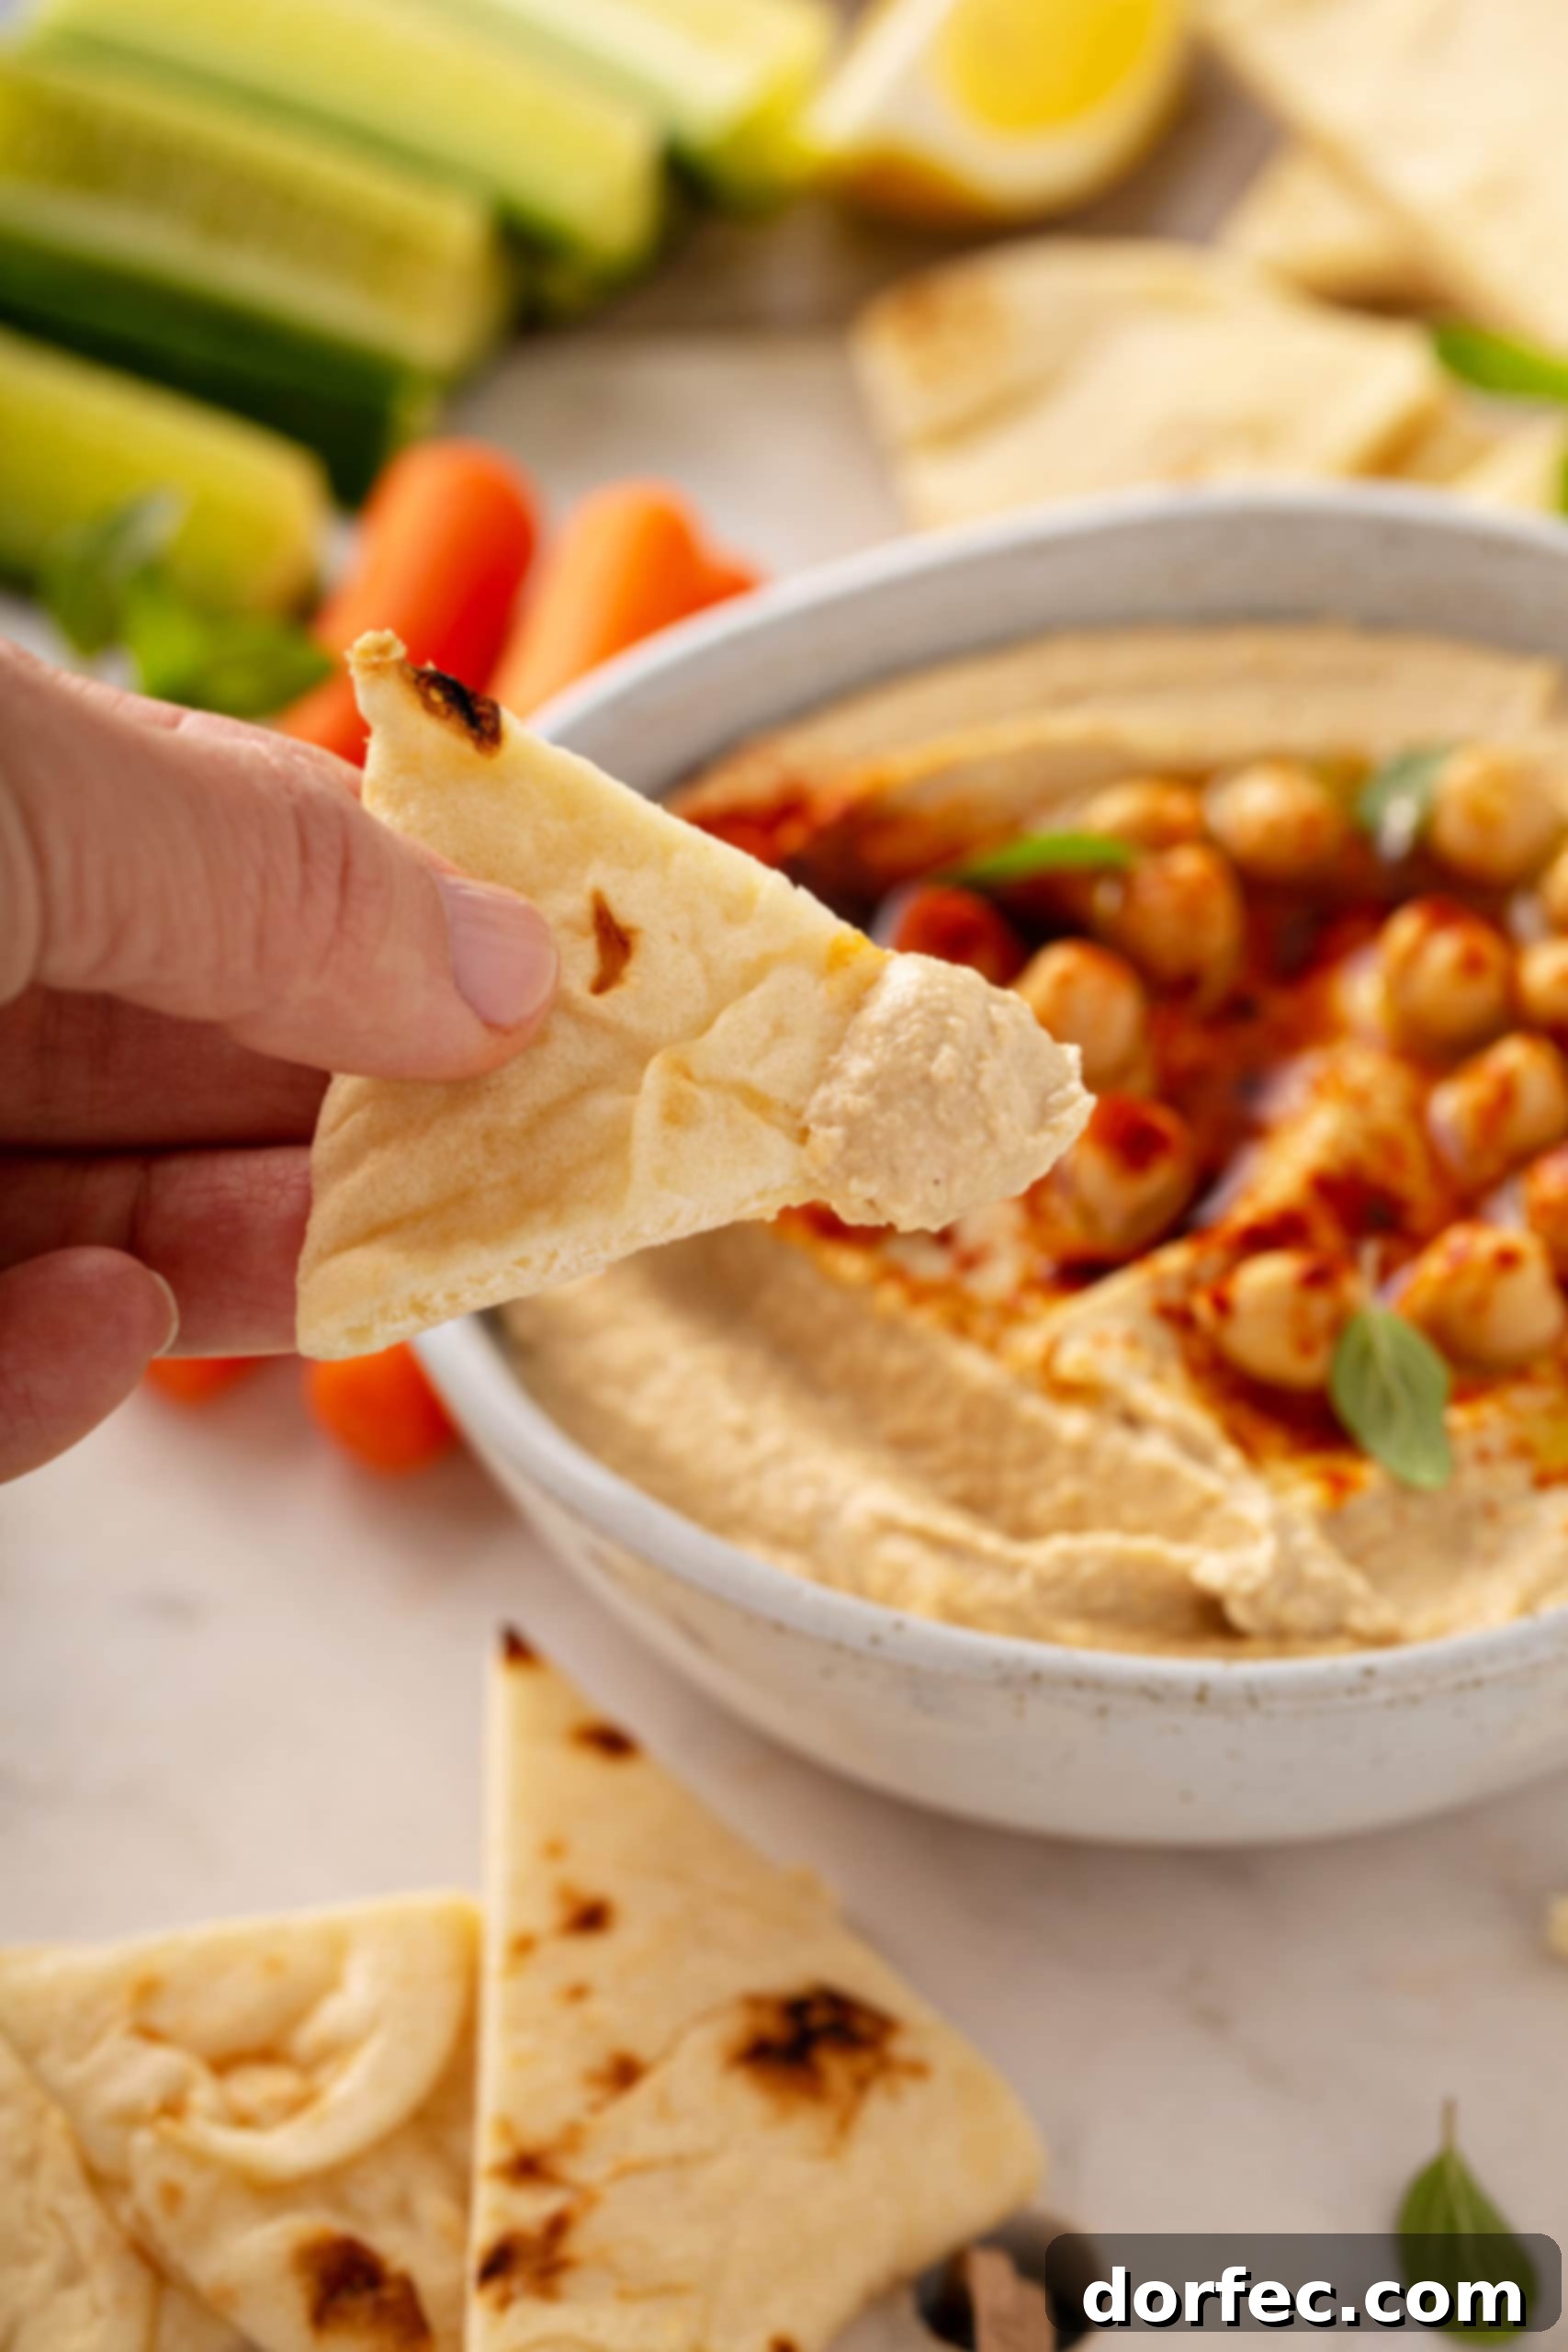
- Classic Pita: Warm pita bread, pita chips, or sliced-up pita bread (as we served for our Nativity dinner) are timeless favorites. Their soft or crispy texture provides the perfect vehicle for scooping up creamy hummus.
- Fresh Vegetables: For a healthy and refreshing option, almost any raw vegetable works wonderfully. Think crisp carrot sticks, crunchy celery, cool cucumber slices, sweet grape tomatoes, florets of cauliflower, or tender broccoli. These add a delightful crunch and boost the nutritional value of your snack.
- Pretzels: If you love a salty crunch, pretzels are a surprisingly good match. The saltiness and texture offer a satisfying contrast to the smooth hummus.
- Sweet & Salty Twist: For an adventurous palate, try dipping apple slices into your hummus! The sweet-tartness of the apple combined with the savory hummus creates a uniquely delicious sweet-and-salty experience.
Beyond dipping, hummus can elevate many dishes. Use it as a spread in sandwiches and wraps instead of mayonnaise, dollop it onto salads, or even thin it slightly with a little water and lemon juice for a creamy salad dressing. It’s a fantastic base for grain bowls or as a side to grilled meats and falafel. The possibilities are truly endless!
Hummus Storage and Shelf Life: Keep Your Dip Fresh
Does Hummus Need To Be Refrigerated?
Absolutely! Because this easy homemade hummus is made with fresh ingredients and contains no artificial preservatives, proper refrigeration is essential to maintain its freshness and prevent spoilage. Always store your hummus in an airtight container immediately after preparing it or after serving. When stored correctly in the refrigerator, it will remain fresh and delicious for up to 1 week. This makes it an excellent option for healthy meal prep throughout the week.
Can You Freeze Hummus?
Yes, hummus freezes exceptionally well, making it a fantastic option for batch cooking and long-term storage! To freeze, spoon your homemade hummus into an airtight container, but don’t fill it completely to the brim. Leave about half an inch of headspace, as the hummus will expand slightly as it freezes. You can also drizzle a thin layer of olive oil on top before freezing; this helps to preserve the texture and flavor.
When you’re ready to enjoy your frozen hummus, simply transfer the container to the refrigerator overnight to thaw gradually. For a quicker thaw, you can leave it on the countertop for a few hours. Once thawed, give it a good stir, and if the consistency is a bit thick, you can whisk in a teaspoon or two of cold water or lemon juice to restore its original creaminess. Freezing is a great way to always have a healthy, ready-to-eat dip on hand!
How Can You Tell If Hummus Has Gone Bad?
Knowing how to identify spoiled hummus is important for food safety. The best and most reliable way to tell if your homemade hummus has gone bad is by its smell. Fresh hummus will typically have a mild, pleasant aroma, primarily smelling of garlic and cumin with a hint of lemon. It won’t have a strong or offensive odor.
If your hummus has started to spoil, it will develop a distinct sour or fermented smell. You might also notice other signs, such as a change in color (it might look darker or develop unusual spots of mold), or a noticeably slimy texture. If you detect any of these signs, especially a sour smell, it’s always best to err on the side of caution and discard the hummus. Trust your senses to keep your kitchen safe!
Is Hummus Good For Weight Loss? Exploring Its Health Benefits
Hummus is not only delicious but also a fantastic choice for those focusing on healthy eating and weight management. It’s packed with nutrients and offers several benefits that can support weight loss efforts:
- High in Plant-Based Protein: Chickpeas are an excellent source of plant protein, which is vital for building and repairing tissues, and it also helps you feel full and satisfied, reducing the urge to overeat.
- Rich in Dietary Fiber: Hummus is abundant in dietary fiber, primarily from the chickpeas. Fiber is known to promote satiety, slow down digestion, and stabilize blood sugar levels. This can help curb hunger cravings and prevent energy crashes, making it easier to stick to a healthy diet.
- Healthy Fats: The tahini (sesame paste) and extra virgin olive oil contribute healthy monounsaturated and polyunsaturated fats. These fats are essential for overall health, can help reduce bad cholesterol, and further enhance feelings of fullness.
- Nutrient-Dense: Beyond protein and fiber, hummus provides a good source of vitamins and minerals, including folate, iron, magnesium, and B vitamins. Choosing nutrient-dense foods is crucial when trying to lose weight, as it ensures your body gets the nourishment it needs even with reduced calorie intake.
As with all foods, balance is key. While hummus is incredibly healthy, it’s also calorie-dense due to the tahini and olive oil. Enjoy it in moderation as part of a balanced diet, paired with nutrient-rich vegetables or whole-grain pita, to maximize its weight loss benefits.
Whether you’re planning an elaborate dinner party, seeking a versatile and healthy snack, or simply craving a taste of the Mediterranean, this easy homemade hummus recipe is an absolute must-try. Its simple ingredients, straightforward preparation, and ultimately creamy, classic flavor will quickly make it a favorite in your kitchen. Go ahead, gather your ingredients, and whip up a batch – you’ll be glad you did!
More DELICIOUS DIPS You Can’t Resist:
- Buffalo Chicken Dip
- Healthy Herb Veggie Dip
- Chorizo Dip Queso Fundido
- Slow Cooker Cheesy Lobster Shrimp and Crab Dip
- Mexican 7 Layer Dip
- Cheesy Slow Cooker Sausage Dip
- Bacon Ranch Corn Dip
- Pepperoni Pizza Dip
- All our DIP RECIPES!!
Hummus Recipe
Adapted from Bon Appetit
Prep Time: 20 mins
Cook Time: 20 mins
Total Time: 40 mins
Yields: 20 servings
Ingredients
- 15 oz. Chickpeas, one can, drained and rinsed
- 1/2 teaspoon Baking soda
- 2 1/2 Tablespoon Lemon juice, freshly squeezed
- 1 Clove Garlic, large, roughly chopped
- 1/2-3/4 teaspoon Sea Salt, fine, plus a little more to taste
- 1/2 Cup Tahini
- 2-4 teaspoons Ice water, or more as needed
- 1/4-1/2 teaspoon Cumin, ground
- 1 Tablespoon Olive oil, extra virgin
- 1-4 teaspoon Paprika, smoked, for garnish
Instructions
- Place the chickpeas in a medium saucepan and sprinkle in the baking soda. Cover the chickpeas by several inches of water, then bring the mixture to a boil over high heat. Continue boiling, reducing heat if necessary to prevent overflow, for about 20 minutes, or until the chickpeas’ skins are falling off.
- In a fine-mesh strainer, drain the chickpeas and run cool water over them for about 30 seconds. Set aside.
- Meanwhile, in a food processor or high-powered blender, combine the lemon juice, garlic and salt. Process until the garlic is very finely chopped, then let the mixture rest so the garlic can seep in, about 15 minutes.
- Add the tahini to the food processor and blend until the mixture is thick and creamy, stopping to scrape down any tahini stuck to the sides and bottom of the processor as necessary so that everything ends up well combined.
- While running the food processor, drizzle in 2 tablespoons ice water, blend until the mixture is ultra smooth, pale and creamy. (If your tahini was extra-thick, you might need to add 1 to 2 tablespoons more of ice water.)
- Add the cumin and the drained chickpeas to the food processor. While blending, drizzle in the olive oil. Blend until the mixture is super smooth, scraping down the sides of the processor as necessary, about 2 minutes. Add more ice water by the tablespoon if necessary until the mixture is creamy.
- Scrape the hummus into a serving bowl or platter. Garnish with a drizzle of olive oil, a few whole chickpeas, and a sprinkle of smoked paprika.
- Store leftovers in the fridge for up to 1 week.
Recipe Notes
This hummus will keep for 1 week in the refrigerator in an airtight container. For best results, allow it to come to room temperature slightly before serving.
Nutrition Information
(Approximate values per serving, based on 20 servings)
- Serving: 1g
- Calories: 78kcal
- Carbohydrates: 7g
- Protein: 3g
- Fat: 4g
- Saturated Fat: 1g
- Sodium: 89mg
- Potassium: 94mg
- Fiber: 2g
- Sugar: 1g
- Vitamin A: 59IU
- Vitamin C: 1mg
- Calcium: 19mg
- Iron: 1mg
Nutrition information is automatically calculated, so should only be used as an approximation.
REMEMBER TO SUBSCRIBE TO our FREE Oh Sweet Basil NEWSLETTER AND RECEIVE EASY RECIPES DELIVERED INTO YOUR INBOX EVERY DAY!
When you try a recipe, please use the hashtag #ohsweetbasil on INSTAGRAM for a chance to be featured in our stories! FOLLOW OH, SWEET BASIL ON FACEBOOK | INSTAGRAM | PINTEREST | TWITTER FOR ALL OF OUR LATEST CONTENT, RECIPES AND STORIES.