
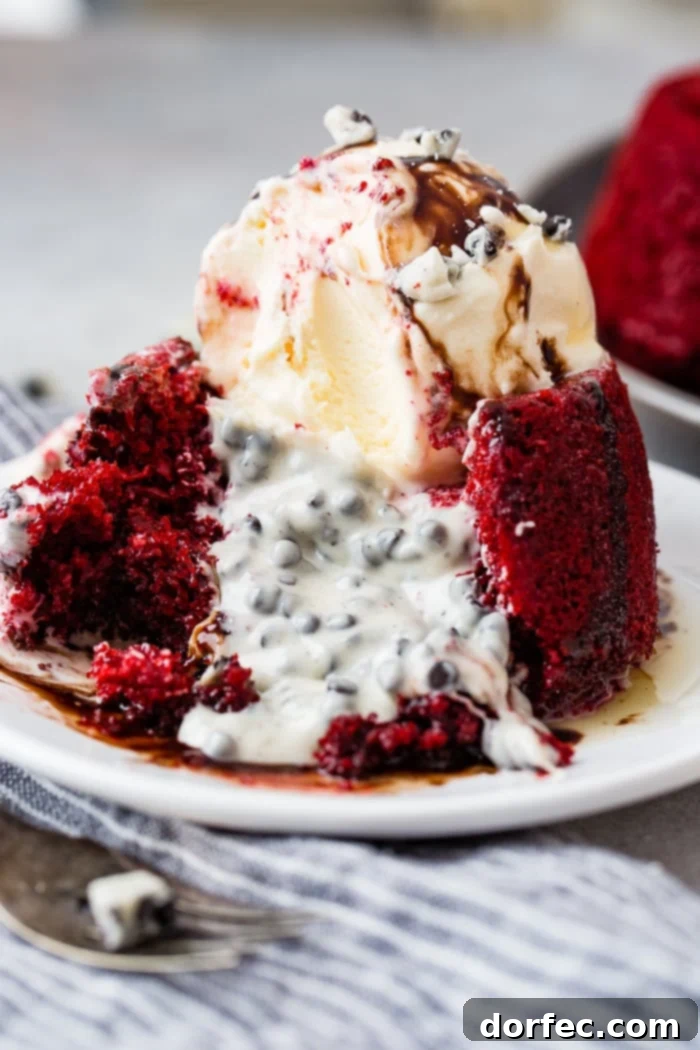
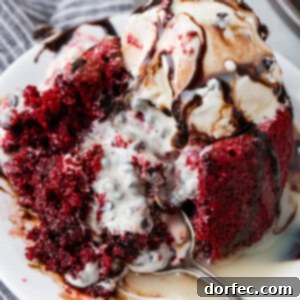
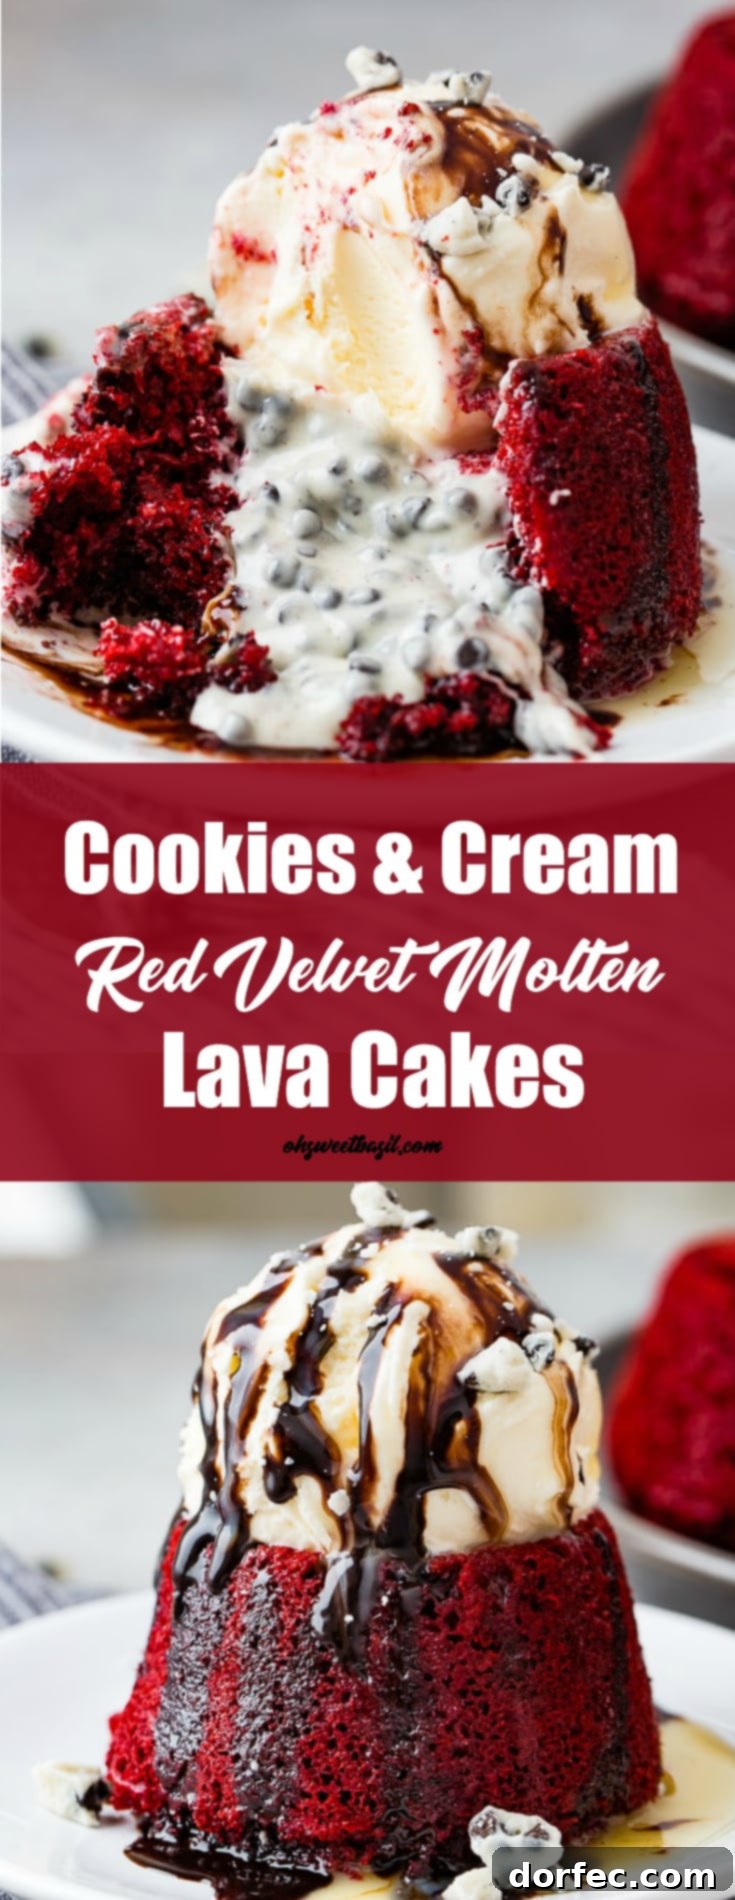
Prepare to be enchanted by a dessert that’s capturing hearts worldwide: the Cookies and Cream Red Velvet Molten Lava Cakes. This isn’t just a dessert; it’s an experience, a symphony of flavors and textures that makes it the ultimate treat for any occasion, especially as a show-stopping Valentine’s Day dessert. Imagine a rich, vibrant red velvet cake with a warm, gooey cookies and cream chocolate core, perfectly complemented by a scoop of luscious vanilla ice cream and a decadent drizzle of chocolate sauce. This masterpiece promises to be the best dessert recipe you’ll ever make.
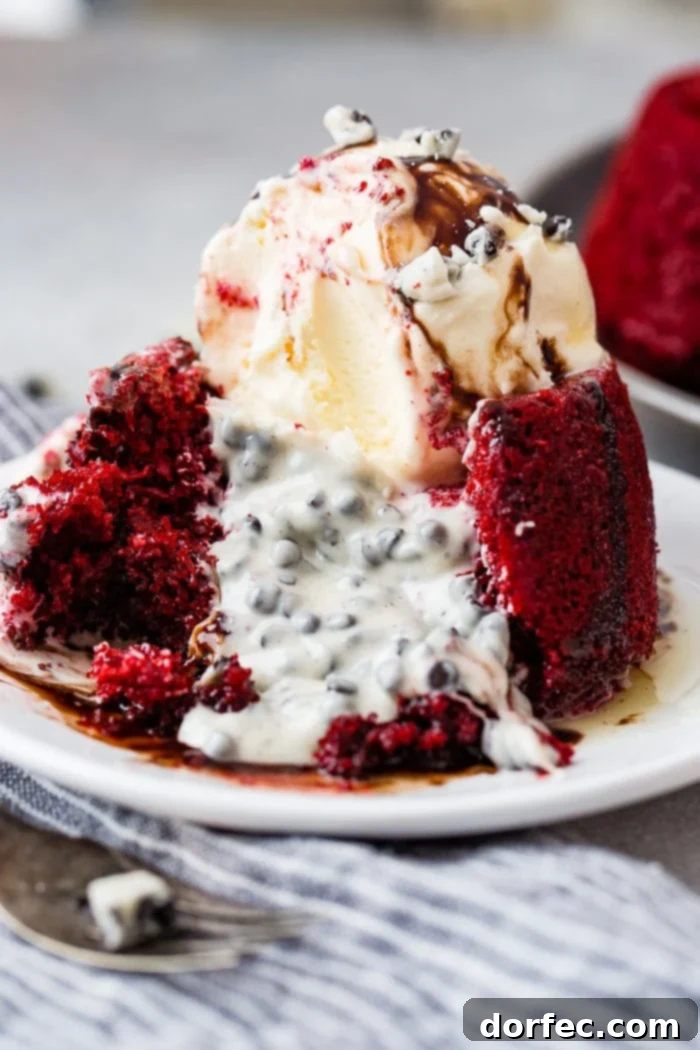
For years, our Copycat Chili’s Molten Lava Cakes Recipe has been a perennial favorite, particularly around Valentine’s Day. Its popularity isn’t confined to a single holiday; it’s cherished all year round. However, last year, we took that beloved concept and elevated it to new heights, creating these incredible Cookies and Cream Red Velvet Molten Lava Cakes. The combination proved to be an absolute game-changer, transforming an already fantastic dessert into something truly extraordinary.
Valentine’s Day means different things to different people. Is it a grand gesture for your significant other? Do you focus on school activities for the kids? Or do you make it a celebration for the entire family? Our philosophy has always been about spreading love year-round, not just on one particular day. We strive to make every day special for our children and each other. February, in particular, becomes a month for dedicated “Daddy/Child” and “Mommy/Child” dates, emphasizing quality time and connection. These molten lava cakes perfectly embody that spirit of love, whether it’s for Valentine’s Day, Christmas, a casual Friday night, or even just a sweet pick-me-up on a Wednesday.
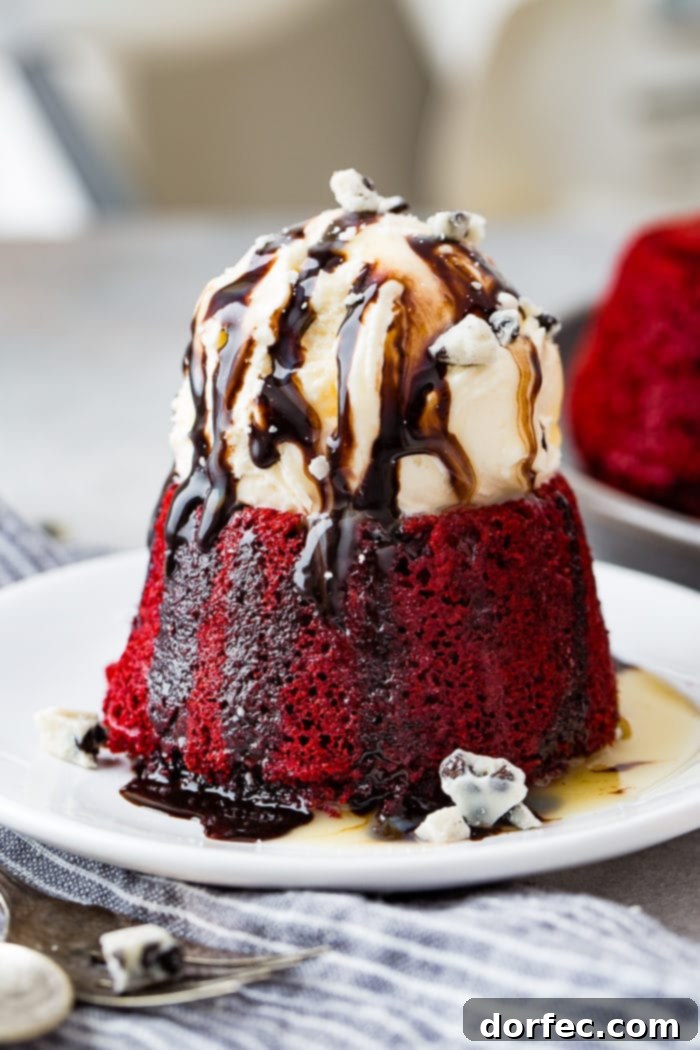
These cakes exude indulgence and decadence, making them look like you’ve spent countless hours in the kitchen. But here’s the wonderful secret: they are astonishingly simple to make! You don’t need to be a pastry chef to create this elegant dessert. Their sophisticated appearance belies a truly straightforward process, making them accessible for even novice bakers. The sheer visual appeal, with the contrasting red cake and the creamy white lava spilling out, makes them an instant hit for any gathering.
Effortless Elegance: Baking with a Cake Mix
The beauty of this easy dessert recipe lies in its simplicity. If you can follow instructions to bake a cake from a mix, then you can absolutely master these Cookies and Cream Red Velvet Molten Lava Cakes. It’s truly that straightforward. The process involves preparing a standard cake mix, cleverly stuffing it with pieces of cookies and cream chocolate, baking it to perfection, and then enjoying the warm, molten delight. This recipe proves that you don’t need complex ingredients or techniques to create a truly luxurious and memorable dessert.
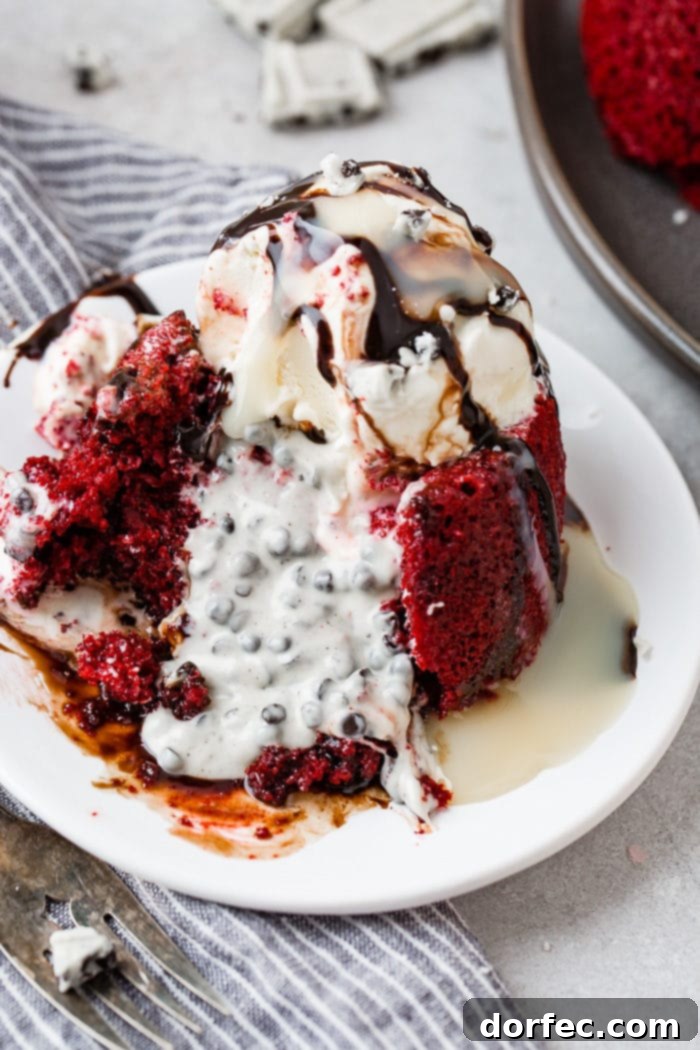
While using a cake mix simplifies the process, we’ve added a few enhancements to give these cakes a richer, more homemade taste and texture. Ingredients like sour cream and milk, added to the cake mix, contribute to a moister, more tender crumb that elevates the final product beyond a basic box cake. This small adjustment makes a significant difference, resulting in a cake that tastes like it came straight from a gourmet bakery, but with minimal effort.
Unveiling the Mystery of Red Velvet
Red velvet cake, with its distinctive color and subtle cocoa flavor, boasts a fascinating history. It is widely believed to have originated during the Victorian Era, a time when “velvet” was used to describe cakes with a remarkably soft and velvety crumb. This smooth texture was a highly sought-after characteristic in desserts of that period. Interestingly, Devil’s food cake emerged around the same time. The primary distinction between the two lies in their chocolate components: Devil’s food cake features a more pronounced chocolate flavor, while red velvet cake uses cocoa powder, giving it a lighter chocolate essence.
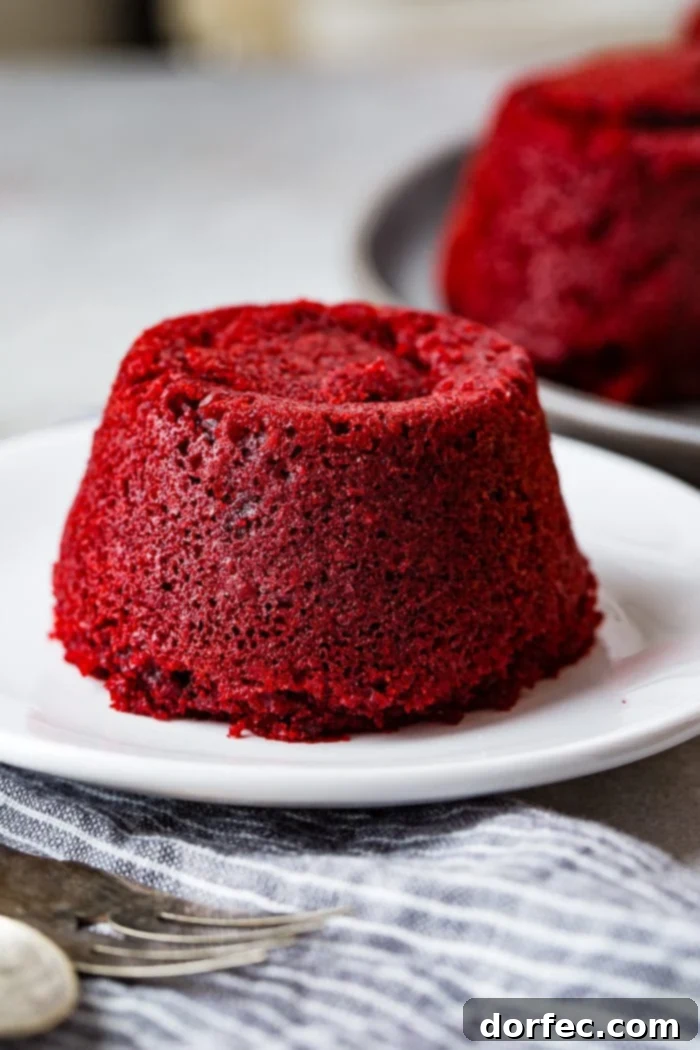
The characteristic red tint of red velvet cake initially came from the chemical reaction between the natural acidity of non-Dutched cocoa and buttermilk, creating a reddish-brown hue. As cocoa processing methods changed, this natural coloration became less prominent. Today, red food dye is commonly added to enhance and deepen the vibrant red color that has become synonymous with this beloved dessert. This rich history adds another layer of appreciation to every bite of these decadent Red Velvet Molten Lava Cakes.
Planning Ahead: Make-Ahead Molten Lava Cakes
One of the many benefits of this Red Velvet Molten Lava Cake recipe is its flexibility when it comes to preparation. These cakes can absolutely be made in advance, making them an ideal choice for entertaining or for enjoying a stress-free dessert on a busy day. You can bake the cakes, allow them to cool completely, and then proceed with stuffing them with the cookies and cream chocolate up to one or two days ahead of your planned serving time. This makes them a perfect make-ahead dessert.
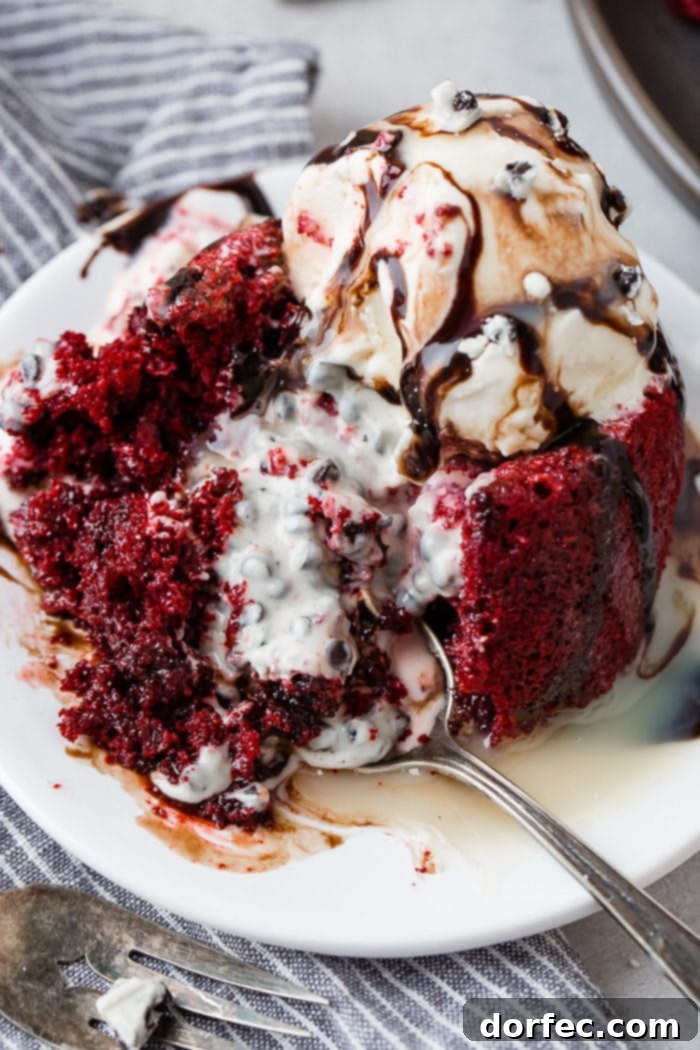
To store them, simply place the prepared cakes in an airtight container and keep them in the refrigerator. When you’re ready to serve, the reheating process is quick and easy. Pop them into the microwave for about 30 seconds, or until the cake is warm and the glorious cookies and cream chocolate inside has achieved that perfect molten consistency. Finish with a generous scoop of vanilla ice cream and a drizzle of chocolate sauce, and you’re ready to dive into a warm, decadent treat that tastes freshly made.
Freezing Molten Lava Cakes for Future Indulgence
Yes, you can absolutely freeze molten lava cakes! This recipe is incredibly freezer-friendly, allowing you to enjoy these delightful treats whenever a craving strikes. For best results, freeze the cakes after they have been baked and stuffed with the unmelted cookies and cream chocolate, and with the cake “lid” placed on top. This ensures the molten core remains intact for reheating.
Carefully place the prepared cakes in a freezer-safe bag or an airtight container, and they will keep beautifully in the freezer for up to three weeks. When you’re ready to enjoy them, transfer the frozen cakes to the refrigerator to thaw overnight, or allow them to come to room temperature on the countertop for about an hour. Once thawed, warm them in the microwave for approximately 30-45 seconds, or until the center is perfectly molten. Garnish with your favorite toppings and savor a homemade dessert that tastes as fresh as the day it was made.
Tips for Maximizing Your Lava Experience
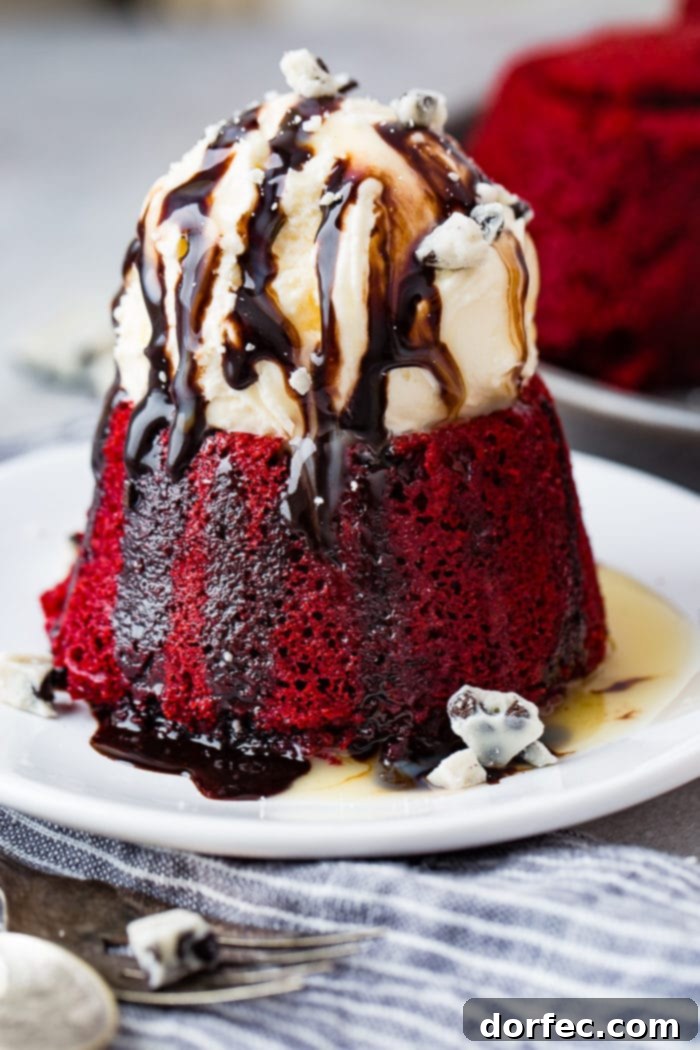
For those who, like us, believe there’s no such thing as too much lava, here’s a pro tip: if you find yourself desiring an extra generous molten center, you can easily enhance your Cookies and Cream Red Velvet Molten Lava Cake. After the cake has been reheated and the existing chocolate has melted, simply melt an additional piece of cookies and cream chocolate in a separate bowl. Carefully pour this extra “lava” into the center of your warm cake, replacing the lid if desired. This guarantees an intensely gooey, rich center with every spoonful. Continue by topping with a scoop of your favorite ice cream and a luscious chocolate sauce. It’s an indulgence that truly elevates the entire dessert experience, proving it’s impossible to have too much of a good thing!
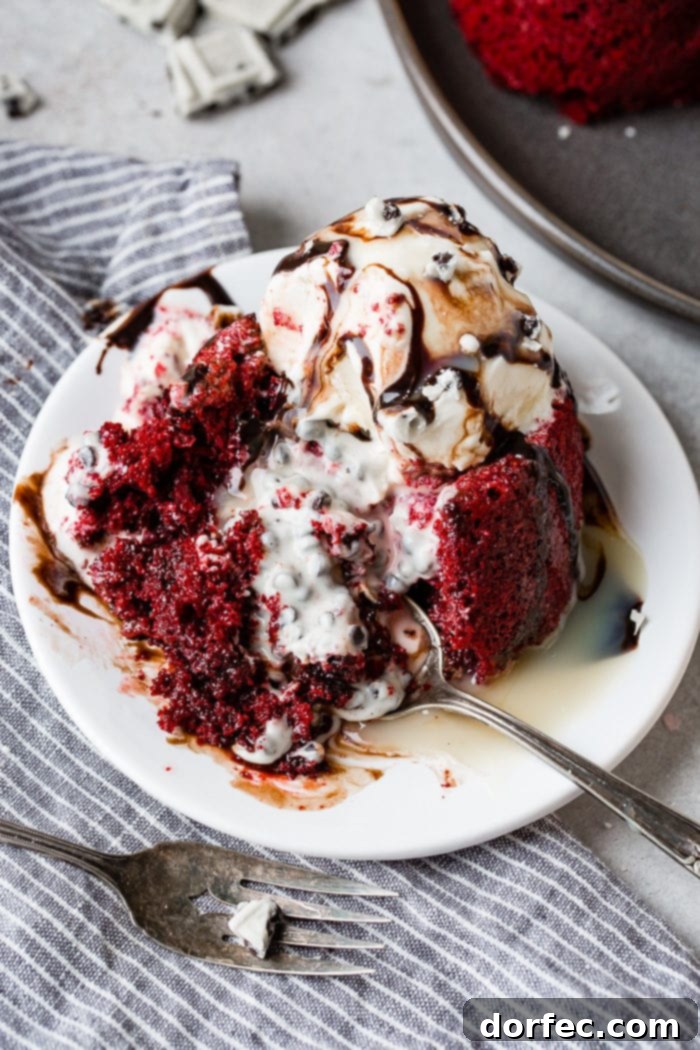
These cakes truly are everything a dessert should be: warm red velvet cake, piping hot white chocolate lava bursting with crunchy cookie bits, a refreshing contrast of cold ice cream, and a rich, smooth chocolate sauce. It’s a symphony of temperatures and textures that just screams pure delight! Whether you’re celebrating Valentine’s Day or simply indulging on a regular Wednesday, these Cookies and Cream Red Velvet Molten Lava Cakes are guaranteed to bring a smile to your face and love to your taste buds. Enjoy, friends!
More Valentine’s Day & Decadent RECIPES
If you’re looking for more delightful and romantic recipes to share with your loved ones, explore these fantastic options:
- 5 Minute Valentine’s Snack Mix
- Nutella Stuffed Strawberry Chocolate Cupcakes
- Strawberry Pink Ombre Cake
- White Chocolate Cheesecake Bars with Raspberry Sauce
- No-Bake Mini Cheesecakes with Raspberry Sauce
- Red Velvet Churros
- Copycat Lofthouse Sugar Cookie
- No Bake Mini Chocolate Cheesecakes
- Reese’s Peanut Butter Marshmallow Cookie Pie
- Chocolate Rose Red Velvet Cupcake
Cookies and Cream Red Velvet Molten Lava Cakes
Ingredients
- 1 Cake Mix, Red Velvet
- 3 Eggs, Large
- 1/2 Cup Sour Cream
- 1 Cup Milk
- 1/2 Cup Oil
- 2 Candy Bars, Large, Cookies and Cream
- Ice Cream
- Chocolate and White Chocolate Sauce
Instructions
-
In a large bowl, stir together the dry cake mix, eggs, sour cream, milk and oil.
-
Spray a large cupcake pan with nonstick spray and evenly distribute batter 3/4 way full. Bake according to package directions.
-
Turn the cakes out onto their tops creating a “volcano” and allow to cool.
-
Using a paring or serrated knife, gently cut a hole out of the center without going clear to the bottom.
-
Fill the hole with pieces of the cookies and cream chocolate bar. Stuff as much as you can inside of the cakes without breaking the cakes, and then slice off the bottom circle of the piece of cake you removed and place it on the hot fudge hole like a lid.
-
Store the cakes in a sealed container in the fridge until ready to eat. Reheat in the microwave until warm, about 30 seconds.
-
Top with ice cream and sauces.
Recipe Notes
Nutrition
Calories: 544kcal
Carbohydrates: 66g
Protein: 7g
Fat: 28g
Saturated Fat: 8g
Polyunsaturated Fat: 5g
Monounsaturated Fat: 14g
Trans Fat: 1g
Cholesterol: 82mg
Sodium: 568mg
Potassium: 198mg
Fiber: 2g
Sugar: 35g
Vitamin A: 264IU
Vitamin C: 1mg
Calcium: 236mg
Iron: 3mg
Nutrition information is automatically calculated, so should only be used as an approximation.
REMEMBER TO SUBSCRIBE TO our FREE Oh Sweet Basil NEWSLETTER AND RECEIVE EASY RECIPES DELIVERED INTO YOUR INBOX EVERY DAY!
When you try a recipe, please use the hashtag #ohsweetbasil on INSTAGRAM for a chance to be featured in our stories! FOLLOW OH, SWEET BASIL ON FACEBOOK | INSTAGRAM | PINTEREST | TWITTER FOR ALL OF OUR LATEST CONTENT, RECIPES AND STORIES.