
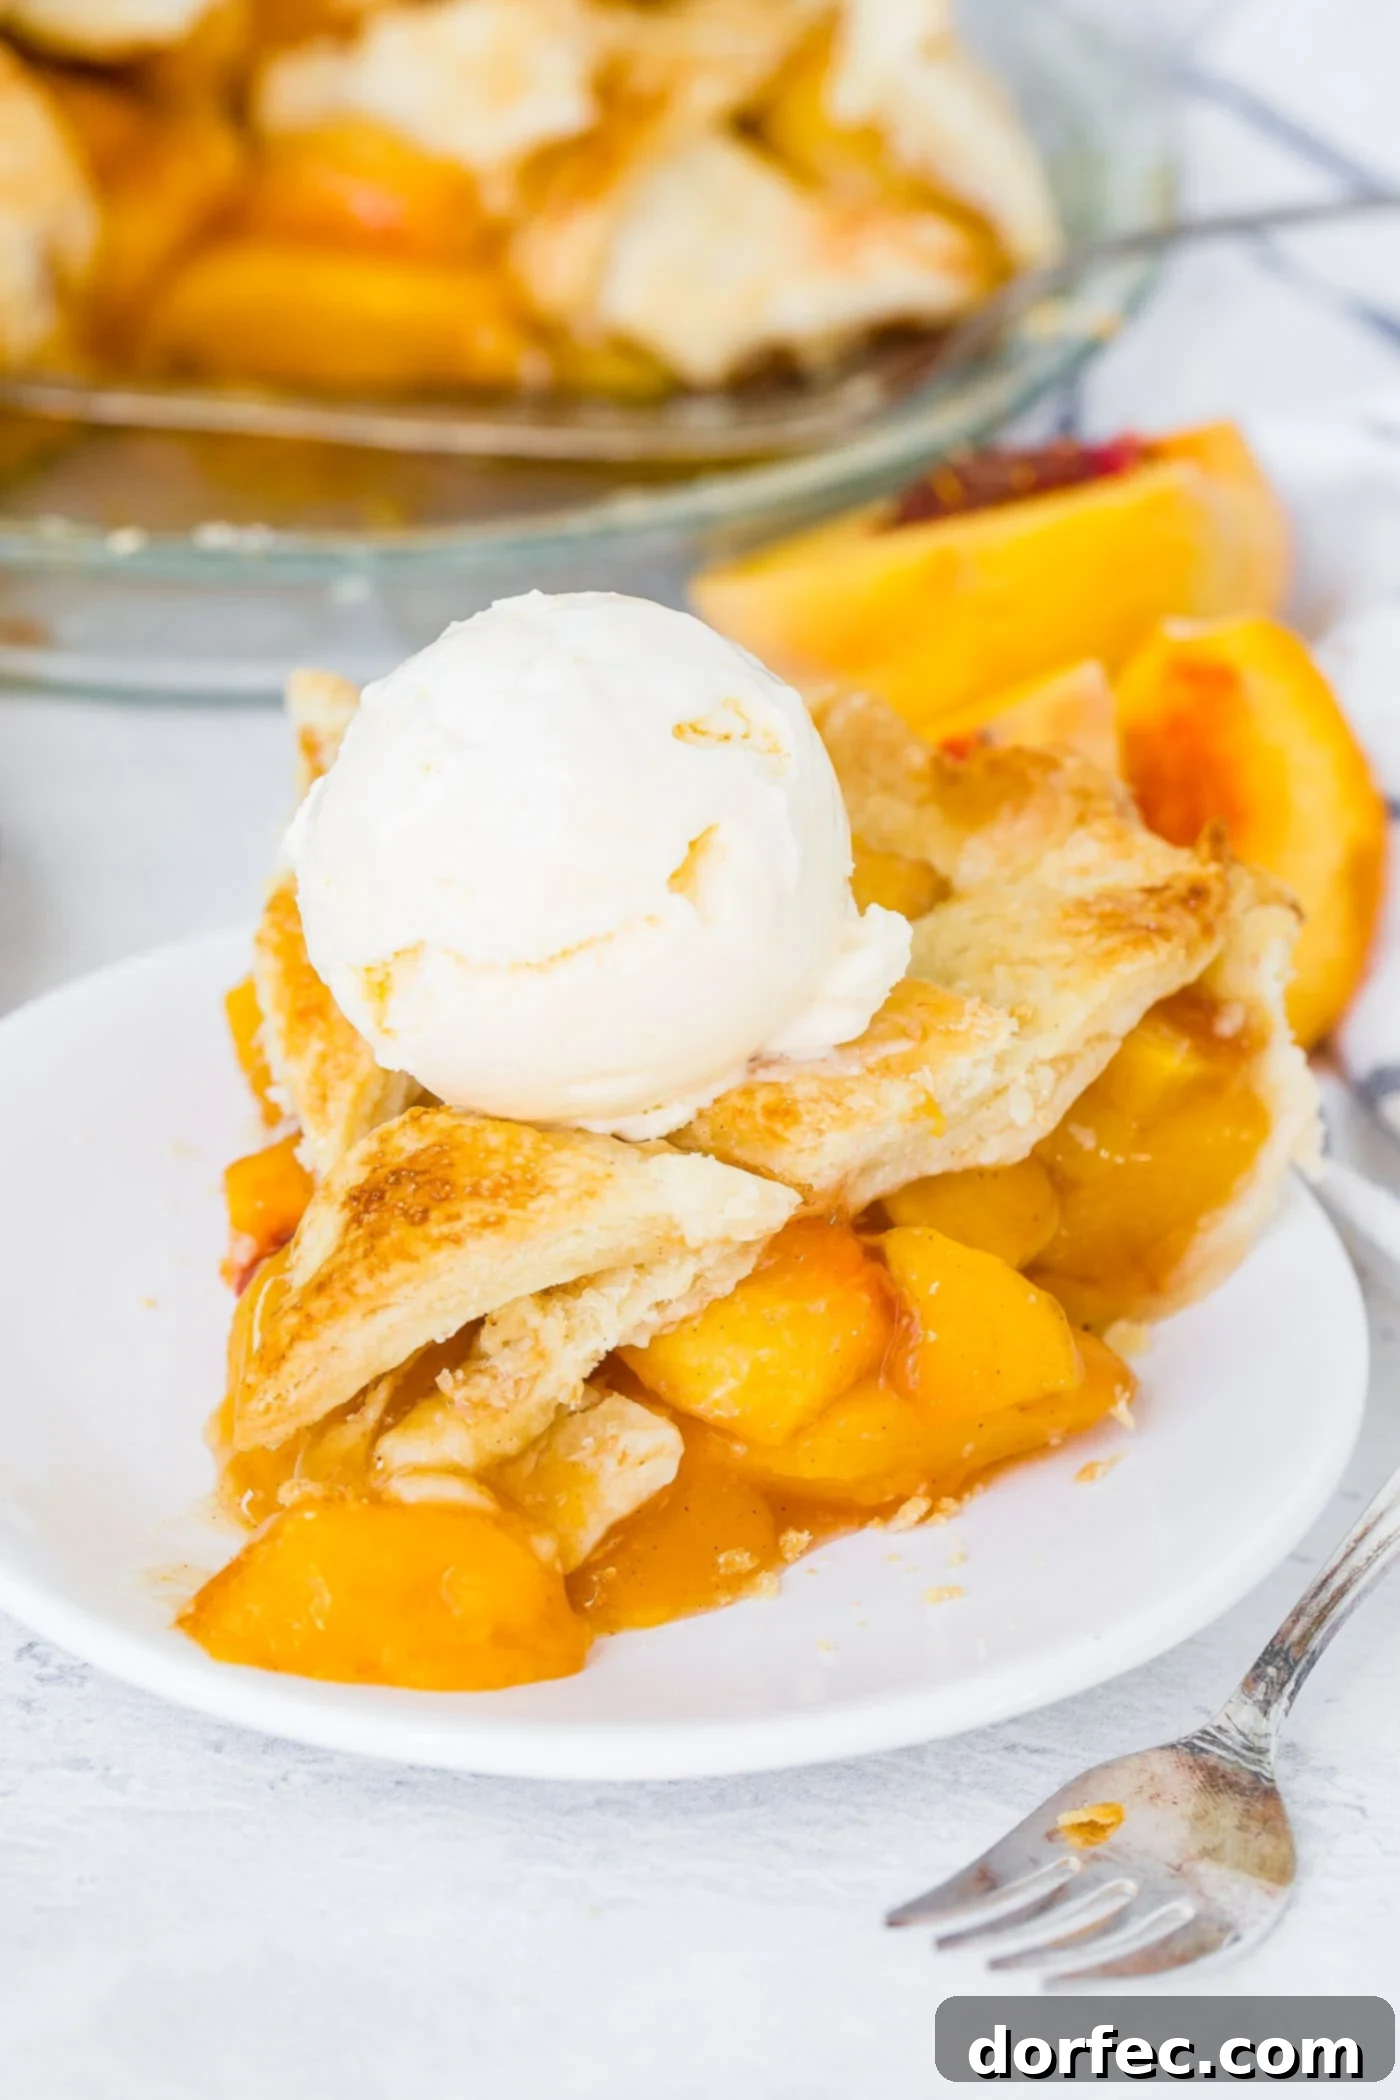
There’s nothing quite like the comforting aroma and exquisite taste of a freshly baked peach pie to gather everyone around the table. This dessert embodies everything delightful about homemade pies – juicy, sun-ripened peaches nestled in a perfectly flaky, golden crust that’s surprisingly straightforward to prepare. It’s more than just a recipe; it’s an experience, a slice of pure summer bliss that captures the essence of wholesome ingredients and heartfelt baking.
Imagine the sweet, warm embrace of tender peaches, their natural sugars caramelized, all encased in a buttery, crisp pastry. This is the ultimate summer dessert, designed for cherished moments with family and friends. Forget the fuss; this recipe focuses on real, quality ingredients and a generous amount of love, turning simple components into unforgettable summer memories, one delicious slice at a time. It’s the kind of treat that truly signifies the season.
The Unrivaled Charm of Homemade Peach Pie
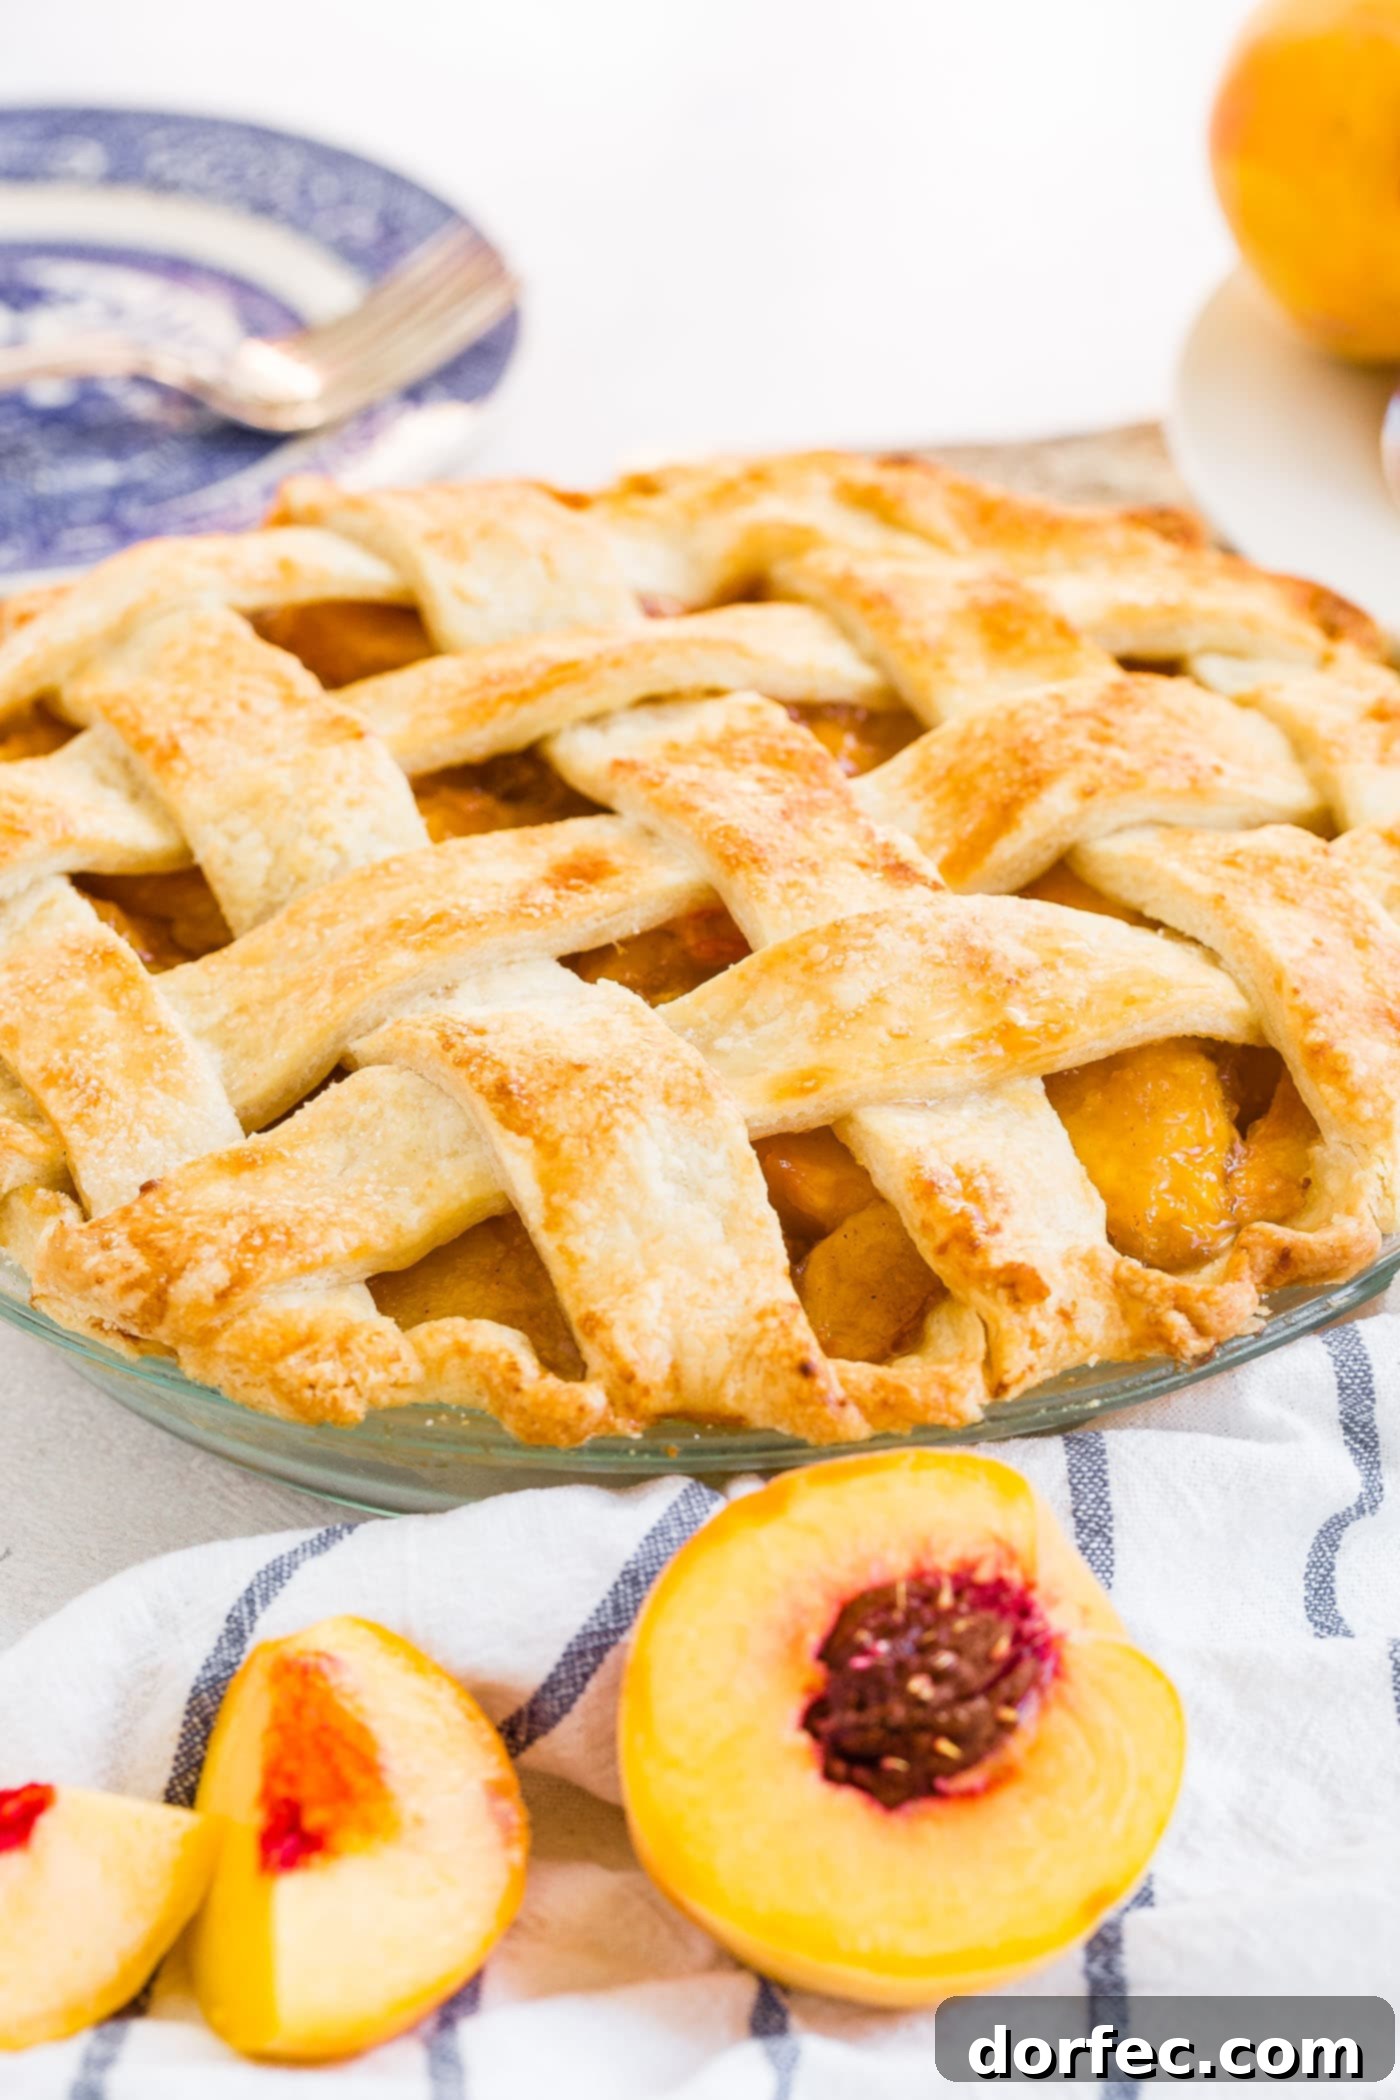
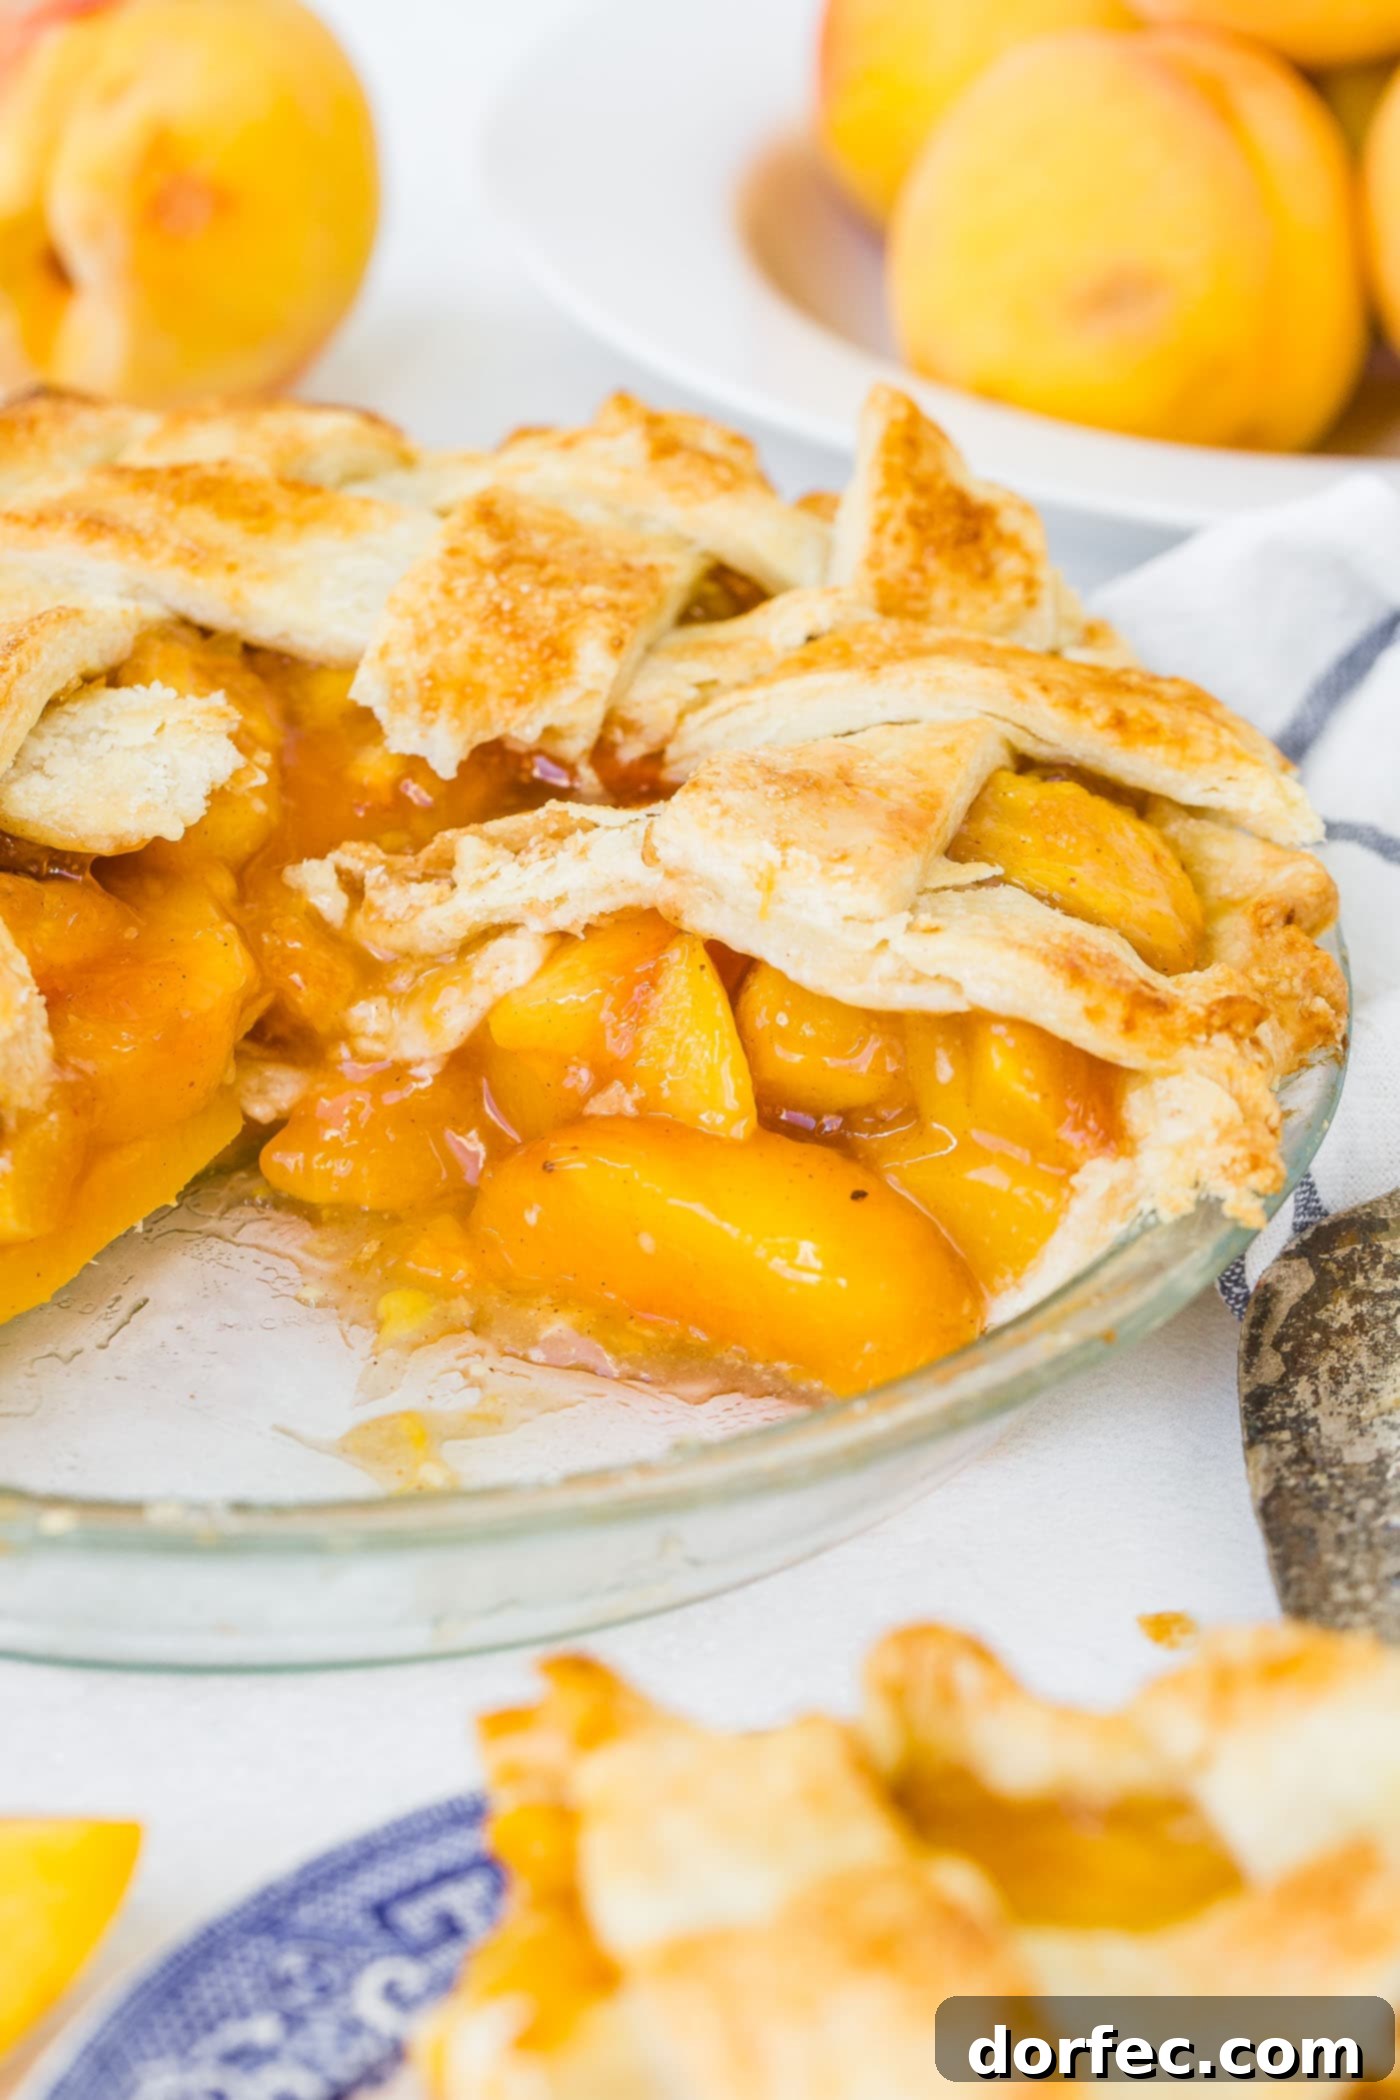
A homemade peach pie offers a sensory delight that store-bought versions simply can’t match. It begins with a flaky pie crust, meticulously prepared and brimming with a fresh peach pie filling that’s bursting with vibrant, natural flavor. A subtle dash of cinnamon, along with other warm spices, elevates this fresh peach pie with lattice crust into an end-of-summer tradition, a favorite that signals the sweet culmination of warm days.
The anticipation of biting into a slice, with its golden-brown, intricate lattice crust and tender, sweet fruit, is unparalleled. For us in Utah, the peach season often aligns with the start of school, a delightful timing that allows us to cling to the warmth and sweetness of summer just a little longer. This peach pie recipe isn’t just simple; it’s a timeless classic, reminiscent of the treasured recipes passed down through generations – the kind your grandma used to bake with love and care, filling the kitchen with an irresistible aroma.
Crafting the Perfect Peach Pie: Essential Ingredients
The foundation of any exceptional peach pie lies in its ingredients. For this quintessential dessert, we highly recommend using an all-butter pie crust. Its rich flavor and unparalleled flakiness provide the ideal complement to the sweet peach filling. You’ll begin by preparing the pie crust with simple components like flour, sugar, butter, salt, and ice water, allowing it to chill thoroughly in the refrigerator. This crucial step ensures a tender, flaky texture. Once your crust is resting, it’s time to prepare the star of the show: the luscious peach pie filling. Here’s a detailed look at everything you’ll need:
- Peaches: The heart of your pie. Selecting the right peaches is paramount for flavor and texture. We’ll delve deeper into our preferred varieties for pies in the following section.
- Cornaby’s EZ Gel: This is our absolute favorite secret weapon for achieving perfectly thickened fruit pie fillings. Unlike some traditional thickeners, EZ Gel is flavorless, allowing the natural peach taste to shine, and consistently delivers excellent results, ensuring a beautifully set pie every single time.
- Lemon Zest and Juice: Far more than just a flavoring agent, lemon zest and juice are crucial. The zest adds a bright, aromatic counterpoint that elevates the peach flavor without overpowering it, while the juice provides a subtle tanginess that balances the sweetness. Additionally, lemon juice acts as a natural antioxidant, helping to prevent the sliced peaches from browning, thus preserving their vibrant color.
- White Granulated Sugar: This essential ingredient plays a vital role in balancing the natural acidity of the peaches, enhancing their inherent sweetness without making the pie cloyingly sweet. It helps create that perfect sweet-tart harmony.
- NOTE: For an extra touch of sweetness and a delightful textural crunch, we also recommend sprinkling a small amount of white granulated sugar evenly over the top crust before baking.
- Brown Sugar: Adding brown sugar to the filling introduces a wonderful depth of flavor, contributing rich, molasses-like notes and a hint of caramel that beautifully complements the peaches and warm spices. It adds complexity that white sugar alone cannot.
- Cinnamon: A classic pairing with peaches, cinnamon infuses the pie with a warm, comforting aroma and a cozy, inviting flavor that screams “homemade.” It enhances the fruit without dominating it.
- Nutmeg: Working in harmony with cinnamon, nutmeg provides another layer of warm, earthy spice, adding subtle complexity and a comforting depth that makes the peach pie even more irresistible.
- Egg Wash: A simple yet effective combination of egg white and a touch of water. Brushing this mixture over the top crust before baking achieves that beautiful, glossy, golden-brown finish that makes your pie look as incredible as it tastes. It also helps with browning and a slight crispness.
Choosing the Quintessential Peaches for Your Pie
When it comes to baking an extraordinary peach pie, the choice of peaches is paramount. For that iconic, robust peachy flavor and ideal sweetness and juiciness, yellow peaches are unequivocally the best. They possess the perfect balance of sweetness and a pleasant tanginess, which is beautifully mellowed and balanced by the sugars in this pie recipe. While other peach varieties exist, yellow peaches deliver that classic taste that everyone associates with a perfect peach pie.
Beyond color, you’ll want to ensure you’re using freestone peaches. This type of peach is incredibly easy to work with because the pit readily separates from the flesh, simplifying the peeling and slicing process immensely. This saves time and ensures consistent, beautiful slices for your pie filling. Some of the most highly recommended freestone varieties, known for their exceptional flavor and ease of preparation, include Early Amber, Golden Jubilee, Lucky 13, Nectar, September Snow, and July Prince. These varieties consistently yield fantastic results. We’ve discovered the unparalleled quality of peaches from Pearson Farm this summer, and their exceptional fruit has completely converted us – we plan to source our peaches from them for all our future baking endeavors!
A Step-by-Step Journey to Baking Your Fresh Peach Pie
Once your homemade pie crust is perfectly prepared and chilling patiently in the refrigerator, you’re ready to embark on the most delightful part: crafting the delectable peach pie filling and assembling your masterpiece.
Crafting the Luscious Peach Pie Filling
- Peel and Slice Peaches: Begin by preparing your peaches. While there are various methods, for an easy approach to peeling peaches, refer to our helpful tips outlined in our brown sugar peach pie bars post. Once peeled, carefully slice your peaches into consistent, even pieces. Place all the prepared peach slices into a large mixing bowl, ready for the next step.
- Combine All Ingredients: To the bowl of sliced peaches, add the remaining ingredients for the filling – the sugars, thickener, lemon zest and juice, and spices. Gently fold everything together using a spatula until the peaches are evenly coated with the delicious, aromatic mixture. Be sure to mix thoroughly but gently, avoiding mashing the delicate fruit.
Recipe Tip for Perfect Peaches
For the best texture and even cooking, always strive to keep your peach slices consistent in size. Avoid slicing them too large, as they may not cook through properly, leaving you with crunchy bits. Conversely, if they are too small, they risk becoming overcooked and mushy, resulting in a soggy filling. Uniform slices ensure every bite is perfectly tender.
Assembling Your Masterpiece: The Pie Construction
- Preparation is Key: Before you begin assembly, preheat your oven to a precise 425 degrees F (218 degrees C). Ensure your chosen pie plate is readily available and prepared (lightly greased, if necessary, depending on your crust recipe).
- Roll Out the Pie Dough: Retrieve your chilled pie crust dough. Divide it into two portions: one slightly larger (approximately 12 inches in diameter) for the bottom crust, and the other (about 10 inches in diameter) for your top crust. Carefully roll out the larger portion and gently ease it into your pie plate, ensuring it fits snugly with a slight overhang.
- Generously Add the Peach Pie Filling: Pour the prepared peach filling evenly into the bottom crust. Use a spatula to spread the fruit mixture out, ensuring it forms an even layer from the center to the edges of the pie plate.
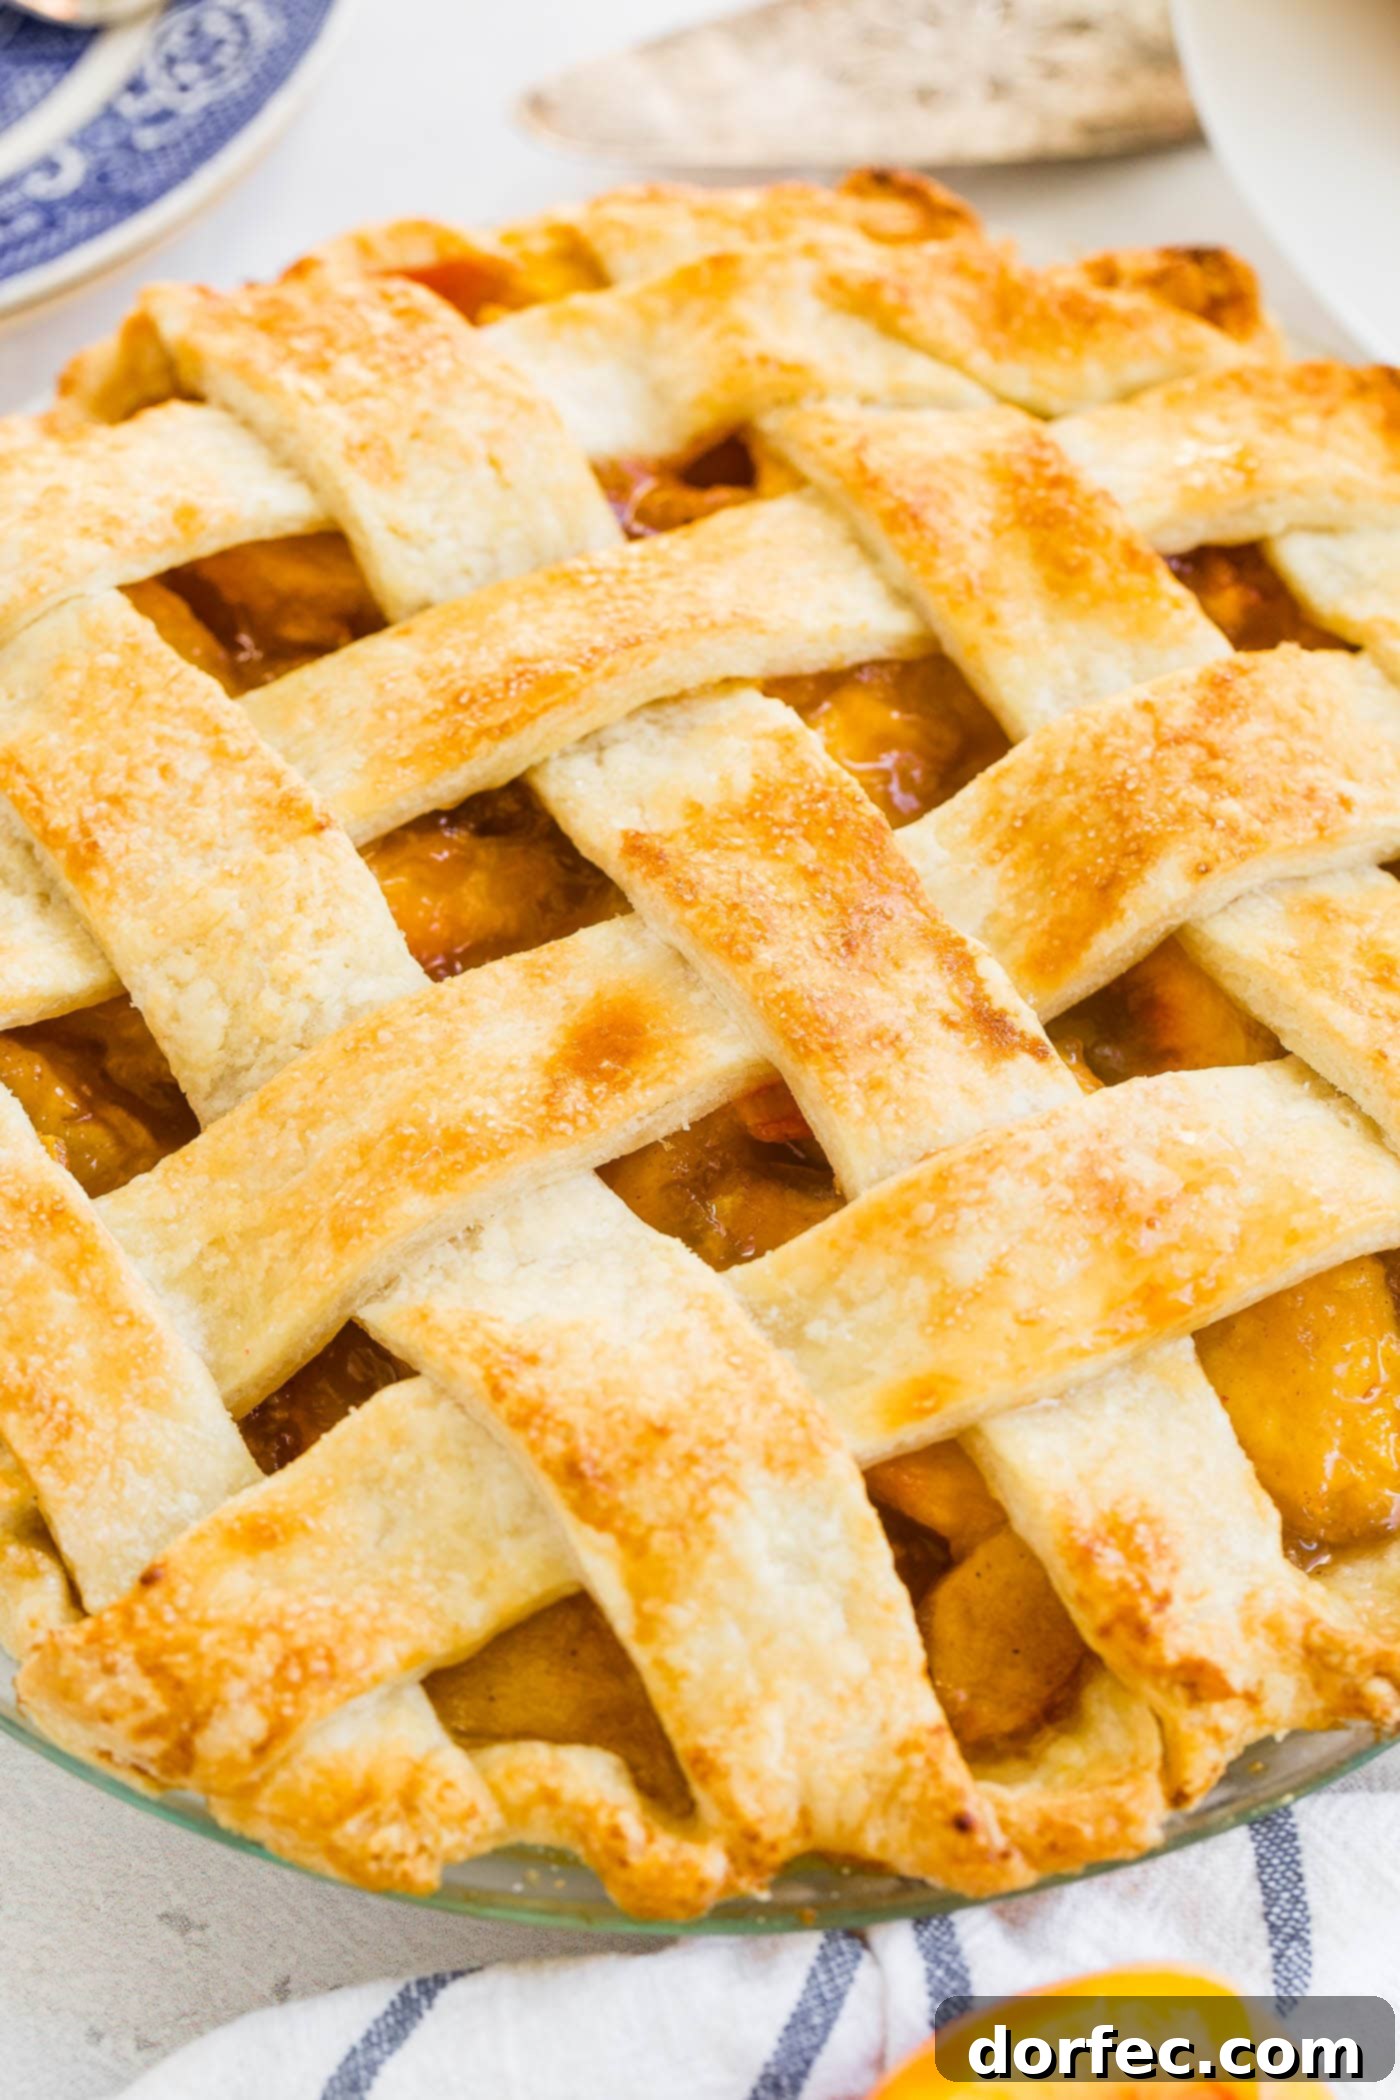
- Craft the Beautiful Top Crust: If you’re opting for a stunning lattice crust, roll out your smaller dough portion and, using a pizza slicer or sharp knife, cut it into uniform 1-inch strips. For a visual guide on creating a classic lattice crust, many excellent tutorials are available online to walk you through the weaving process step-by-step. Crimp the edges of your top and bottom crusts together to seal the pie securely.
- Apply the Golden Egg Wash: In a small bowl, whisk together one egg white with a teaspoon of water until well combined. Using a pastry brush, lightly and evenly coat the entire surface of your lattice top crust with this egg white mixture. Immediately after, sprinkle a generous, even layer of white granulated sugar over the egg-washed crust. This will give your pie that beautiful golden sheen and a delightful sugary crunch.
- Bake to Perfection: Carefully place your assembled pie onto a preheated baking stone or cookie sheet (as per our Pro Tip below). Follow the specific baking times and temperature adjustments outlined in the dedicated recipe section to achieve a perfectly cooked, golden-brown pie.
Pro Tip for a Crispy Bottom Crust

One of the most valuable tips for baking any fruit pie, especially one brimming with juicy peaches, is to preheat a baking stone or a heavy-duty cookie sheet in your oven for at least 10-15 minutes before placing the pie inside. This ensures a piping hot surface for the bottom crust. Once ready, carefully place your pie (on a separate cookie sheet for easy handling) directly onto the preheated baking stone. Begin baking at a higher temperature (e.g., 425°F for the initial 20 minutes for this recipe), then reduce the temperature to finish baking (e.g., 375°F for an additional 30-40 minutes). This two-stage baking process, coupled with the hot stone, achieves two critical goals: the initial high heat helps the crust set quickly and become beautifully crisp, preventing that dreaded soggy bottom, while the lower temperature allows the filling to cook through gently without over-browning or burning the delicate top crust. If the crust begins to brown too quickly, loosely tent it with aluminum foil.
Exploring Alternatives: Frozen or Canned Peaches for Pie
While a fresh peach pie made with sun-ripened, in-season peaches is undoubtedly the gold standard and offers the best flavor and texture, it is entirely possible to make a delicious peach pie using either frozen or canned peaches. These alternatives provide flexibility, allowing you to enjoy this comforting dessert year-round. However, successful results with non-fresh peaches require a few crucial adjustments to manage moisture and ensure your pie isn’t soggy.
- Frozen Peaches: If using frozen peaches, the key step is to allow them to thaw completely before incorporating them into your filling. Once thawed, they will release a significant amount of liquid. It is absolutely essential to drain them thoroughly, even gently squeezing out excess moisture. Too much residual liquid will lead to a watery filling and a disappointingly soggy pie crust.
- Canned Peaches: For canned peaches, the process is similar. You must drain them thoroughly from their syrup. After draining, pat the peach slices dry with paper towels to remove any lingering moisture. Again, managing the liquid content is paramount to achieving a firm, flavorful pie filling and a crisp crust. Remember, the goal is always to reduce as much excess moisture as possible to prevent a soggy outcome.
The Art of Thickening: Ensuring a Perfect Fruit Pie Filling
One of the most common challenges in fruit pie baking is achieving a perfectly set filling that isn’t too runny or too gluey. The method you choose to thicken your fruit pie is a topic that could spark a lengthy discussion among bakers, as there are several viable options, each with its own characteristics. Generally, you’ll choose between four primary thickeners: flour, cornstarch, tapioca (instant or minute), or ultra gel.
For a comprehensive understanding of each option, including detailed instructions and our preferences, we invite you to explore our dedicated post on perfect razzleberry pie. However, to cut a long story short, after extensive testing and baking, we consistently find that ultra gel (such as Cornaby’s EZ Gel) delivers the most superior results. It thickens beautifully without imparting any flavor or cloudiness, creating a perfectly clear, glistening fruit filling that holds its shape when sliced, without becoming gummy.
If ultra gel isn’t readily available in your pantry, the next best and most reliable option is cornstarch. You can confidently substitute 5 tablespoons of cornstarch for the 1/4 cup of ultra gel specified in this recipe. Both thickeners will help you achieve that coveted, well-set fruit pie filling.
Indispensable Equipment for the Avid Pie Baker
While a passion for baking is the most crucial ingredient, having the right tools can truly elevate your pie-making experience, making the process smoother, more efficient, and ultimately more enjoyable. We’ve discovered a few pieces of equipment that we consider truly indispensable for effortless pie making:
- JK French Rolling Pin: A high-quality rolling pin is essential for achieving an evenly rolled, consistent pie crust. A French-style rolling pin, without handles, provides excellent control and feel, allowing you to easily roll out dough to the desired thickness without sticking.
- Emile Henry Pie Plate: For exceptional results, especially a beautifully crisp bottom crust, an Emile Henry ceramic pie plate is a fantastic investment. Its even heat distribution helps bake up the best crust every time.
- Pyrex Pie Plate: If you’re seeking a more budget-friendly yet reliable option, a classic Pyrex glass pie plate is an excellent choice. It’s durable, conducts heat well, and allows you to visually monitor the browning of your bottom crust.
- Pastry Blender or Food Processor: While not listed, a pastry blender or a food processor is incredibly helpful for cutting butter into flour quickly and efficiently, ensuring your pie dough comes together perfectly without overworking the butter.
- Pastry Brush: Essential for applying the egg wash to achieve that desirable golden sheen on your crust.
- Pie Shield or Aluminum Foil: A simple pie shield or even strips of aluminum foil can be a lifesaver to prevent the edges of your pie crust from over-browning while the filling finishes cooking.
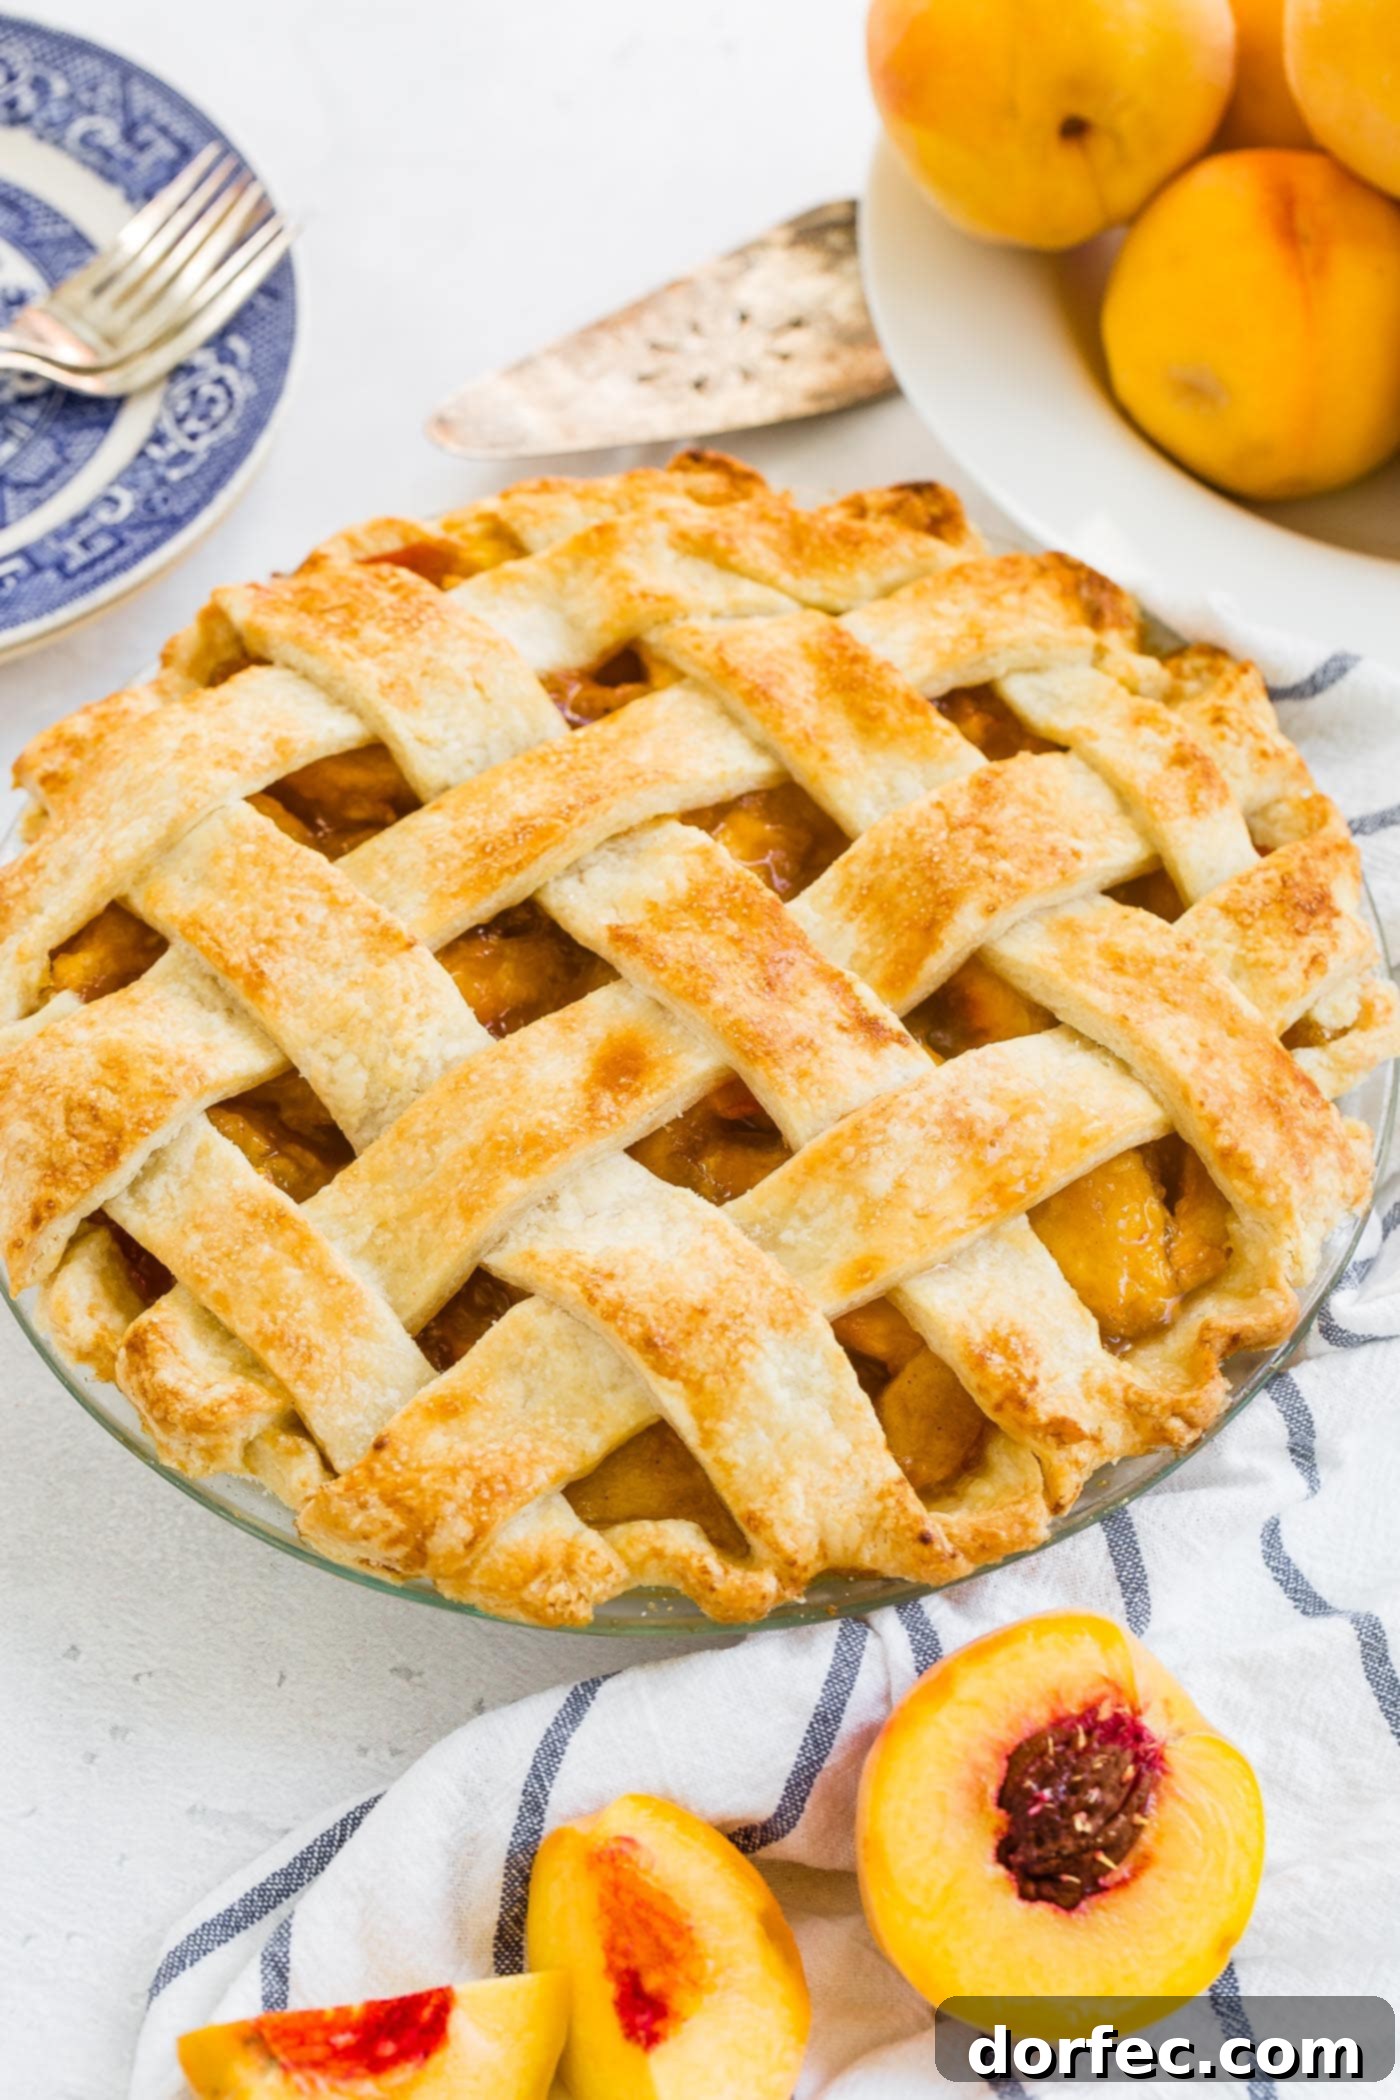
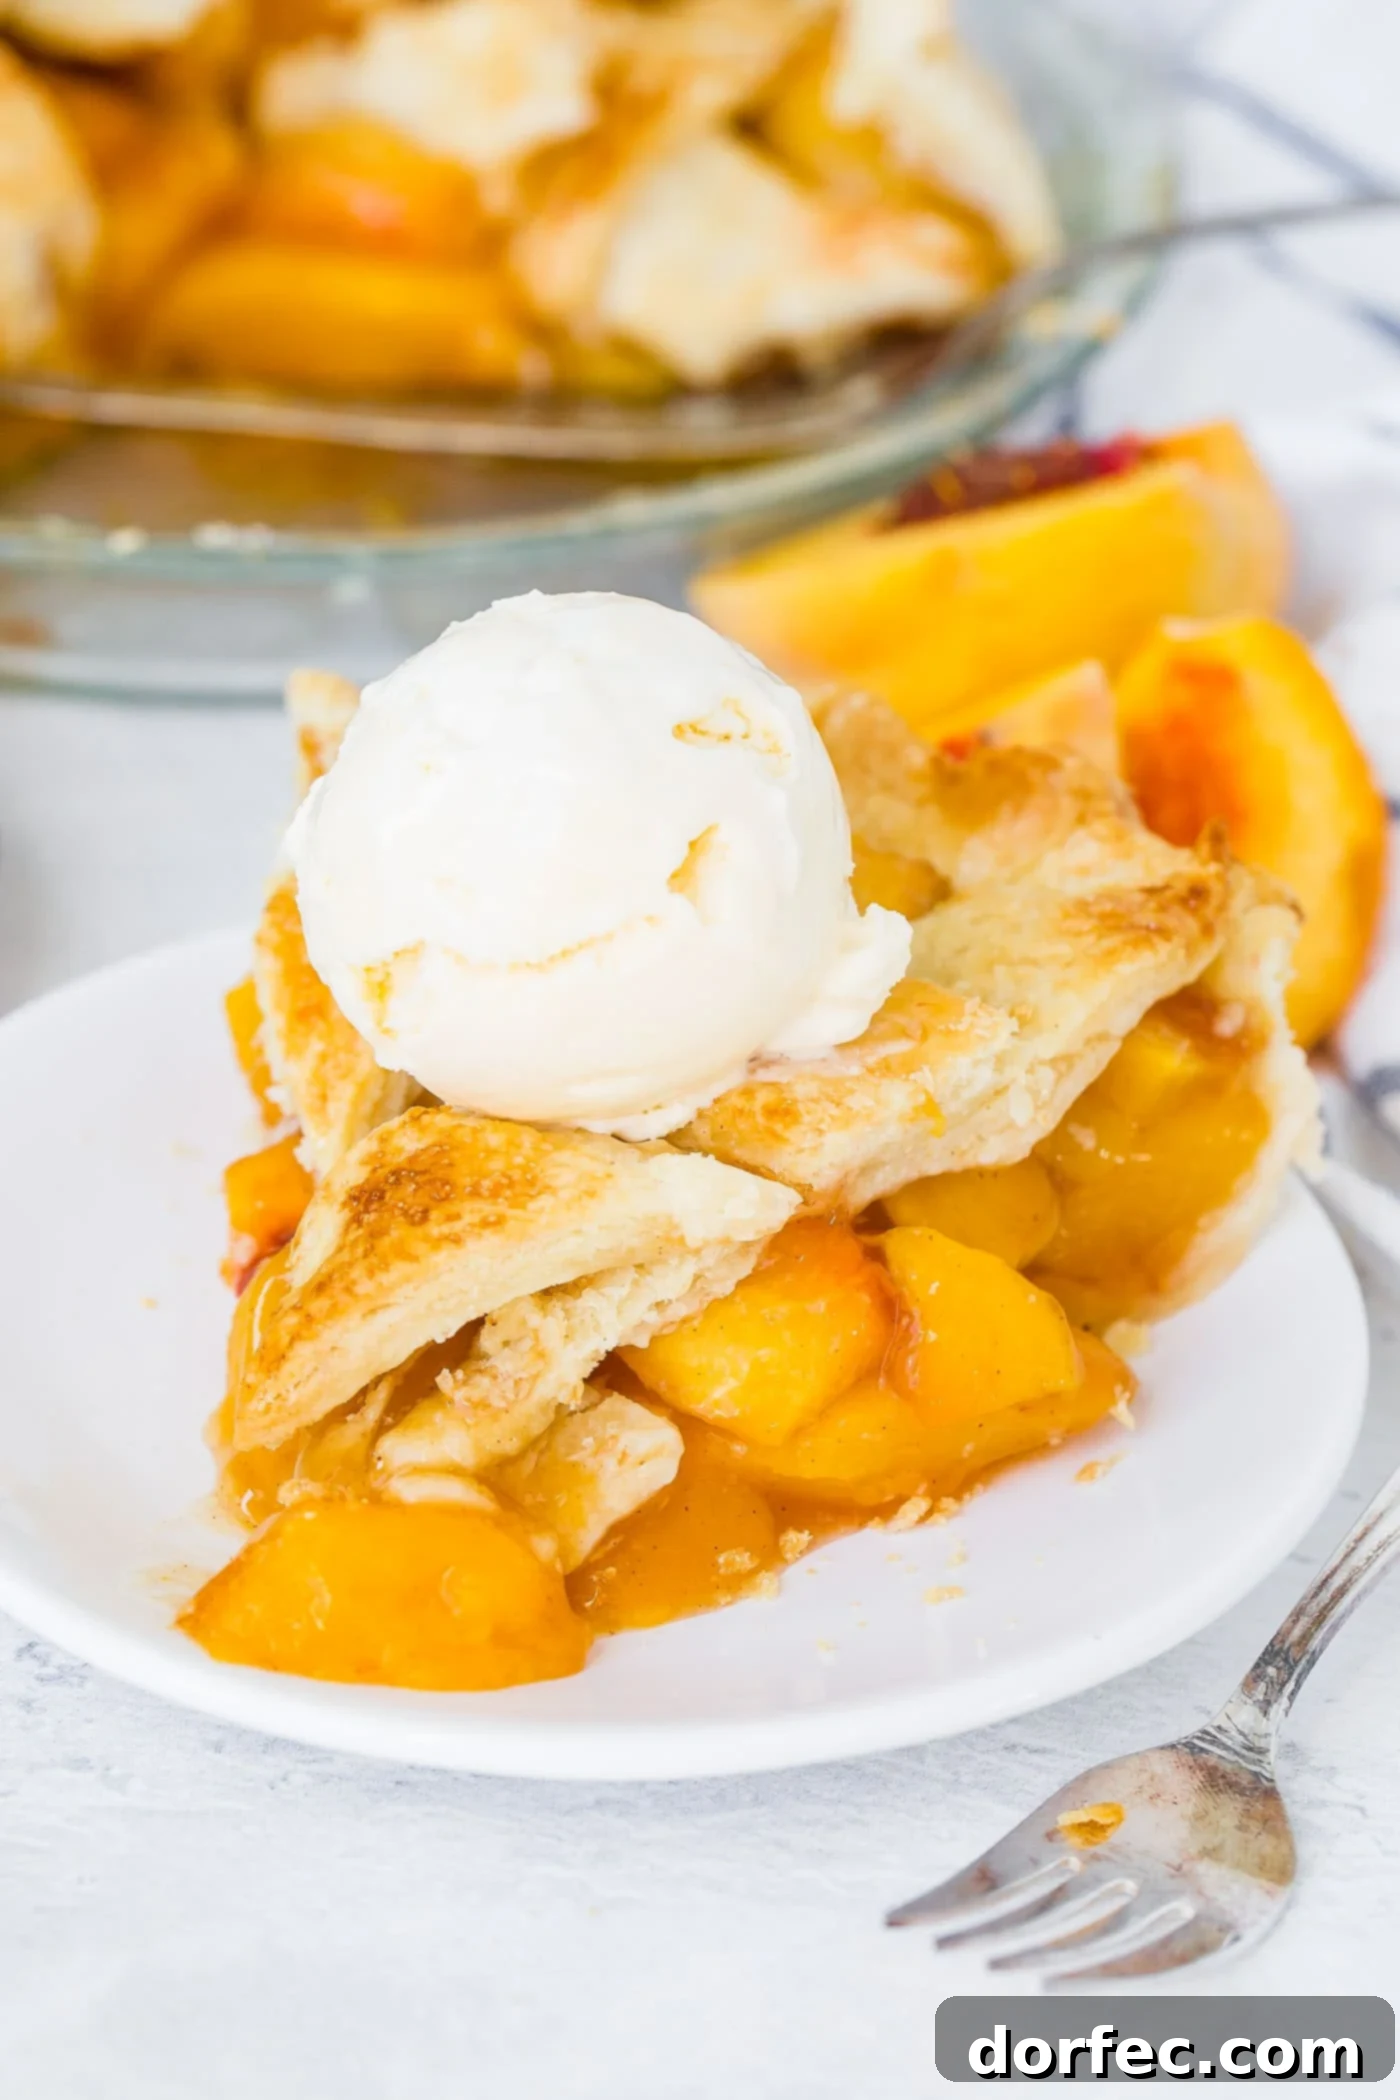
Oh, the sheer delight of a freshly baked pie! There’s truly nothing quite like it. Serving that warm, aromatic slice of peach pie with a generous scoop of creamy vanilla ice cream is pure euphoria. Imagine the warm, juicy, sweet peaches mingling with rich, melting vanilla ice cream, all complemented by bites of perfectly golden and impossibly flaky crust. It’s a symphony of textures and flavors that beckons you to indulge – come to momma, indeed!
More Irresistible Fruit Pies You’re Sure to Love:
- Perfect Razzleberry Pie
- Dutch Mixed Berry Pie
- Fresh Strawberry Pie
- Homemade Apple Pie
- Dulce de Leche Banana Cream Pie
- Dutch Apple Pie
Fresh Peach Pie
By Carrian Cheney
Prep Time: 15 mins
Cook Time: 45 mins
Total Time: 1 hr
Servings: 8
Ingredients
- 8 Peaches, peeled and sliced into 8 pieces each
- 1/4 Cup Cornaby’s EZ Gel, or 5 Tablespoons cornstarch
- 1/2 Zest of Lemon
- 2 teaspoons Lemon Juice
- 1/3 Cup White Sugar
- 1/3 Cup Brown Sugar
- 1/4 teaspoon Cinnamon
- 1/8 teaspoon Nutmeg
- 1 Pie Crust, for double crust (our recommended flaky pie crust recipe)
- 1 Egg White
- 1 teaspoon Water
- White Sugar (for sprinkling)
Instructions
- Preheat the oven to 425°F (218°C). Place a baking stone or a heavy cookie sheet in the oven 10 minutes before baking to allow it to get hot.
- In a large bowl, gently fold together the peeled and sliced peaches, Cornaby’s EZ Gel (or cornstarch), lemon zest, lemon juice, white sugar, brown sugar, cinnamon, and nutmeg until the peaches are evenly coated.
- Roll out one portion of the pie dough into a 12-inch circle for the bottom crust. Gently place it into your pie dish. Roll out the remaining dough into a 9 or 10-inch circle for the top crust (depending on whether you’re making a full top crust or a lattice). Pour the peach filling into the bottom crust, spreading it out evenly.
- If creating a lattice top, cut the 9 or 10-inch pie dough circle into approximately 1-inch strips using a pizza slicer or knife. Weave the strips over the filling to create a lattice pattern (many visual tutorials are available online). Crimp the edges of the top and bottom crusts together to seal the pie securely.
- In a small bowl, whisk the egg white with 1 teaspoon of water to create an egg wash. Brush this mixture evenly over the lattice top crust. Sprinkle a generous, even layer of white sugar over the egg-washed crust.
- Carefully place the pie (on a separate cookie sheet) onto the preheated hot stone or cookie sheet in the oven. Bake at 425°F (218°C) for the first 20 minutes. Then, reduce the oven temperature to 375°F (190°C) and continue baking for another 30-40 minutes, or until the crust is golden brown and the filling is bubbling. If the crust edges begin to brown too quickly, loosely tent the pie with aluminum foil.
- Once baked, allow the pie to cool completely on a wire rack on the counter. For best slicing results and a fully set filling, transfer it to the refrigerator to chill further until firm.
Recipe Notes
Peach pie can be frozen before or after baking. If freezing before baking, wrap tightly in plastic wrap and then foil. If freezing after baking, allow to cool completely, then wrap. It will keep beautifully in the freezer for 3 or more months. Thaw in the refrigerator overnight before baking or reheating.
Nutrition
Serving: 1 slice
Calories: 200 kcal
Carbohydrates: 38g
Protein: 2g
Fat: 5g
Saturated Fat: 2g
Sodium: 80mg
Potassium: 291mg
Fiber: 3g
Sugar: 27g
Vitamin A: 435 IU
Vitamin C: 12mg
Calcium: 20mg
Iron: 1mg
Nutrition information is automatically calculated and should only be used as an approximation. Actual values may vary based on ingredients and preparation methods.