
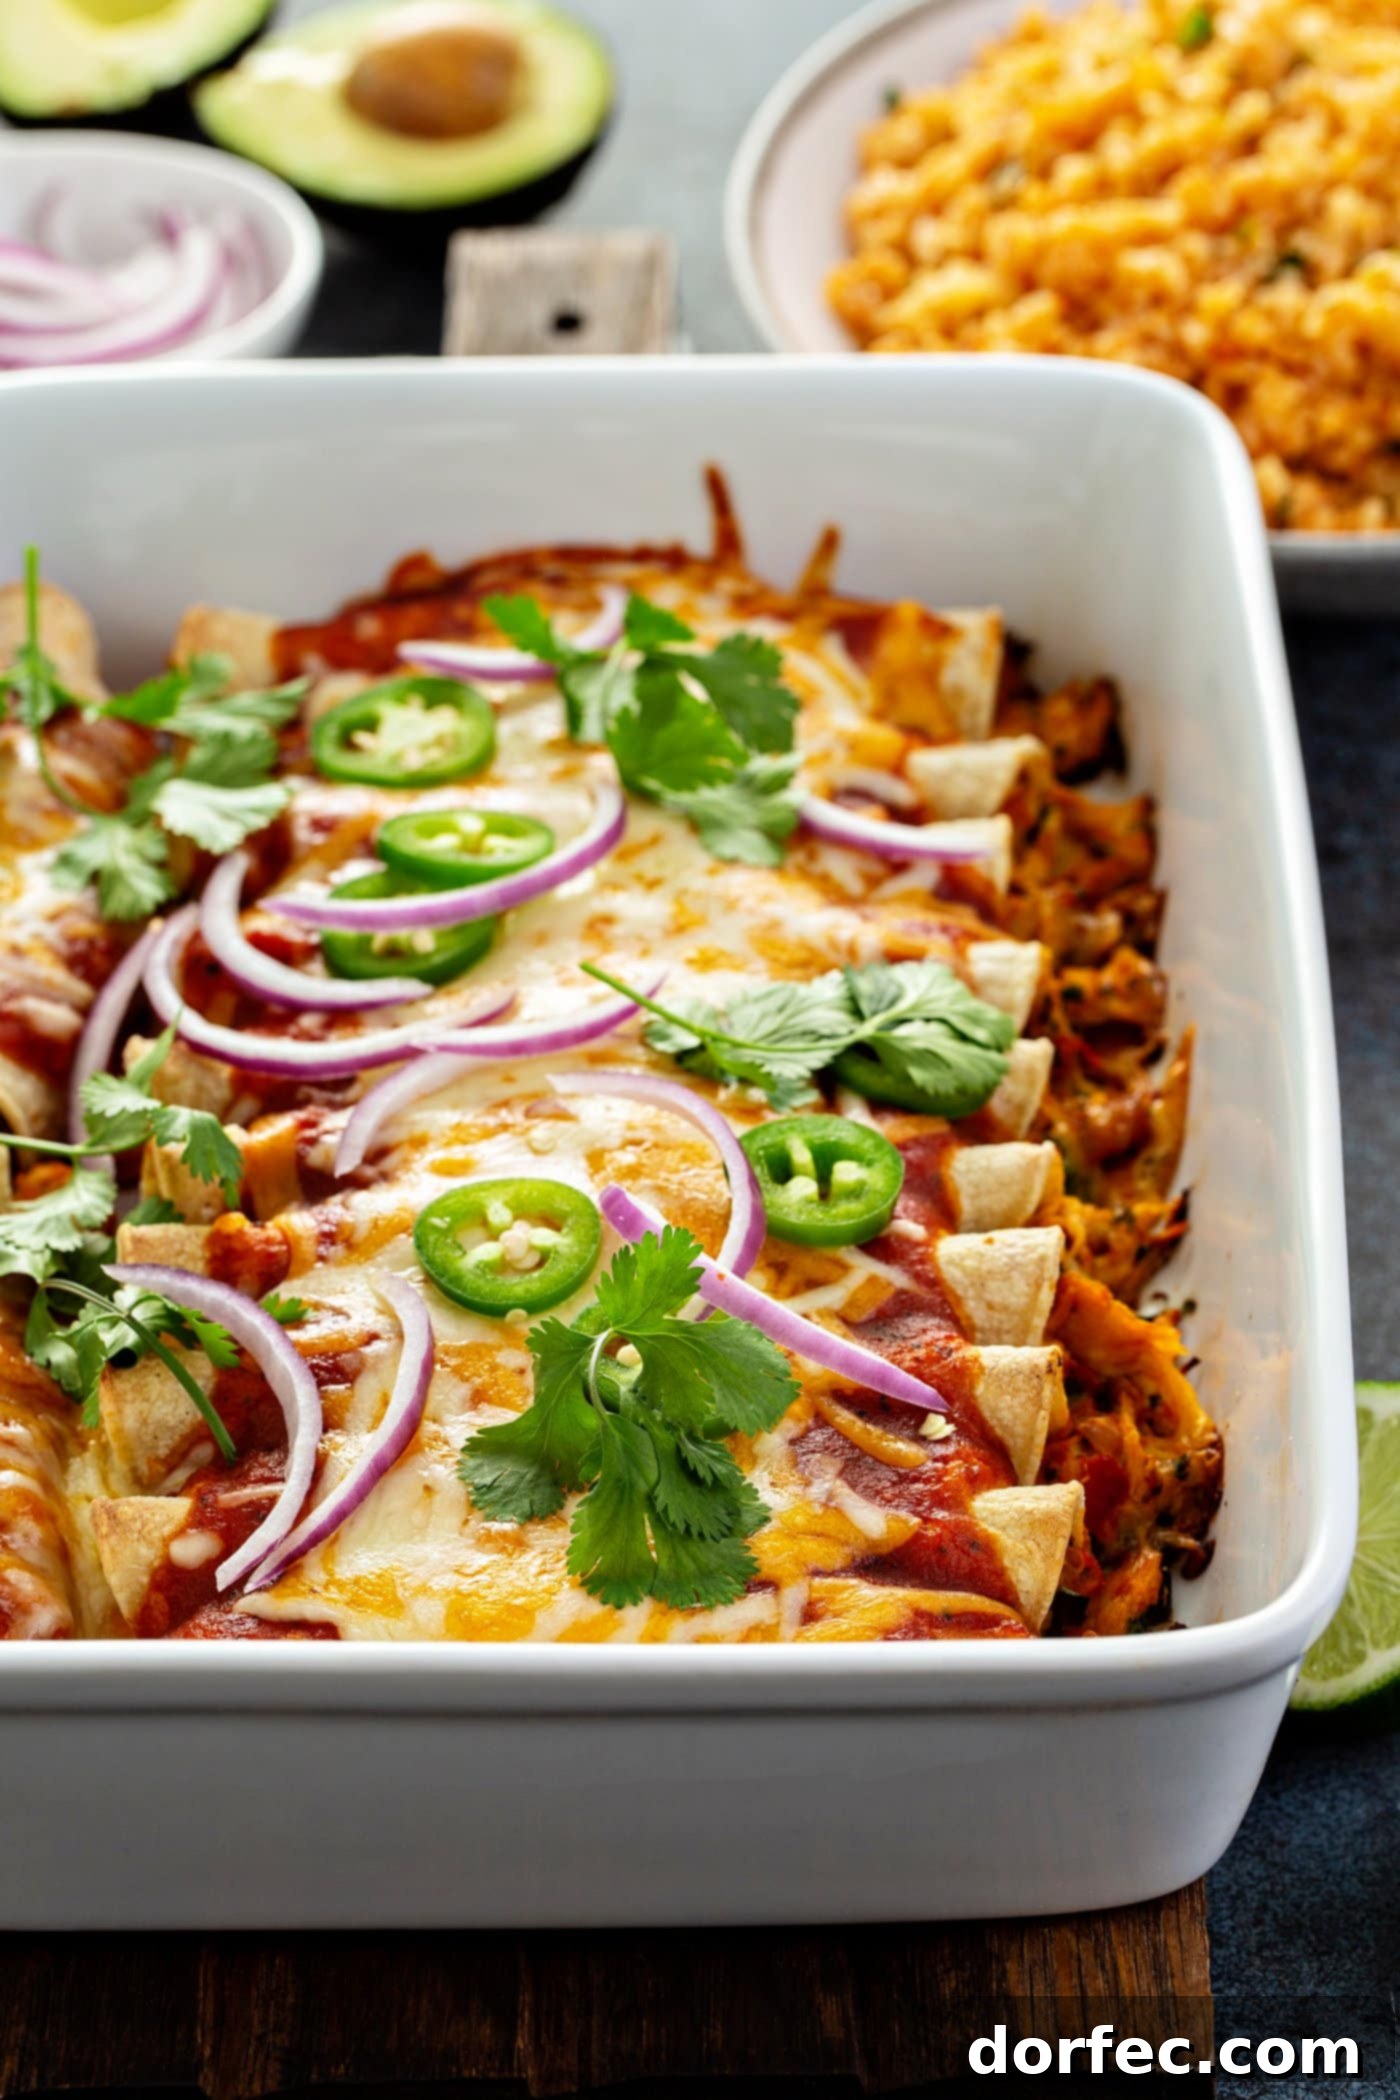
Welcome to the ultimate guide for crafting the most incredible Red Chicken Enchiladas! Forget everything you thought you knew about weeknight dinners, because these enchiladas are a culinary revelation. Bursting with robust, spicy flavors, generously loaded with a luscious cheese blend, and drenched in a vibrant, savory red sauce, they are truly a masterpiece. While many modern recipes favor green sauces, we’re here to champion the classic red, a decision you will absolutely not regret. Trust us, the rich depth and authentic taste that comes from a homemade red enchilada sauce elevate this dish to an unforgettable experience, making every extra step well worth the effort.
For years, my go-to enchilada recipe was the ever-popular Honey Lime Chicken Enchiladas, a family favorite that never failed to impress. However, my curiosity led me to explore new horizons, specifically the acclaimed Cook’s Illustrated version of red chicken enchiladas. And let me tell you, it did not disappoint. This recipe combines traditional Mexican flavors with refined techniques, resulting in enchiladas that are perfectly balanced in spice, texture, and cheesy goodness. Prepare to redefine your expectations for homemade Mexican cuisine!
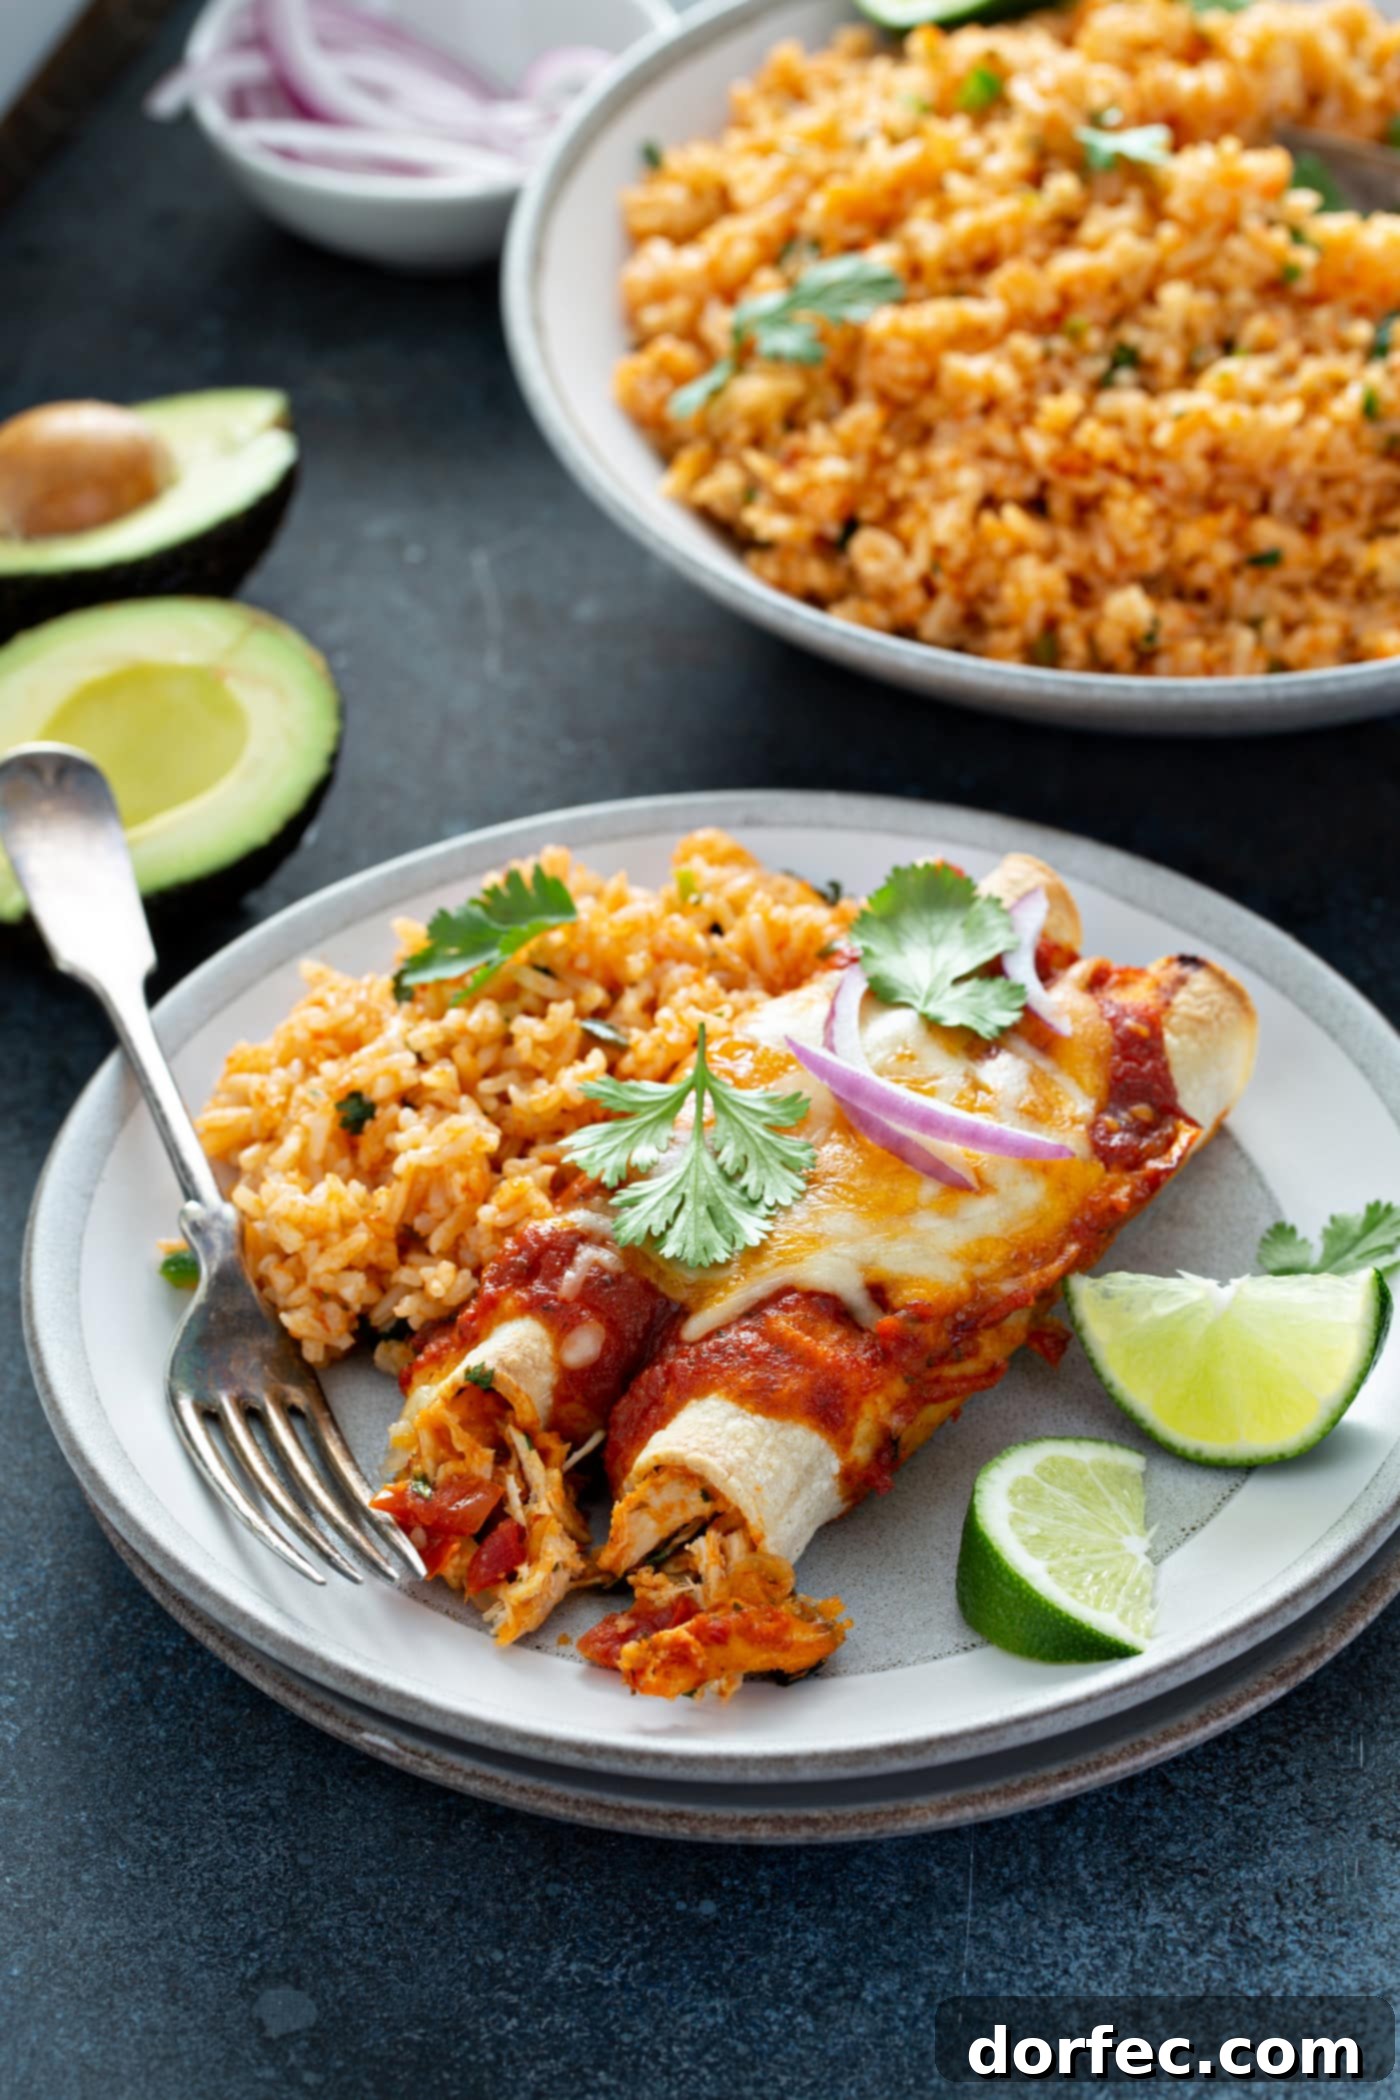
The Essential Ingredients for Perfect Red Chicken Enchiladas
Crafting delicious Red Chicken Enchiladas begins with high-quality ingredients. While the star of the show is undeniably the homemade red enchilada sauce (and we highly recommend you visit our dedicated post for its full ingredient list and instructions), the remaining components for the enchiladas themselves are refreshingly simple. Here’s what you’ll need to create this flavor-packed dish:
- Boneless, Skinless Chicken Breasts: We prefer breasts for their lean texture, but chicken thighs can also be used for a richer flavor profile. About 1 pound is perfect for this recipe.
- Sharp White Cheddar Cheese: This cheese adds a wonderful tangy depth and melts beautifully, contributing to that irresistible cheesy pull.
- Monterey Jack Cheese: Known for its mild, buttery flavor and excellent melting properties, Monterey Jack complements the cheddar perfectly, creating a balanced and gooey cheese filling.
- Fresh Cilantro: A generous handful of finely minced fresh cilantro provides a burst of authentic Mexican flavor and freshness.
- Corn Tortillas: The traditional choice for enchiladas, corn tortillas offer a distinct texture and flavor that pairs exquisitely with the red sauce. We’ll share tips on how to keep them soft and pliable.
- Your Favorite Toppings: Customization is key! We love the added crunch and spice of sliced red onion and jalapeños. Other fantastic options include sour cream, avocado, a sprinkle of cotija cheese, or even a dollop of fresh salsa.
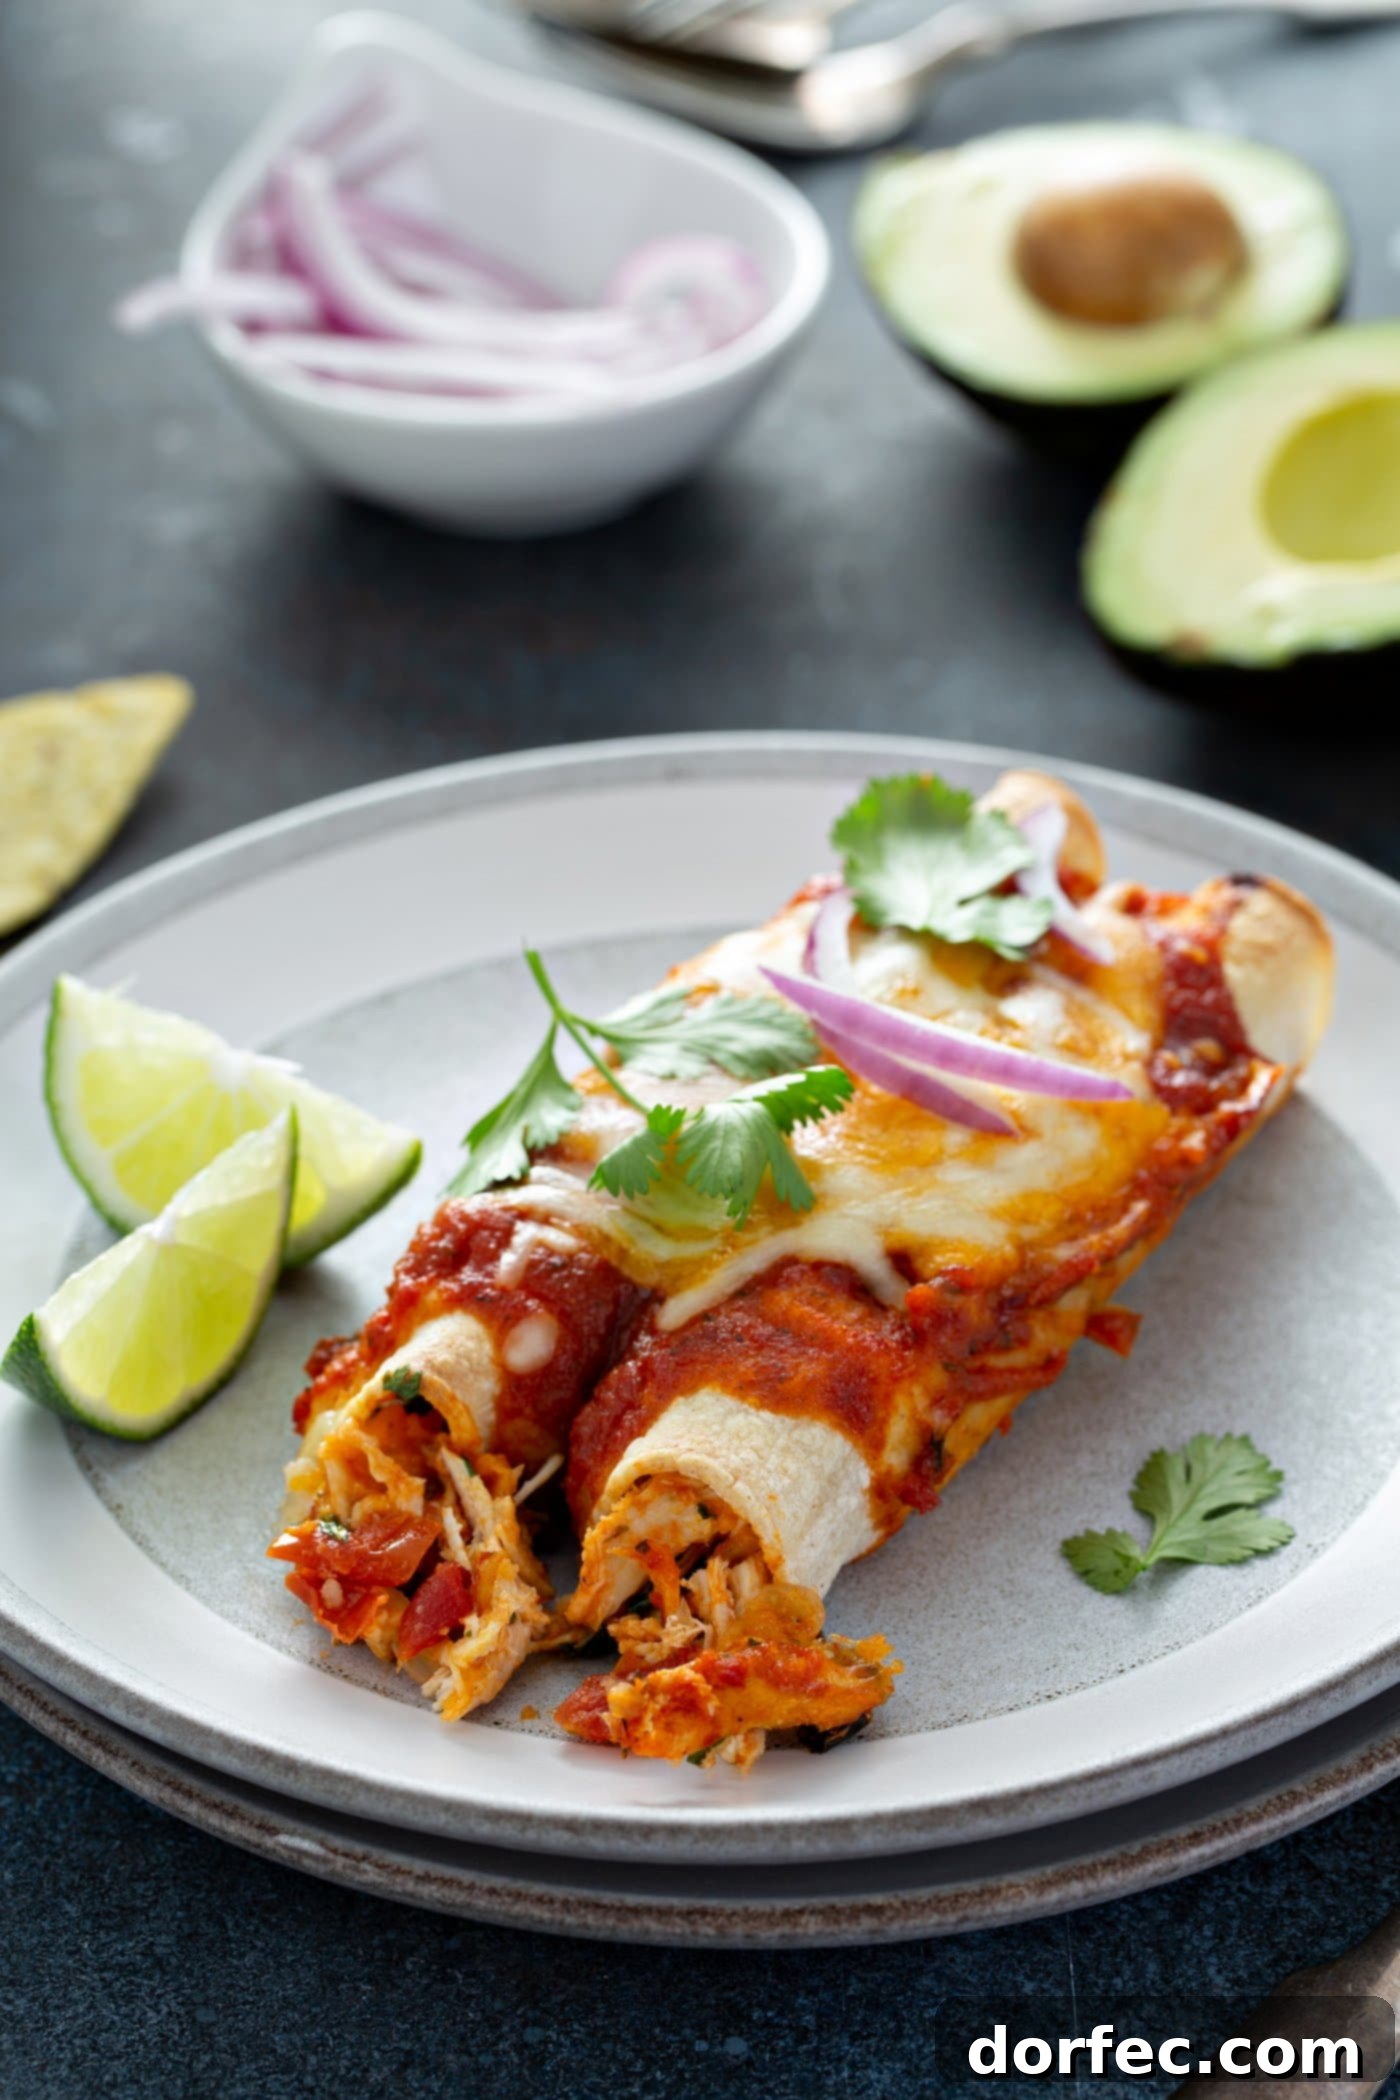
Step-by-Step Guide to Making Irresistible Red Chicken Enchiladas
Once your homemade red enchilada sauce is ready (or you’ve chosen a high-quality store-bought alternative, with notes in the recipe card below for preparation), the process of assembling these delectable enchiladas is surprisingly straightforward. The full, detailed instructions are provided in the comprehensive recipe card, but here’s a simplified overview to get you started on your culinary journey:
- Simmer the Chicken: Gently nestle the chicken breasts into a portion of your rich red enchilada sauce. Cook over low heat until the chicken is perfectly tender and cooked through, absorbing all the wonderful flavors of the sauce. This usually takes about 12-20 minutes, or until an instant-read thermometer registers 160°F.
- Cool and Shred: Carefully remove the cooked chicken from the sauce, reserving the remaining sauce for later. Allow the chicken to cool slightly so it’s comfortable to handle, then shred it into bite-sized pieces. This creates a wonderful texture for the filling.
- Prepare the Filling: In a bowl, combine the shredded chicken with a small amount of the reserved enchilada sauce, half of your shredded sharp white cheddar and Monterey Jack cheeses, and the fresh, minced cilantro. Stir everything together until well combined, ensuring every piece of chicken is coated in cheesy, herbaceous goodness. This mixture forms the heart of your enchiladas.
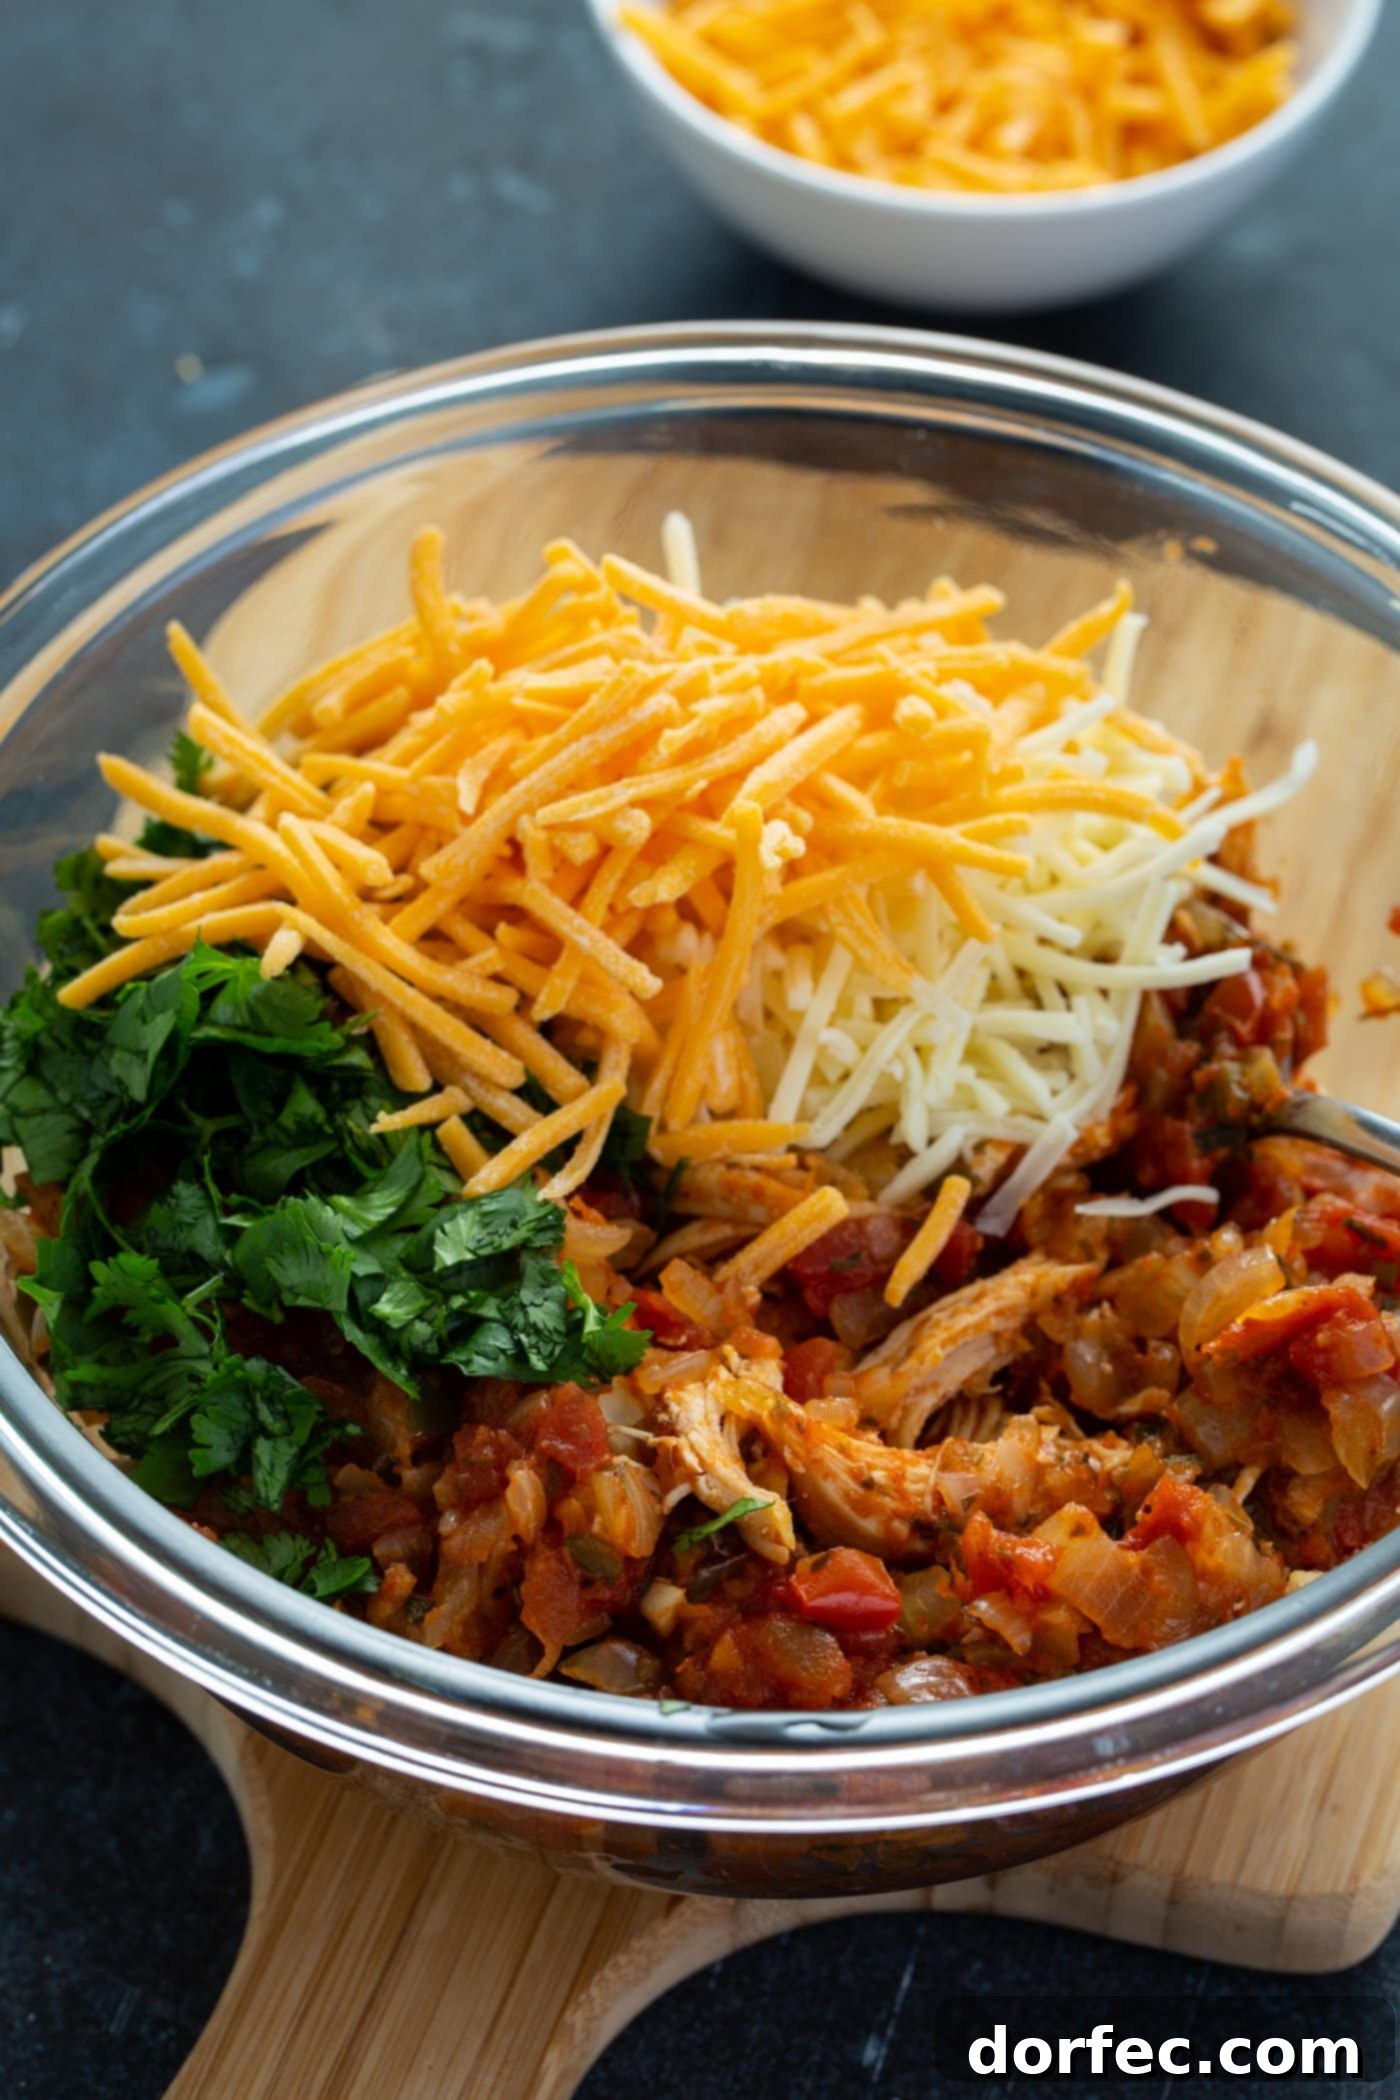
Preventing Tortilla Tears: Tips for Pliable Perfection
One of the most common frustrations when making enchiladas is dealing with tortillas that break or crack when you try to roll them. Fear not! Achieving soft, pliable tortillas is easier than you think. Here are a few tried-and-true methods to ensure your tortillas roll perfectly every time, creating beautiful, intact enchiladas:
- Skillet Warm-Up: Heat a dry skillet over medium-high heat. Quickly warm each corn tortilla for about 10-20 seconds per side, just until it becomes soft and flexible. Avoid overcooking, as this can make them brittle. As you warm them, stack them and keep them covered under a thick kitchen towel or wrapped in aluminum foil to retain their warmth and moisture.
- Microwave Magic (with plastic wrap): For a quick and efficient method, stack about 6-8 tortillas on a plate. Wrap the stack tightly in plastic wrap. Microwave on high for 40-60 seconds, or until they are steaming and soft. Use them immediately, keeping any unrolled tortillas covered. The plastic wrap traps steam, making them incredibly pliable.
- Microwave Magic (with a damp towel): Alternatively, you can wrap a stack of tortillas in a slightly damp paper towel or kitchen towel. Microwave them for 30-45 seconds, then use immediately. The dampness helps create steam, ensuring they are soft and easy to handle.
The key to preventing breakage is warmth and moisture. Cold, dry tortillas are almost guaranteed to crack. By taking this simple extra step, you’ll ensure a smooth and enjoyable enchilada assembly process.
Assembling Your Delicious Red Chicken Enchiladas
With your chicken filling prepared and your tortillas perfectly pliable, it’s time for the exciting part: assembling your enchiladas! This process is straightforward and yields a pan of beautifully rolled, ready-to-bake delights.
- Preheat Oven & Prepare Dish: Start by preheating your oven to a robust 425°F (220°C). While the oven heats, lightly spray a 9×13-inch baking dish with cooking spray. This prevents sticking and makes cleanup easier.
- Warm Tortillas: If you haven’t already, warm your tortillas using one of the methods described above. They should be warm and flexible to prevent cracking during rolling.
- Fill and Roll: Take one warm tortilla and spoon approximately 1/3 cup of the savory chicken mixture evenly down its center. Gently but firmly roll the tortilla around the filling, creating a neat cylinder. Place the rolled tortilla into the prepared baking dish, with the seam-side facing down. This keeps the enchiladas secure during baking.
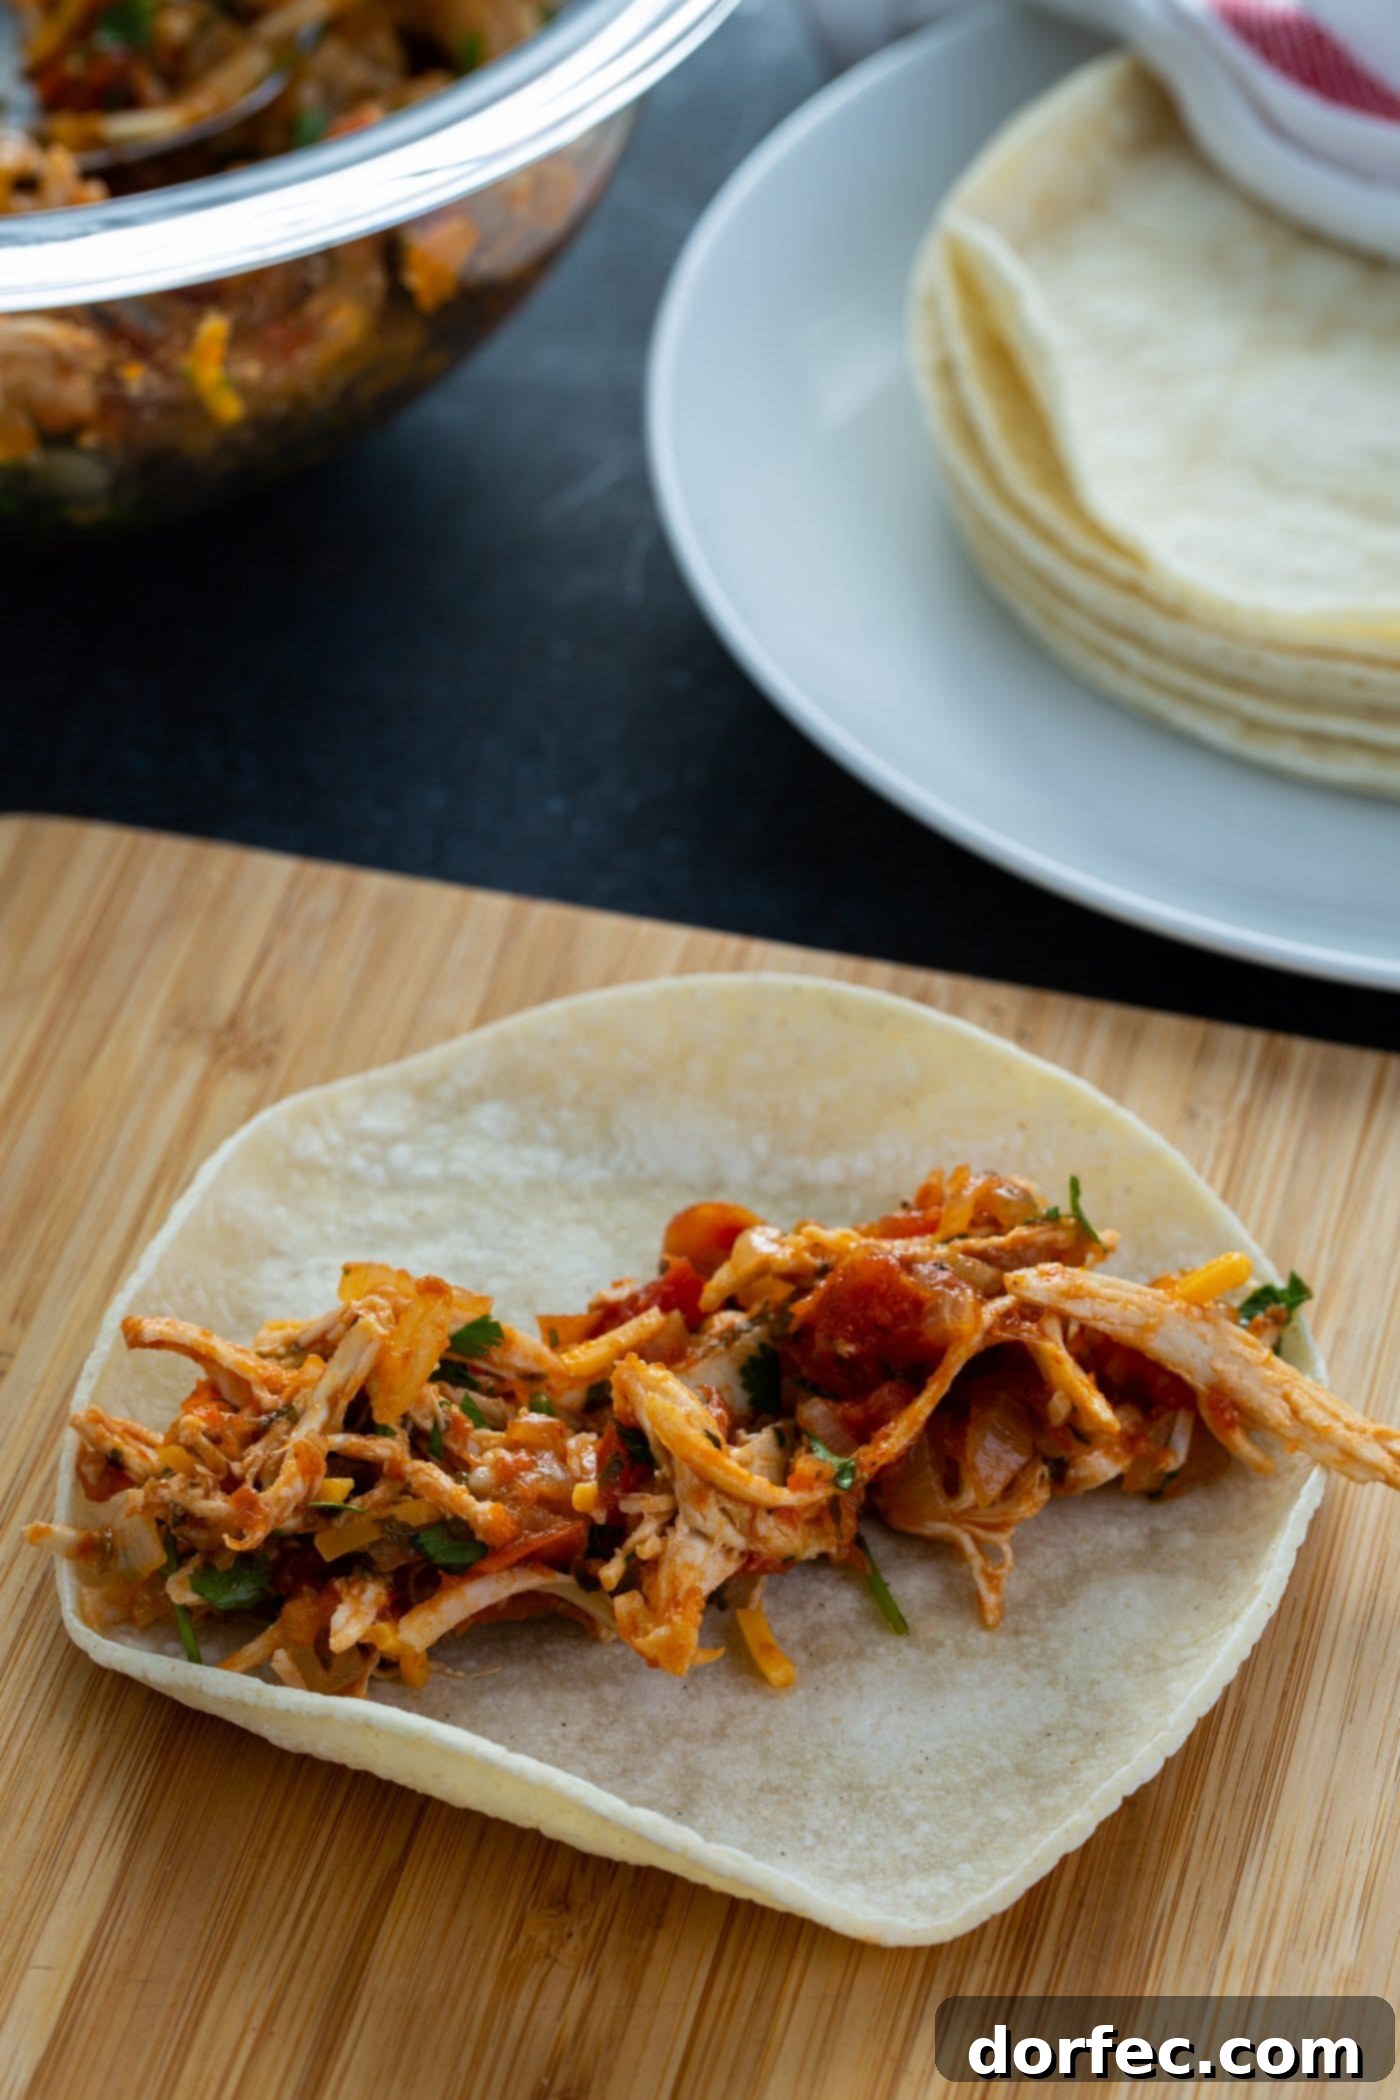
- Repeat and Arrange: Continue this filling and rolling process with the remaining chicken mixture and tortillas, arranging them snugly in a single layer in the baking dish. They can be close together, but try not to overcrowd them.
- Lightly Spray: Once all your enchiladas are neatly arranged, give the tops a light spray with cooking spray. This helps them achieve a lovely golden-brown crispness during the initial bake.
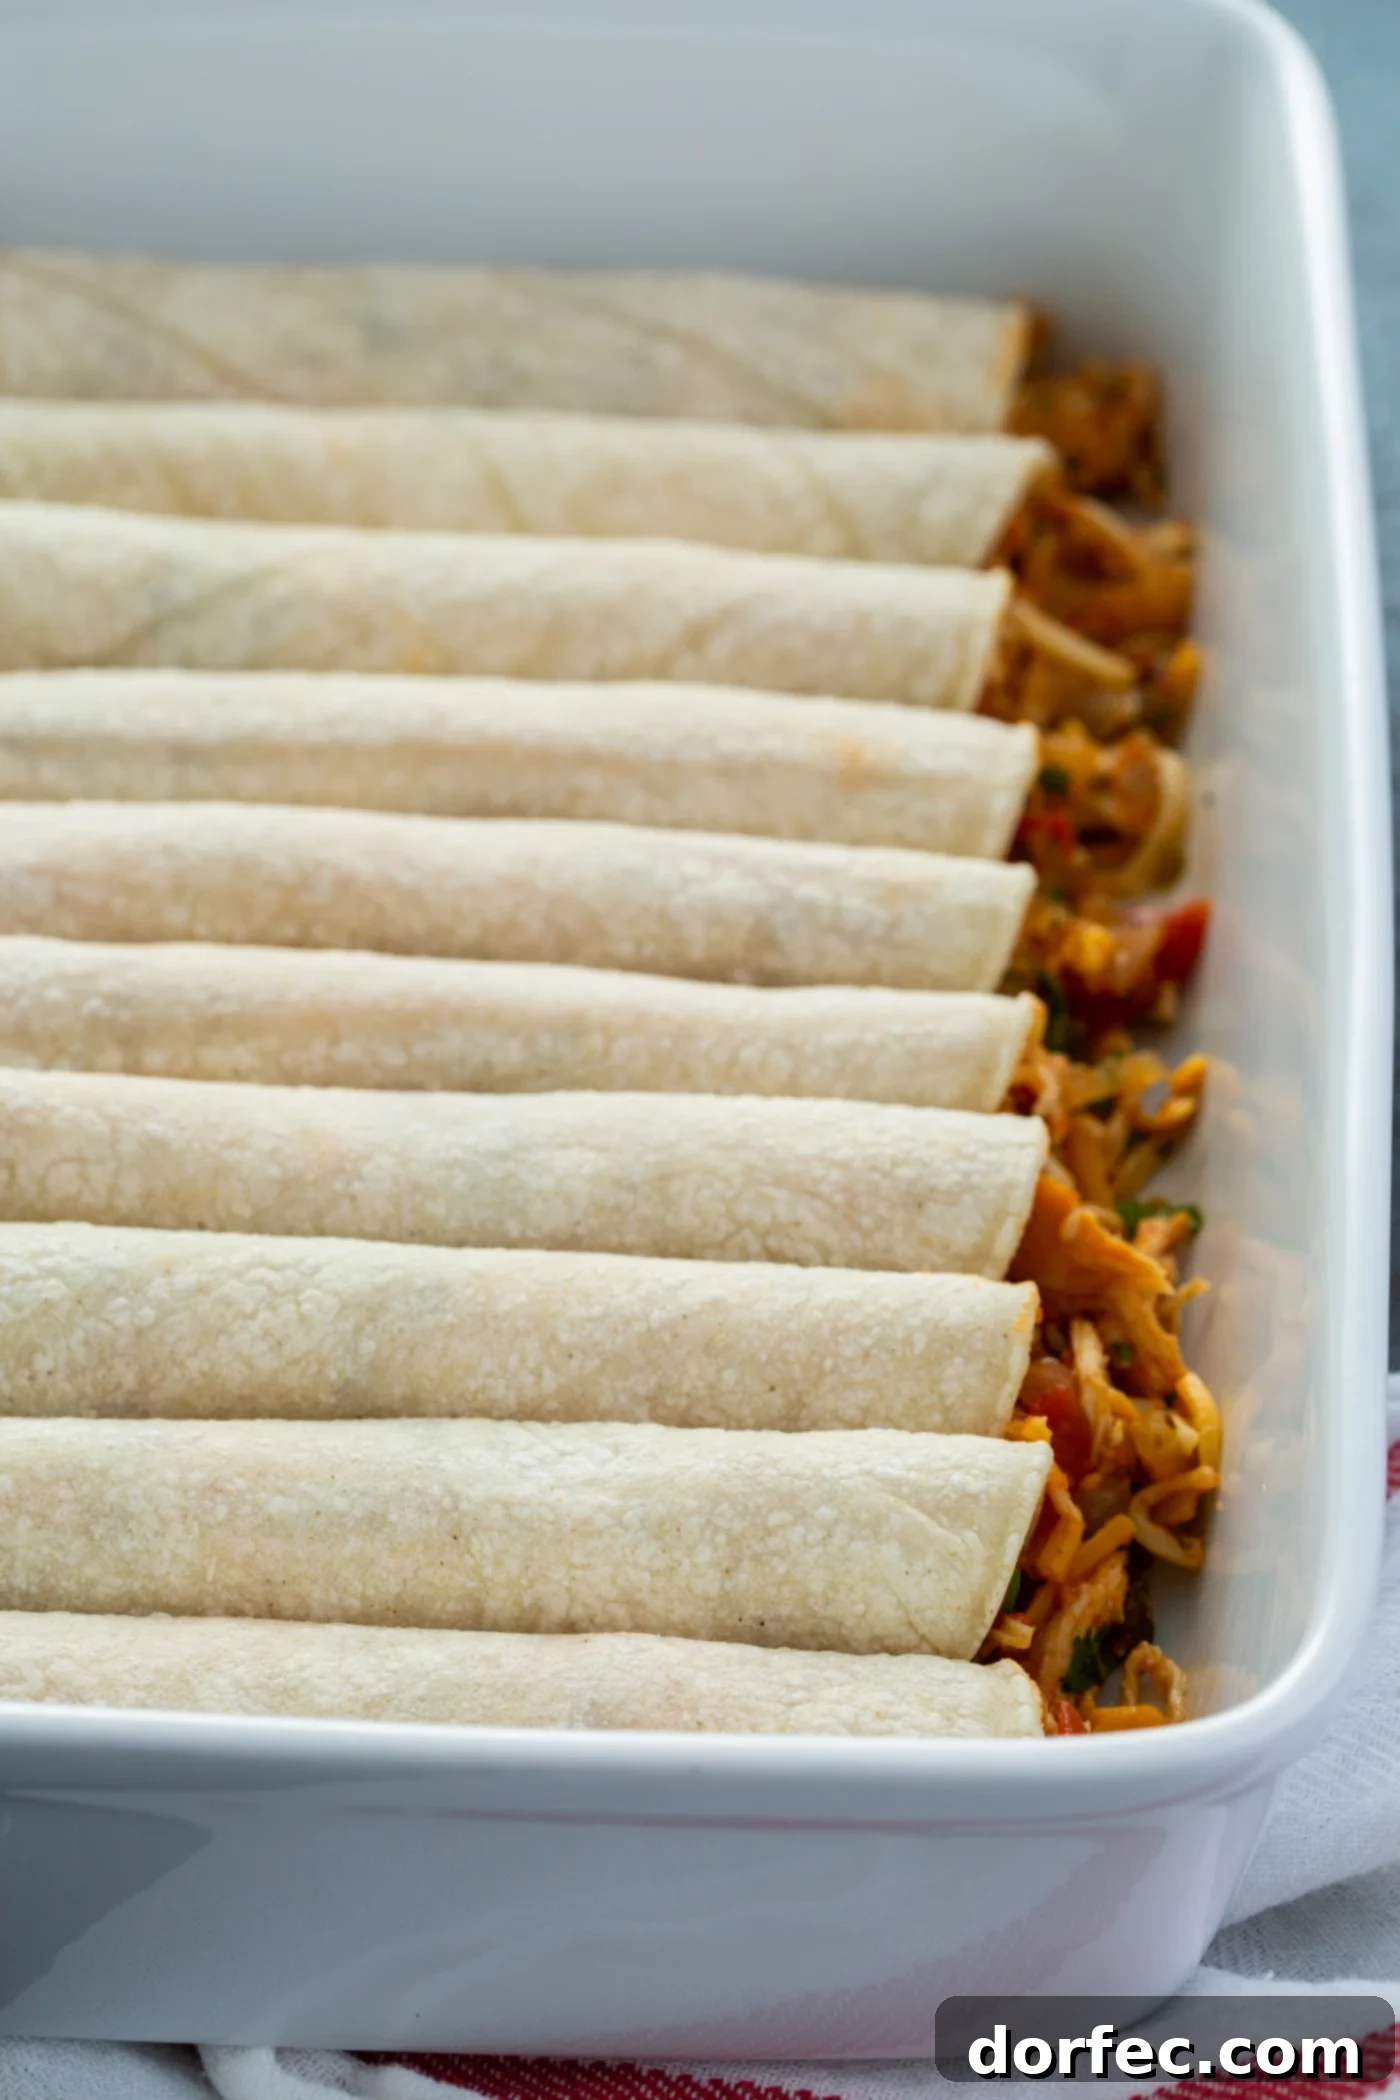
- Initial Bake: Place the uncovered baking dish into your preheated oven. Bake for approximately 7 minutes, or until the edges of the tortillas begin to brown slightly. This step helps the tortillas hold their shape and develop a bit of texture before the sauce is added.
- Reduce Temperature & Sauce It Up: After the initial bake, reduce the oven temperature to 400°F (200°C). Carefully remove the enchiladas from the oven. Now, it’s time to pour that glorious, reserved red enchilada sauce generously over the tops of all the rolled enchiladas. Ensure they are well-covered.
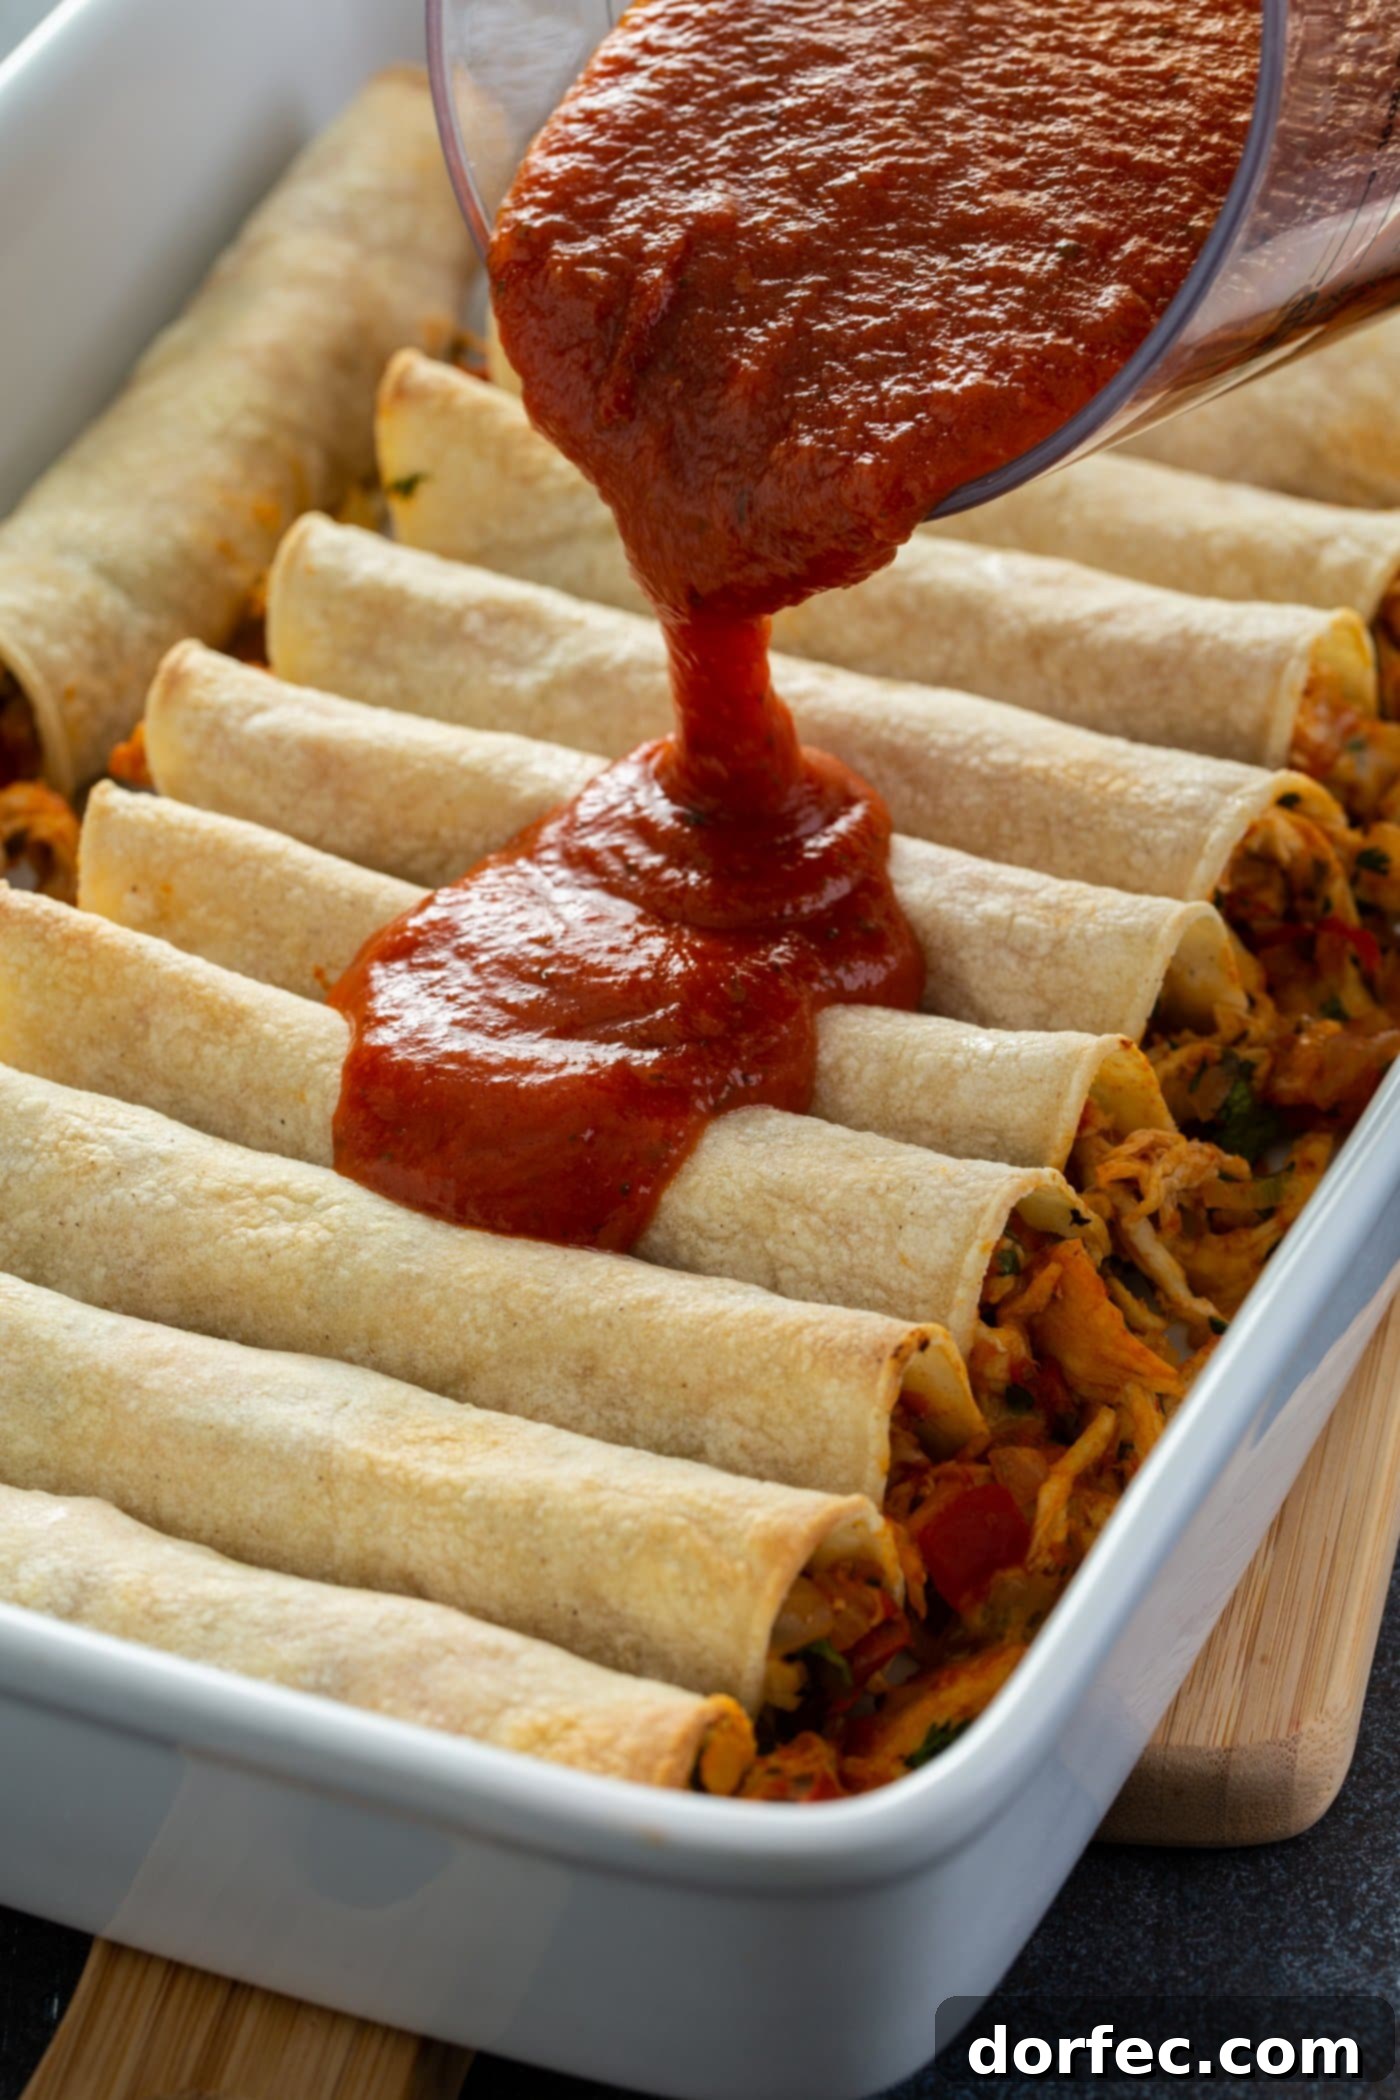
- Final Cheesy Touch: Sprinkle the remaining shredded sharp white cheddar and Monterey Jack cheeses liberally over the sauce-covered enchiladas. This creates that iconic melted cheese topping we all crave.
- Cover and Bake: Cover the baking dish tightly with aluminum foil. Return it to the oven and bake for an additional 20 minutes. This covered baking time allows the flavors to meld, the cheese to melt into gooey perfection, and the enchiladas to heat through evenly without drying out.
- Uncover and Brown: For the last 5 minutes of baking, remove the foil. This final uncovered bake helps the cheese on top to achieve a beautiful golden-brown color and a slightly crispy edge.
- Rest Before Serving: Once baked, remove the enchiladas from the oven and let them rest for about 10 minutes before serving. This crucial resting period allows the sauces and fillings to set, making them easier to serve and preventing them from falling apart.
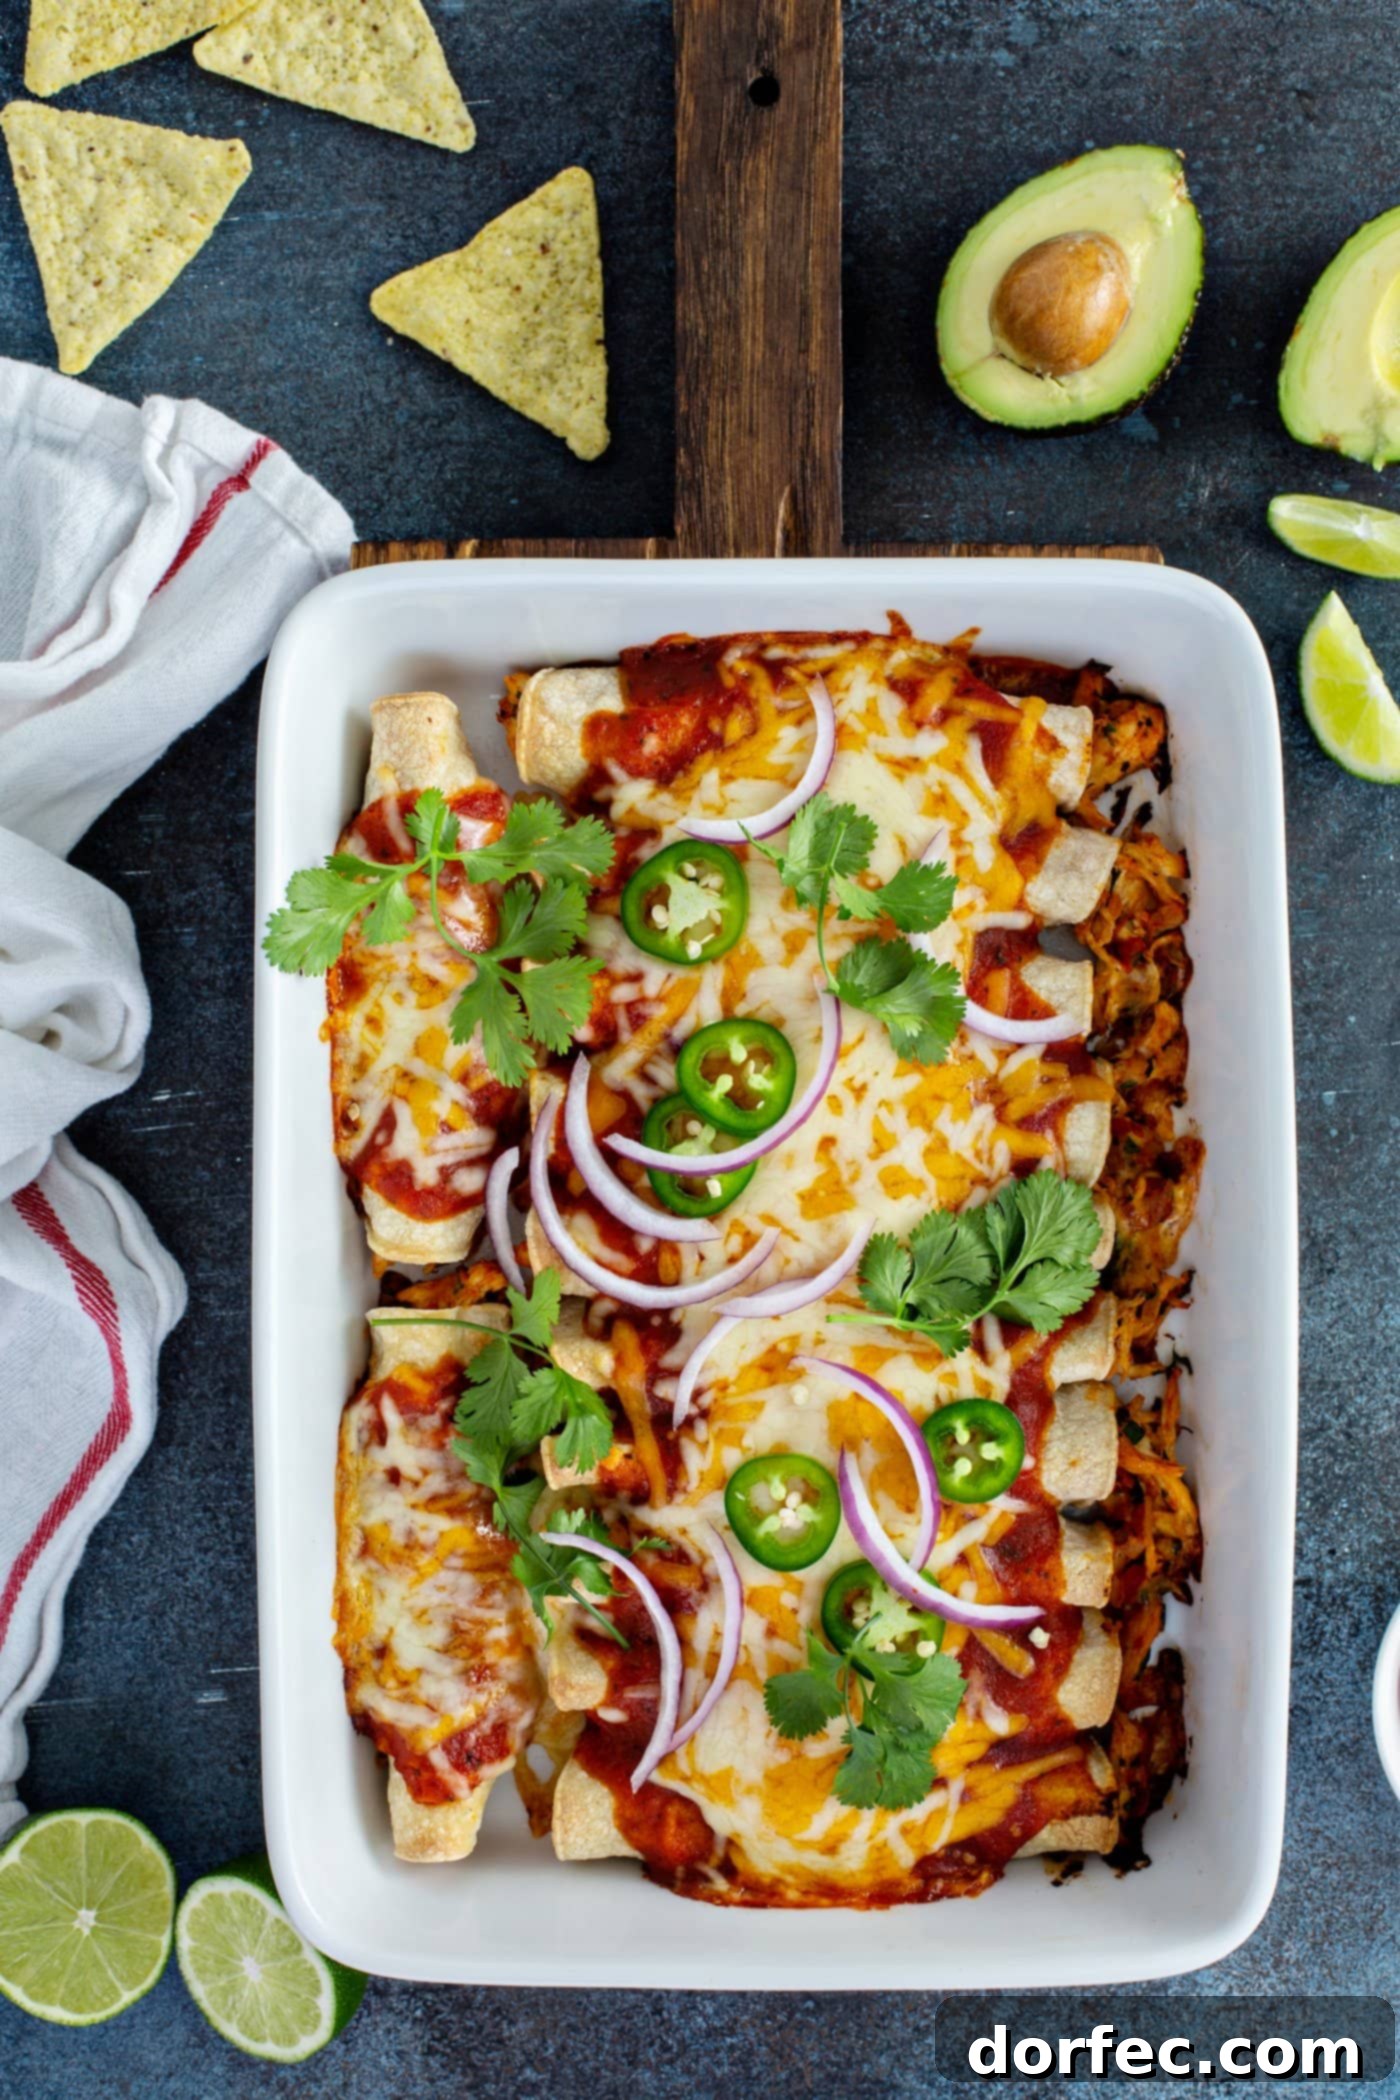
- Garnish and Enjoy: Finally, top your magnificent Red Chicken Enchiladas with your favorite garnishes. Whether it’s fresh cilantro, a dollop of sour cream, or those spicy sliced red onions and jalapeños, get ready to savor every bite!
Enchilada vs. Burrito: Unraveling the Delicious Differences
Often confused, enchiladas and burritos are distinct culinary creations within Mexican cuisine, each with its unique characteristics. Understanding these differences can enhance your appreciation for both dishes:
Enchiladas: Typically crafted with smaller corn tortillas, enchiladas are traditionally rolled around a savory filling and then generously covered in a flavorful sauce, such as our vibrant red enchilada sauce. They are usually baked to allow the flavors to meld and the cheese to melt into a luscious topping, creating a harmonious, saucy dish that is often eaten with a fork.
Burritos: In contrast, burritos are predominantly made with larger flour tortillas. They are usually stuffed with a heartier filling (often including rice and beans alongside meat) and wrapped tightly into a portable, handheld package. While burritos can sometimes be “wet” (covered in sauce), it’s more common for any accompanying sauce to be served on the side, allowing the eater to customize each bite. The flour tortilla’s flexibility and larger size make burritos ideal for a more substantial, on-the-go meal.
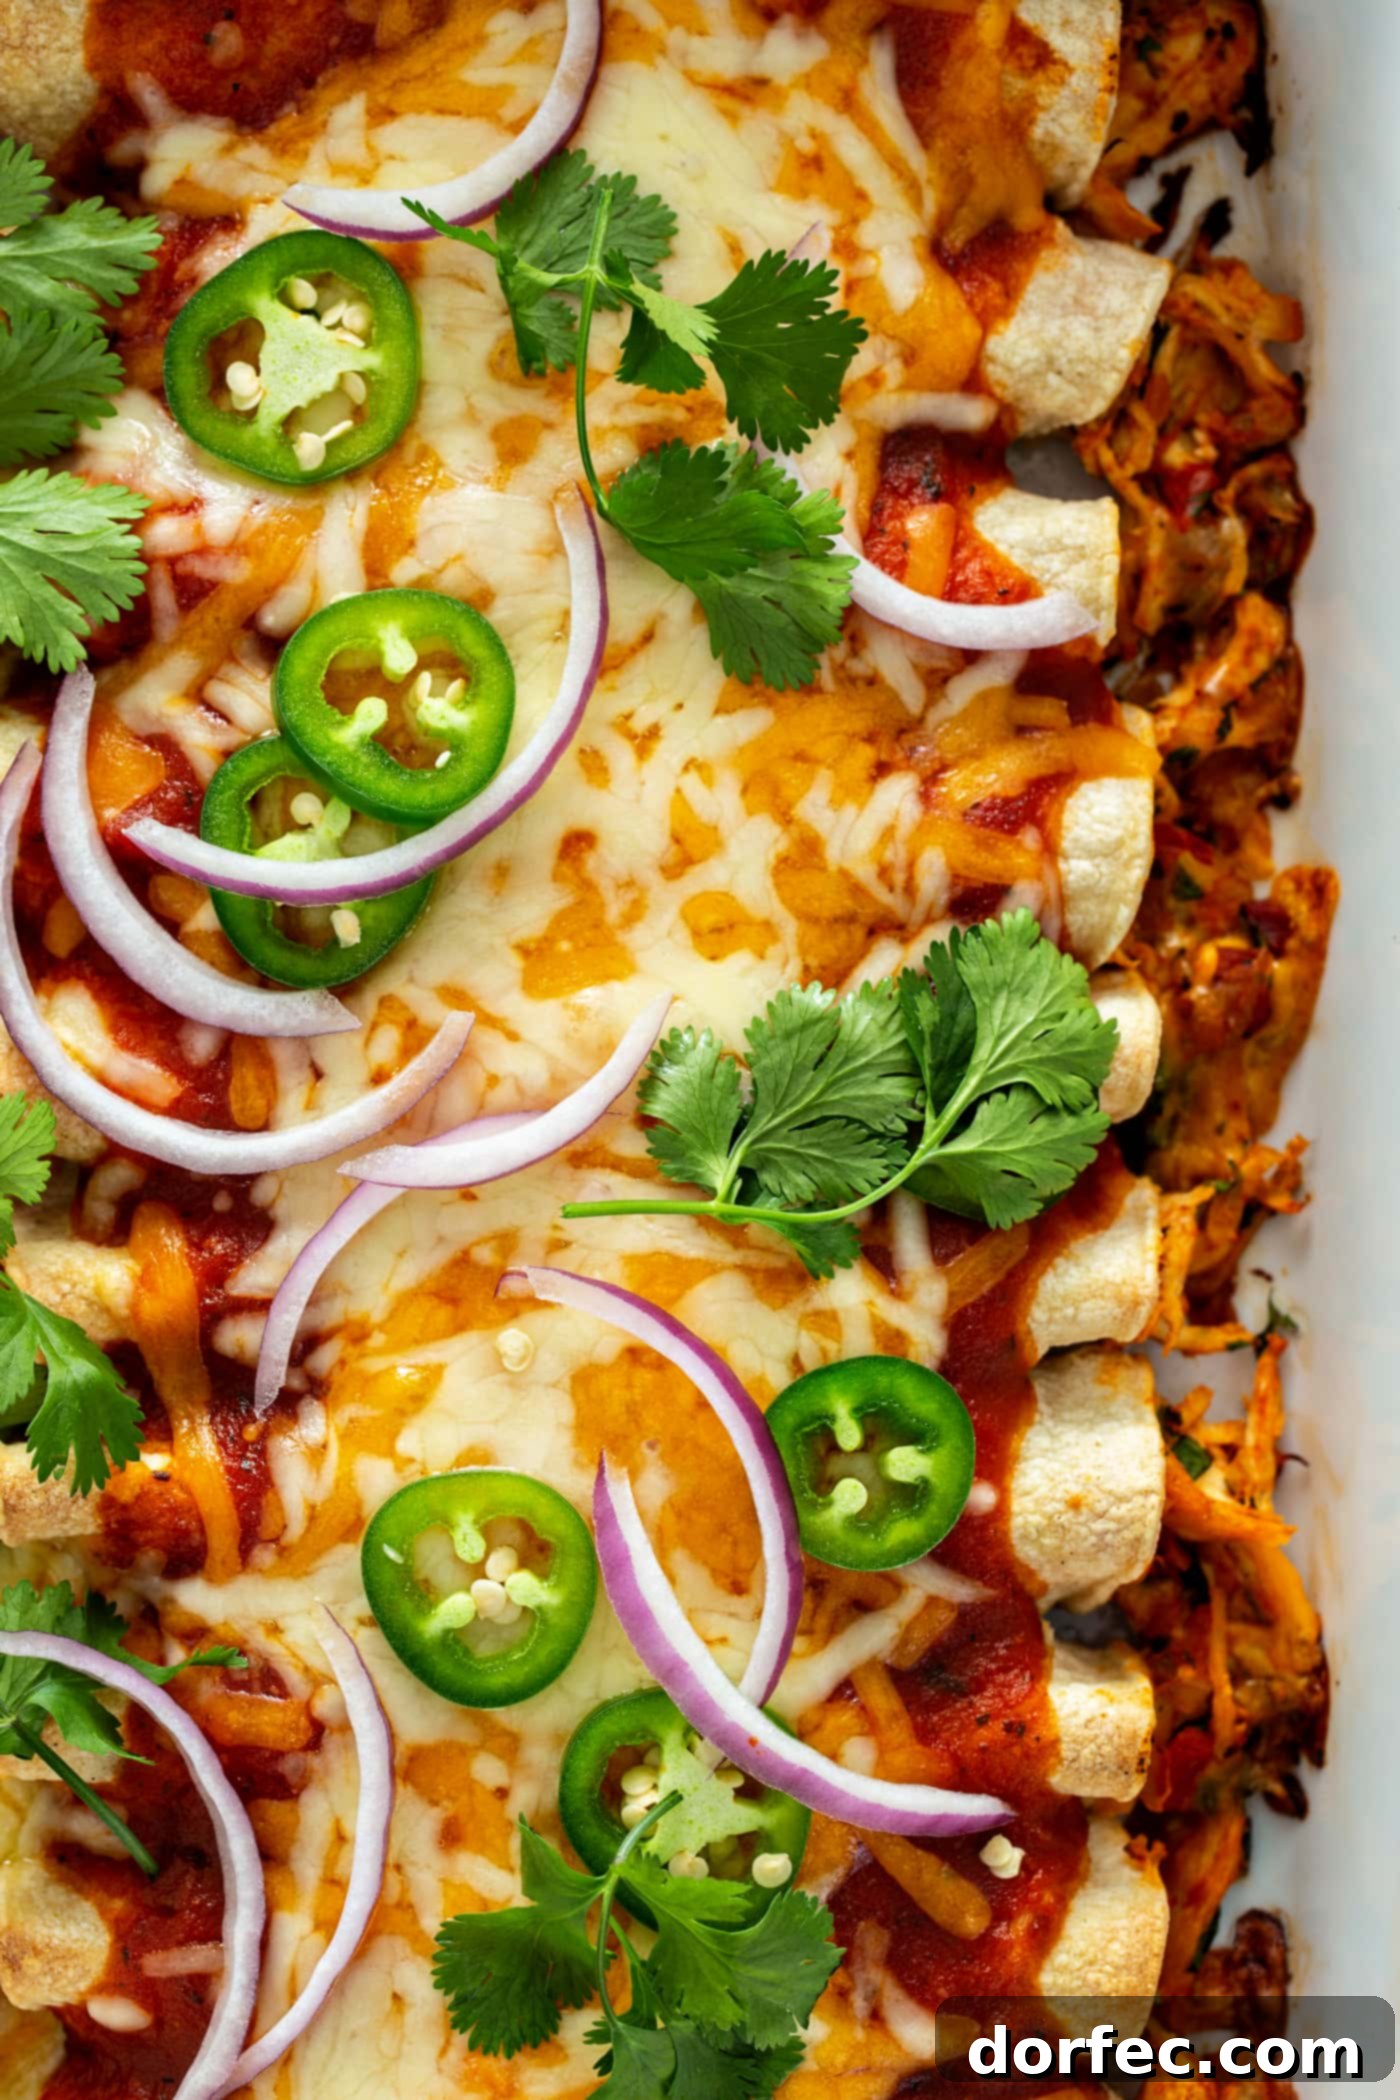
Can Red Chicken Enchiladas Be Made Ahead?
Absolutely! Red Chicken Enchiladas are a fantastic make-ahead meal, perfect for busy weeknights or entertaining. You can assemble the enchiladas completely, right up to the point before baking, and store them. Simply arrange the filled and rolled enchiladas in your baking dish, cover them tightly with plastic wrap, and then with aluminum foil. Refrigerate them for up to 2-3 days. When you’re ready to bake, remove them from the refrigerator and let them come closer to room temperature for about 30 minutes before proceeding with the baking instructions, adding a few extra minutes to the baking time if needed.
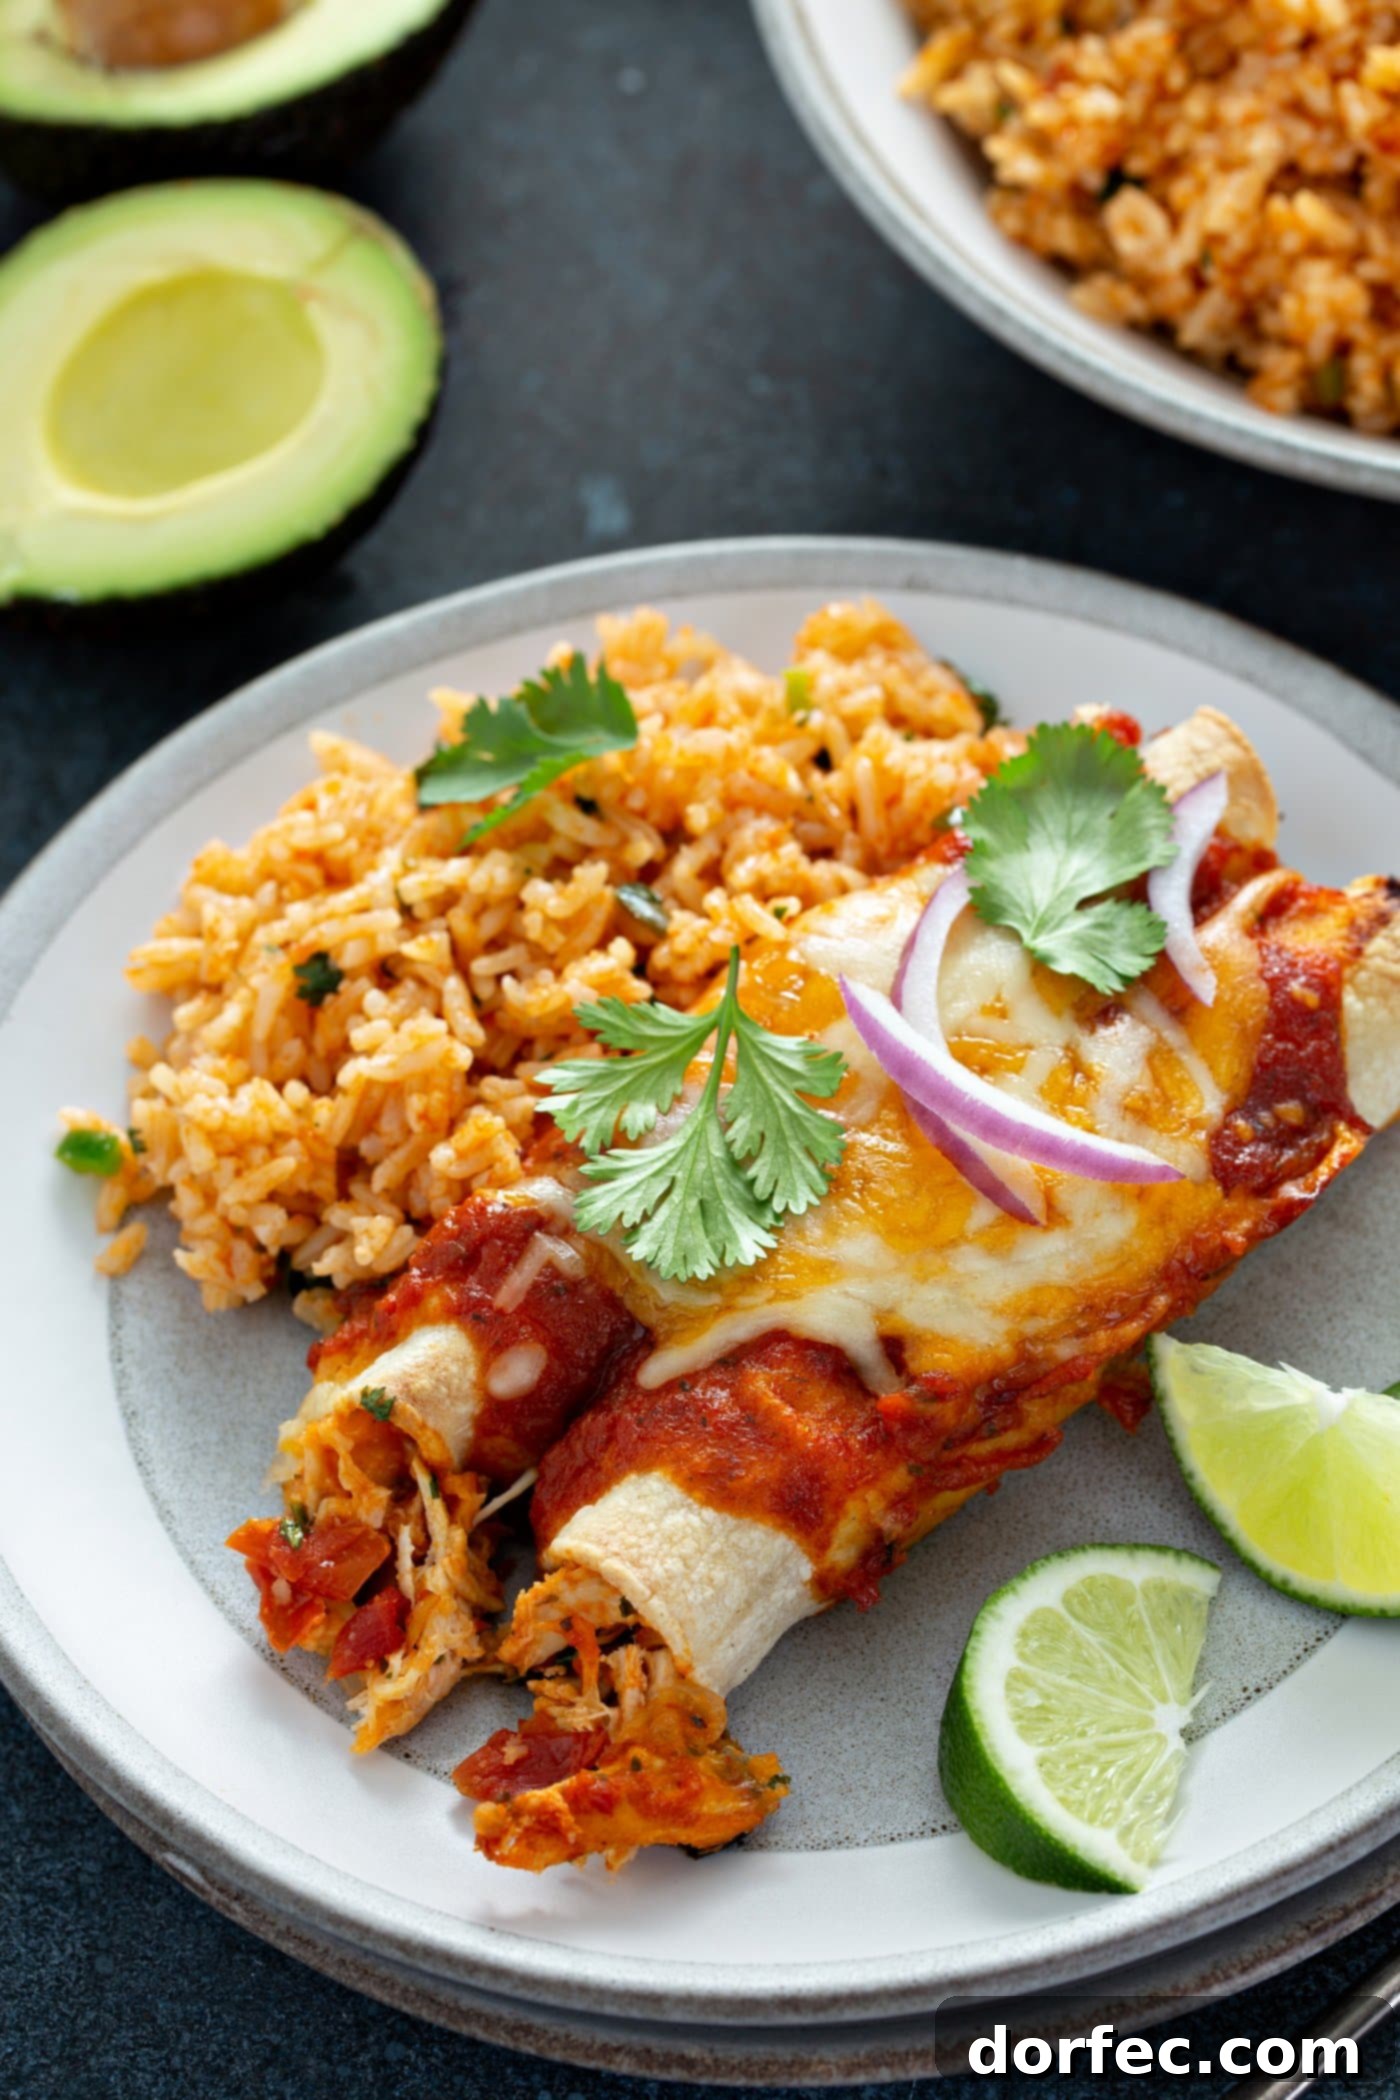
Can Red Chicken Enchiladas Be Frozen?
Yes, Red Chicken Enchiladas freeze beautifully, making them an excellent option for meal prepping and having a delicious dinner ready whenever you need it. Once assembled in the baking dish (again, before baking), wrap the entire pan securely in several layers of aluminum foil, ensuring a tight seal to prevent freezer burn. Label with the date.
You can freeze enchiladas for up to 3 months. When you’re ready to enjoy them, you can bake them directly from frozen. Simply remove the plastic wrap (if used) and foil, then cover with a new layer of foil. Bake in a preheated oven at 375°F (190°C) for about 45-60 minutes, or until heated through. Remove the foil for the last 10-15 minutes to brown the cheese. Alternatively, thaw them in the refrigerator overnight and then follow the regular baking instructions, adjusting time as needed.
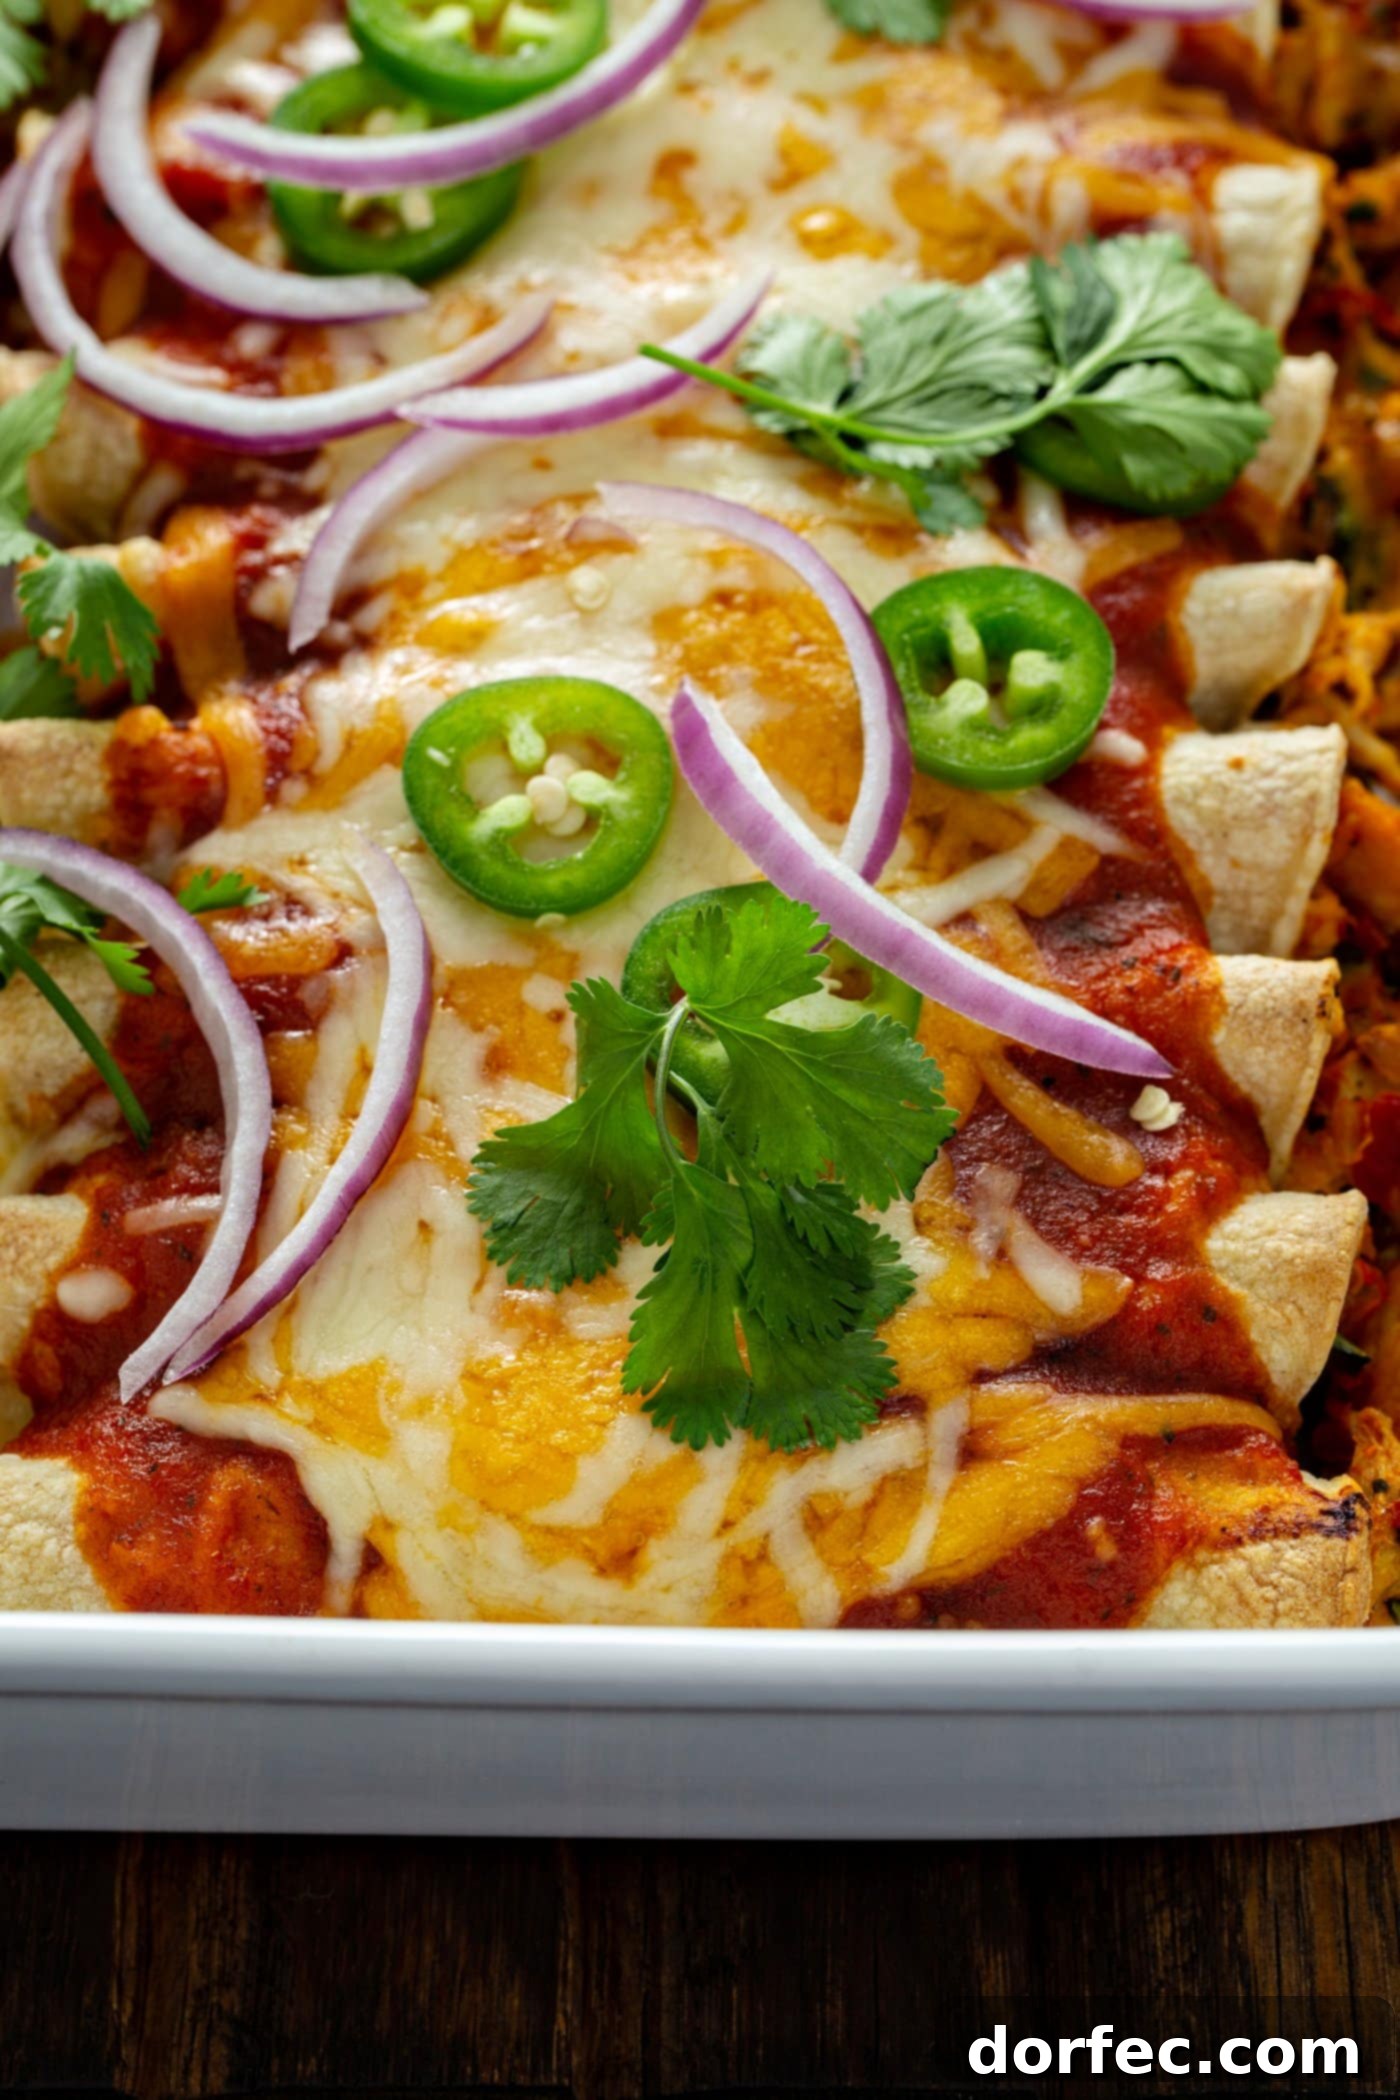
Corn Tortillas vs. Flour Tortillas: The Enchilada Debate
When it comes to crafting authentic enchiladas, the choice of tortilla is a topic of passionate debate among culinary enthusiasts. For our Red Chicken Enchiladas, we strongly advocate for the use of corn tortillas. Their distinct flavor and slightly firmer texture truly complement the rich, earthy notes of the red enchilada sauce and the savory chicken filling. Corn tortillas also contribute to a more traditional Mexican taste and texture profile, which we find utterly irresistible.
However, we understand that taste is subjective, and some may prefer the softer, more yielding nature of flour tortillas. If you have a strong preference for flour tortillas, you can certainly use them! Just be aware that true enchilada purists often insist that authentic enchiladas are exclusively made with corn tortillas. While we respect tradition, we believe that enjoying your meal is paramount. Using flour tortillas will still yield a delicious dish, albeit with a different character.
An added benefit of sticking with corn tortillas for this recipe is that it keeps these incredible Red Chicken Enchiladas gluten-free, making them accessible to more diners without compromising on flavor or authenticity.
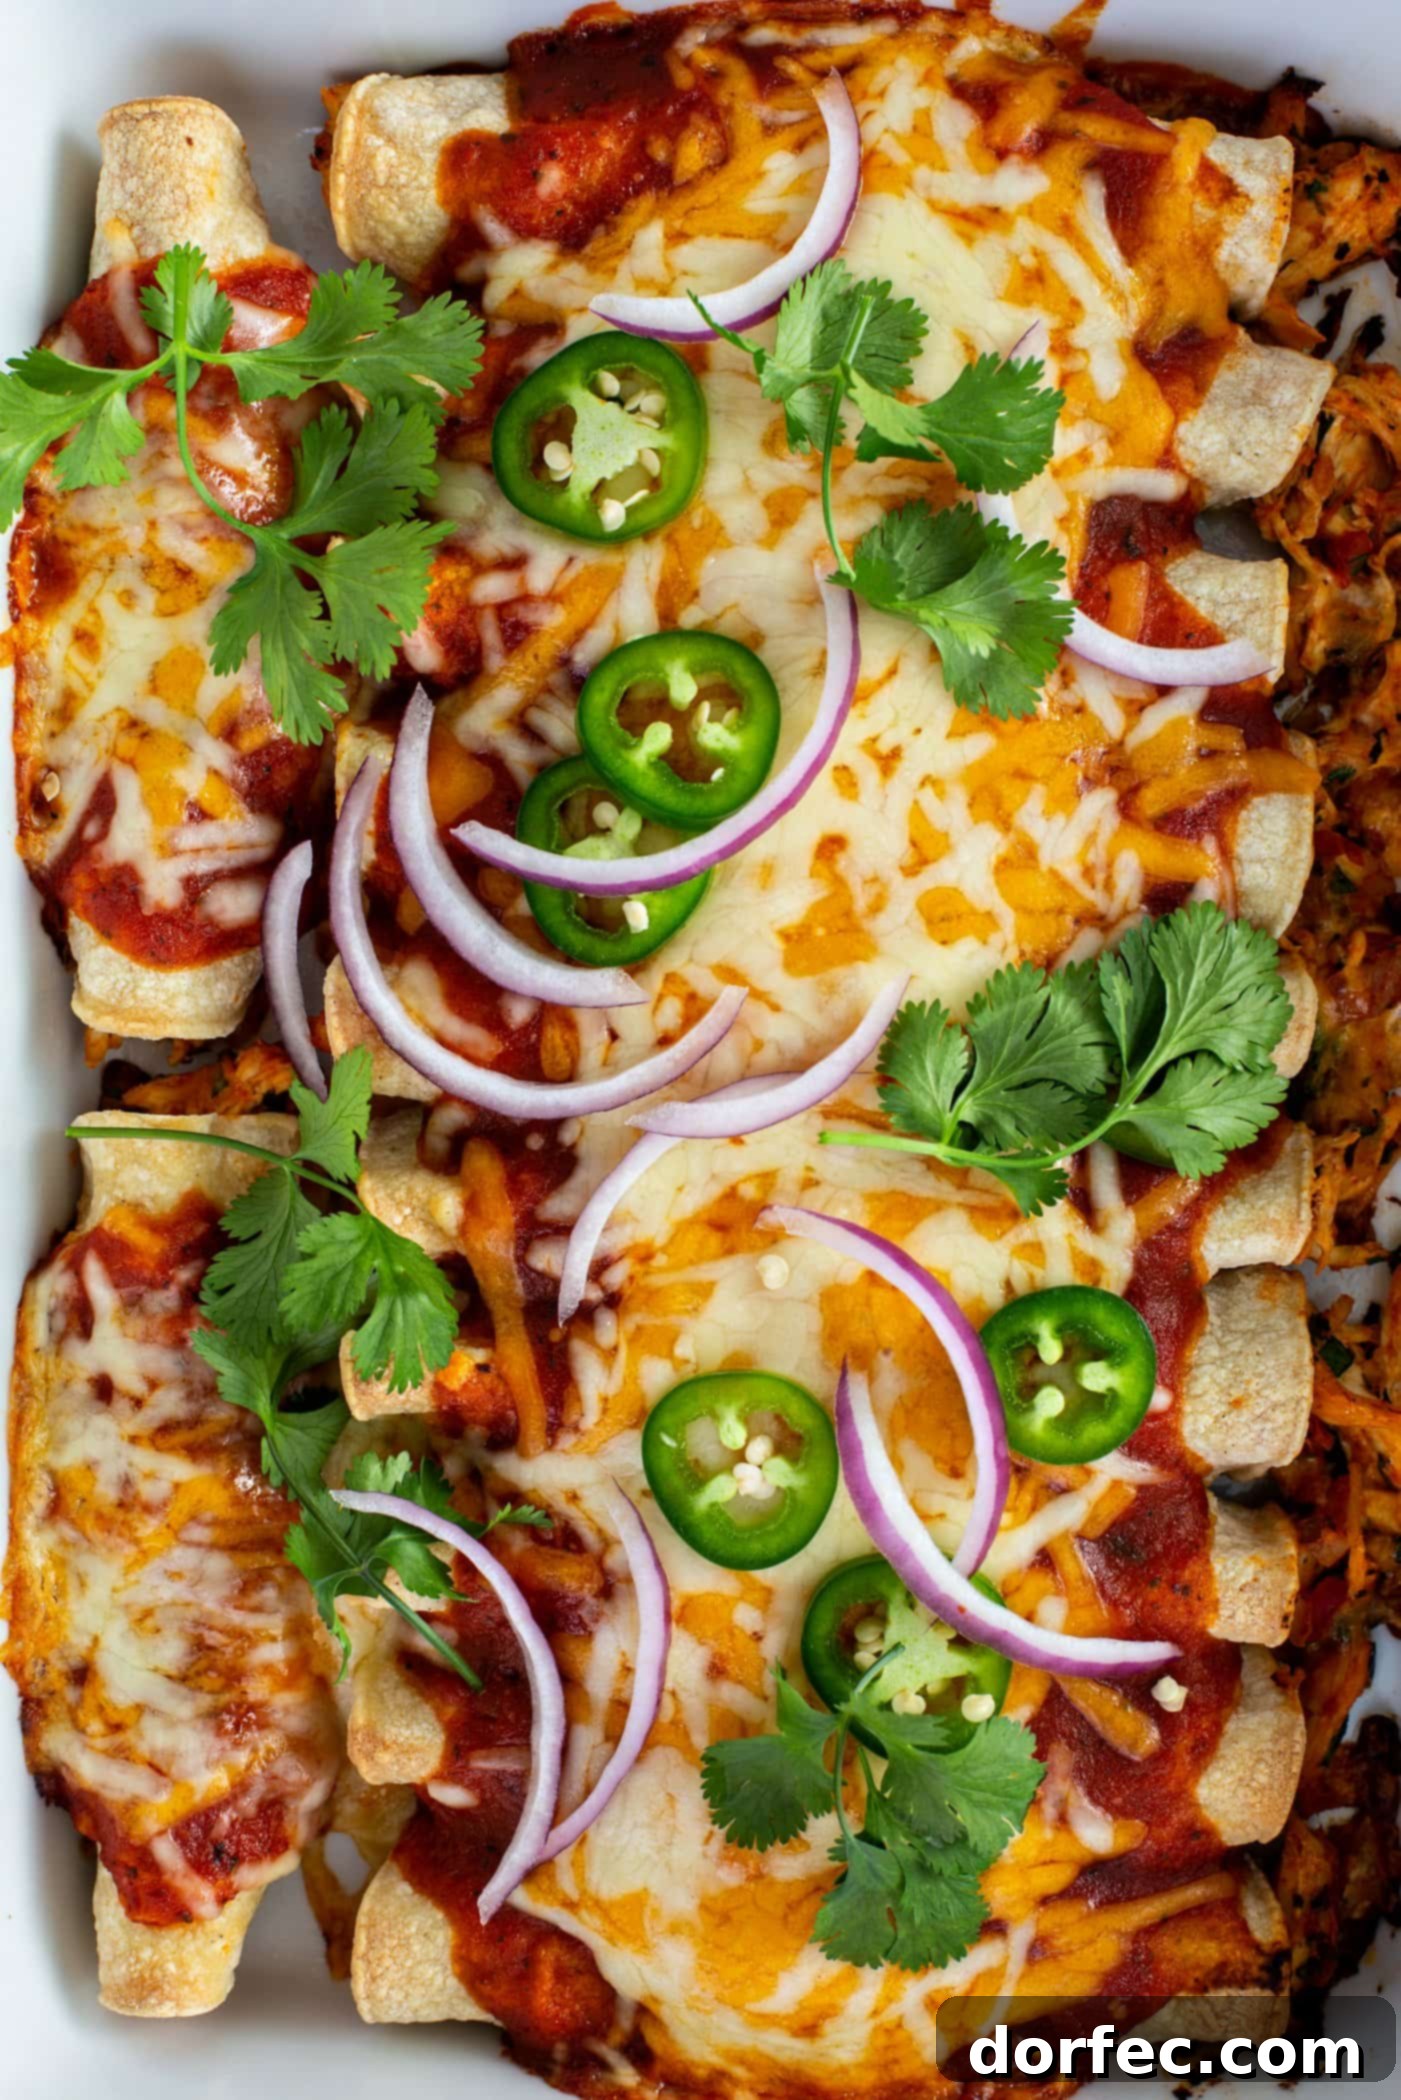
Perfect Pairings: What to Serve with Red Chicken Enchiladas
A plate of piping hot Red Chicken Enchiladas is a feast in itself, but to truly complete the experience, pairing them with the right side dishes and toppings elevates the meal to new heights. Here are some of our favorite accompaniments that perfectly complement the rich flavors of these enchiladas:
- Classic Spanish Rice: Nothing says authentic Mexican dinner quite like a serving of fluffy, flavorful Spanish rice. Its savory notes and tender texture are a timeless pairing.
- Creamy Refried Beans: Indulgent and satisfying, our better-than-a-restaurant instant pot refried beans offer a smooth, rich contrast to the enchiladas.
- Elote Grilled Mexican Corn Salad: For a burst of freshness and a touch of sweetness, a vibrant elote grilled Mexican corn salad adds a delightful crunch and tang.
- Cilantro Lime Rice: A lighter, zestier alternative to Spanish rice, cilantro lime rice brings a bright, aromatic freshness to the plate.
- Best Mexican Black Beans: If you’re a fan of legumes, our best Mexican black beans are incredibly flavorful and a hearty addition.
And let’s not forget the crucial toppings! Elevate your enchilada experience with these fresh and zesty additions:
- Restaurant-Style Salsa: A bowl of our best 5-minute restaurant-style salsa adds a fresh, zesty kick.
- Authentic Guacamole: Creamy, rich, and perfectly seasoned, homemade authentic guacamole is an essential topping that provides a luxurious contrast to the spicy sauce.
- Sour Cream or Mexican Crema: A dollop of cooling sour cream or Mexican crema helps balance the spice.
- Freshly Sliced Avocado: For those who love the creamy texture and healthy fats, sliced avocado is always a welcome addition.
- Pickled Red Onions: A tangy, slightly sweet, and crunchy addition that cuts through the richness.
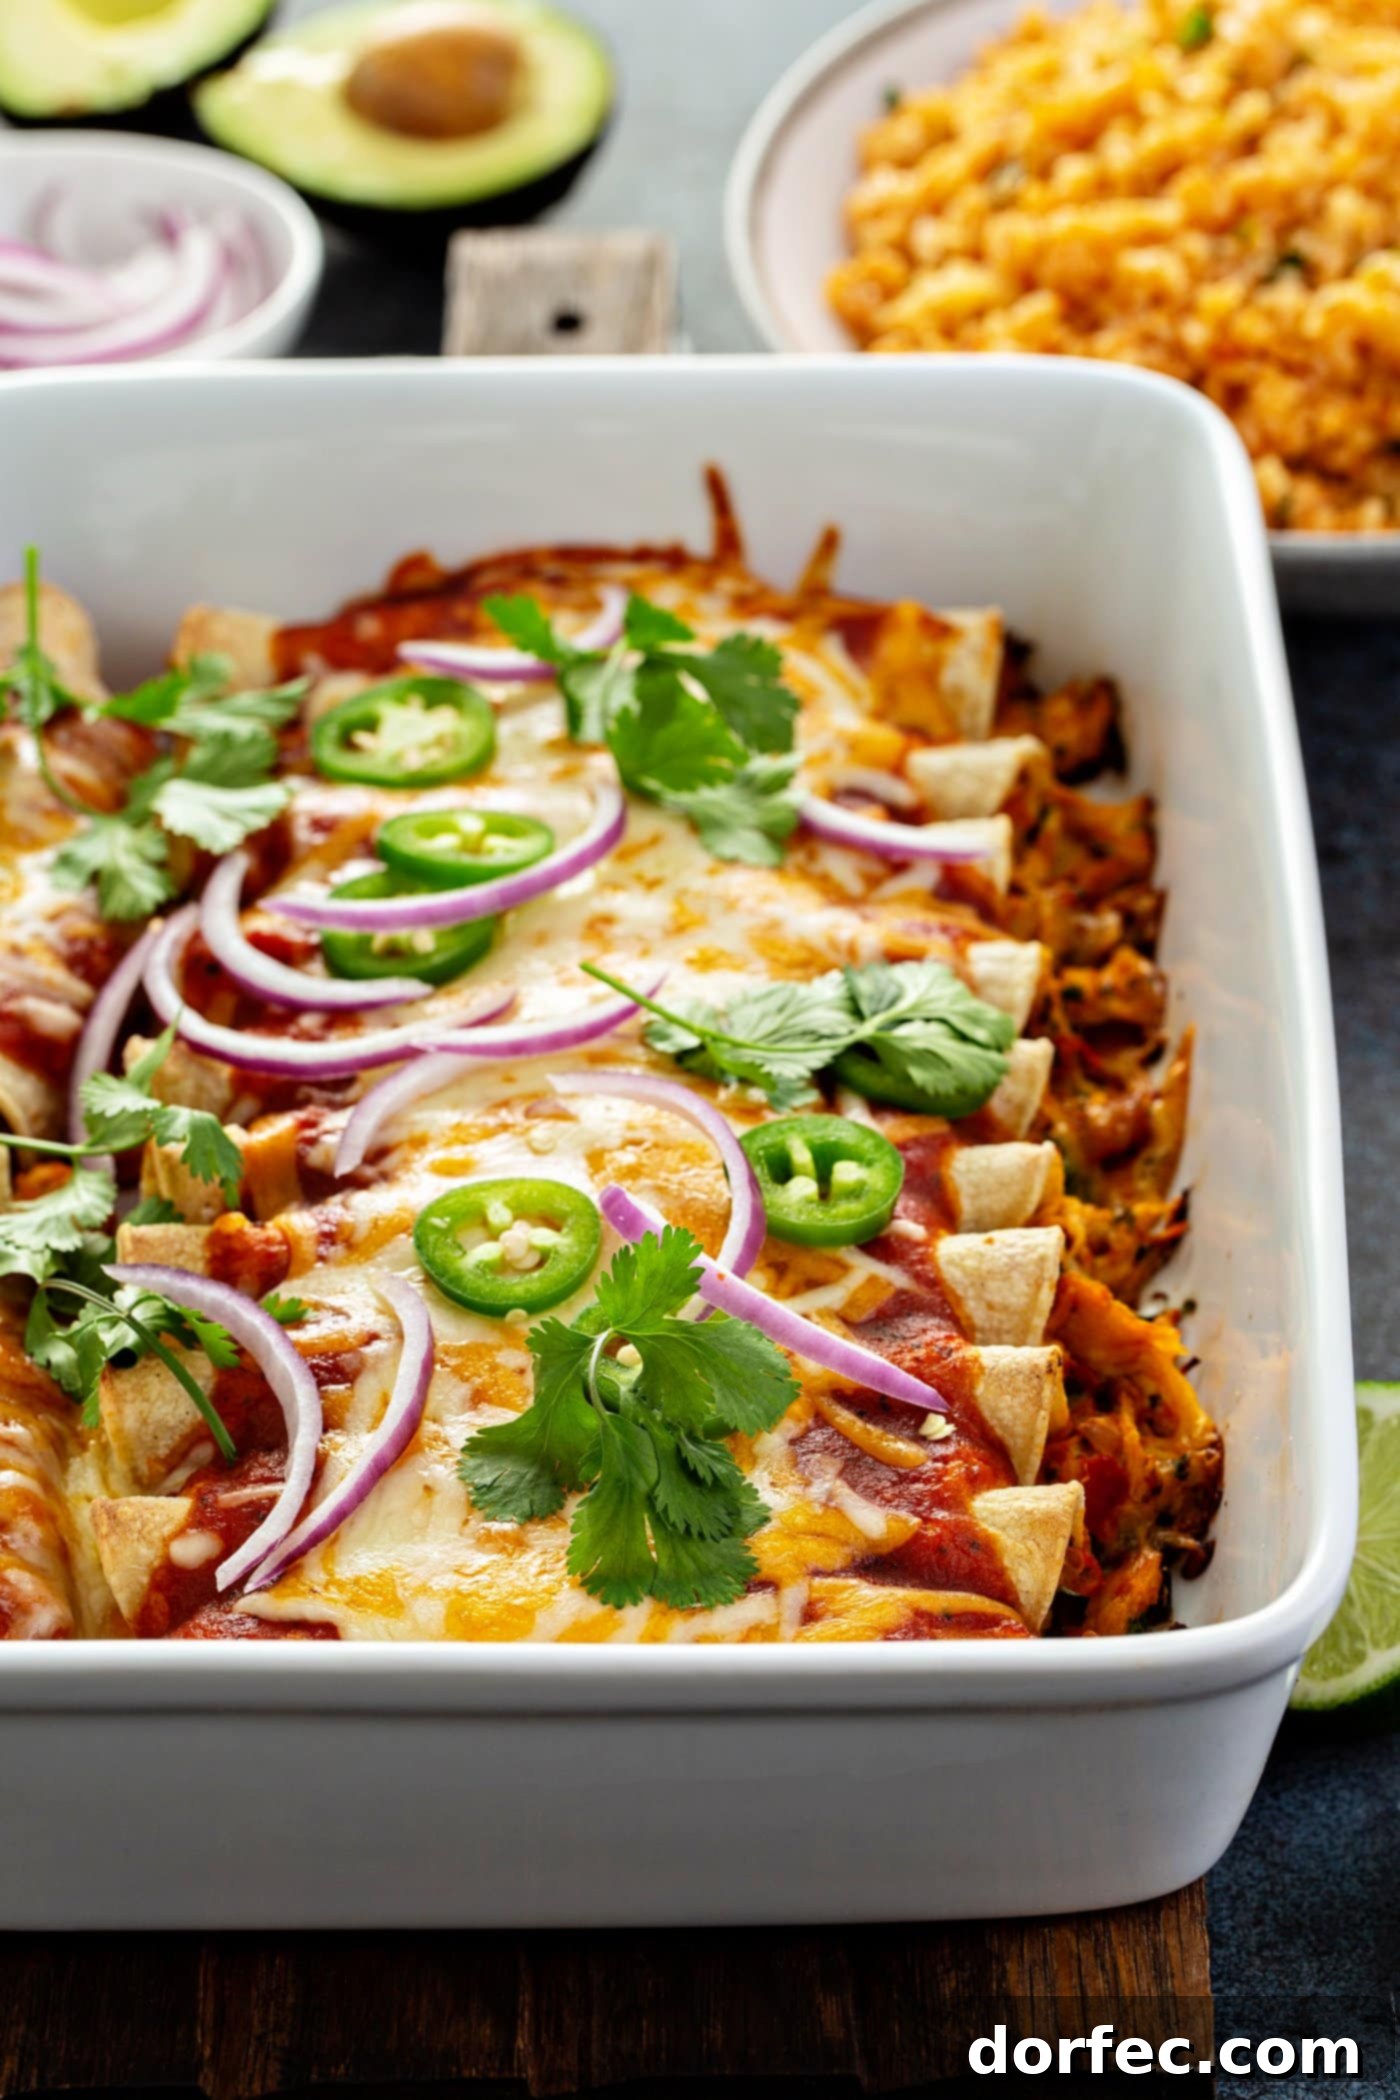
Sometimes, only a plate of comforting enchiladas will do, and these Red Chicken Enchiladas are consistently a crowd-pleaser. Their perfect blend of spicy, cheesy, and savory notes makes them an instant hit at any gathering. This recipe is incredibly adaptable, whether you’re feeding a small family or a large crowd—it’s easy to double or even triple the ingredients. Furthermore, their versatility as a make-ahead dish or a freezer meal adds to their appeal, simplifying meal planning. From prep to plate, these enchiladas are a true dinner winner, promising rich, satisfying flavors with every bite!
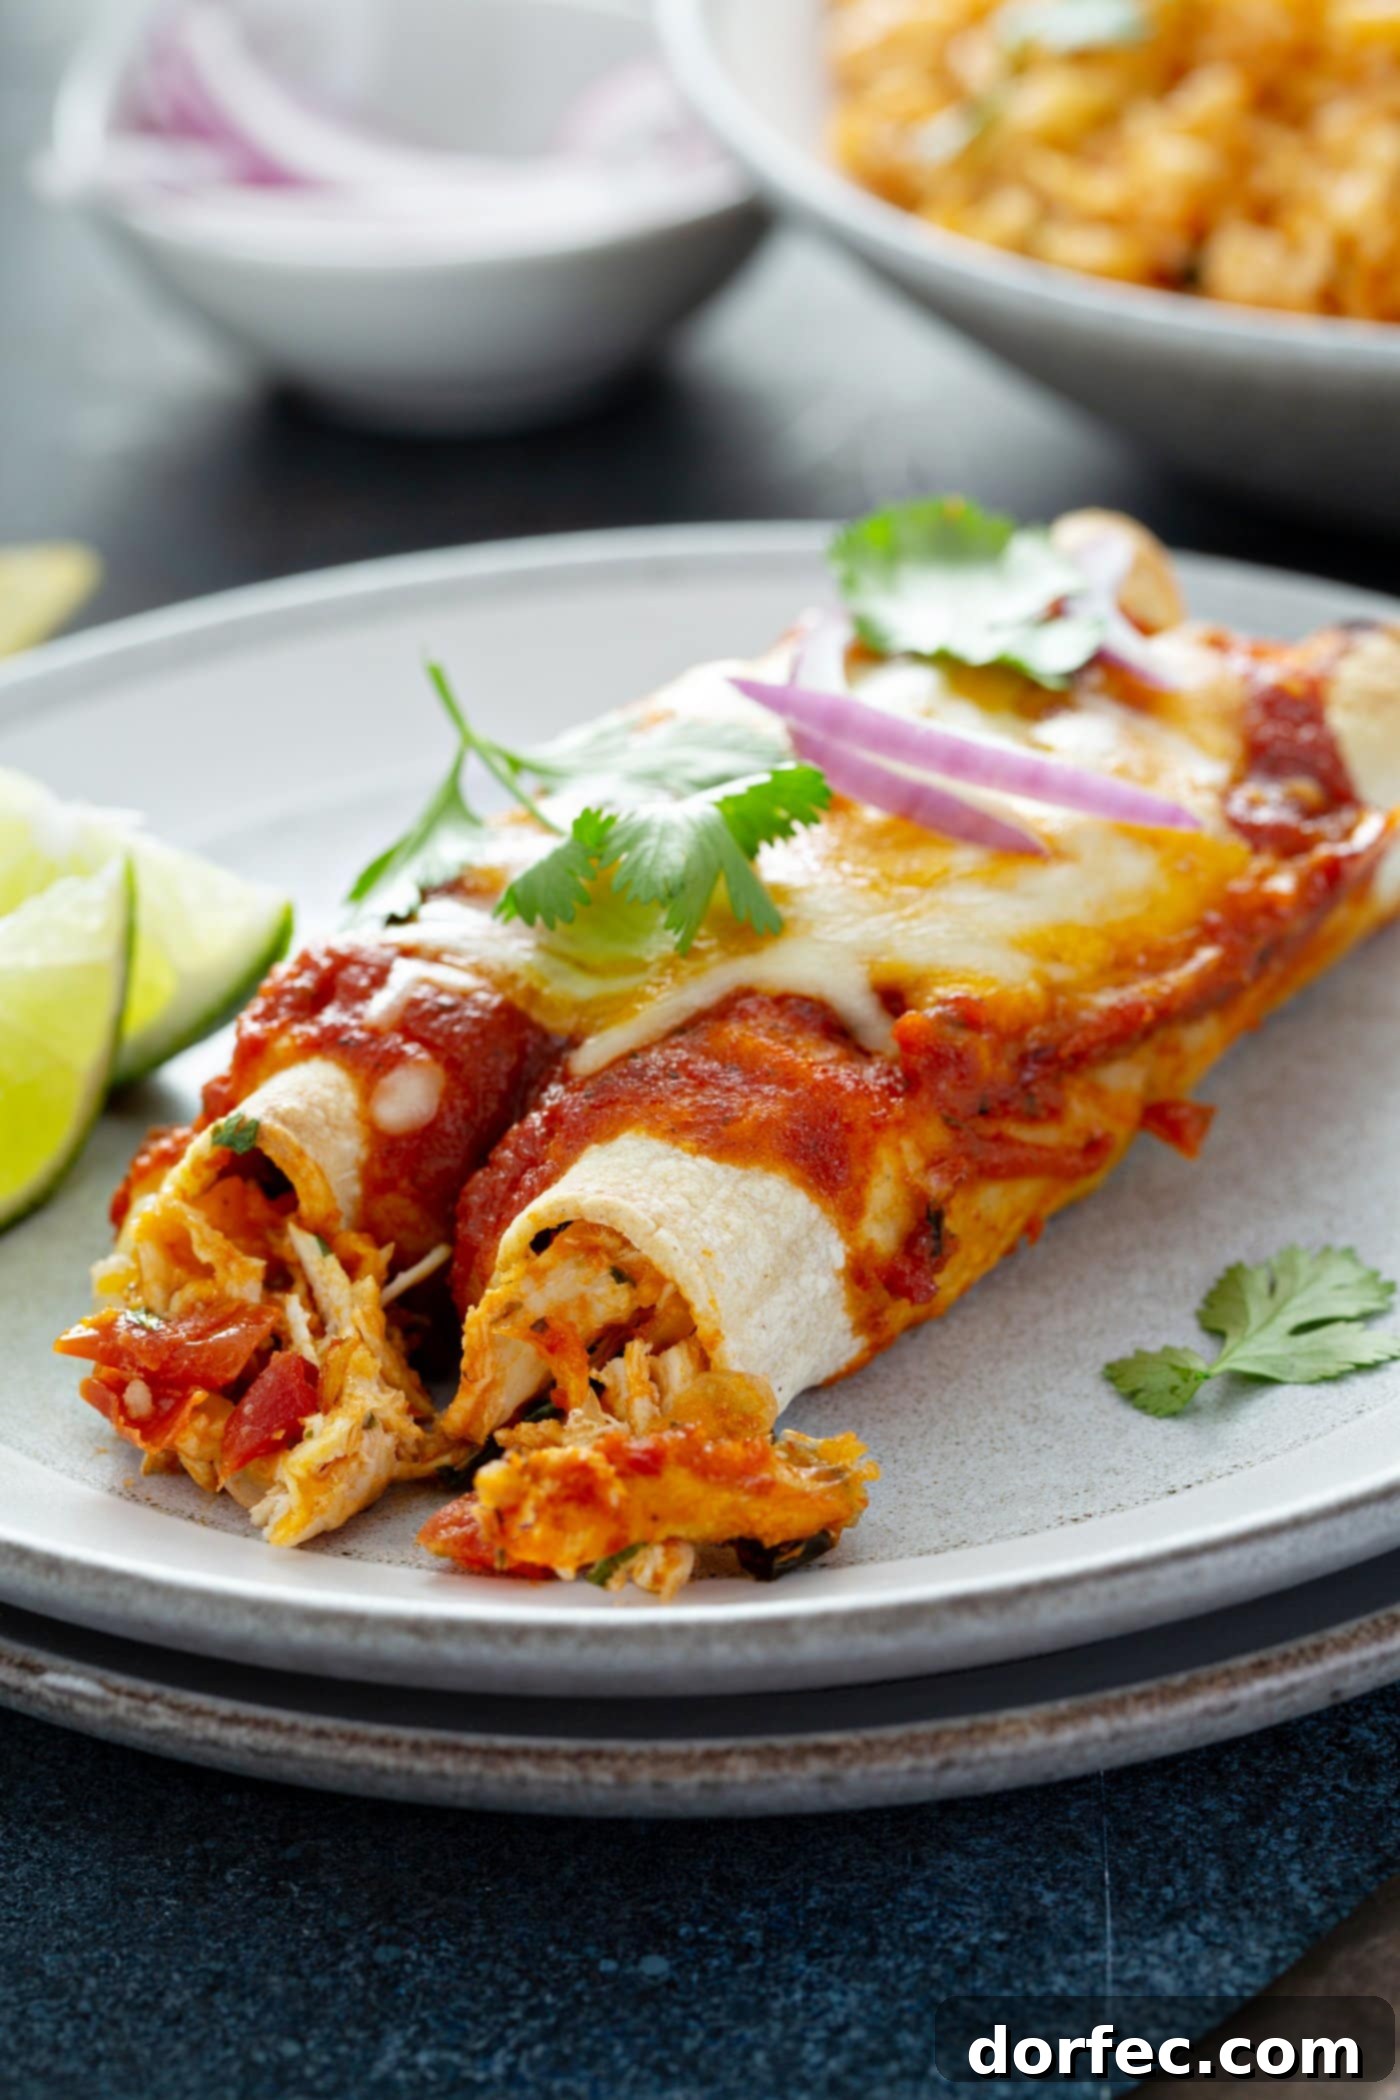
Discover More Flavorful Mexican Main Dishes You Have to Try:
- The Best Pork Carnitas Recipe: Slow-cooked to tender perfection, these carnitas are incredibly versatile and packed with authentic flavor.
- Better Than a Restaurant Instant Pot Refried Beans: Skip the canned version and make these incredibly creamy and flavorful refried beans at home with ease.
- The Secrets to the Best Quesadilla Recipe: Learn how to make crispy, cheesy quesadillas that are perfect for any meal or snack.
- Quick & Easy 3-Ingredient Spanish Rice: A simple yet flavorful side dish that comes together in minutes.
- Flavorful Verde Enchiladas: Explore the vibrant world of green sauce with these delicious avocado steak enchiladas.
- Our Favorite Steak Fajitas Marinade Recipe (or One-Skillet Chicken Fajitas): Sizzling, savory, and perfect for a fun family dinner.
- Hearty Smothered Bean and Cheese Enchiladas: A comforting vegetarian option packed with rich flavors.
- Sweet & Zesty Honey Lime Chicken Enchiladas: A delightful blend of sweet and tangy, these chicken enchiladas are a unique twist.
- Authentic Mexican Street Corn – Elote: A beloved street food, this grilled corn on the cob is creamy, spicy, and tangy.
- Easy 3-Ingredient Chorizo Potatoes: A simple yet incredibly flavorful side or main dish featuring spicy chorizo and tender potatoes.
- All Our MEXICAN RECIPES Here!: Dive into our full collection of Mexican-inspired dishes for endless culinary inspiration!
Red Chicken Enchiladas
Sweet Basil
25 mins
2 hrs
5 mins
2 hrs
30 mins
6
Ingredients
- 1 Batch Red Enchilada Sauce, or canned sauce from store *see note
- 1 Tomato, seeded, *see note
- 1 Medium White Onion, *see note
- 1 lb. Chicken Breasts, boneless, skinless
- 1 Cup Cheddar Cheese, shredded sharp white, divided
- 1 Cup Cheese, shredded monterey jack, divided
- ½ Cup Cilantro, minced fresh
- 12 Tortillas, 6-inch soft corn
- Cooking spray
Instructions
Chicken Enchiladas
-
Make batch of Red Enchilada Sauce (see link above). Reserve the tomato and onion chunks from step 6 in this recipe.
-
Nestle the chicken into the sauce. Reduce the heat to low, cover and cook until the chicken is completely cooked through (160 degrees F on an instant-read thermometer), about 12-20 minutes.
-
Transfer the chicken to a plate and set aside to cool.
-
Season the sauce with additional salt and pepper to taste.
-
Shred the chicken into bite size pieces and add to the bowl with the tomato/onion mixture.
-
Add in ¼ cup of the enchilada sauce, ½ cup of each of the shredded cheeses, and the cilantro.
-
Stir to combine.
-
Preheat the oven to 425 F.
-
Oil a 9 x 13 baking dish with cooking spray.
-
Stack the tortillas on a plate, cover with plastic wrap, and microwave for 40-60 seconds, until warm and pliable.
-
Spoon 1/3 cup of the chicken mixture evenly down the center of a tortilla. Roll up the tortilla around the filling tightly, and place in the prepared baking dish, seam-side down.
-
Repeat with the remaining filling and tortillas.
-
Lightly spray the tops of the enchiladas with cooking spray. Place in the oven, uncovered, for 7 minutes or until the tortillas start to brown slightly
-
Reduce the oven temperature to 400 F. Remove the enchiladas from the oven and pour the sauce oven the top.
-
Sprinkle with the remaining shredded cheese.
-
Cover the dish with foil and bake for 20 minutes.
-
Remove the foil and bake for 5 more minutes, until the cheese is browned.
-
Remove from the oven and let stand 10 minutes before serving.
Recipe Notes
Red chicken enchiladas can be made ahead, covered and stored in the refrigerator for 2-3 days before baking.
Nutrition
Serving:
1
batch
,
Calories:
484
kcal
,
Carbohydrates:
44
g
,
Protein:
33
g
,
Fat:
20
g
,
Saturated Fat:
9
g
,
Cholesterol:
88
mg
,
Sodium:
1130
mg
,
Potassium:
898
mg
,
Fiber:
4
g
,
Sugar:
11
g
,
Vitamin A:
1665
IU
,
Vitamin C:
23
mg
,
Calcium:
375
mg
,
Iron:
4
mg
Nutrition information is automatically calculated, so should only be used as an approximation.
REMEMBER TO SUBSCRIBE TO our FREE Oh Sweet Basil NEWSLETTER AND RECEIVE EASY RECIPES DELIVERED INTO YOUR INBOX EVERY DAY!
When you try a recipe, please use the hashtag #ohsweetbasil on INSTAGRAM for a chance to be featured in our stories! FOLLOW OH, SWEET BASIL ON FACEBOOK | INSTAGRAM | PINTEREST | TWITTER FOR ALL OF OUR LATEST CONTENT, RECIPES AND STORIES.