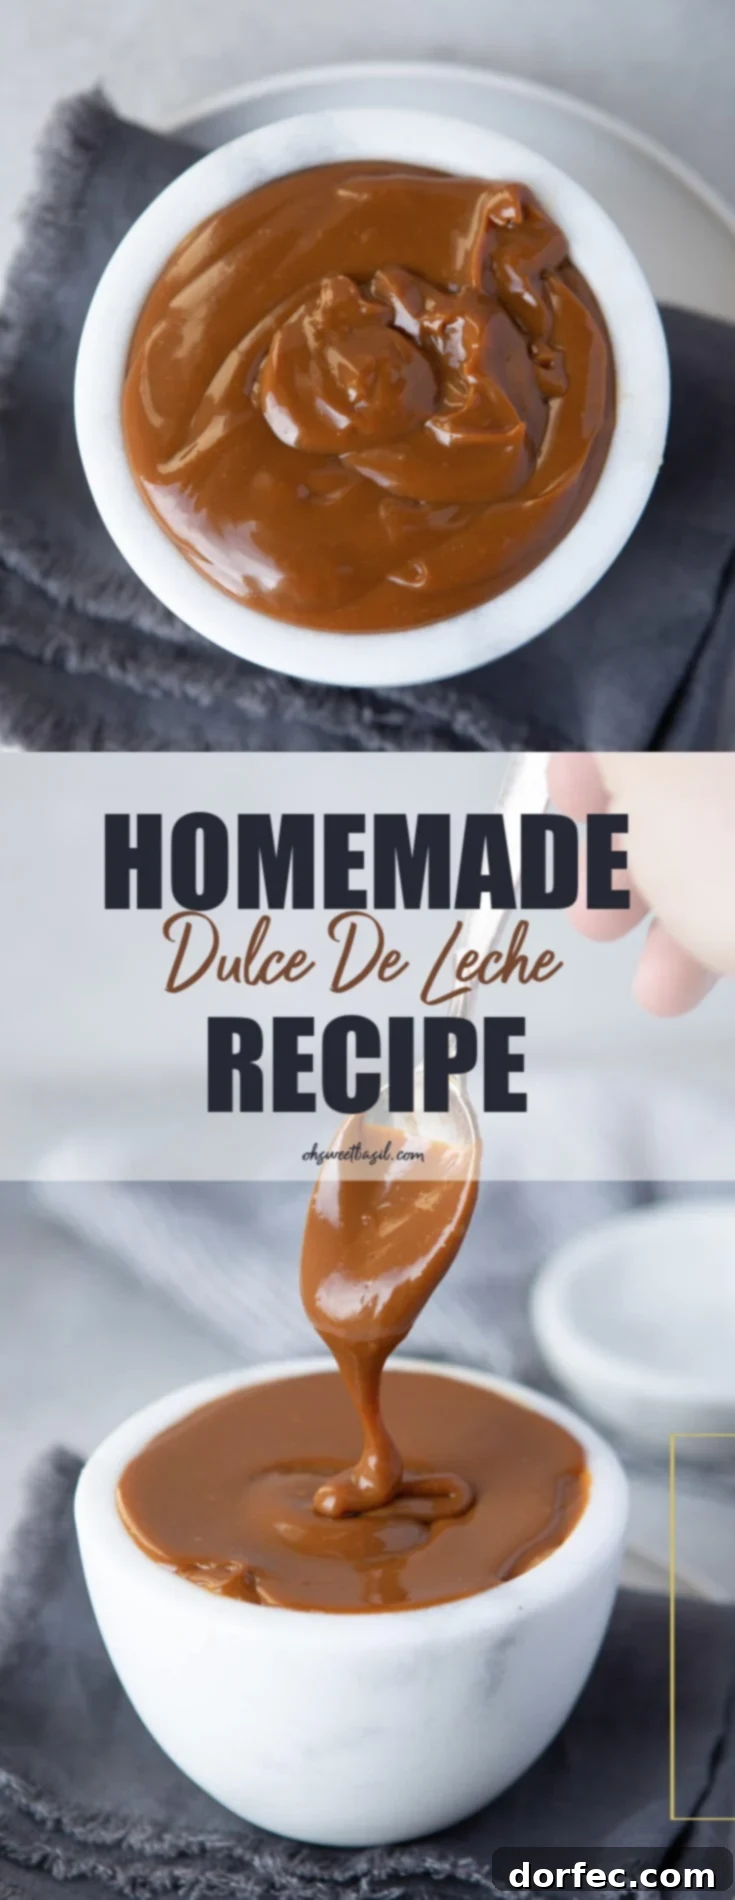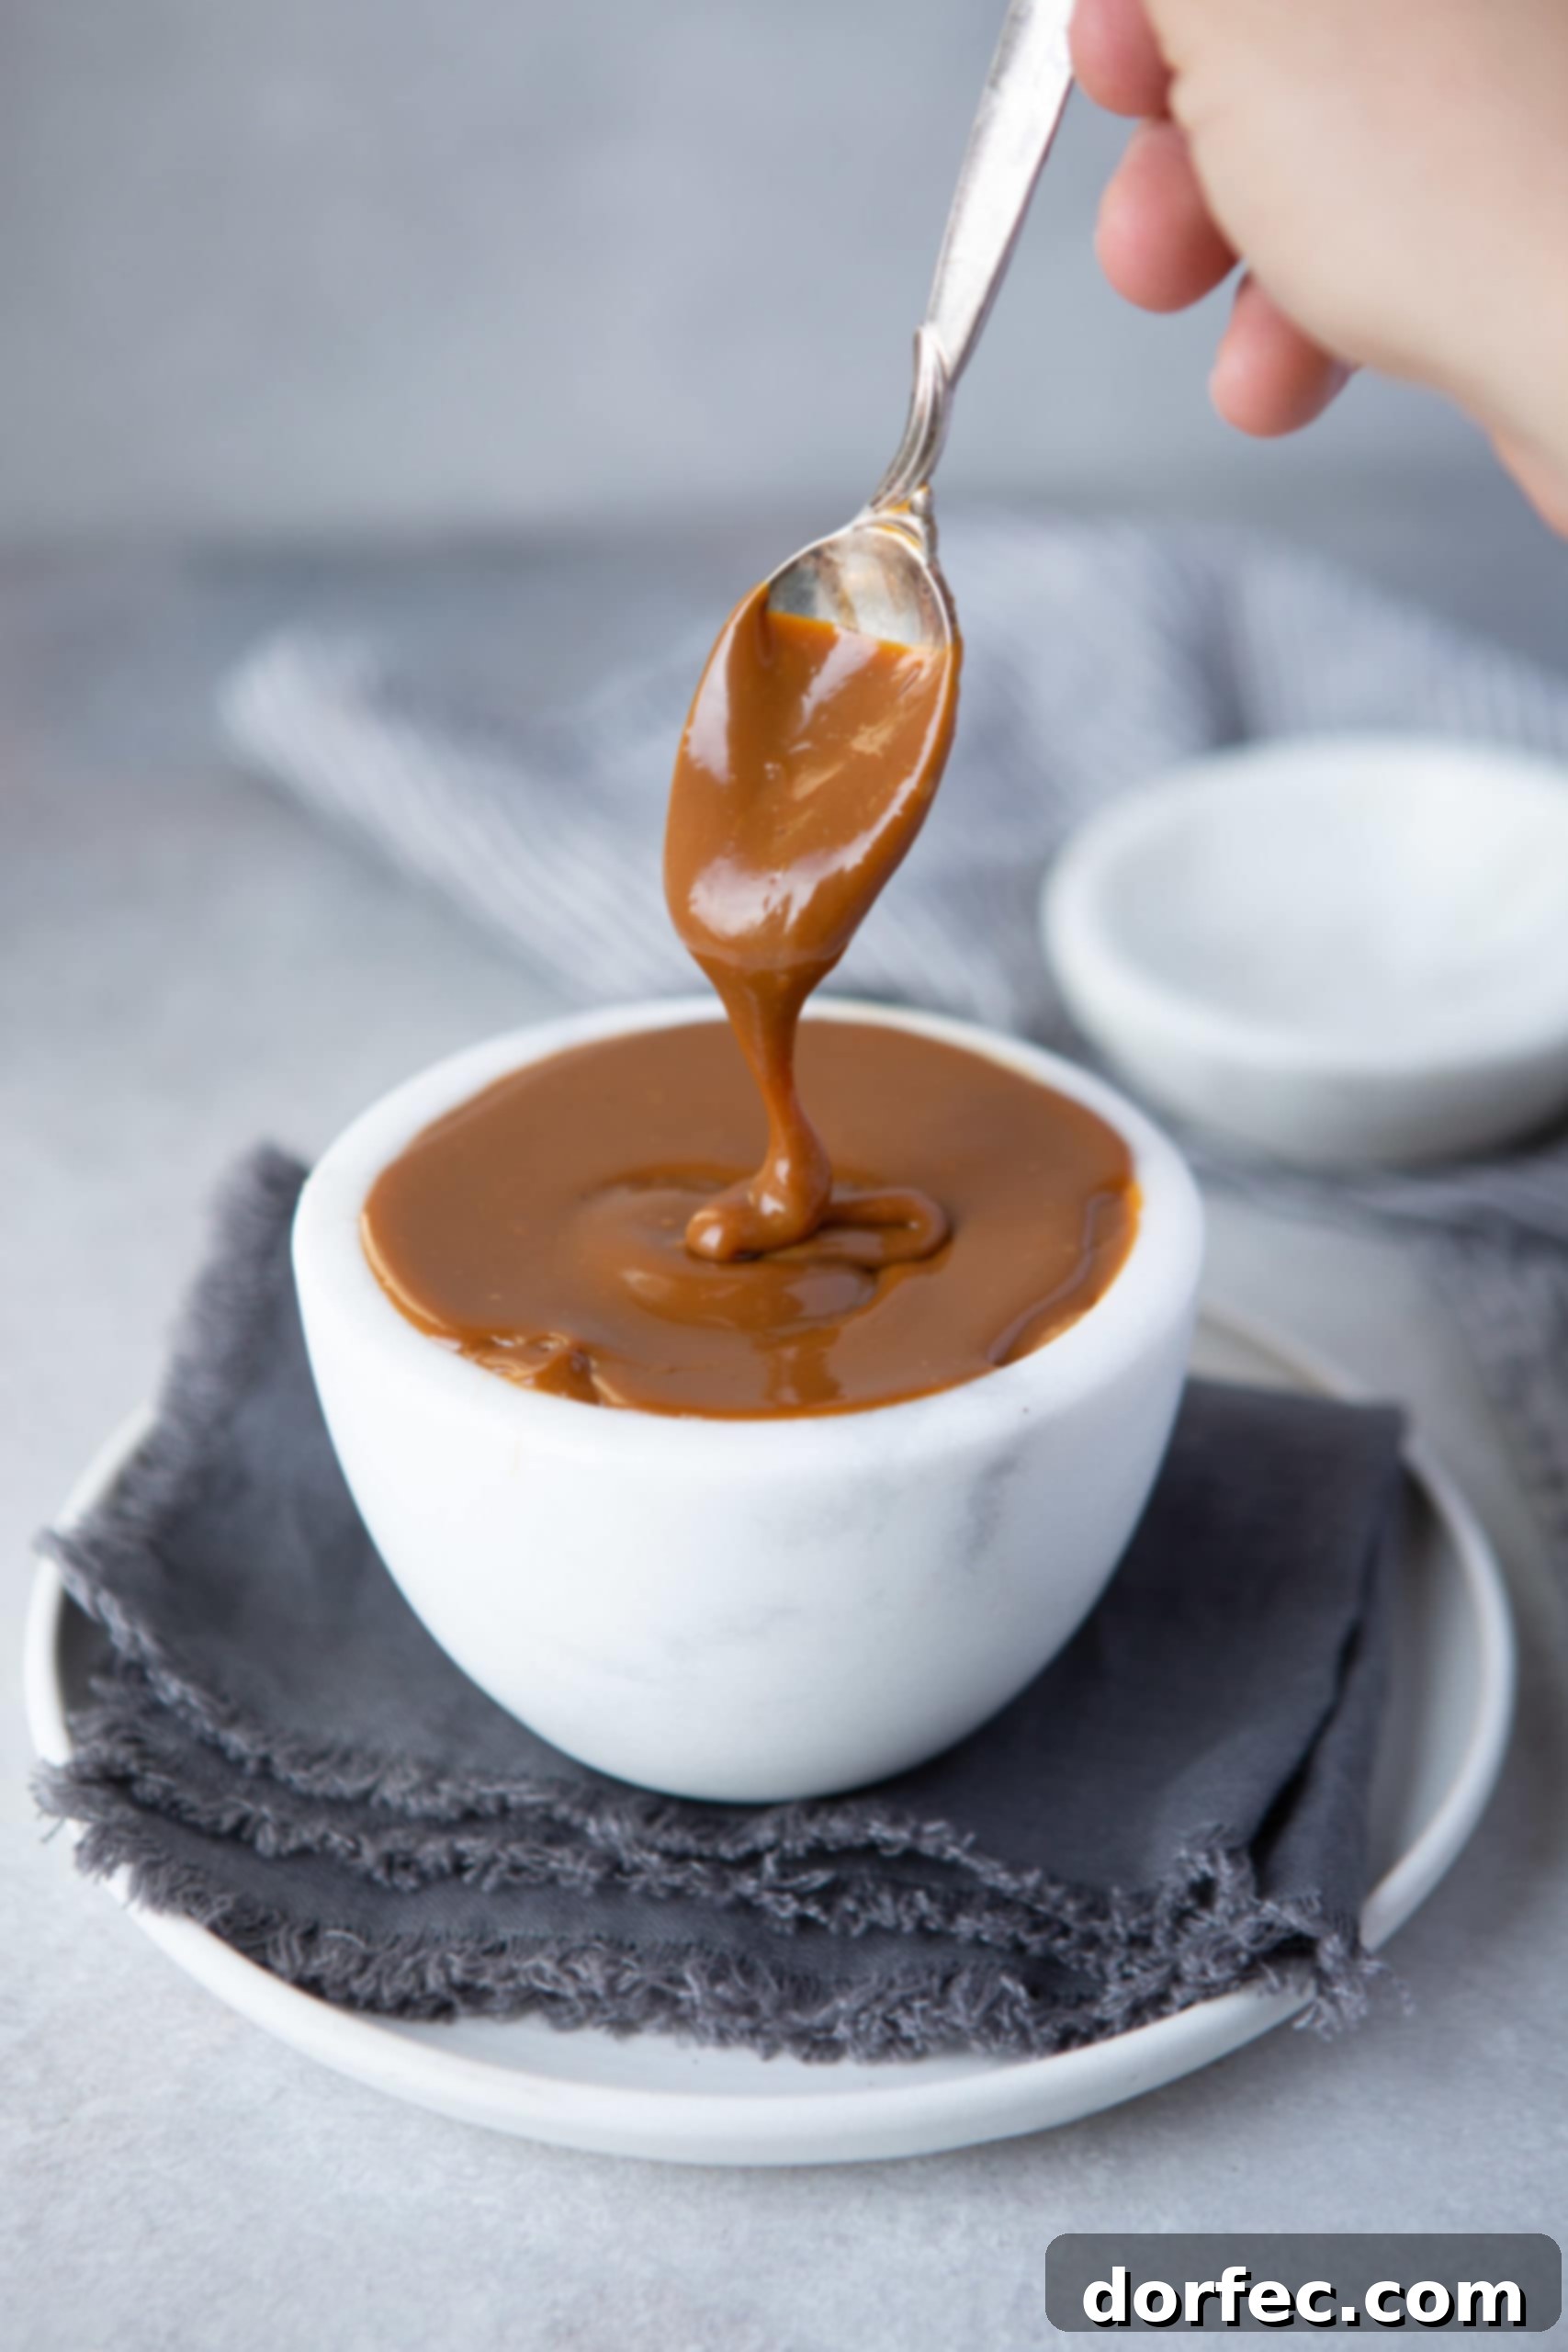
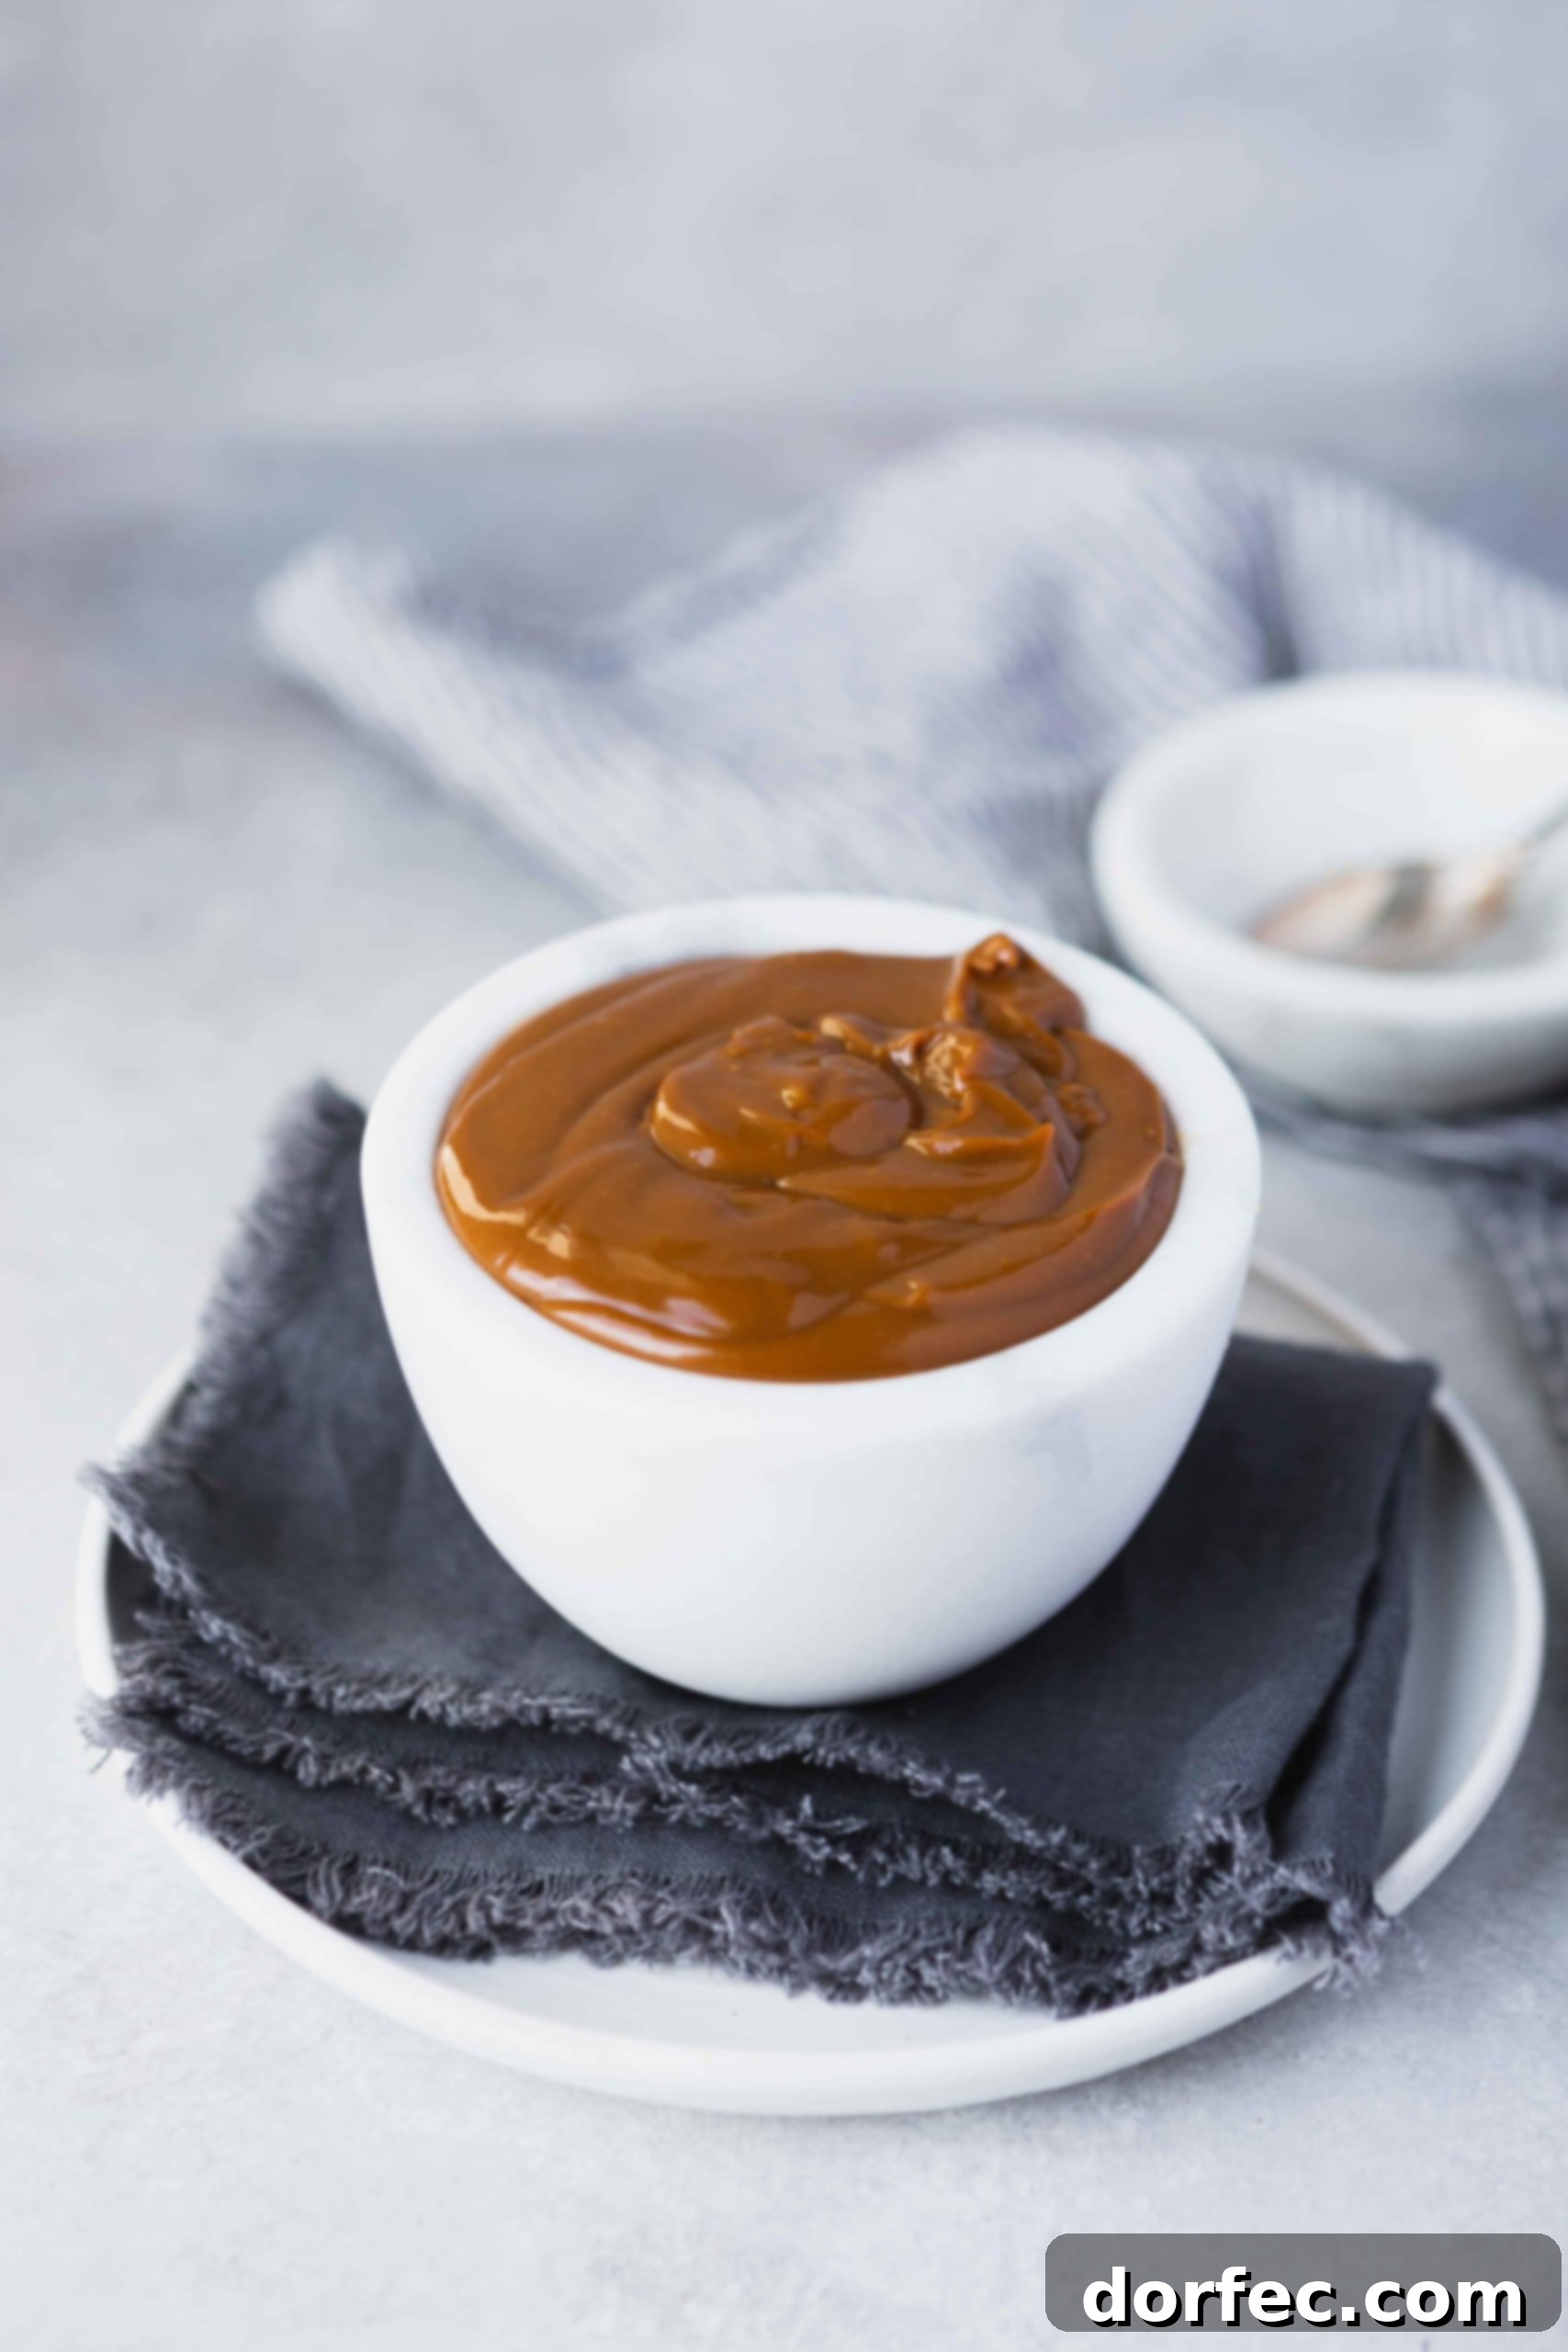
Homemade Dulce de Leche: Your Essential Guide to This Velvety Caramel Delight
Imagine a rich, creamy, deeply caramelized treat that melts in your mouth, transforming any dessert into an unforgettable experience. That, my friends, is dulce de leche, a beloved confection that holds a special place in the hearts of dessert enthusiasts worldwide. What if I told you that this liquid gold is incredibly simple to make right in your own kitchen, with just one readily available ingredient?
Lately, finding a can of pre-made dulce de leche has become a quest of epic proportions. From bustling city supermarkets to quaint small-town groceries, the shelves seem to have been swept clean of this cherished staple. I’ve personally scoured stores across multiple cities in Utah, only to be met with empty spaces and cryptic “missing item” tags. The mystery of the vanishing dulce de leche is real, and it begs the question: where did it all go, and when will it return?
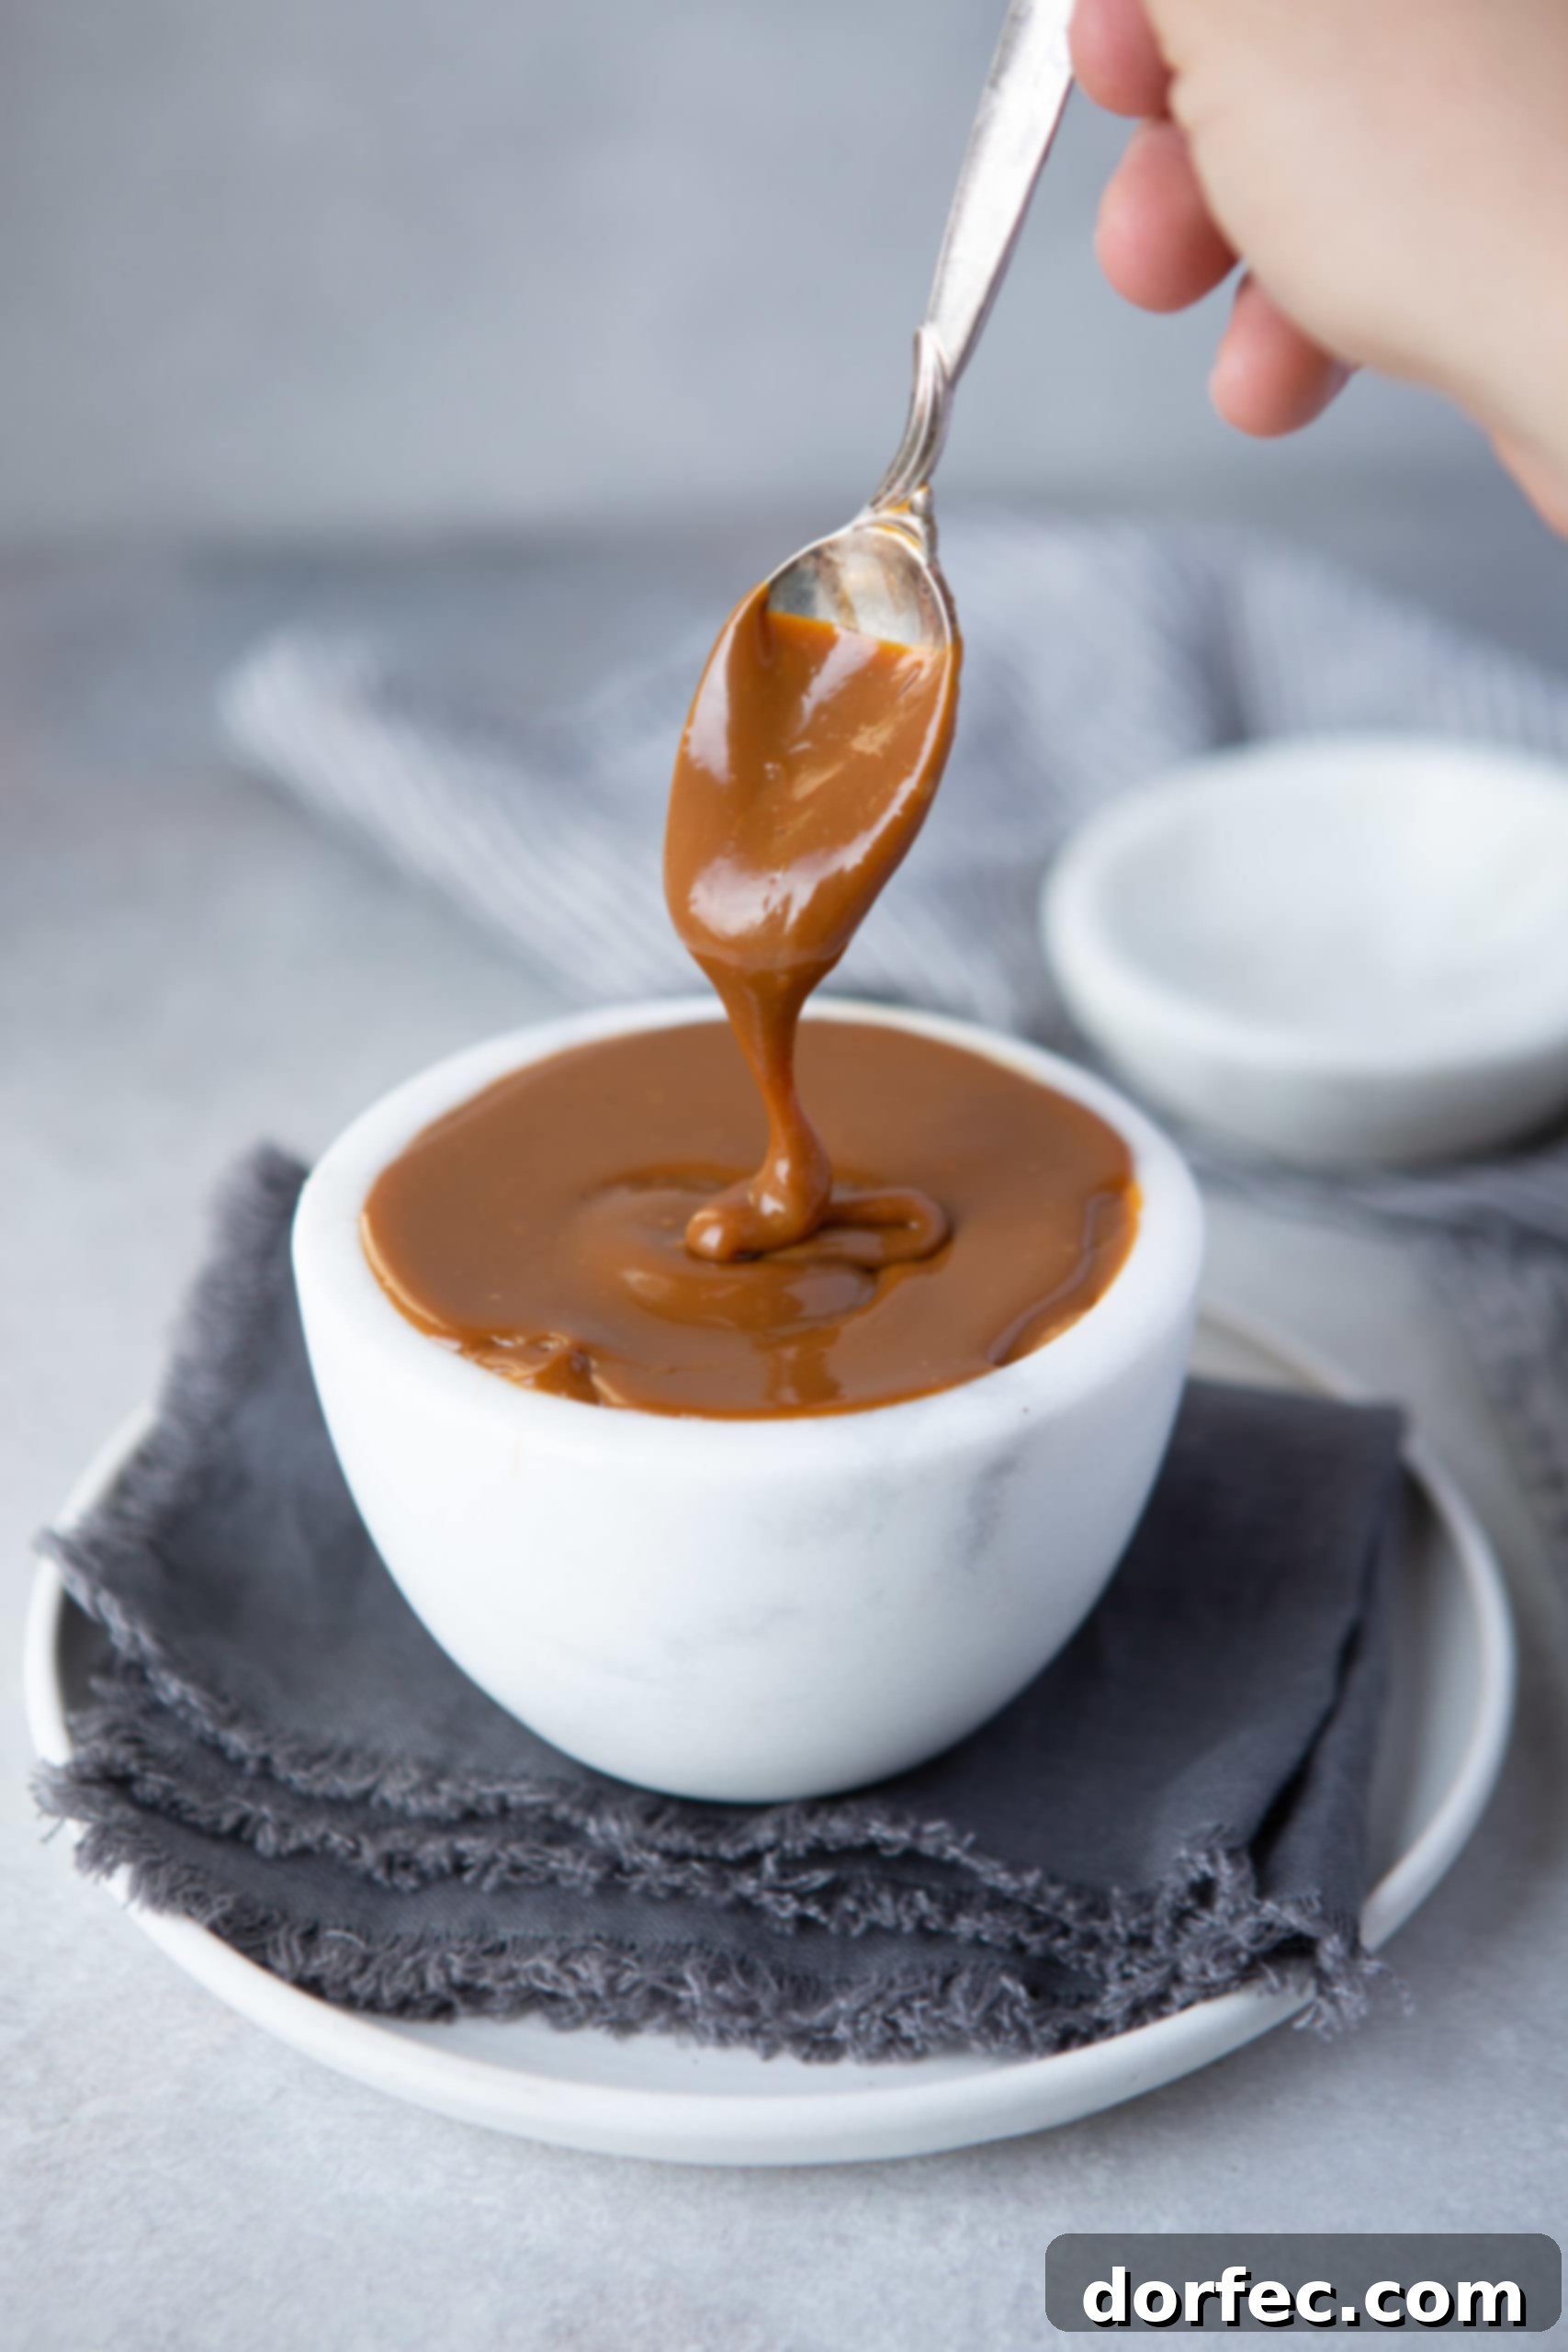
This unexpected shortage sparked a culinary emergency in my household. How could I possibly make my famous Banana Dulce de Leche Pie, or whip up a batch of decadent dulce de leche molten lava cakes? The thought of a world without my favorite chocolate cheesecake bars or the delightful Nutella dulce de leche stuffed chocolate chip cookies seemed unimaginable. It truly felt like a global crisis for dessert lovers!
But fear not, fellow sweet tooths! While we await answers to the great dulce de leche disappearance, there’s a silver lining. We can harness the power of a single ingredient and a bit of patience to craft our own artisanal homemade dulce de leche. This comprehensive guide will walk you through everything you need to know, ensuring you’re never without this delectable treat again.
The Simplicity of Ingredients: What You Need for Homemade Dulce de Leche
Prepare to be amazed, because the ingredient list for authentic homemade dulce de leche is astonishingly short. You’ll only need one core item, along with a pantry staple you already have on hand:
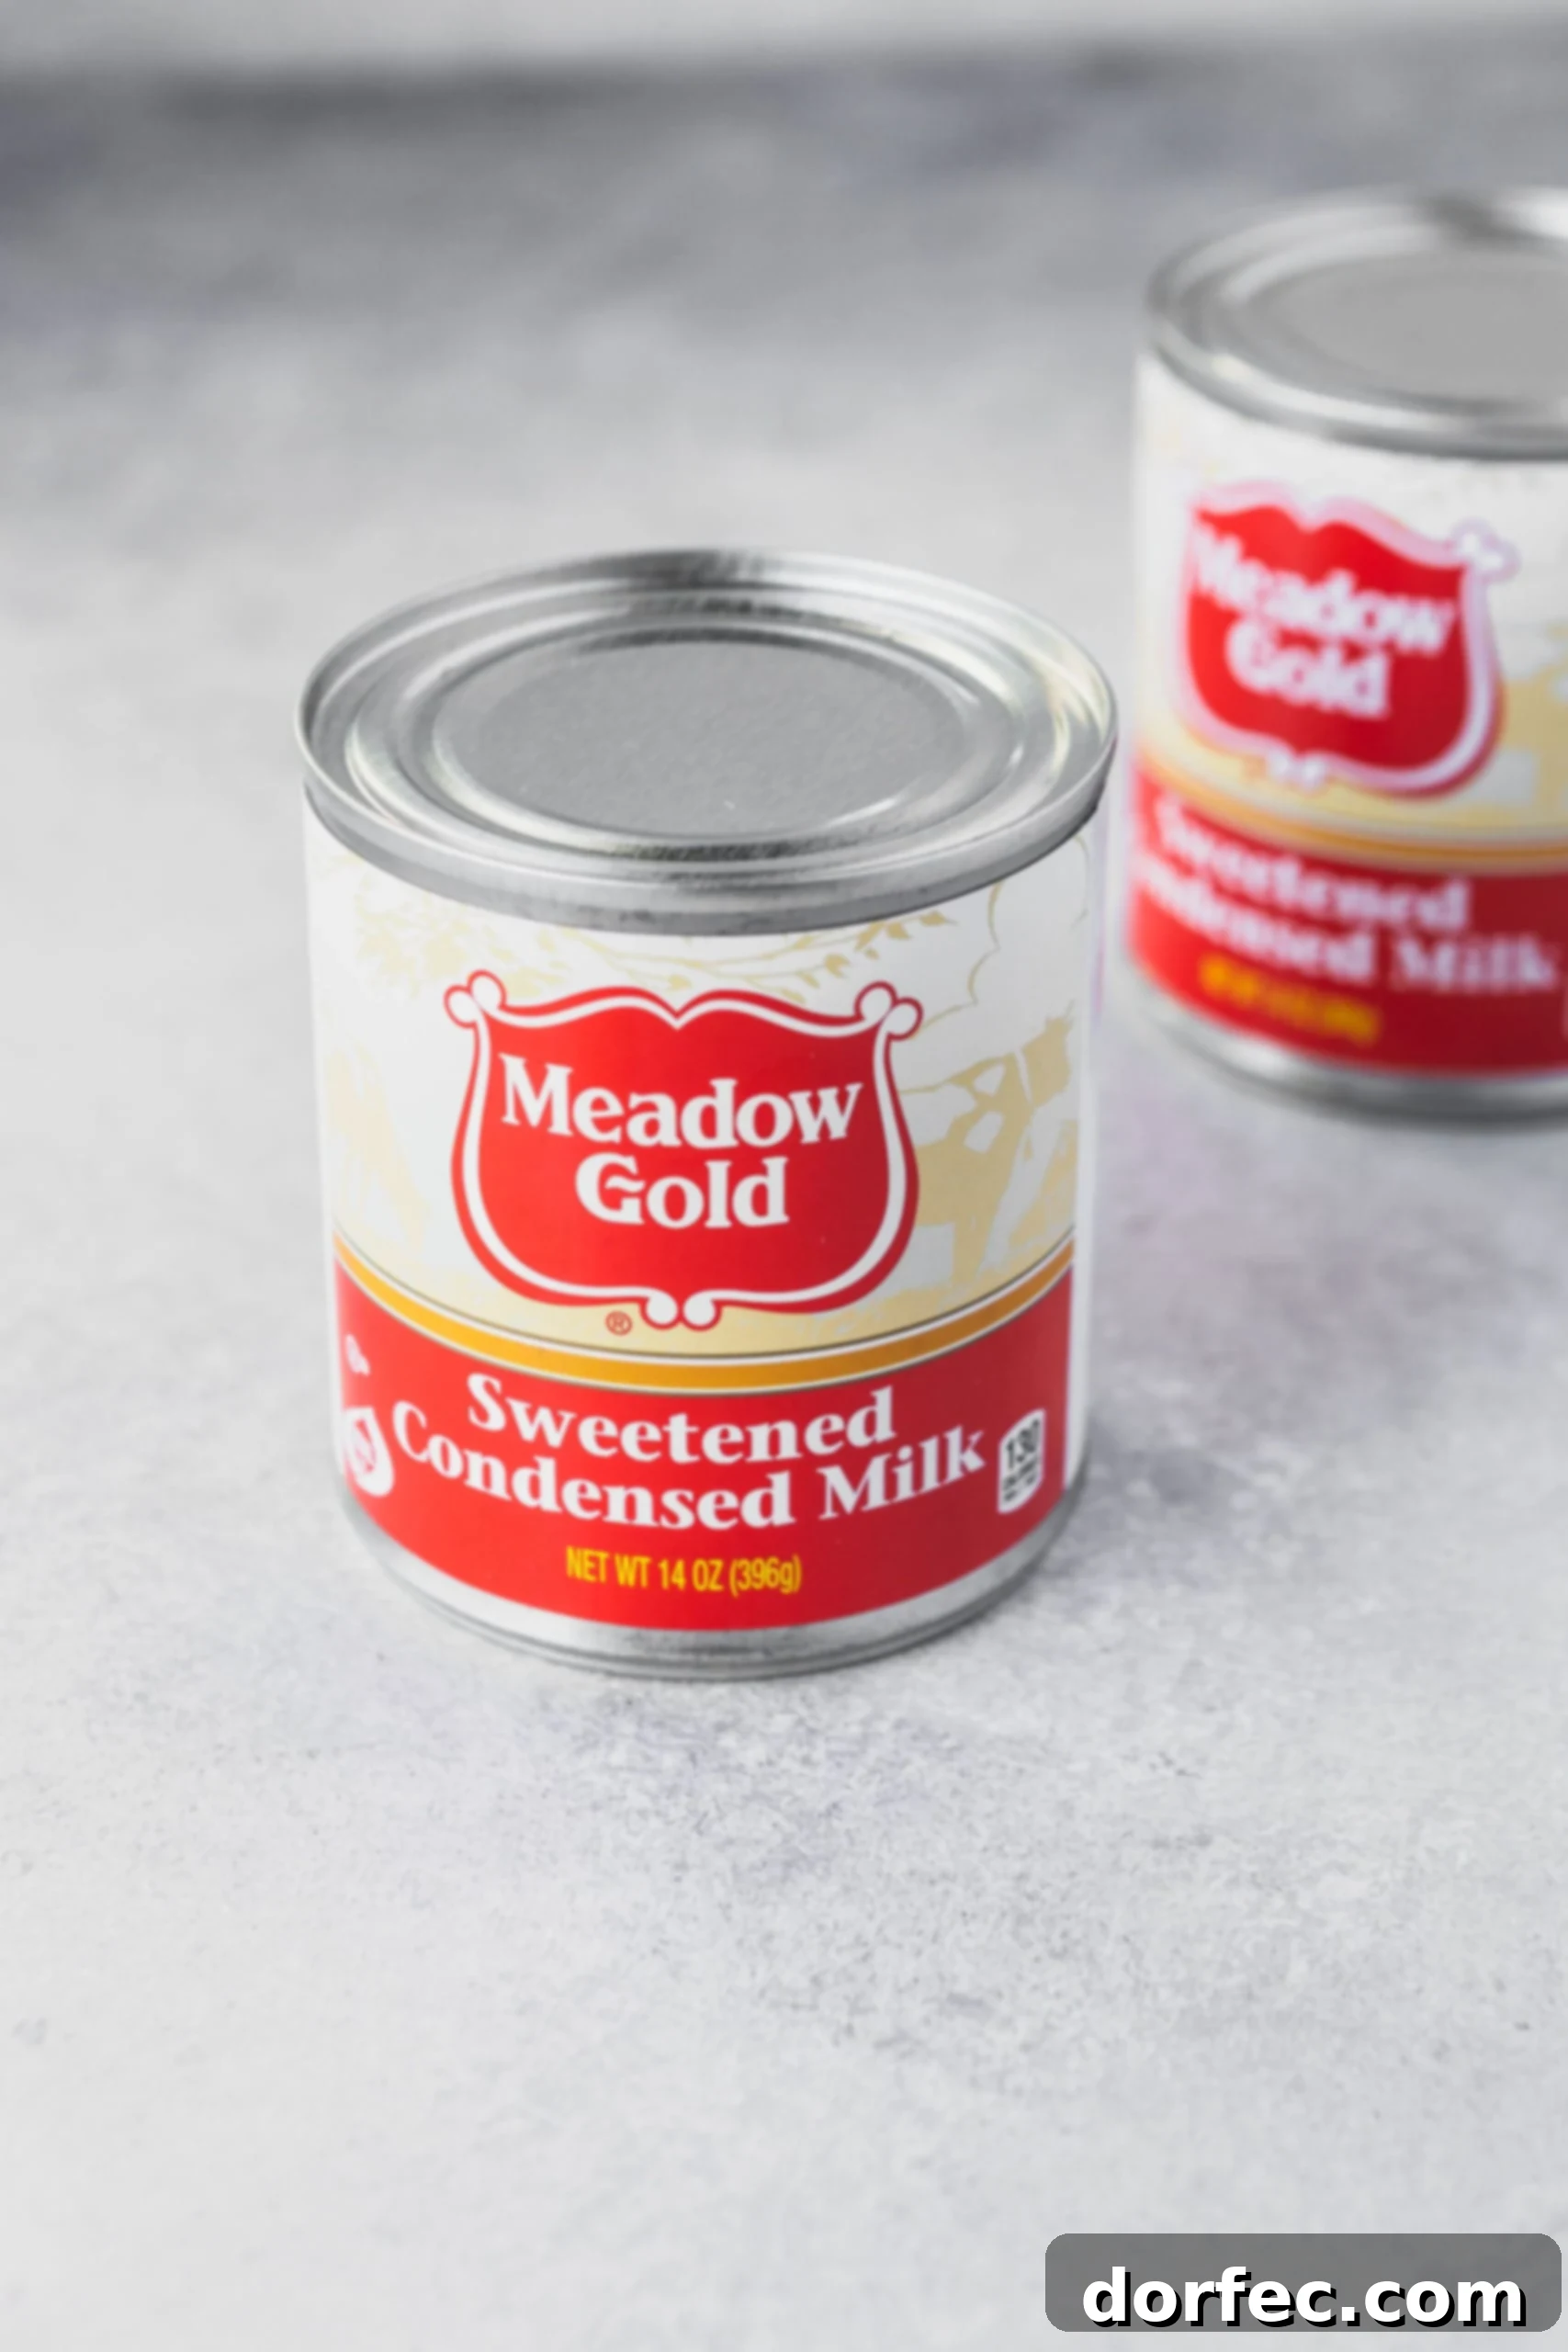
- Sweetened Condensed Milk: This is the star of our show. Look for full-fat sweetened condensed milk for the best flavor and texture. Do not confuse it with evaporated milk, as they are very different products. Sweetened condensed milk is milk from which water has been removed and sugar has been added, resulting in a thick, sweet, and sticky liquid.
- Water: Essential for both cooking methods we’ll explore. While technically not an “ingredient” that becomes part of the final product, it’s crucial for the transformation process.
That’s it! With just a can of sweetened condensed milk, you’re on your way to creating a rich, deeply satisfying caramel-like sauce that will elevate all your favorite desserts.
Mastering the Art of Homemade Dulce de Leche: Two Easy Methods
Making dulce de leche from sweetened condensed milk is a culinary alchemy, transforming simple milk and sugar into a complex, amber-hued confection. The magic happens through controlled heating, which causes the sugars and milk proteins to undergo the Maillard reaction, resulting in its distinctive caramel flavor and color. There are two primary methods for achieving this transformation at home, both straightforward and yielding delicious results. The choice between them often comes down to personal preference and what fits best into your daily schedule.
Stovetop Method: The Classic Approach
The stovetop method involves simmering an unopened can of sweetened condensed milk in water for several hours. This is arguably the most traditional and simplest way to make dulce de leche, requiring minimal hands-on effort once it’s set up.
- Prepare the Can: Begin by carefully removing the paper label from the can of sweetened condensed milk. Ensure all paper is gone to prevent it from dissolving and sticking to the can or the pot during cooking.
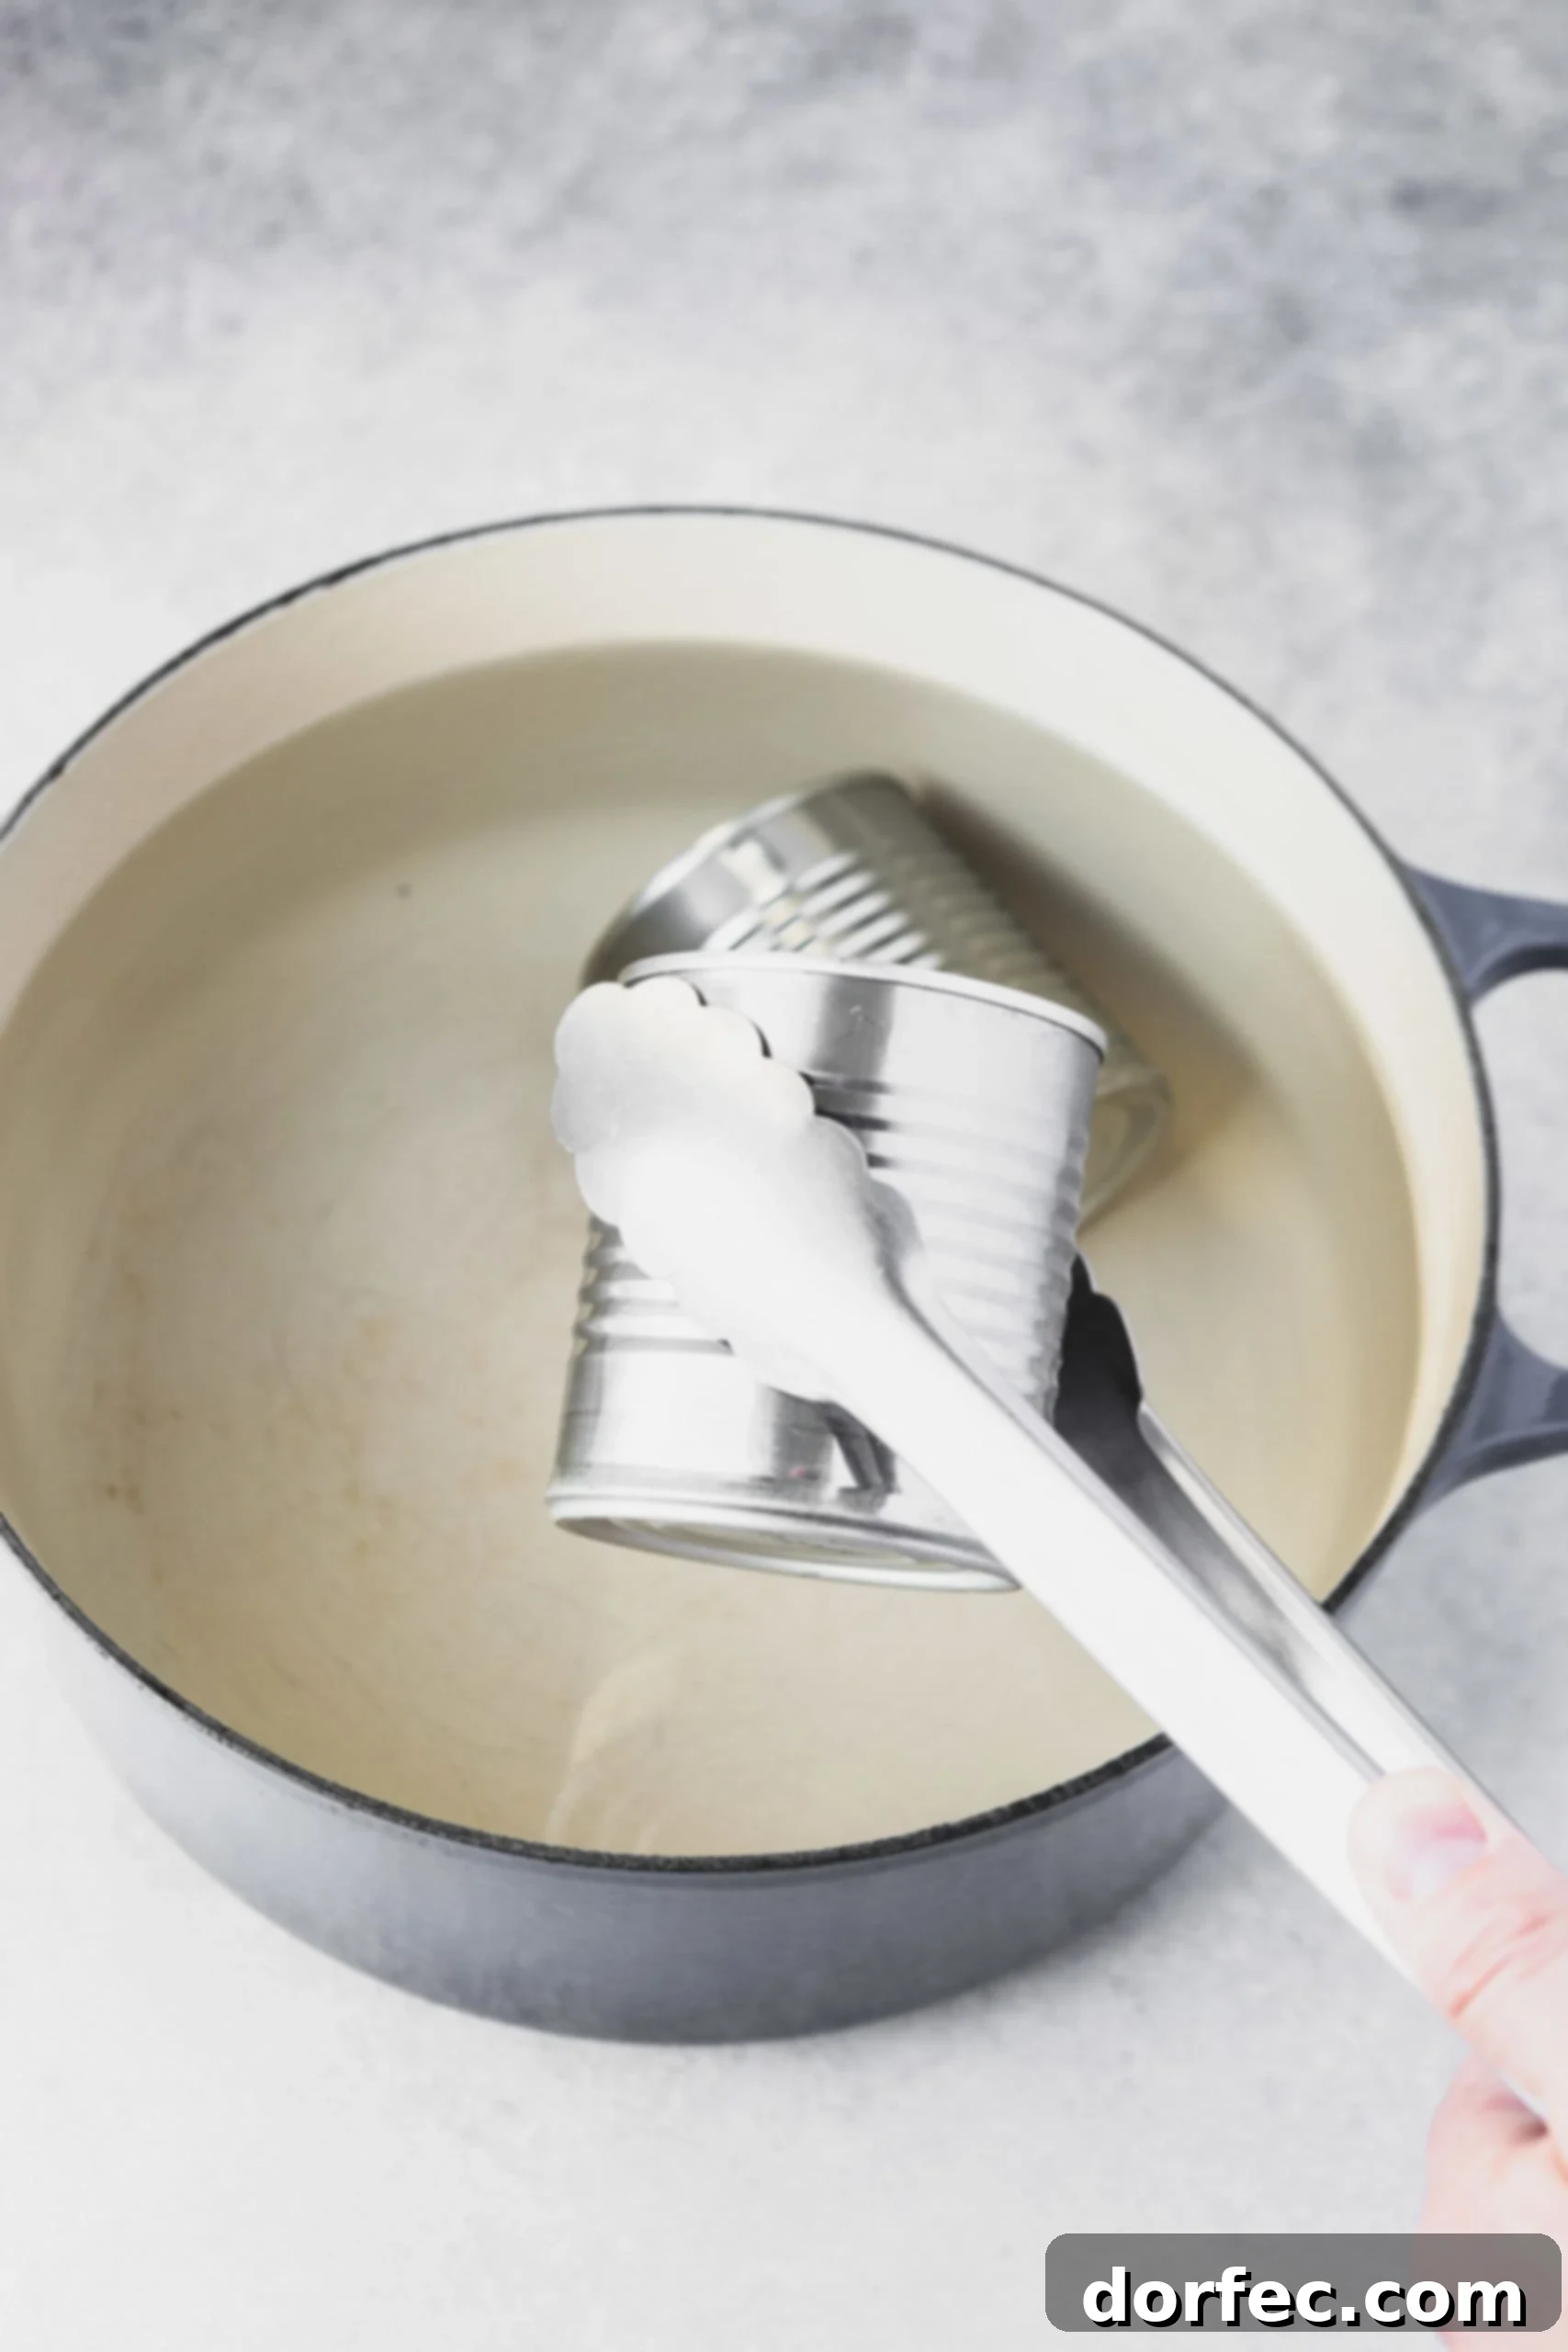
- Submerge in Water: Place the label-free can horizontally in a deep saucepan or Dutch oven. Fill the pan with enough water to completely cover the can by at least 1-2 inches. This is crucial to prevent the can from overheating and potentially bursting.
- Bring to a Boil: Place the saucepan over medium-high heat and bring the water to a vigorous boil.
- Simmer and Transform: Once boiling, reduce the heat immediately to a gentle simmer. The water should be bubbling softly, not violently. Maintain this simmer for 2 to 2.5 hours, or even longer depending on your desired color and consistency.
- For a lighter, golden caramel, cook for approximately 2 hours.
- For a richer, darker, and more intense dulce de leche, simmer for 2.5 to 3 hours. Be mindful that longer cooking times will result in a thicker, firmer dulce de leche.
- Pro Tip: Monitor Water Level! As the water simmers, it will naturally evaporate. It is absolutely vital to keep an eye on the water level throughout the entire cooking process. Add more hot water as needed to ensure the can remains fully submerged at all times. If the can is exposed to air and boils dry, it can become dangerously hot and even explode.
- Cool Completely: After the desired cooking time, carefully remove the hot can from the saucepan using tongs. Place it on a wire rack and allow it to cool completely to room temperature before opening. This step is critical for safety, as opening a hot, pressurized can can be hazardous.
- Whisk and Enjoy: Once cooled, open the can with a can opener. The contents will be a firm, golden-brown block of dulce de leche. Transfer it to a bowl and whisk vigorously until smooth and creamy. If it’s too thick, you can add a tiny splash of milk or cream and whisk until desired consistency is reached.
Oven Method: A Hands-Off Alternative
The oven method offers a slightly more hands-off approach, as you don’t need to constantly monitor the water level in the same way as the stovetop. It also results in a beautifully consistent texture.
- Preheat Oven: Preheat your oven to 425°F (220°C).
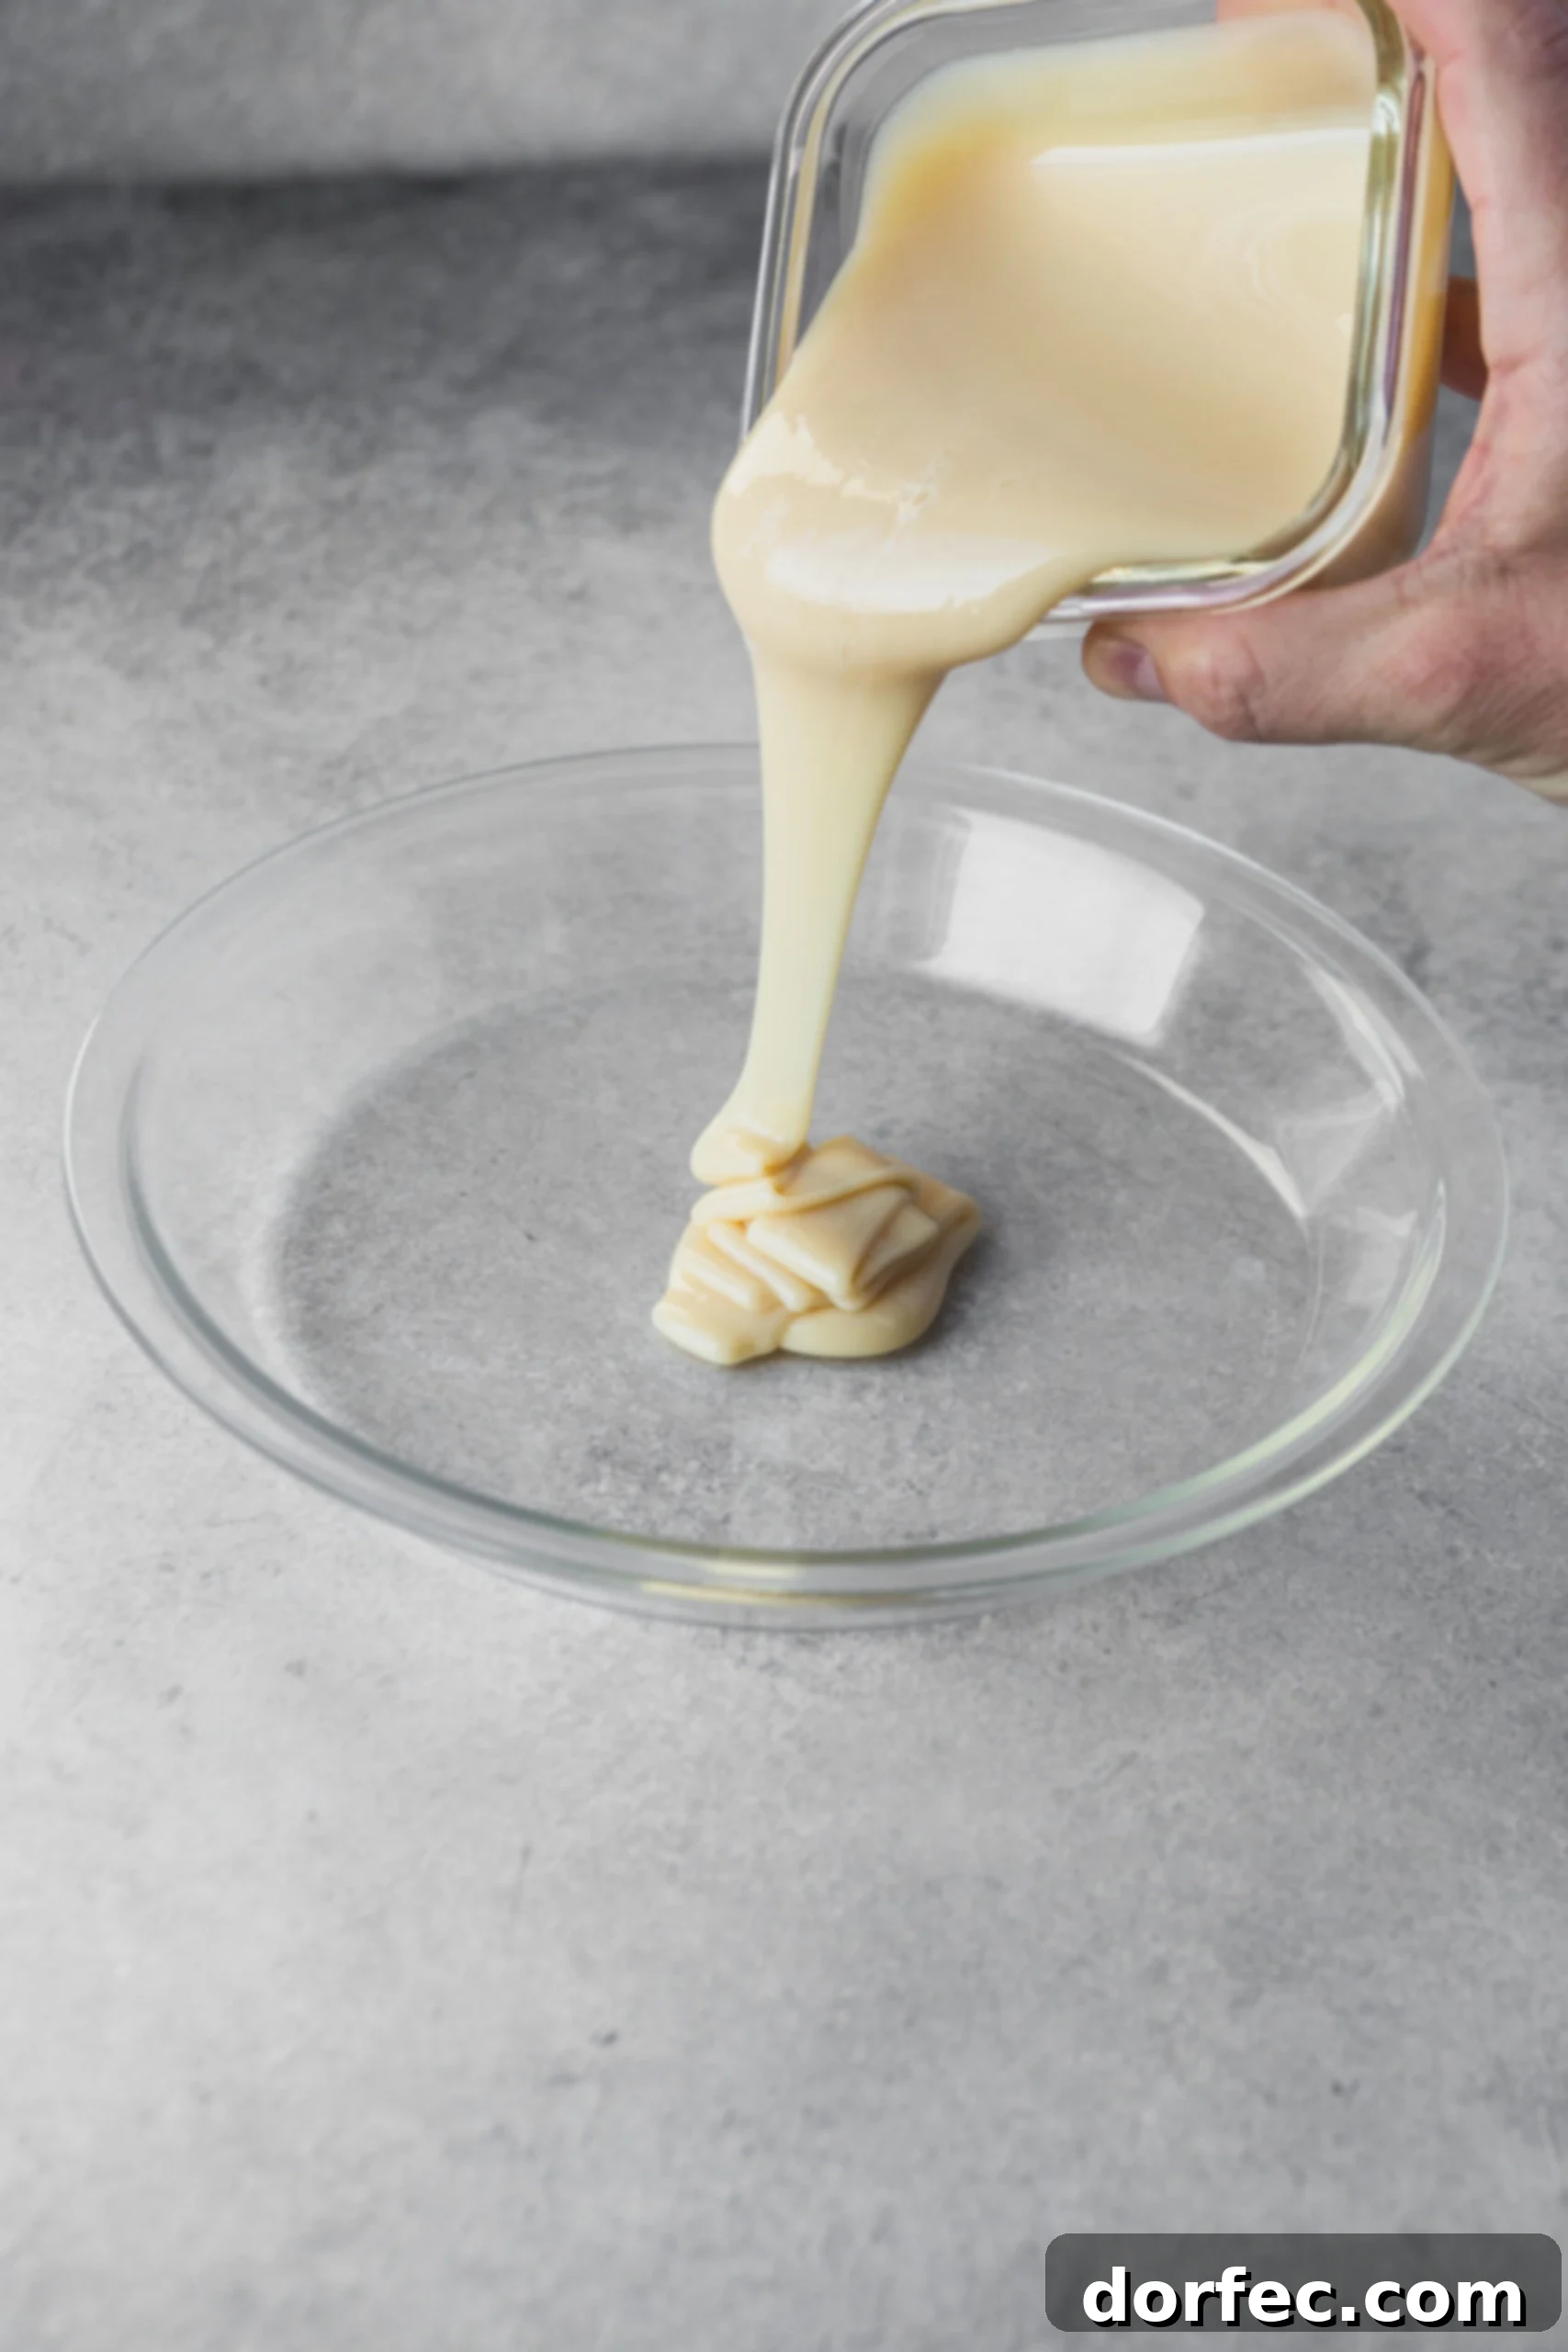
- Prepare the Milk: Pour the sweetened condensed milk directly from the can into an oven-safe pie dish or a shallow ceramic baking dish.
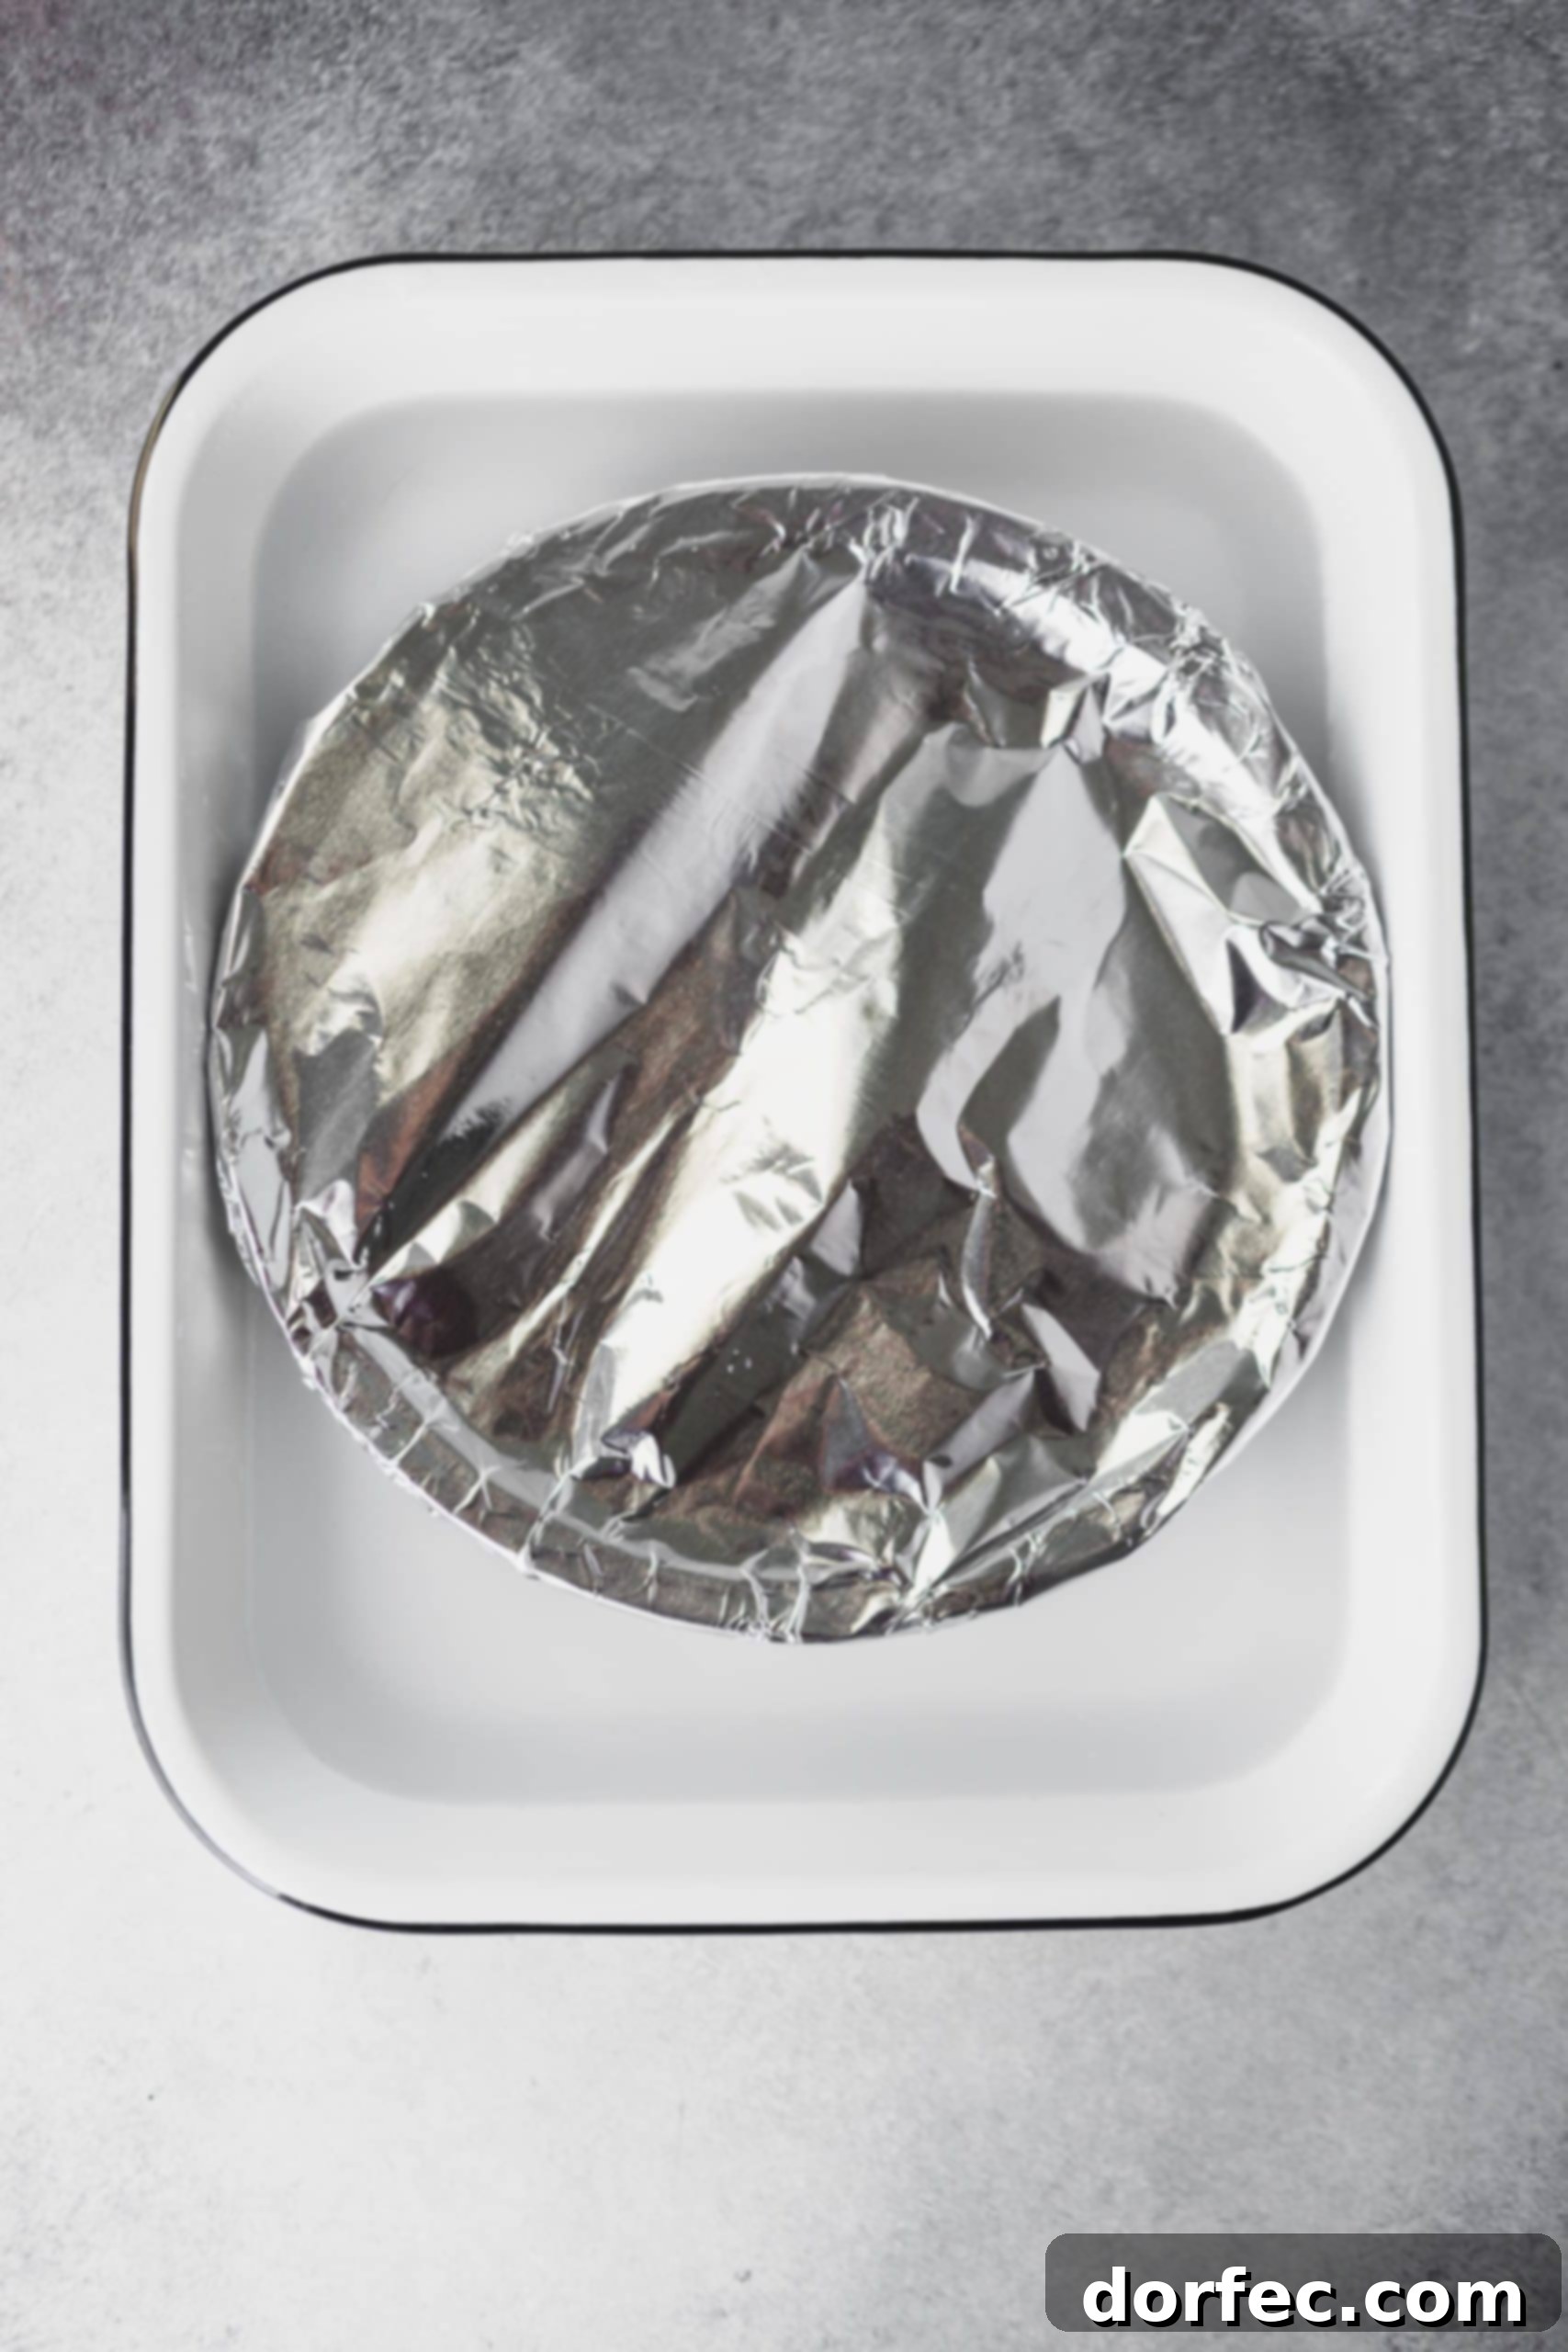
- Cover Tightly: Cover the pie dish very tightly with aluminum foil, crimping the edges securely to prevent any steam from escaping and to protect the dulce de leche from drying out or burning.
- Create a Water Bath: Place the foil-covered pie dish into a larger baking pan (such as a roasting pan or 9×13-inch casserole dish). Fill the larger pan with about 1 inch of hot water. This creates a water bath, which helps to cook the dulce de leche gently and evenly, preventing it from scorching.
- Bake: Carefully transfer the baking pan (with the pie dish inside) to your preheated oven. Bake for approximately 2 hours. The dulce de leche will slowly caramelize to a rich, golden-brown color.

- Cool and Whisk: Remove the baking pan from the oven and carefully lift out the pie dish. Allow the dulce de leche to cool completely at room temperature, still covered, before removing the foil. Once cool, remove the foil and whisk the dulce de leche vigorously to smooth out any lumps and achieve that signature velvety texture.
Understanding Dulce de Leche: History, Flavor, and Uses
What Exactly is Dulce de Leche?
Dulce de leche, which literally translates to “sweet of milk” or “candy of milk” in Spanish, is a beloved confection originating from Latin America. It is traditionally prepared by slowly heating sweetened milk (or sweetened condensed milk, as in our recipes) for an extended period, causing the sugars to caramelize and the milk to thicken and turn a rich, golden-brown. While often compared to caramel, it is distinct in its preparation and flavor profile.
What Does Dulce de Leche Taste Like?
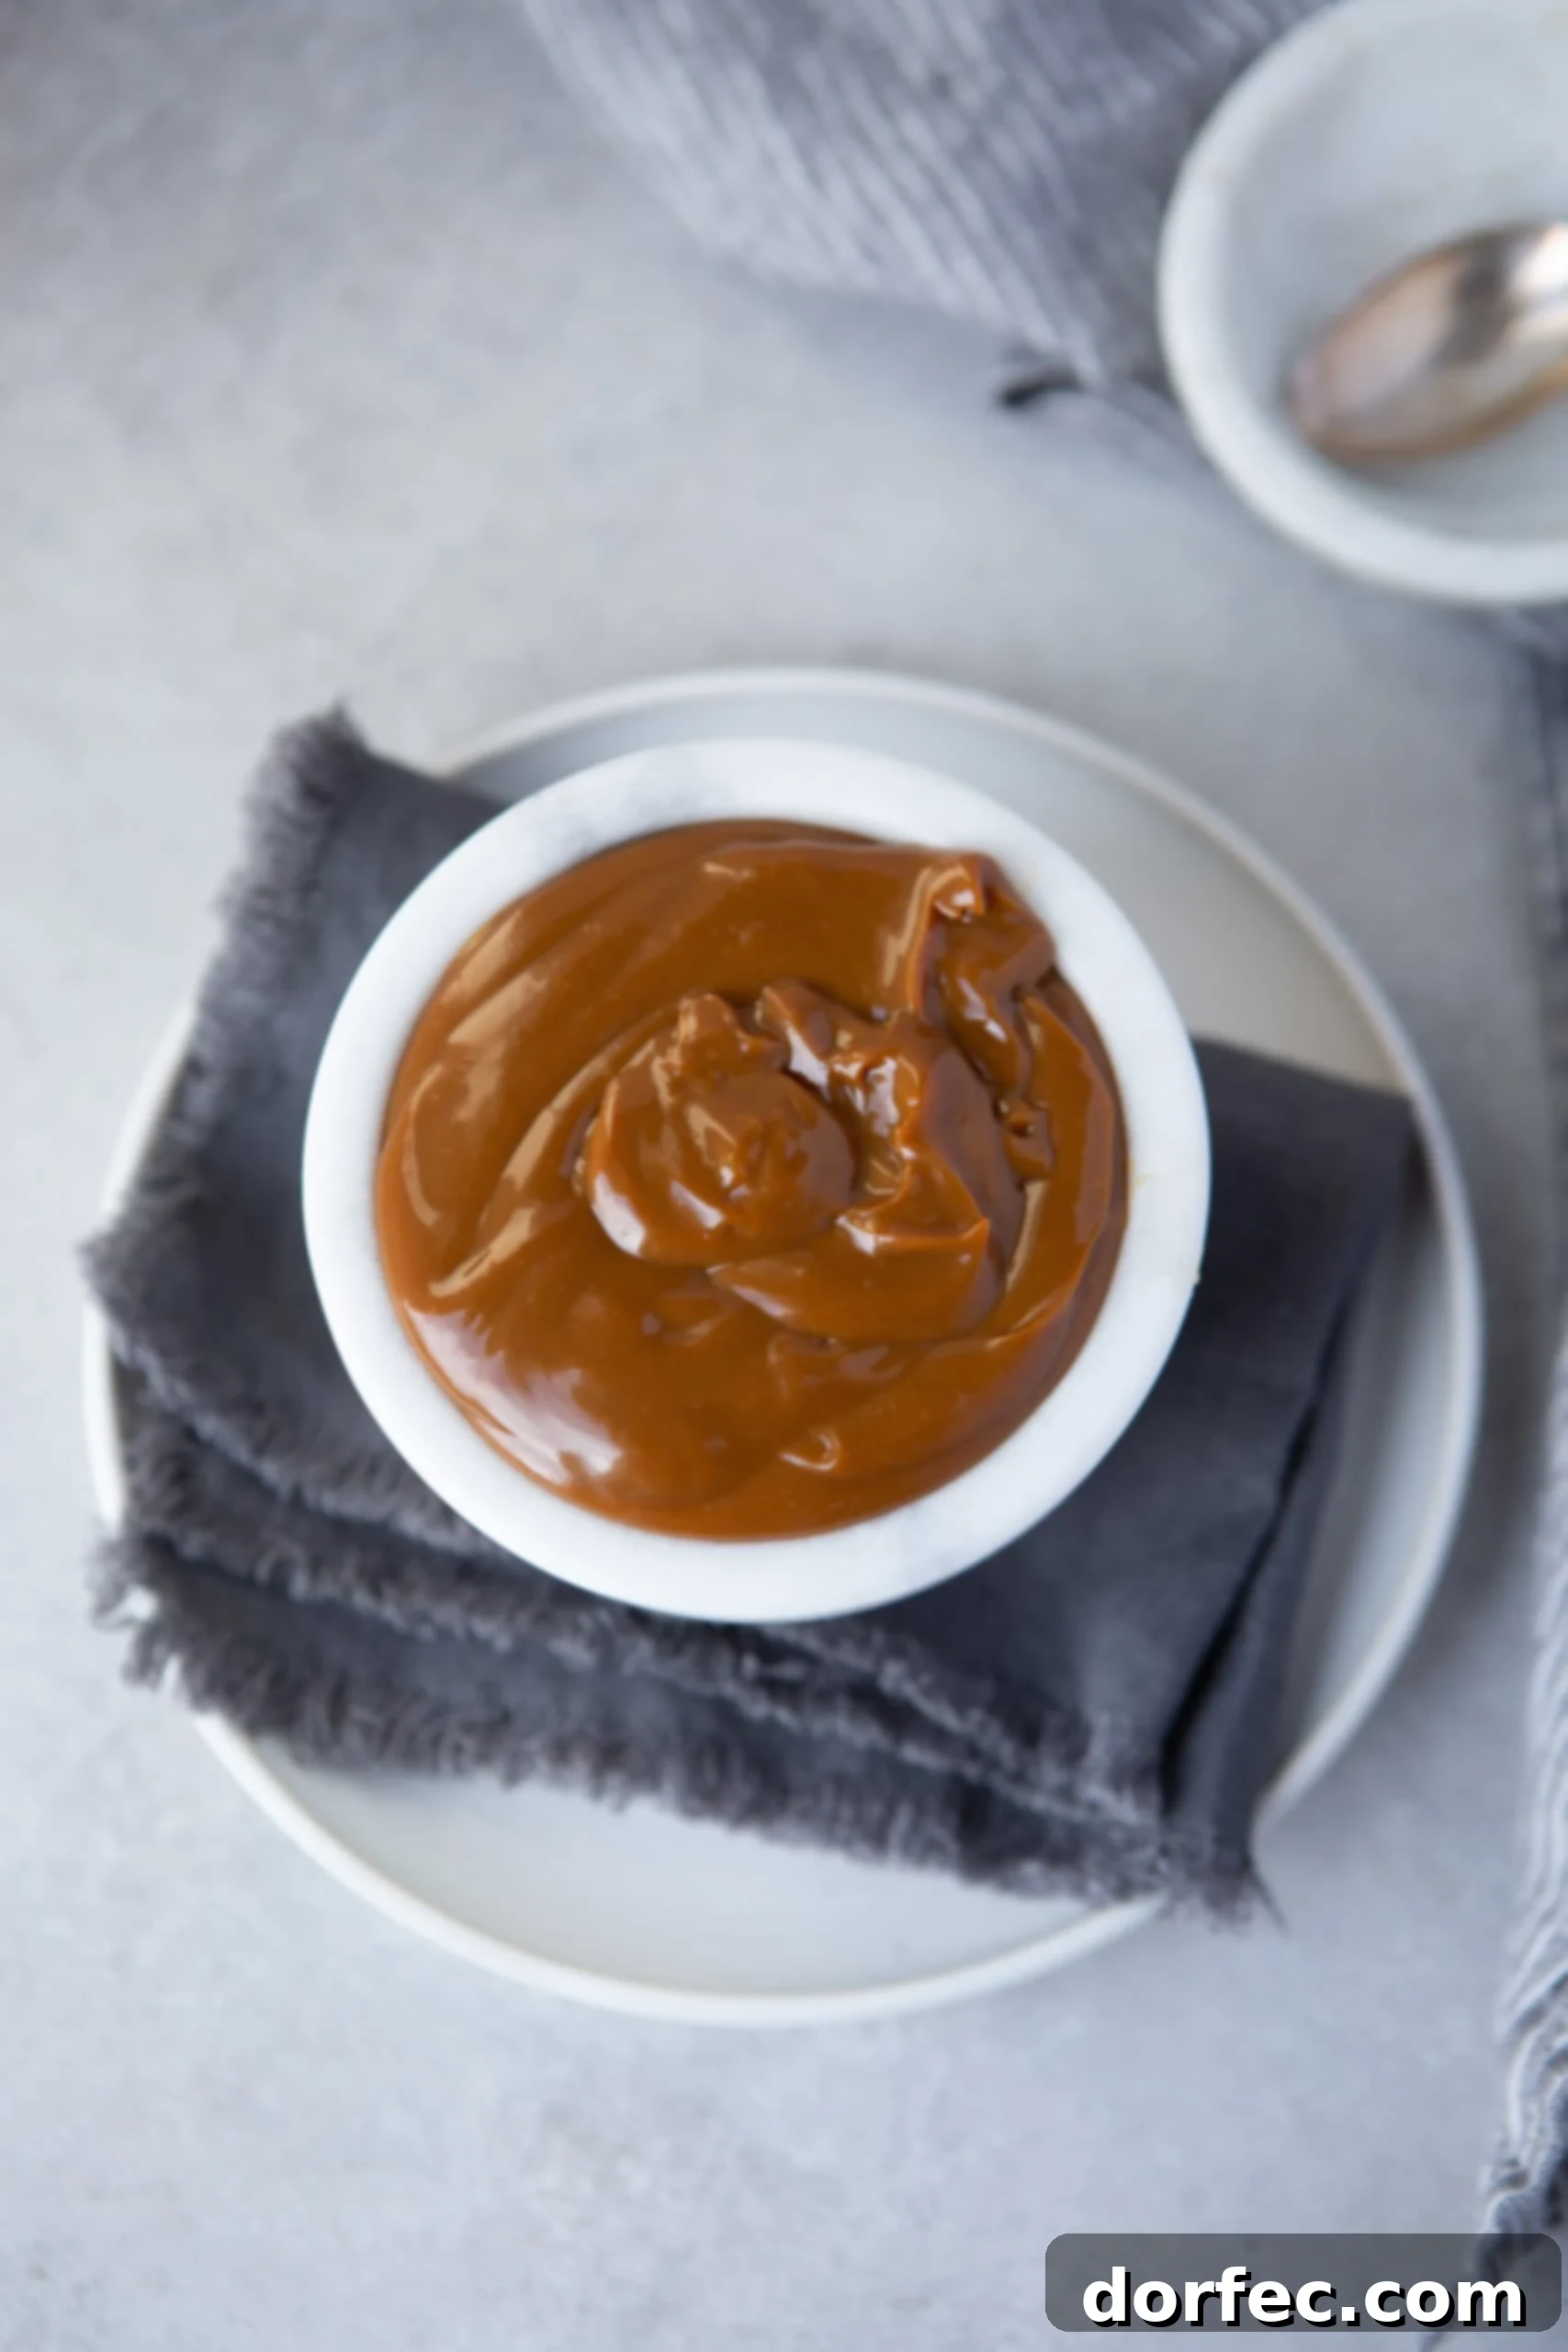
Dulce de leche boasts a uniquely creamy, intensely sweet, and deeply caramelized flavor. It’s often described as a richer, milkier version of classic caramel. The slow cooking process develops complex notes, ranging from buttery and toasted to slightly nutty, with an incredibly smooth and velvety texture that melts on the tongue. It’s less sharp than traditional caramel and has a comforting, mellow sweetness.
How is Dulce de Leche Used? Endless Culinary Possibilities
The versatility of dulce de leche is truly astounding, making it a staple in many cuisines, especially across Latin America. Its rich flavor and smooth texture make it perfect for:
- Topping: Drizzle it over ice cream, pancakes, waffles, crepes, yogurt, or fresh fruit for an instant upgrade.
- Filling: It’s a classic filling for cakes, cupcakes, pastries, tarts, and especially Alfajores (South American sandwich cookies).
- Baking: Incorporate it directly into cookie dough, brownie batter, or cheesecake mixtures for a deep caramel flavor. It’s fantastic in bread puddings or as a swirl in muffins.
- Spreading: Enjoy it simply spread on toast, bagels, or croissants for a luxurious breakfast or snack.
- Beverages: Stir a spoonful into your coffee, hot chocolate, or milkshakes for a decadent treat.
- Dipping: Serve it as a dip for churros, apple slices, or pretzels.
The Dulce de Leche Shortage: A Puzzling Phenomenon
My quest for store-bought dulce de leche led me to consult with a store manager at my local Smith’s. After a quick investigation, even he was stumped, speculating that the shortage might be another ripple effect of global supply chain disruptions, possibly exacerbated by the pandemic. It seems that even our favorite sweet treats aren’t immune to the broader economic challenges impacting so many industries.
This unexpected scarcity only reinforces the value of mastering the homemade version. The ability to transform a simple can of sweetened condensed milk into this luxurious confection ensures that you’ll always have a supply, regardless of what’s happening on grocery store shelves. Crisis averted, and sweet satisfaction guaranteed!
Recipes That Shine with Homemade Dulce de Leche
Now that you’re equipped with the knowledge to make your own perfect dulce de leche, it’s time to put it to use! Here are some incredible recipes that truly showcase the rich, creamy flavor of this versatile treat:
- Dulce de Leche Chocolate Cheesecake Bars
- Nutella and Dulce de Leche Stuffed Cookies
- Dulce de Leche Stuffed Chocolate Mexican Cookies
- Chocolate Caramel Molten Lava Cakes
- Dulce de Leche Banana Cream Pie
- Nutella Dulce de Leched Chocolate Chip Cookie Pie
- Millionaire Skookie
- Dulce de Leche Churro Donuts
Dulce de Leche: The Ultimate Homemade Recipe

By: Sweet Basil
- Cook Time: 2 hours 30 minutes
- Total Time: 2 hours 30 minutes
- Yield: 1 can
Ingredients
- 1 can (14 oz) sweetened condensed milk
Instructions
Stovetop Method
- Remove all paper labels from the can of sweetened condensed milk. Place the unopened can in a deep saucepan.
- Fill the saucepan with enough water to completely cover the can by at least 1 inch.
- Bring the water to a rolling boil over medium-high heat.
- Once boiling, reduce the heat to a gentle simmer. Maintain a consistent simmer for 2 to 2.5 hours. For a lighter caramel color, cook for 2 hours. For a deeper, richer, darker dulce de leche, simmer for 2.5 hours, or even up to 3 hours.
- Pro Tip: Regularly check the water level and add more hot water as needed to ensure the can remains fully submerged throughout the cooking process. Never let the can boil dry, as this can be dangerous.
- Carefully remove the hot can from the saucepan using tongs. Let it cool completely on a wire rack before opening.
- Once cooled, open the can and whisk the dulce de leche until smooth.
Oven Method
- Preheat your oven to 425°F (220°C).
- Pour the sweetened condensed milk from the can into an oven-safe pie dish or shallow baking dish.
- Cover the pie dish tightly with aluminum foil, crimping the edges to create a secure seal.
- Place the covered pie dish into a larger baking pan. Fill the larger pan with about 1 inch of hot water to create a water bath.
- Carefully transfer the baking pan to the preheated oven. Bake for 2 hours.
- Remove from the oven and let the dulce de leche cool completely in the pie dish.
- Once cool, remove the foil and whisk thoroughly to eliminate any lumps and achieve a smooth, creamy texture.
Recipe Notes
Homemade dulce de leche can be stored in an airtight jar or container in the refrigerator for up to 2-3 weeks. Always ensure the dulce de leche has cooled completely before transferring to storage containers.
Nutrition Information (Approximate per serving)
Please note: Nutrition information is an approximation and can vary based on ingredients and preparation.
- Serving Size: 1 can
- Calories: 1271 kcal
- Carbohydrates: 215g
- Protein: 31g
- Fat: 34g
- Saturated Fat: 22g
- Cholesterol: 135mg
- Sodium: 503mg
- Potassium: 1469mg
- Sugar: 215g
- Vitamin A: 1057 IU
- Vitamin C: 10mg
- Calcium: 1125mg
- Iron: 1mg
Storage and Troubleshooting for Your Homemade Dulce de Leche
Once you’ve made a batch of this delightful homemade dulce de leche, proper storage will ensure its longevity and freshness. Transfer the cooled dulce de leche to a clean, airtight jar or container. It can be safely stored in the refrigerator for up to 2-3 weeks. For longer storage, you can even freeze it in a freezer-safe container for up to 3 months. Thaw in the refrigerator overnight and whisk again before use.
While making dulce de leche is generally straightforward, here are a few common troubleshooting tips:
- Too Thin: If your dulce de leche is not as thick as you’d like after cooling and whisking, you can gently heat it in a saucepan over low heat, stirring constantly, to reduce it further. Be careful not to scorch it.
- Too Thick/Lumpy: If it’s too thick or has small lumps, a vigorous whisking, perhaps with a tiny splash of milk or cream, usually does the trick to achieve a smooth consistency. A hand mixer or immersion blender can also help if it’s very stubborn.
- Burnt Taste: This usually happens if the can boils dry (stovetop method) or if the oven method is cooked at too high a temperature or without enough water in the water bath. Always ensure the can is submerged and the oven dish is properly covered in a water bath to prevent scorching. Unfortunately, a burnt taste is hard to remedy.
- Can Bursting: This is a rare but serious safety concern. It almost always occurs when the can is not fully submerged in water during the stovetop method and boils dry, leading to extreme pressure build-up. Always keep the can fully covered with water.
Conclusion: Embrace the Sweet Rewards of Homemade Dulce de Leche
The joy of making your own dulce de leche extends far beyond just having a delicious ingredient on hand. It’s about reconnecting with a simple, rewarding culinary process and gaining confidence in your kitchen skills. Whether you’re a seasoned baker or a curious beginner, mastering this recipe opens up a world of dessert possibilities. So, next time you crave that rich, creamy caramel flavor, skip the search for a vanishing can and create your own liquid gold from scratch. You’ll be glad you did!
REMEMBER TO SUBSCRIBE TO our FREE Oh Sweet Basil NEWSLETTER AND RECEIVE EASY RECIPES DELIVERED INTO YOUR INBOX EVERY DAY!
When you try a recipe, please use the hashtag #ohsweetbasil on INSTAGRAM for a chance to be featured in our stories! FOLLOW OH, SWEET BASIL ON FACEBOOK | INSTAGRAM | PINTEREST | TWITTER FOR ALL OF OUR LATEST CONTENT, RECIPES AND STORIES.