
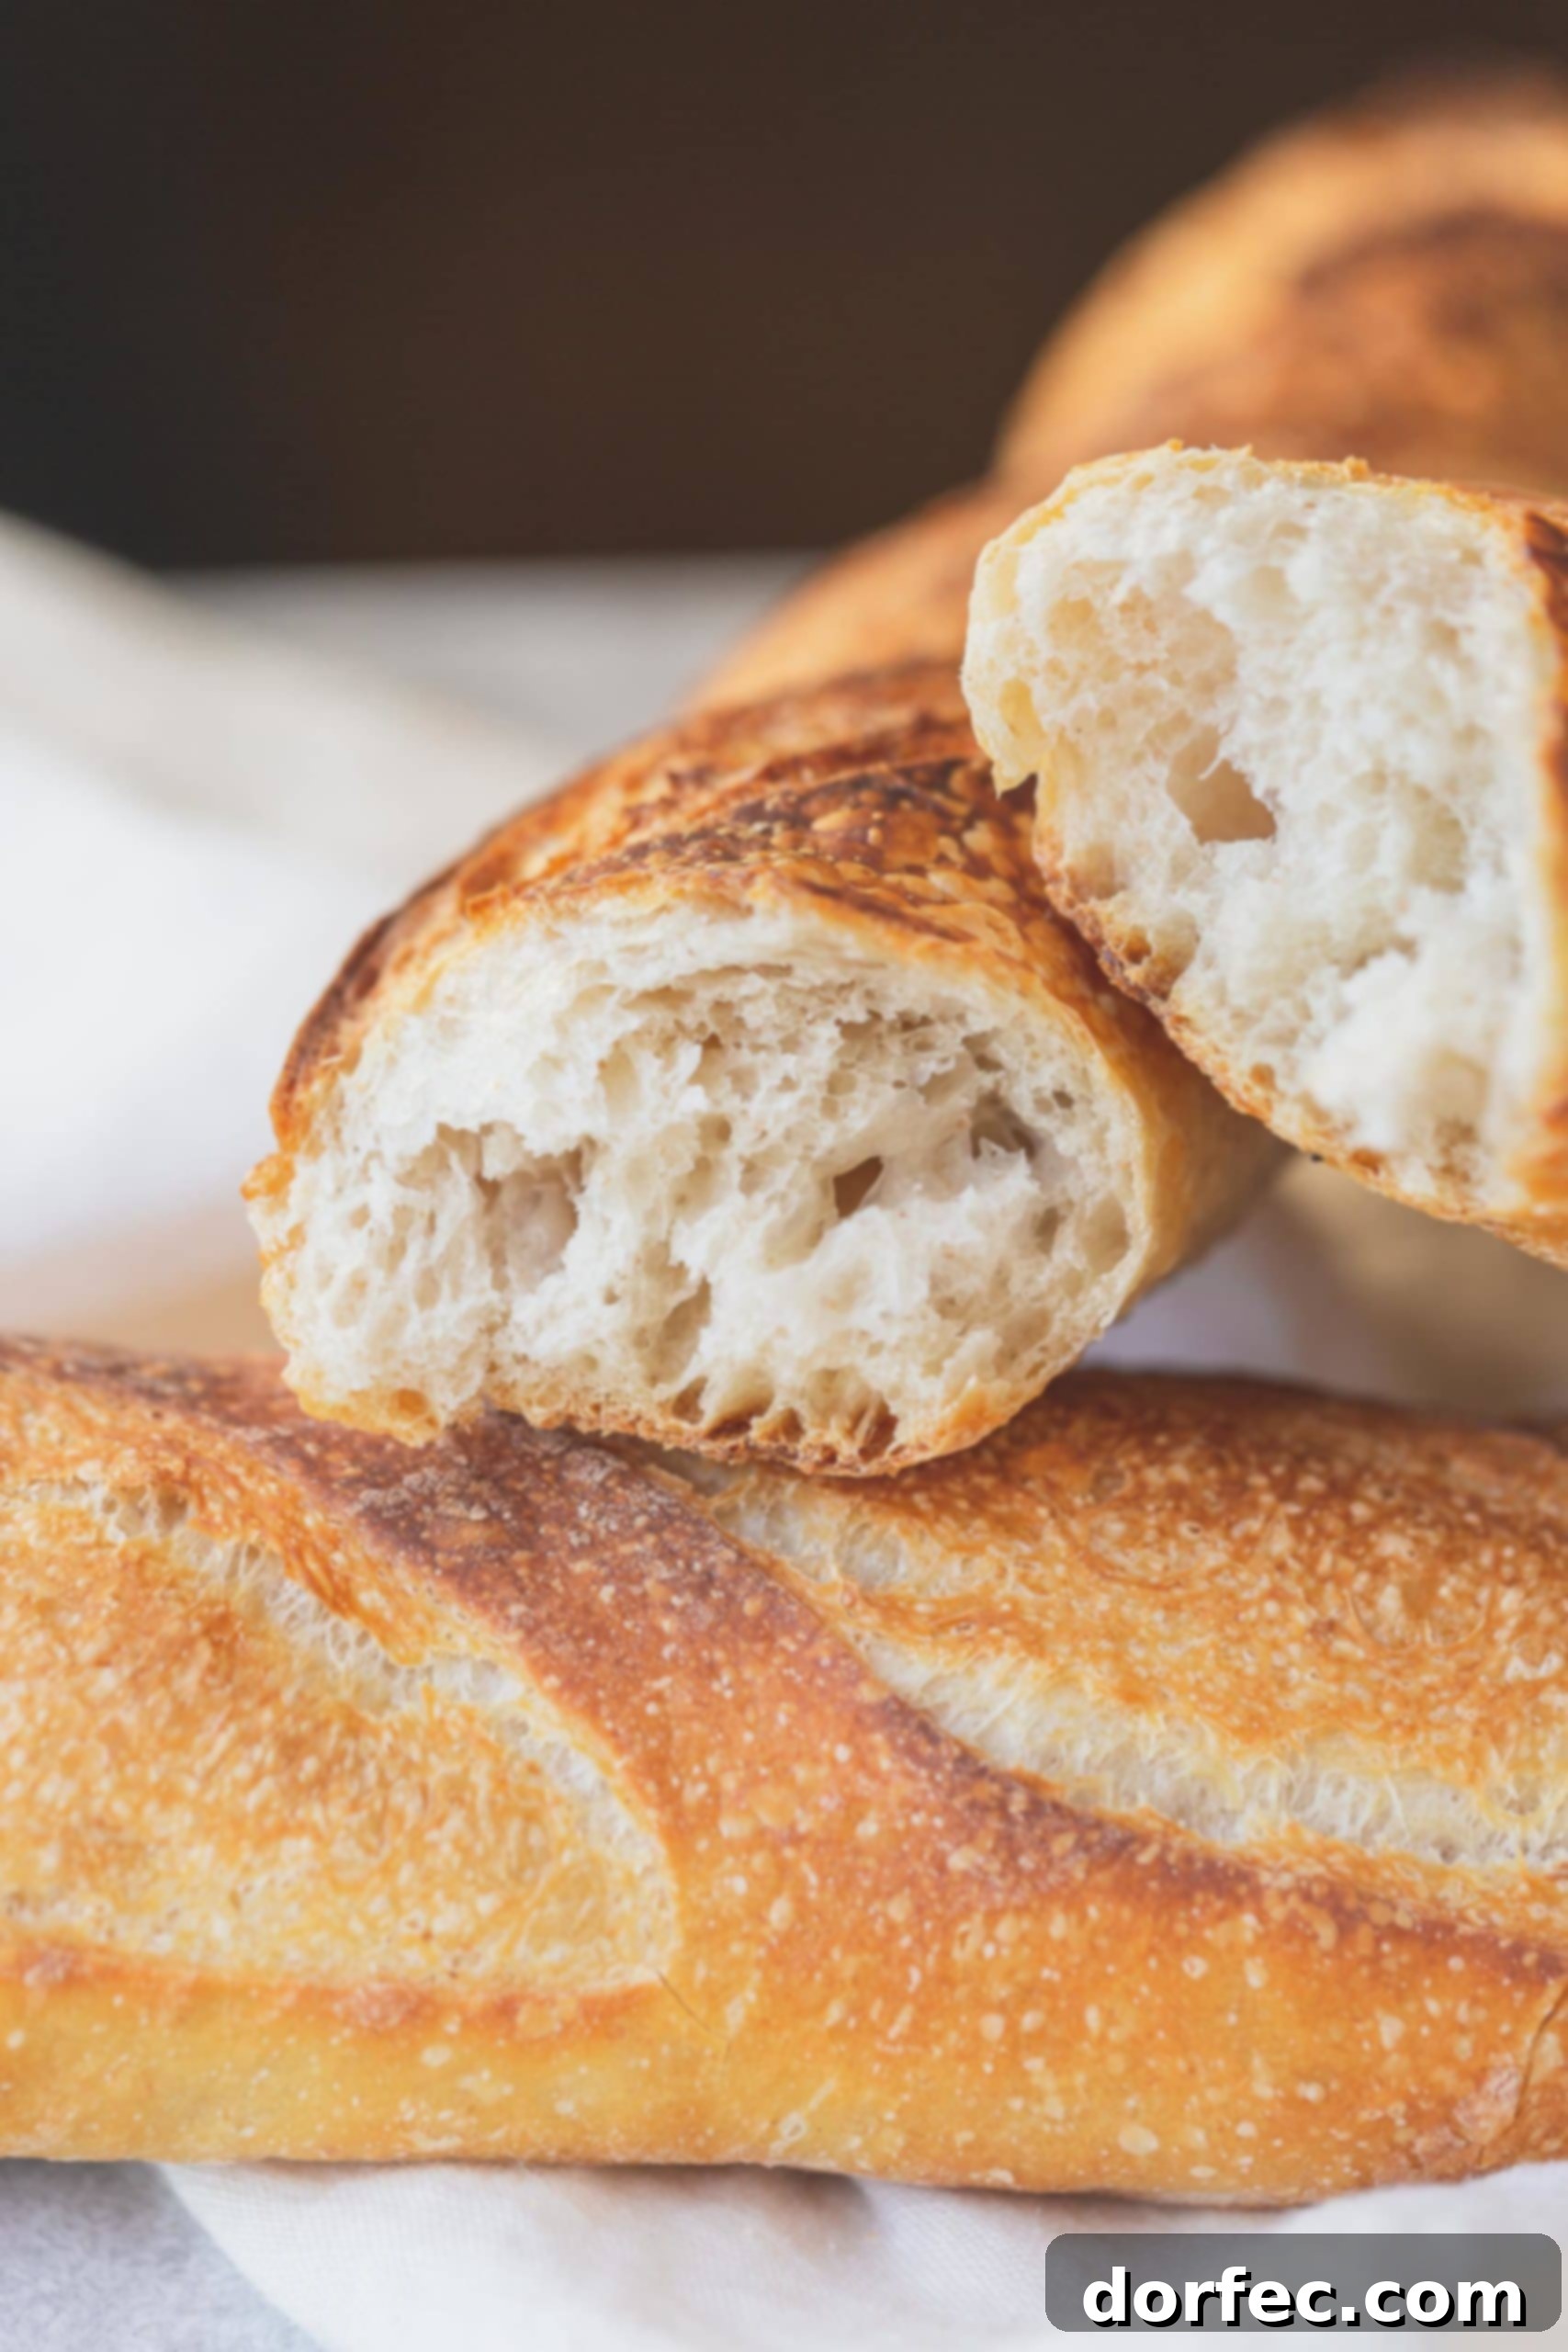
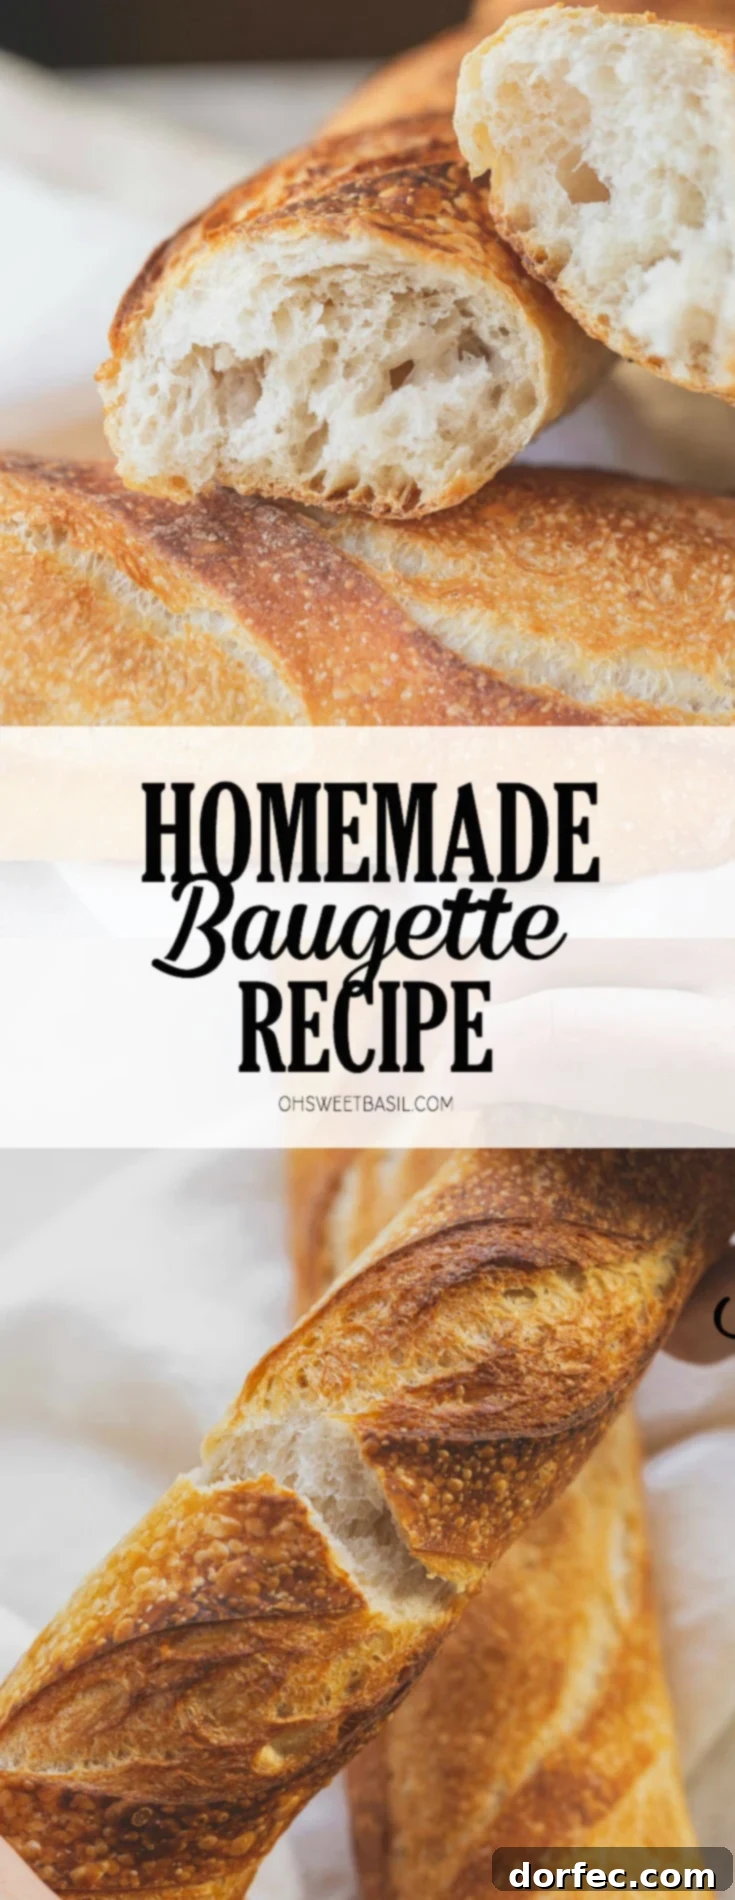
There’s an undeniable allure to a truly authentic French baguette. Its golden-brown, crackling crust hints at the delightful chewiness within, revealing a buttery soft interior punctuated by an airy, open crumb. Mastering the art of baking this iconic bread at home might seem like a daunting task, but with a few essential techniques and a stellar baguette recipe, you can achieve bakery-quality results right in your own kitchen.
Often, we shy away from certain culinary endeavors, convinced they are beyond our skill set. Perhaps it’s the delicate layers of a croissant, the intricate weaving of a challah, or the comforting complexity of a homemade apple pie. We rationalize that it’s simply too challenging, too time-consuming, or just easier to pick up from the local store. It’s a common sentiment, isn’t it?
The baguette frequently finds itself in this very category. Many home bakers assume that the crisp, airy perfection of a French baguette is best left to the seasoned professionals. But what if I told you that creating these exquisite loaves in your own kitchen is not only achievable but incredibly rewarding? These homemade baguettes are an absolute game-changer, proving that the time and effort invested are profoundly worth it, yielding a taste and texture that far surpasses anything store-bought.
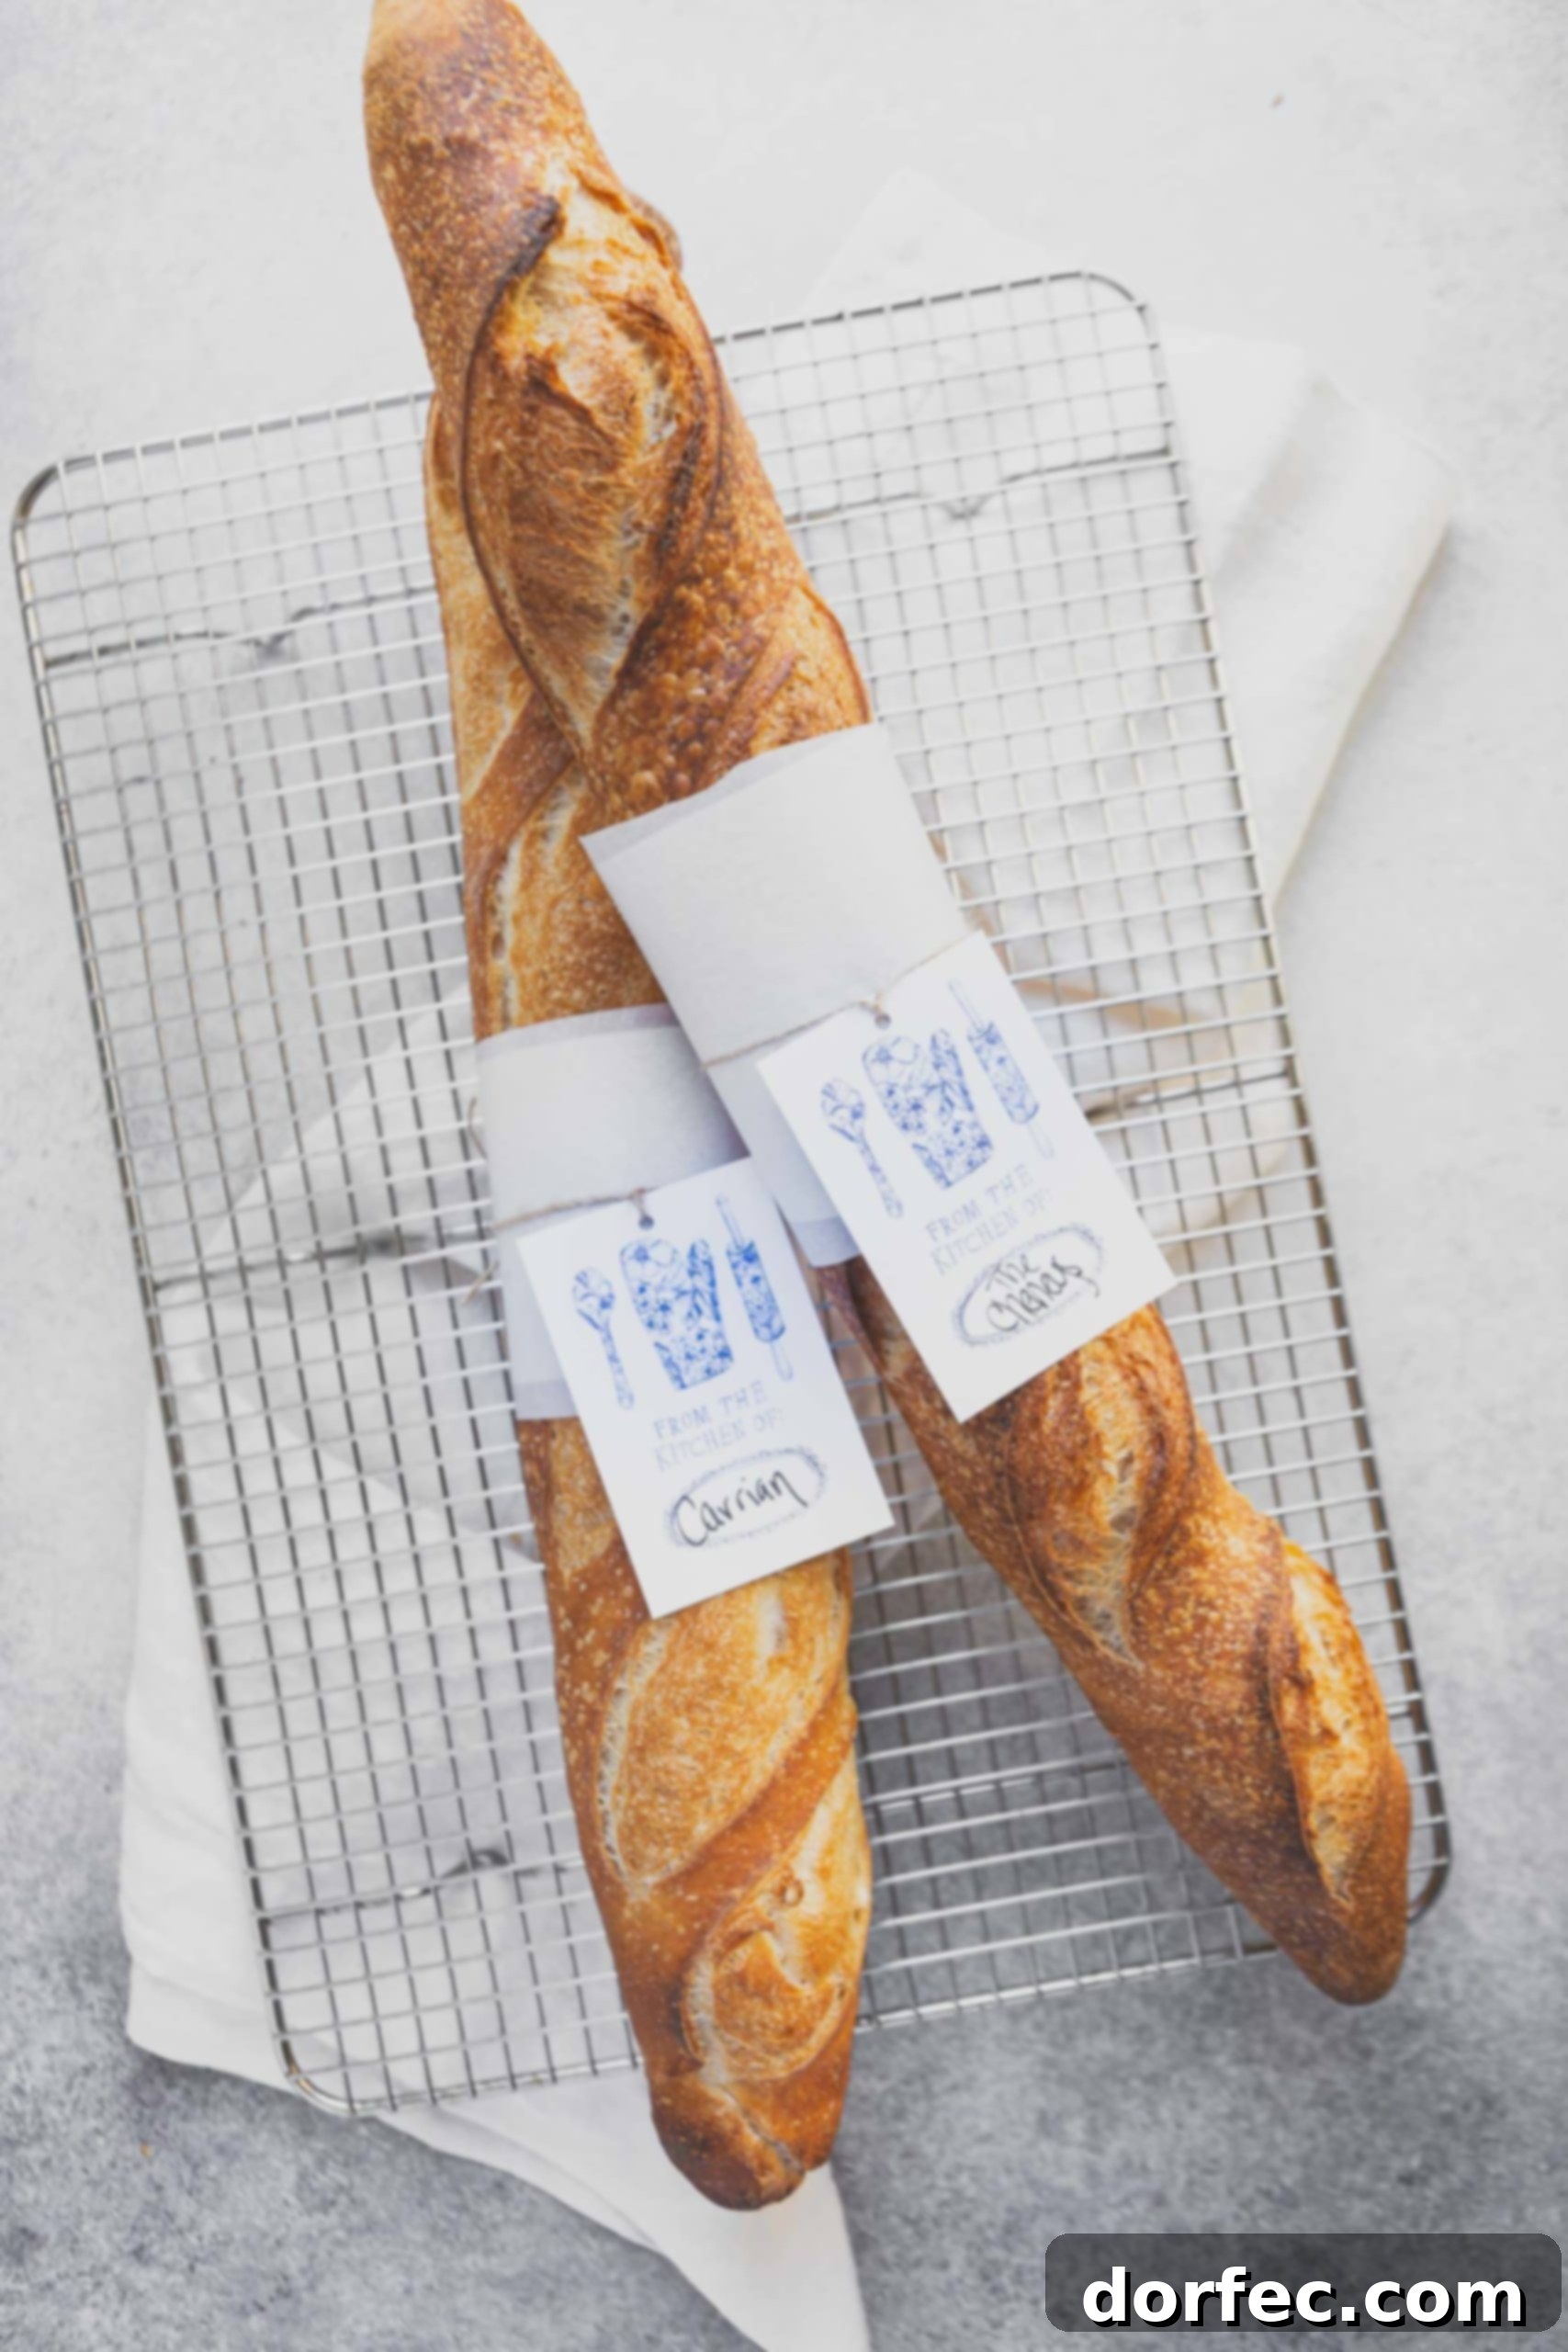
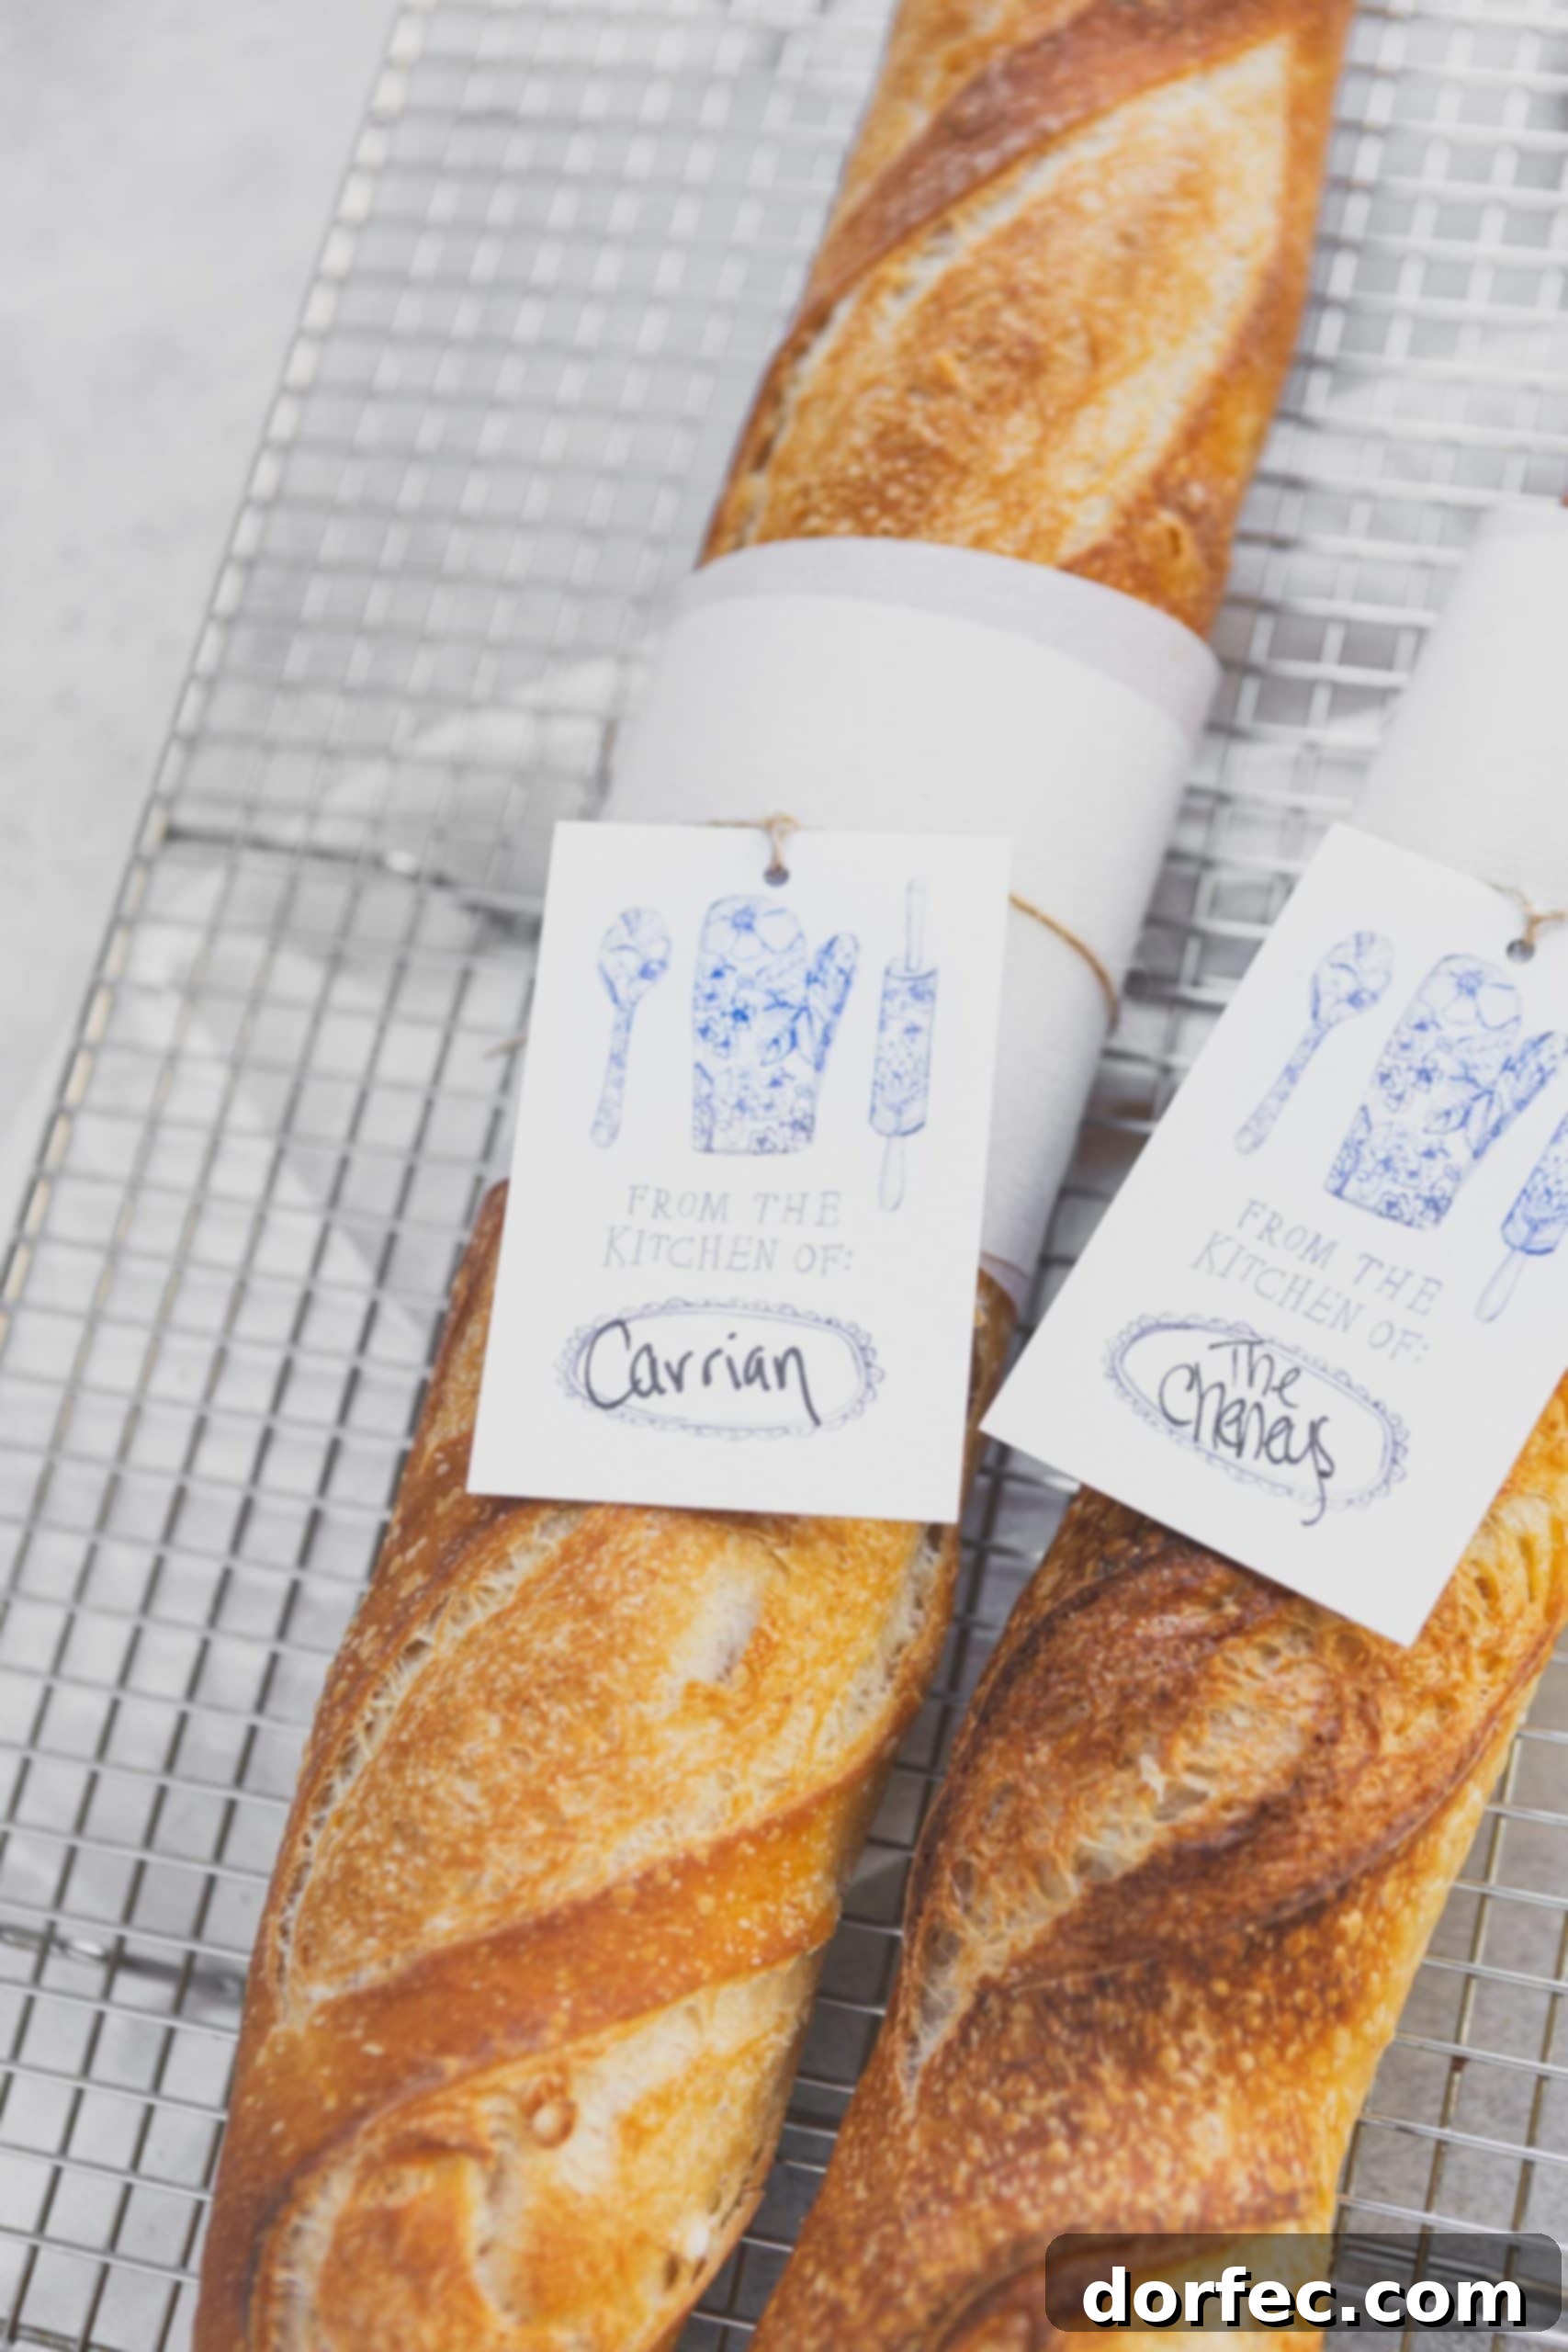
And for those seeking the next baking challenge, perhaps the kouign amann beckons – my personal next culinary feat! But for now, let’s return to the star of the show: this phenomenal homemade baguette recipe. Beyond being a magnificent standalone treat, these versatile loaves are perfect for a myriad of culinary applications. Imagine tearing off a piece to dip into hearty soups, or slicing them lengthwise to craft gourmet sandwiches. They’re also ideal for creating elegant dips or crispy crostinis, serving as the perfect vehicle for appetizers. Or, consider wrapping up a freshly baked loaf with an adorable tag as a thoughtful gift for a friend. The possibilities are truly endless!

Unveiling the Simplicity: What Ingredients Do I Need for an Authentic Baguette Recipe?
When you envision baking an authentic French baguette, you might automatically assume a long list of exotic ingredients. However, the true beauty of this classic bread lies in its elegant simplicity. You’ll be pleasantly surprised to discover that all you need are just five fundamental ingredients, readily available at any grocery store, to create a masterpiece:
- Bread Flour: The high protein content in bread flour is crucial for developing strong gluten, which gives baguettes their characteristic chewy texture and open, airy crumb.
- Water: The lifeblood of the dough, water hydrates the flour and activates the yeast, playing a vital role in both texture and fermentation.
- Instant Yeast: This fast-acting leavening agent ensures a consistent and efficient rise, essential for the baguette’s volume and structure.
- All-Purpose Flour: A small amount of all-purpose flour helps balance the dough, contributing to a tender crumb without sacrificing chewiness.
- Kosher Salt: More than just a seasoning, salt enhances flavor, controls yeast activity, and strengthens gluten development.
It might seem almost too straightforward, right? While the ingredient list is indeed simple, the process of transforming these basic components into irresistible baguettes is a journey that requires a bit more involvement and attention to detail. Fear not, we’ll guide you through each and every step, ensuring your success in baking the perfect homemade baguette.
The Secret Starter: What is Poolish?
Before diving into the full bread-making process, it’s essential to understand a key element: the poolish. You’ll encounter this term frequently throughout our baguette recipe instructions, so let’s ensure its role is perfectly clear. In French baking, a poolish is a type of pre-ferment or bread starter. It’s a simple combination of flour, water, and a small amount of leavening agent – in this case, instant yeast. This mixture is left to ferment for a significant period, typically overnight, at room temperature.
The magic of the poolish lies in this extended fermentation. During this time, the yeast actively breaks down the starches in the flour, producing a wealth of complex flavors and aromatic compounds that are simply impossible to achieve with a direct dough method. This pre-ferment contributes immensely to the distinctive, nutty, and slightly tangy taste profile of authentic French baguettes. Furthermore, the enzymatic activity within the poolish helps to develop the gluten structure, which is crucial for the baguette’s signature open, irregular crumb and crisp crust. Without a properly developed poolish, your homemade baguettes wouldn’t possess that deep flavor, beautiful texture, or desirable chewiness that defines truly artisan bread. It’s a fundamental step that elevates your baking from good to extraordinary, laying the foundation for an exceptional French baguette recipe.

Crafting Perfection: How to Make a Homemade Baguette from Scratch
Baking delicious, crusty baguettes is a multi-step process that, while requiring patience, is incredibly rewarding. Each stage contributes to the final texture, flavor, and appearance of your artisan baguettes. We will walk you through every critical step here, providing detailed insights into the techniques that will ensure your success. For precise measurements, please refer to the recipe card below.
1. Preparing the Poolish: The Foundation of Flavor
The journey to an exquisite baguette begins the night before. In a spacious bowl or, ideally, a plastic container with a lid, combine the bread flour, water, and instant yeast designated for the poolish. Stir these ingredients thoroughly until a shaggy, consistent mixture forms. Ensure there are no dry pockets of flour remaining. Once combined, cover the bowl tightly with plastic wrap or its lid to prevent it from drying out. Allow this mixture to sit at a comfortable room temperature for a minimum of 8 hours. For optimal flavor development and a more robust fermentation, aiming for 10-12 hours is even better. This extended period allows the yeast to work its magic, building the complex flavors and airy structure characteristic of a truly authentic French baguette.
2. Combining the Dough: Bringing it All Together
The next day, after your poolish has matured and developed its signature bubbly texture, it’s time to create the main dough. Add all the remaining ingredients for the dough – bread flour, all-purpose flour, water, instant yeast, and kosher salt – directly into the bowl with your prepared poolish. For precision in baking, which is vital for consistent results, I highly recommend measuring all ingredients by weight using a kitchen scale rather than volumetric measurements like cups and spoons. Gently stir all the ingredients together until they are mostly combined. Then, using your hand, begin to squeeze and knead the mixture within the bowl until a cohesive, shaggy dough forms. It doesn’t need to be perfectly smooth at this stage. Once combined, cover the bowl or container again and let the dough rest at room temperature for 30 minutes. This resting period, known as autolyse, allows the flour to fully hydrate and the gluten to begin developing naturally, preparing it for the stretching and folding process.
3. The Art of Stretch and Fold: Developing Gluten and Structure
The stretch and fold technique is crucial for developing the gluten structure in your dough without intensive kneading. If you’re new to this, watching a demonstration can be incredibly helpful; I found this video particularly useful. You will perform three rounds of stretch and fold, with a 30-minute resting period between each round. To begin, with the dough still in its bowl, lightly dampen your hand with water to prevent sticking. Reach underneath one side of the dough, gently pull it upwards and outwards, stretching it, then fold it over the top towards the center of the dough. Rotate the bowl 90 degrees and repeat this process for the next side. Continue until you have stretched and folded all four sides of the dough over itself. This action helps build strength and elasticity. Cover the bowl and let it rest for 30 minutes. Repeat this entire stretch and fold process for two more rounds. This entire stage, from mixing the main dough to the final rest, will typically take approximately two hours, with four 30-minute resting periods interspersed with three stretch and fold sessions. This patient approach is key to achieving the desired open crumb and chewy texture of true artisan baguettes.
4. Preparing for Bake-Off: Oven and Couche Setup
While your dough is undergoing its final rest, it’s time to prepare your baking environment. Precision in oven setup and temperature is vital for achieving that signature crackly crust and perfectly baked interior. Start by positioning one oven rack on the very bottom setting and another rack directly in the middle. Place a heavy cast-iron skillet or any other heatproof pan on the bottom rack. On the middle rack, position a baking stone (our preferred method for superior heat retention), a baking steel, or even a sturdy, unrimmed sheet pan turned upside down. Now, preheat your oven to a blazing 500 degrees Fahrenheit (260 degrees Celsius) with these items inside for a full hour. This extended preheating ensures the baking surface is intensely hot and the oven cavity is fully saturated with heat, which is essential for a good oven spring.
Next, prepare your baker’s couche or a clean, heavy-duty linen towel. Liberally dust it with flour, ensuring it’s ready to cradle your shaped dough for its final rise. Finally, grab a pizza peel or an unrimmed baking sheet and line it with a piece of parchment paper. This setup will be crucial for safely transferring your delicate baguettes into the scorching hot oven.
5. Pre-Shape & Rest: Building Initial Tension
Once your dough has completed its stretch and fold regimen, it will be noticeably more elastic and filled with air. Turn the dough out onto a lightly floured work surface. Using a dough scraper or a sharp knife, carefully divide the dough into two equal halves. Resist the urge to tear the dough, as this can damage the gluten structure you’ve worked so hard to build. Take one piece of dough and gently press it out into a rough rectangle. On the shorter ends of the rectangle, gently fold each corner towards the center, just barely pressing with your fingertips to seal. Then, take the long ends and fold them towards the center, sealing them gently to create a seam running down the length of the dough. This pre-shaping step helps to build initial tension in the dough, making it easier to achieve the characteristic baguette shape later on. Repeat the same steps with the second piece of dough. Cover both pre-shaped pieces with plastic wrap and let them rest for 10 minutes. This short rest allows the gluten to relax, making the dough more pliable for the final shaping.
6. Shaping into Baguettes: The Classic Form
Shaping a baguette requires a specific technique to create that elongated, tight log with a smooth surface. Rather than attempting a purely textual explanation, I highly recommend watching this video, which clearly demonstrates the intricate steps involved. The goal is to create a thin, even log with a taut surface. Once you have skillfully shaped a piece of dough into a thin log, carefully transfer it to your prepared baker’s couche or floured linen. To help the dough maintain its elongated shape and prevent it from spreading, gently scoot the couche up on both sides of the baguette, creating folds that act like a cozy, supportive hammock. This ensures your baguettes rise upwards rather than outwards. Repeat this precise shaping and couching process with the second piece of dough.

7. Final Rise (Proofing): The Anticipation
With your baguettes expertly shaped and nestled in their couche, it’s time for the final rise, also known as proofing. Carefully cover the pieces of dough with plastic wrap, ensuring they have room to expand without sticking. Allow them to rest at room temperature for approximately 45-60 minutes, or until they have nearly doubled in size. The dough should feel light and airy, and a gentle poke should leave a slight indentation that slowly springs back. Proper proofing is crucial; under-proofed baguettes will be dense, while over-proofed ones may collapse in the oven. Keep an eye on them, as rising times can vary based on your kitchen’s temperature and humidity. This stage builds the internal structure and ensures a beautiful rise during baking.
8. Scoring the Baguettes: The Baker’s Signature
As your oven finishes preheating, prepare your baguettes for scoring. Carefully place a small cutting board or another unrimmed baking sheet right beside one of your proofed baguettes. Gently lift the couche to flip the baguette over onto the board, seam side up. Then, carefully transfer the baguette to the parchment-lined pizza peel or unrimmed baking sheet. Once on the parchment, gently flip it back over so the seam side is now down. Repeat this delicate process for the second baguette. Now, using an extremely sharp knife or a baker’s lame (a specialized scoring tool), make 4-5 quick, confident slashes along the top of each baguette. These slashes, or “scoring,” are not just for aesthetics; they allow the bread to expand in a controlled manner during baking, preventing uncontrolled tearing and ensuring a beautiful, crusty ear on your homemade French bread.
9. The Grand Bake: Unleashing Your Inner Baking Ninja
The moment of truth has arrived! Get ready to unleash your inner baking ninja skills. First, fill a small, heatproof bowl with about 2 cups of ice cubes. Working quickly and decisively, open the preheated oven door. Swiftly slide the entire piece of parchment paper, with your scored baguettes, onto the scorching hot baking stone (or steel/sheet pan) on the middle rack. Immediately, and with caution, pour the ice cubes into the cast iron skillet on the bottom rack, then slam the oven door shut. The goal is to do this as fast as possible to trap the steam created by the melting ice, which is critical for developing that incredibly thin, crispy crust. (How long did it take you? We should have a competition!).
Immediately reduce the oven temperature to 475 degrees Fahrenheit (245 degrees Celsius). Bake your baguettes for approximately 25-40 minutes. Begin checking them at the 25-minute mark. You’re looking for a very deep, golden-brown crust—remember, authentic baguettes are often baked to a darker color than you might initially expect. This deep color indicates a well-developed flavor and an incredibly crunchy exterior, a hallmark of a perfectly baked artisan baguette.
10. Cooling: The Final Crucial Step
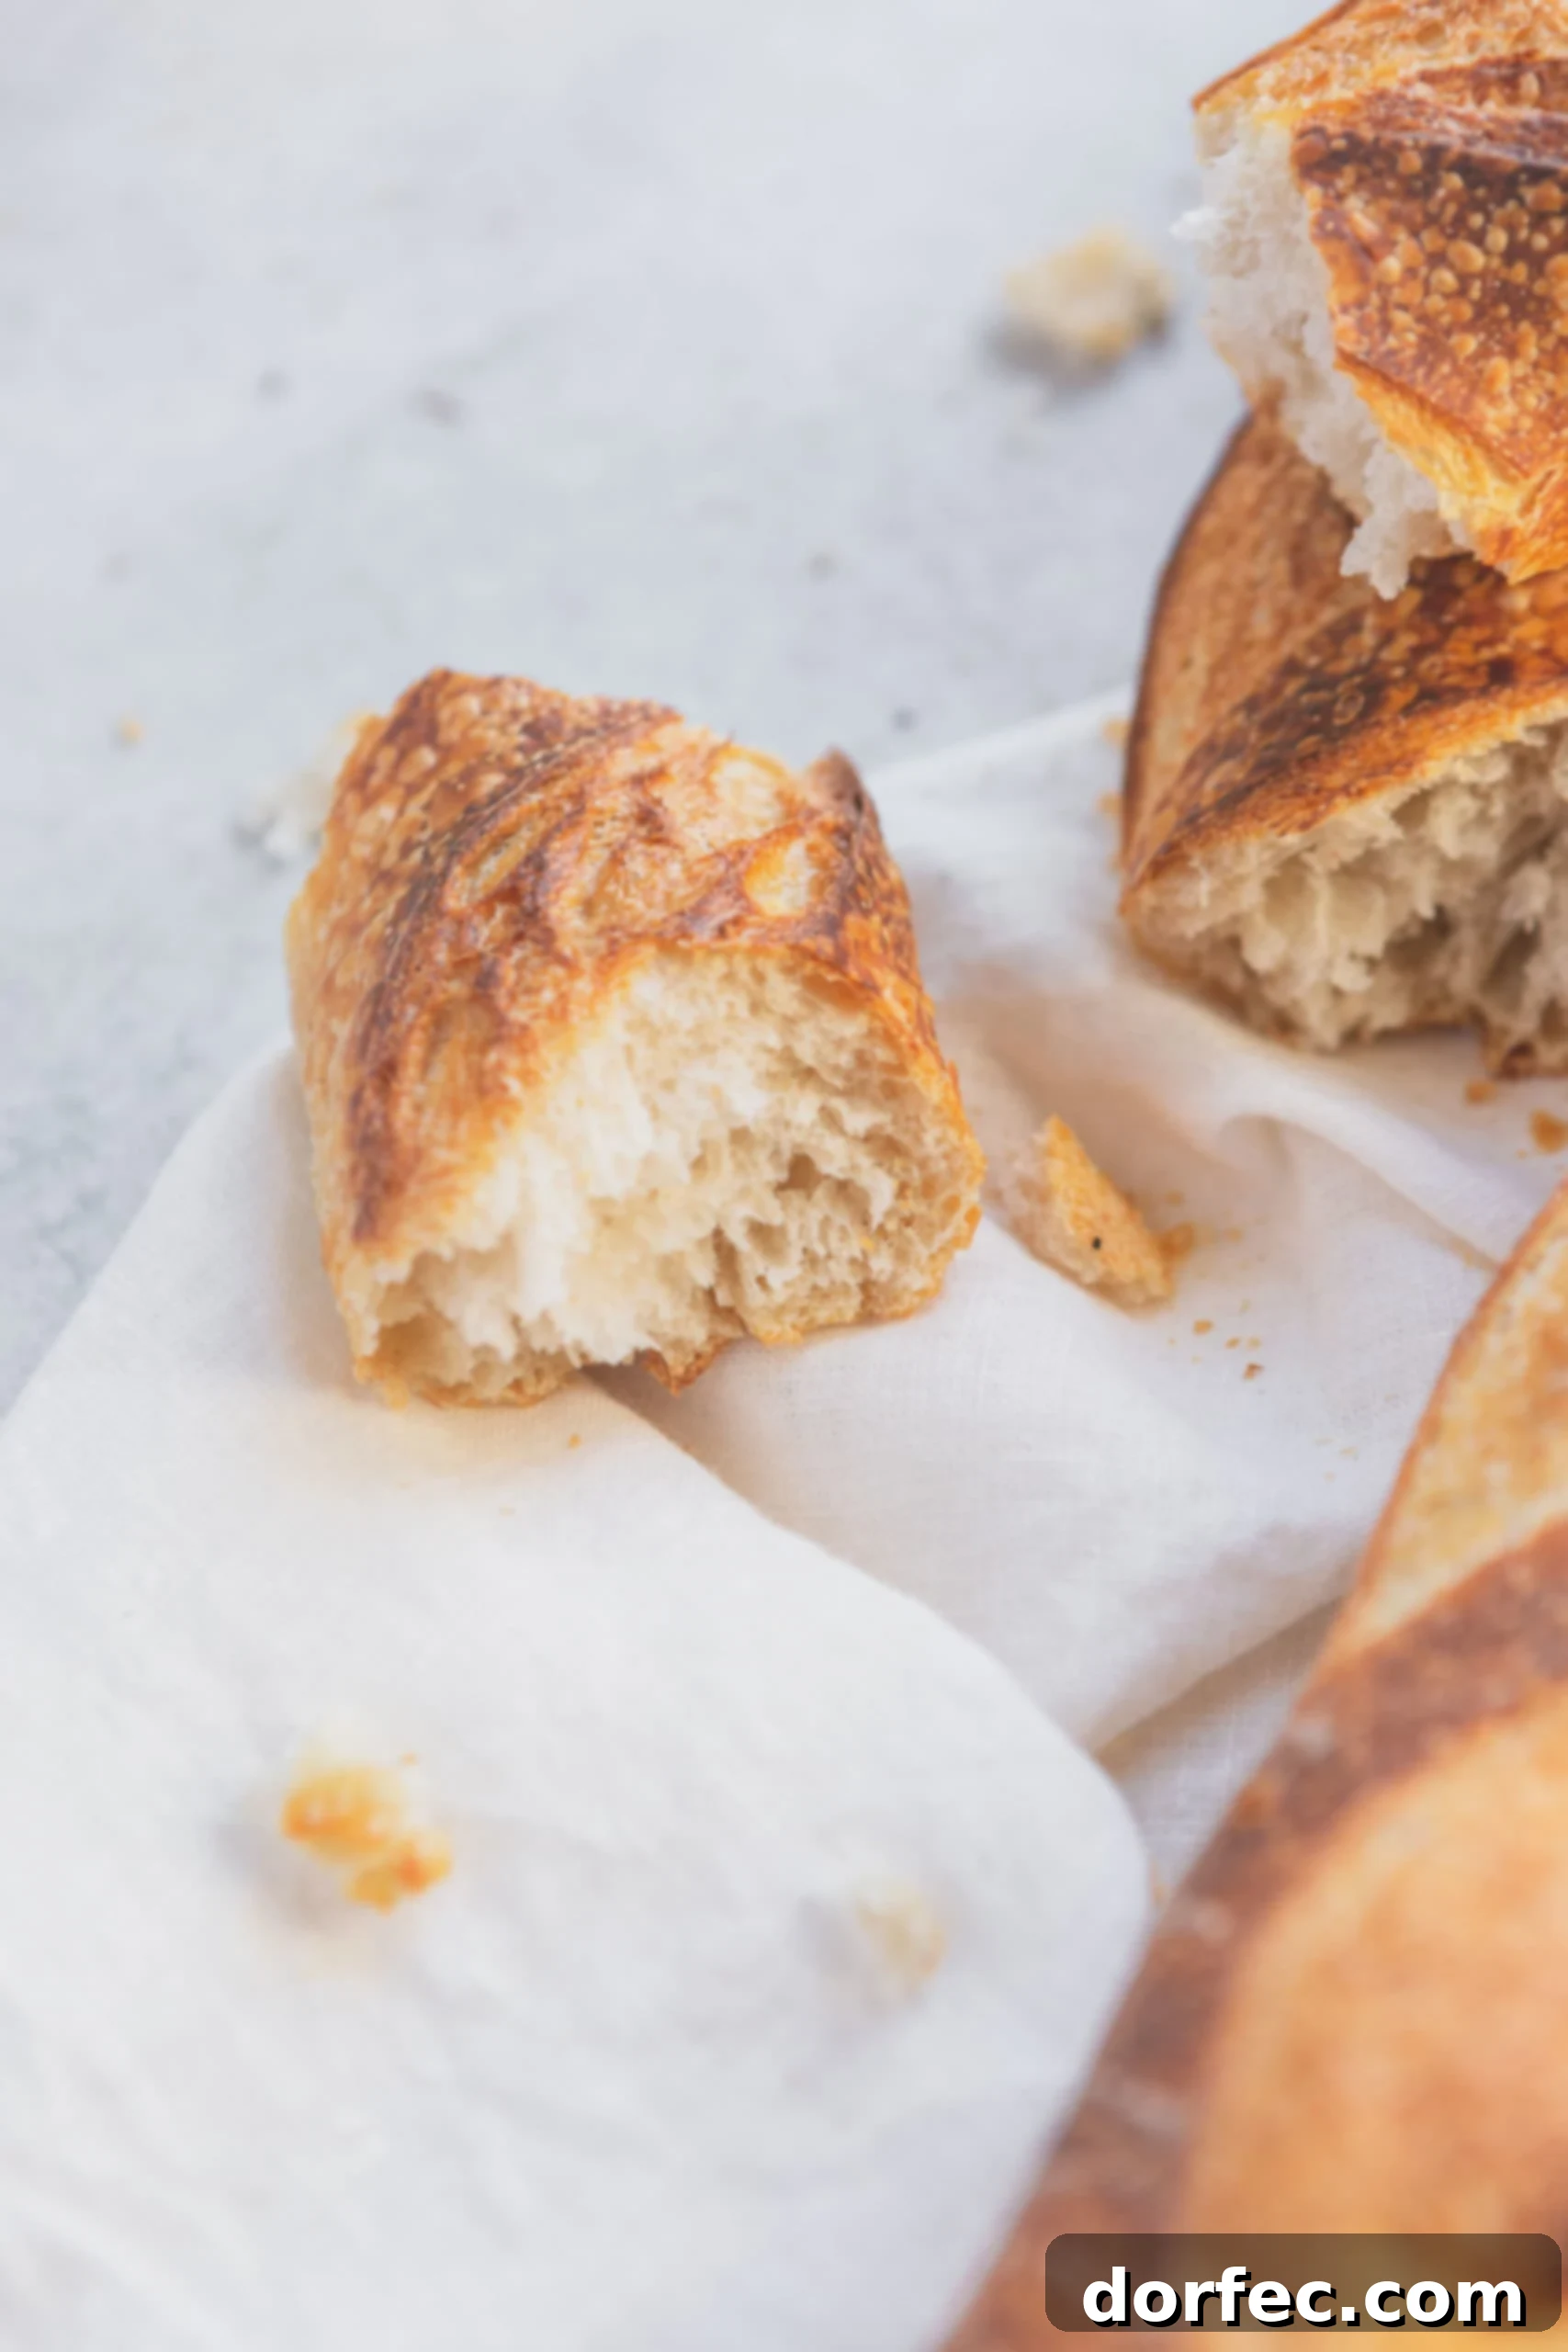
Congratulations, you’ve done it! You’ve created a beautiful loaf of bread, starting all the way from that simple poolish. Once your baguettes are baked to perfection, carefully remove them from the oven and transfer them to a wire cooling rack. This final step, often overlooked, is paramount for optimum flavor and texture. Allow the baguettes to cool completely before attempting to slice into them. As they cool, the internal structure sets, and any residual moisture redistributes, resulting in the ideal chewy crumb and crisp crust. Patience is key here; slicing too early can lead to a gummy interior and a less defined texture. Resist the temptation, and you’ll be rewarded with a truly exceptional homemade baguette.
Culinary Companions: What to Eat with Homemade Baguettes?
While these freshly baked baguettes are so incredibly delicious that they can easily be eaten plain – and honestly, life is happy that way! – their versatility truly shines when paired with other dishes. They are the perfect canvas for countless culinary creations, transforming simple meals into gourmet experiences. Here are just a few suggestions to get your inspiration flowing:
Sandwiches: Elevate Your Lunch Game
The sturdy yet tender crumb of a baguette makes it an ideal choice for a variety of sandwiches, offering a delightful contrast to savory fillings. From classic comfort to Mediterranean flavors, a baguette will make any sandwich extraordinary.
- French Dip: The ultimate pairing, perfect for dipping into rich au jus.
- Triple Decker Club: Reinvent this classic with a crusty baguette base.
- Caprese: A simple yet elegant choice, highlighting fresh mozzarella, tomatoes, and basil.
- Other ideas: Sliced thinly for mini subs, open-faced tartines, or hearty banh mi-inspired creations.
Soups: The Perfect Dipping Companion
Few things are as comforting as a warm bowl of soup accompanied by a crusty slice of baguette, perfect for soaking up every last drop of flavorful broth.
- Roasted Tomato Basil: A sweet and savory delight that begs for a tear of crusty bread.
- Broccoli Cheddar: The creamy richness is beautifully cut by the baguette’s texture.
- Chili: A surprising but delicious pairing, perfect for scooping up hearty chili.
- Other ideas: Classic French Onion soup, creamy mushroom soup, or a spicy lentil stew.
Dips & Spreads: Unlock the Appetizer Potential
Baguettes are the ultimate vehicle for an array of dips and spreads, transforming simple gatherings into memorable culinary experiences.
- Slow Cooker Taco Dip: A flavorful, crowd-pleasing dip perfect for crusty baguette slices.
- Buffalo Chicken Dip: The spicy, cheesy goodness is irresistible with fresh bread.
- Hummus: A healthy and delicious option, ideal for scooping.
- Slow Cooker Sausage Dip: Rich and savory, a perfect match for the baguette’s neutral flavor.
- Other ideas: Olive tapenade, classic spinach and artichoke dip, a variety of cheese spreads, or even simply good quality olive oil and balsamic vinegar.
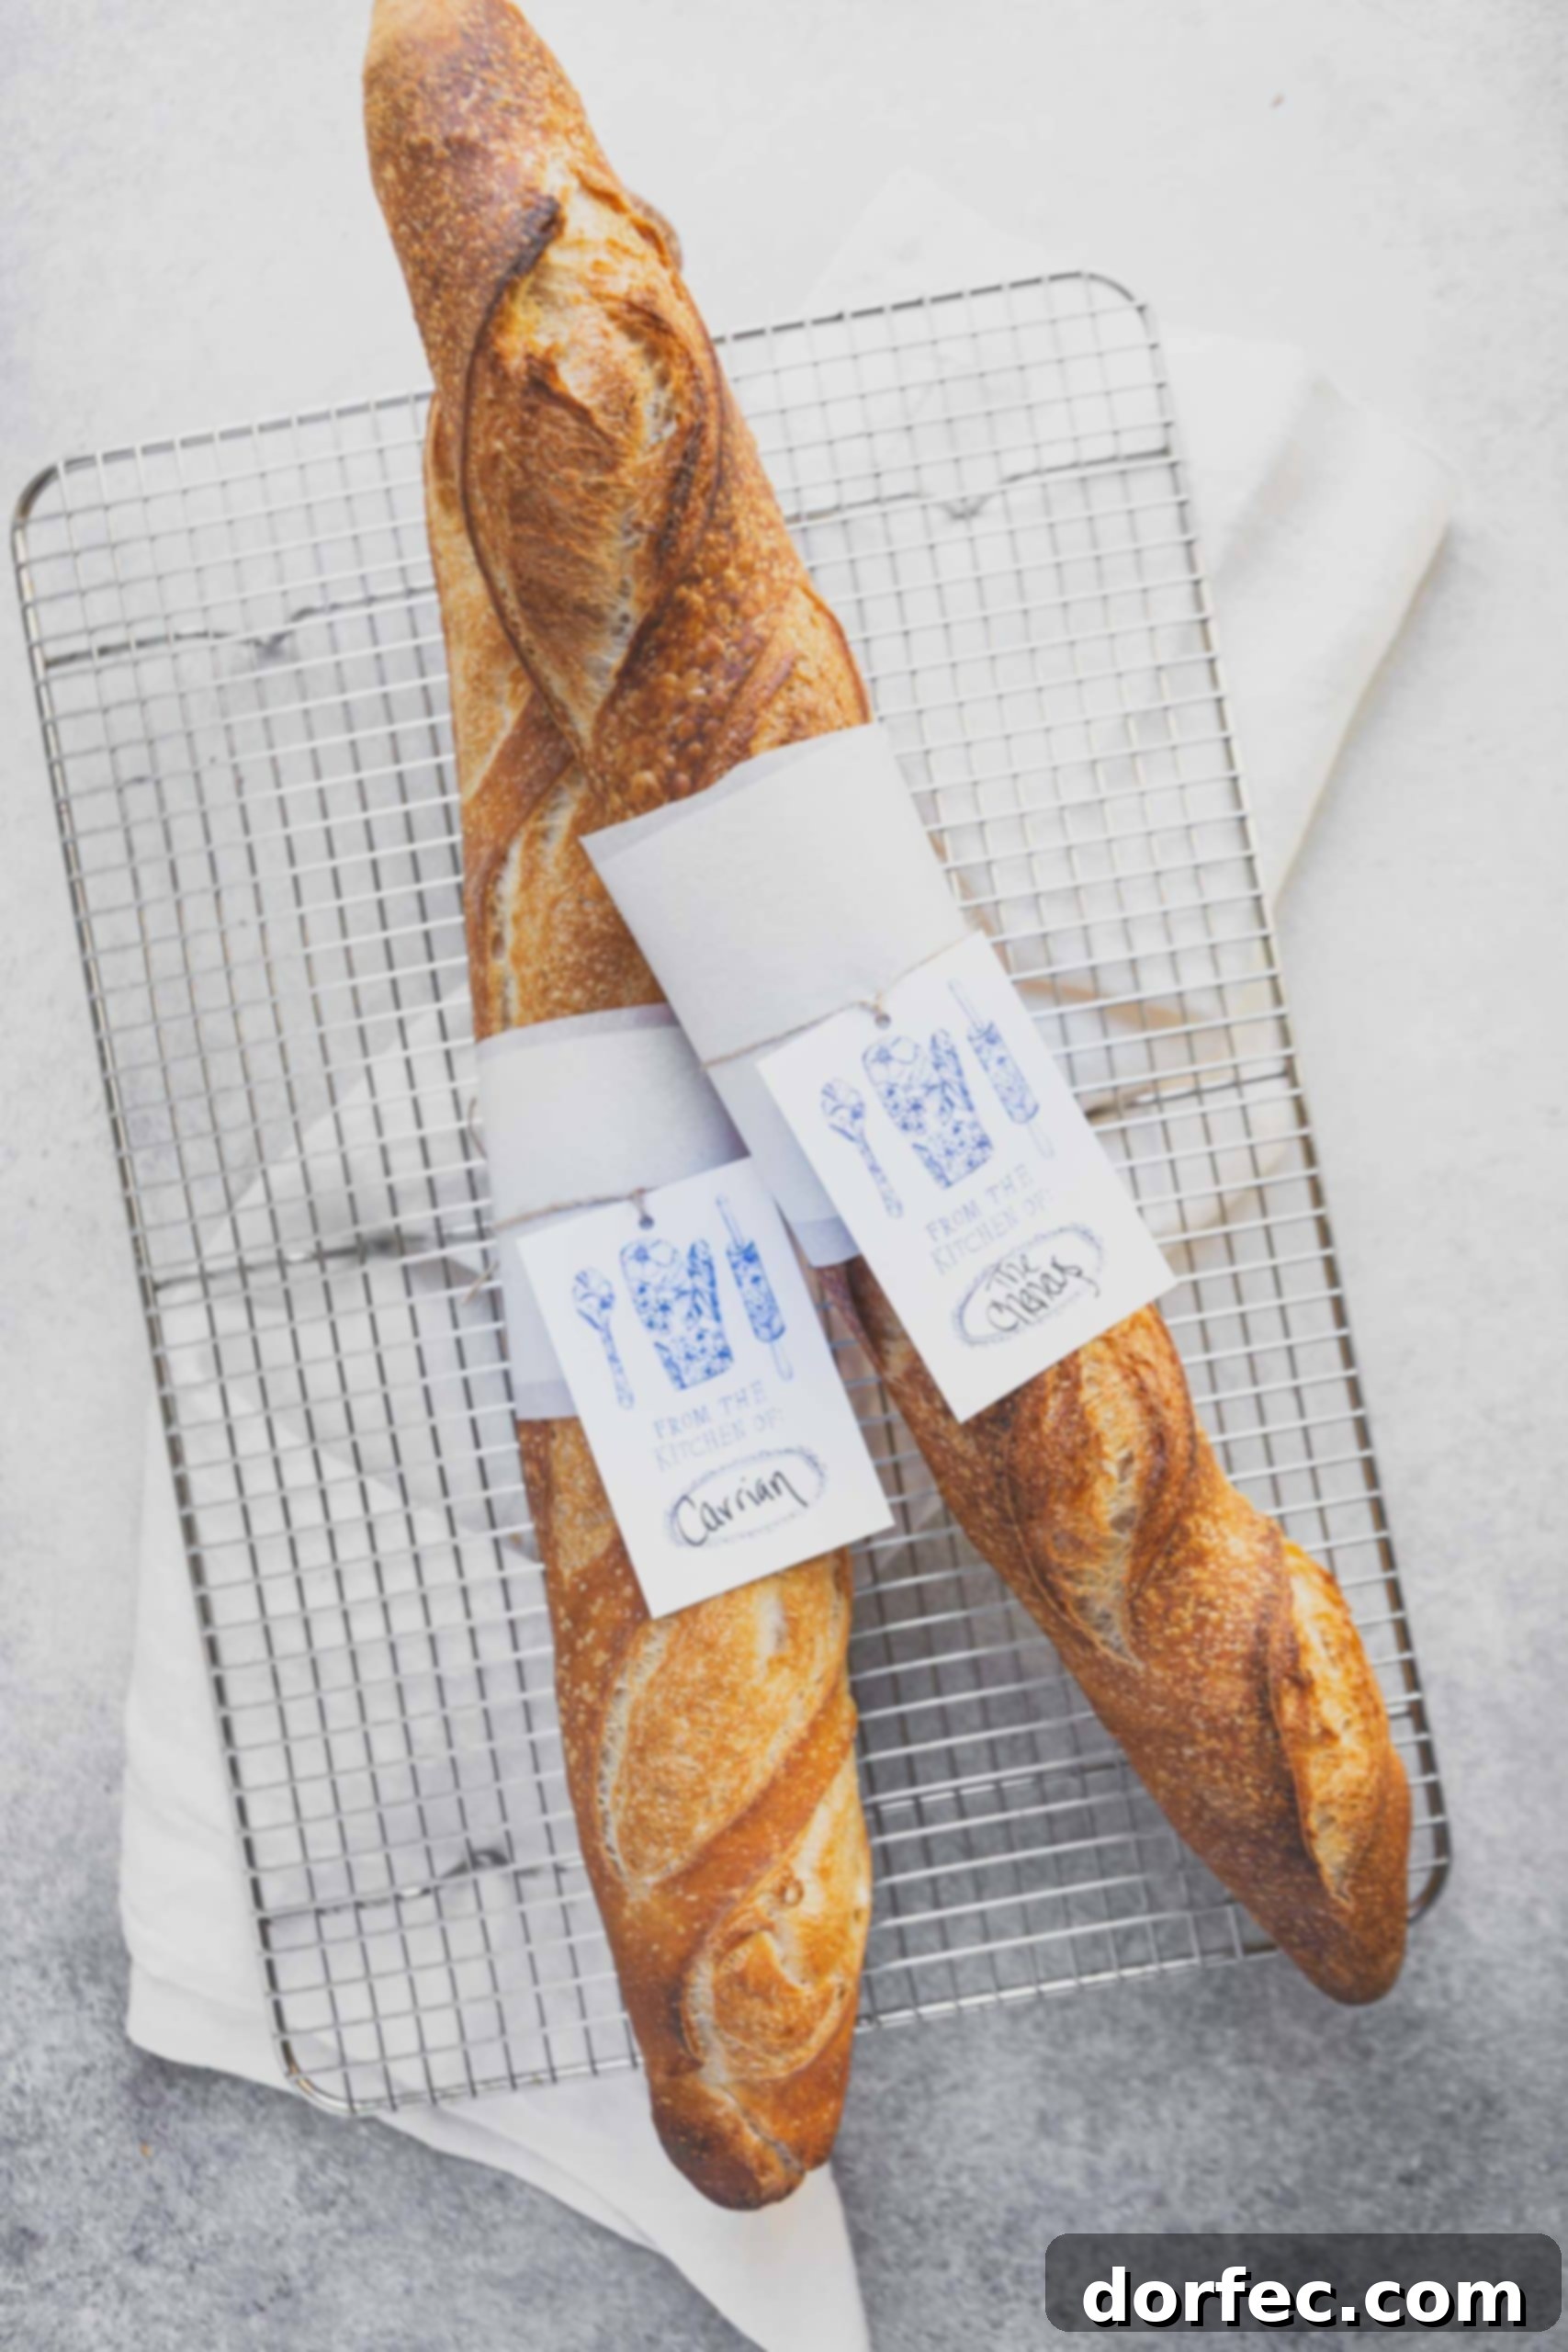
Storing Your Homemade Baguettes for Freshness
To keep your delicious homemade baguettes as fresh as possible, proper storage is key. Once completely cooled, you can place them in a plastic storage bag or wrap them tightly in aluminum foil. Store them at room temperature, ideally in a cool, dry place away from direct sunlight. This method helps to preserve their crust and interior texture.
How Long Will a Baguette Keep?
When stored properly at room temperature, your freshly baked baguette will maintain its best quality for 2-3 days. While it’s best enjoyed the day it’s baked, you can easily revive a day-old baguette by quickly re-crisping it in a hot oven (around 375°F or 190°C) for 5-10 minutes. This brings back much of its original crusty glory.
French Bread vs. Baguette: Understanding the Nuances
While often used interchangeably, there are subtle yet distinct differences between “French bread” and a “baguette.” The term “French bread” can be a general category encompassing various French-style loaves. However, a baguette specifically refers to a long, thin loaf of bread with a very distinctive shape and characteristics.
- Shape and Size: A baguette is typically much longer and narrower in diameter compared to most general French bread loaves, which can be shorter and wider.
- Crust: Baguettes are renowned for their exceptionally crisp, thin, and crackly crust. While other French breads may have a good crust, the baguette’s crust is typically more pronounced and prone to shattering with each bite.
- Crumb: Baguettes boast an open, airy, and irregular crumb structure, often with large, uneven holes. This is a result of the specific dough hydration, fermentation, and shaping techniques.
- Ingredients: While both typically use similar basic ingredients (flour, water, salt, yeast), the specific ratios and the use of a pre-ferment like poolish are often more central to a traditional baguette recipe, contributing to its unique qualities.
Now that you’re armed with all the knowledge, from the humble ingredients to the meticulous steps, are you ready to conquer this authentic baguette recipe? The ingredients are simple, the process is rewarding, and the results are truly spectacular. Go ahead, challenge yourself and enjoy the incredible satisfaction of pulling your own homemade, perfectly crusty French baguettes from the oven. Ready. Set. Bake!
REMEMBER TO SUBSCRIBE TO our FREE Oh Sweet Basil NEWSLETTER AND RECEIVE EASY RECIPES DELIVERED INTO YOUR INBOX EVERY DAY!
When you try a recipe, please use the hashtag #ohsweetbasil on INSTAGRAM for a chance to be featured in our stories! FOLLOW OH, SWEET BASIL ON FACEBOOK | INSTAGRAM | PINTEREST | TWITTER FOR ALL OF OUR LATEST CONTENT, RECIPES AND STORIES.
More BREAD SIDES You’ll Love:
- Buttermilk Biscuits
- French Bread
- Homemade Naan
- Best Potato Rolls
- Feta Muffins
- One Hour Rolls
- 7-Up Biscuits
- Whole Wheat Potato Rolls
- Sweet Potato Rolls
- Herbed Focaccia Bread
- Cheesy Ranch Rolls
- All our BREAD RECIPES here!
Homemade Baguette Recipe
By Sweet Basil
Prep Time: 16 hours 10 mins
Total Time: 16 hours 50 mins
Servings: 2 baguettes
This recipe yields two beautifully crusty and soft baguettes, perfect for sharing or savoring yourself!
Printable recipe available below.
Ingredients
Poolish
- 89 Grams Bread flour (3/4 cup)
- 89 Grams Water (6 Tablespoons + 1 teaspoon, slightly warm)
- 1 Gram Instant Yeast (1/4 teaspoon)
Dough
- 240 Grams Bread flour (2 cups)
- 31 Grams All-Purpose Flour (1/4 cup)
- 163 Grams Water (1/2 cup + 3 Tablespoons, slightly warm)
- 1 Gram Instant Yeast (1/4 teaspoon)
- 6 Grams Kosher Salt (Morton, 1 1/4 teaspoons)
Instructions
For The Poolish
- The night before you plan to bake, prepare the poolish.
- In a large mixing bowl or a plastic container with a lid, combine the 89g Bread flour, 89g Water (slightly warm), and 1g Instant Yeast for the poolish.
- Cover the bowl tightly with plastic wrap or the lid and let it stand at room temperature for at least 8 hours, though 10-12 hours is preferable for deeper flavor development.
Combine the Dough
- Add the remaining ingredients for the baguette dough – 240g Bread flour, 31g All-Purpose Flour, 163g Water (slightly warm), 1g Instant Yeast, and 6g Kosher Salt – into the bowl with the prepared poolish.
- (Optional but recommended: Place your container on a kitchen scale, press tare, and weigh in each ingredient in grams for accuracy.)
- Stir until well combined, then use your hand to squeeze and mix the dough until it comes together into a cohesive mass. Cover the bowl and set aside for 30 minutes to rest.
Stretch and Fold
- After the dough has rested for 30 minutes, you will perform a series of three stretch and folds.
- For a visual guide, I found this video very helpful.
- With the dough still in the bowl, lightly dampen your hand with water to prevent sticking. Pull on one side of the dough out to the side, stretch it up, and then fold it down over the top of the dough.
- Rotate the bowl 90 degrees and repeat the stretch and fold with the next side.
- Continue this until you have stretched and folded all four sides of the dough.
- Cover the bowl and let it rest for 30 more minutes.
- Repeat this stretch and fold process for two more rounds, with a 30-minute resting period after each. This entire process, including the initial 30-minute rest, will take approximately two hours from when the dough is first mixed.
Prep the Baguettes
- While the dough is undergoing its final 30-minute rest, prepare your baking equipment.
- Position one oven rack on the very bottom of the oven and another rack in the middle position. Place a cast iron skillet or a heatproof pan on the bottom rack, and a baking stone (or baking steel, or an upside-down sheet pan) on the middle rack.
- Preheat your oven to 500°F (260°C) with these items inside for 1 hour.
- Lightly flour a baker’s couche or a clean linen towel, which will be used for the final proofing of your shaped dough.
- Finally, prepare a pizza peel or an unrimmed baking sheet by lining it with a piece of parchment paper.
Pre-Shape & Rest
- On a very lightly floured surface, use a dough scraper or knife to carefully cut the dough into two equal pieces. Avoid tearing the dough.
- Take one piece of dough and gently press it out into a rectangle. Lightly stretch the short ends outwards. Fold each short end into the center, just barely touching, and press down with your fingertips to seal.
- Next, fold each long end into the center and press with your fingertips to seal, creating a seam down the length of the dough. Set this piece aside and repeat the process with the second piece of dough.
- Cover both pre-shaped pieces of dough with plastic wrap and let them rest for 10 minutes to allow the gluten to relax.
Shape into Baguettes
- With the seam side up, gently press the first piece of dough into a thin rectangle. Starting at the top left edge, fold down the dough about 1/2 inch and pinch to seal it with your fingertips, working your way across the top. Repeat this folding and sealing process to create a tight log.
- Once you have a thin, tight log, turn it seam side down. Using both hands, gently roll the dough on your countertop, working it into a long, thin snake shape, about 15-16 inches long.
- Carefully move the shaped dough to your prepared floured towel or baker’s couche. Gently scoot the towel or couche up on both sides of the baguette to create folds, helping the dough hold its shape like a hammock.
- Repeat this entire shaping and couching process with the second piece of dough.
Let the Dough Rise
- Cover the shaped baguettes on the couche with plastic wrap and let them rest for 45-60 minutes, or until they have nearly doubled in size and feel light and airy.
Score
- Place a small cutting board right beside one of the baguettes. Gently pull up on the towel to flip the baguette over onto the board, seam side up.
- Carefully move the baguette from the board to the parchment-lined pizza peel or unrimmed baking sheet. Gently flip the baguette back onto the parchment paper, ensuring the seam side is down once again. Repeat with the second baguette.
- Using a very sharp knife or a baker’s lame, cut 4-5 slashes diagonally on the top surface of each baguette. These slashes allow the bread to expand beautifully during baking.
Bake
- Fill a small, heatproof bowl with about 2 cups of ice cubes.
- Working quickly: Open the preheated oven door. Gently slide the whole piece of parchment paper with the baguettes onto the hot baking stone. Immediately pour the ice cubes into the cast iron skillet on the bottom rack and quickly shut the oven door to trap the steam.
- Lower the oven temperature to 475°F (245°C).
- Bake for approximately 25-40 minutes, or until the baguettes have developed a very dark, deeply golden-brown crust. Begin checking them at 25 minutes to achieve your desired color.
Cool
- Once baked, carefully transfer the baguettes to a wire cooling rack.
- Allow the baguettes to cool completely before slicing and serving for the best flavor and texture. This allows the crumb to set properly.
Recipe Notes
For optimal flavor, cool baguettes completely on a wire rack. To store, place in a plastic storage bag or wrap tightly in foil and keep at room temperature. Baguettes will remain fresh for 2-3 days.
Nutrition Information
Serving: 1 slice, Calories: 654kcal, Carbohydrates: 132g, Protein: 22g, Fat: 3g, Saturated Fat: 1g, Sodium: 1173mg, Potassium: 165mg, Fiber: 5g, Sugar: 1g, Calcium: 25mg, Iron: 2mg
Nutrition information is automatically calculated and should be used as an approximation only.