
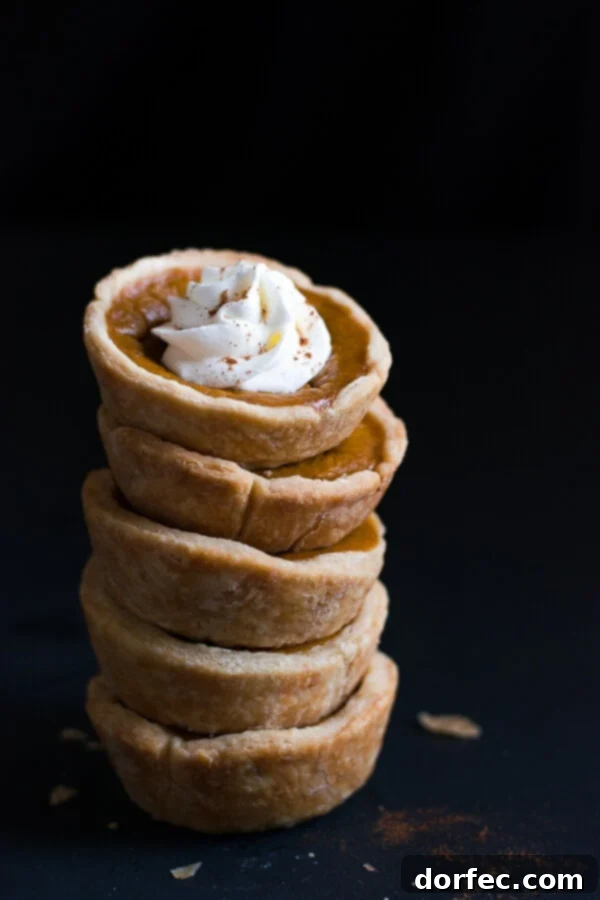
Delightful Mini Pumpkin Pies: Your Perfect Thanksgiving Treat
Do you adore the rich, comforting taste of homemade pumpkin pie but often find yourself too full for a whole slice after a grand Thanksgiving feast? This year, discover the charm and convenience of our Mini Pumpkin Pies! These adorable, perfectly portioned delights ensure everyone at your gathering can savor the classic fall flavors without feeling overwhelmed. It’s easy to enjoy one, or perhaps even two, of these irresistible little treats.
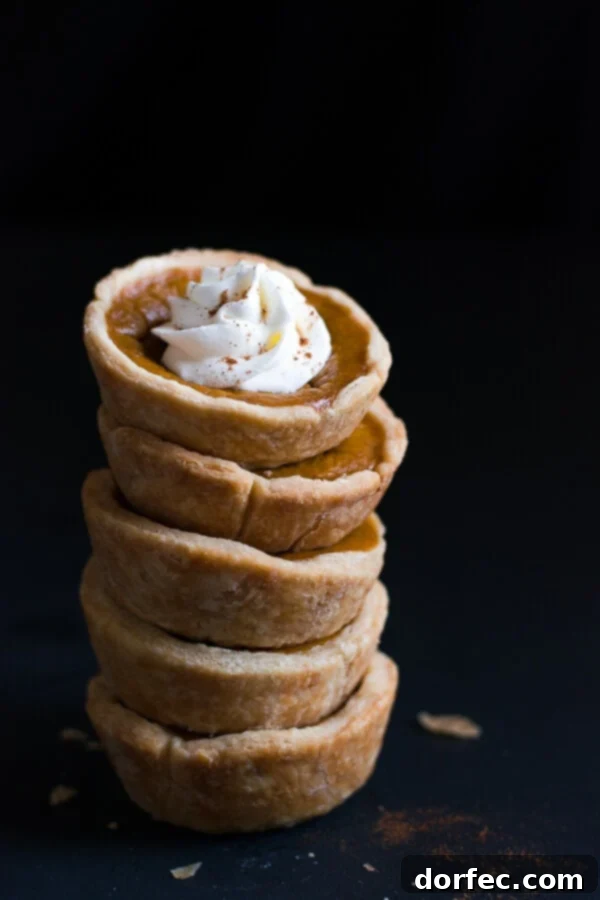
Crafting Irresistible Mini Pumpkin Pies From Scratch
Melanie from Garnish & Glaze is thrilled to share this fantastic recipe for mini pumpkin pies with you. There’s an undeniable allure to miniature versions of beloved treats; they’re not just incredibly cute but also incredibly delicious! These bite-sized wonders capture all the essence of a traditional pumpkin pie in a convenient, individual serving. Imagine the joy of seeing these perfect little pies gracing your dessert table!
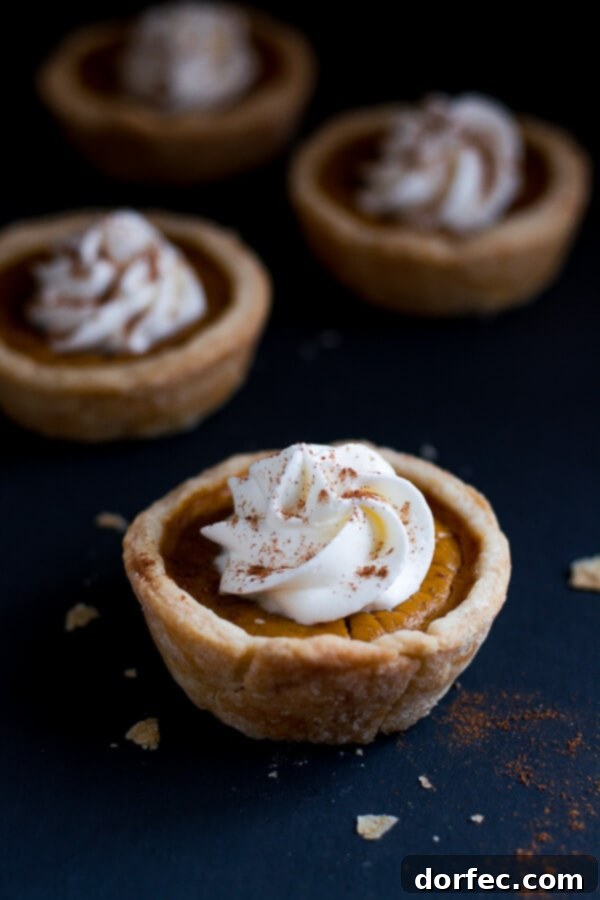
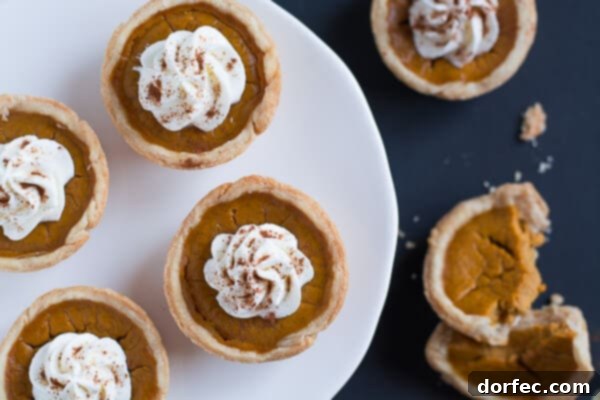
What makes these mini pumpkin pies truly special begins with the crust. We’re talking about a crust that is wonderfully light, tender, and exquisitely flaky—a perfect foundation for the star of the show. Then comes the pumpkin pie filling, a deceptively simple blend bursting with the warm, inviting aroma and taste of cinnamon. While you could stop there and have a fantastic dessert, we highly recommend elevating it further with a dollop of freshly whipped cream. For that final, gorgeous touch, a light dusting of extra cinnamon or a sprinkle of pumpkin pie spice adds both visual appeal and an extra layer of flavor. Each element works in harmony to create a truly memorable dessert experience.
These homemade mini pumpkin pies are ideal for any festive occasion where a variety of desserts beckon. When you want to sample a little bit of everything, these individual portions offer the perfect solution. They provide a delightful taste of classic pumpkin pie, allowing guests to easily grab one, two, or even more, without the commitment of a large slice. They are especially wonderful for Thanksgiving dinner, where rich flavors abound. After a hearty feast, everyone can comfortably find room for one of these charming little pies, making them a guaranteed crowd-pleaser.
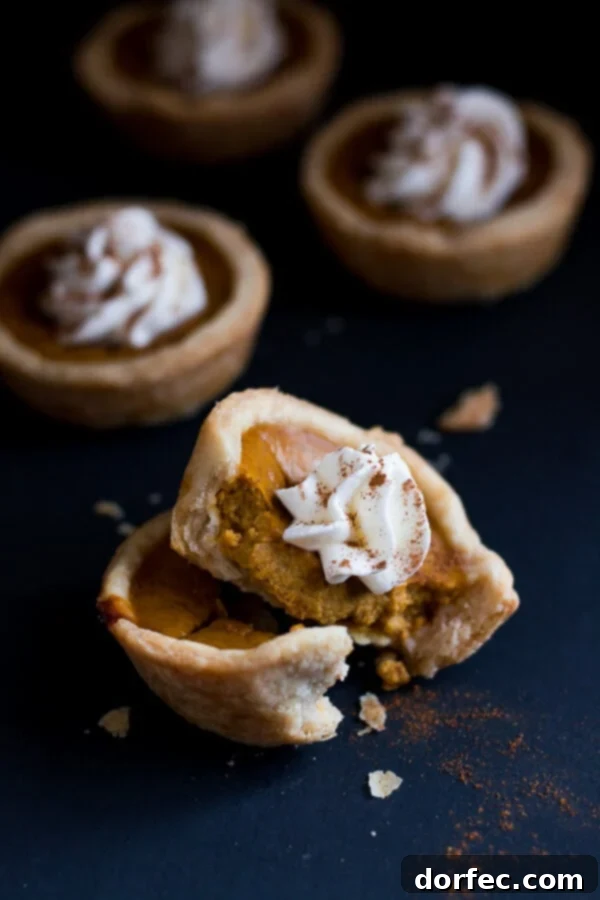
Essential Ingredients for Your Mini Pumpkin Pies
If you’re accustomed to baking a traditional homemade pumpkin pie, you’ll be pleased to find that the ingredient list for these mini versions is incredibly straightforward and uses many of the same pantry staples. We’re breaking down exactly what you’ll need to create these delightful mini pumpkin pies from scratch, ensuring a rich, authentic flavor in every bite. Quality ingredients are key to achieving that perfect balance of sweetness and spice, creating a dessert that truly shines.
- **For the Crust:** A flaky, tender crust is crucial. You’ll need high-quality all-purpose flour for structure, a pinch of salt to balance the flavors, shortening to achieve that signature flakiness, and cold water to bring it all together without overworking the dough.
- **For the Filling:** The heart of your pumpkin pie. Pure pumpkin puree provides the creamy base and vibrant flavor. Evaporated milk adds richness and helps create a smooth texture. Eggs are essential for binding the filling and ensuring it sets beautifully. Brown sugar lends a deep, caramel-like sweetness, complementing the earthy pumpkin. A blend of aromatic spices, including cinnamon, ginger, and a touch of salt, brings the classic warmth and complexity to the pie.
- **Optional Topping:** Elevate your pies with whipped cream for a luscious finish, and an extra sprinkle of cinnamon or pumpkin pie spice for added aroma and visual appeal.
Each ingredient plays a vital role in creating mini pumpkin pies that are both delicious and easy to make, delivering that comforting taste everyone loves.
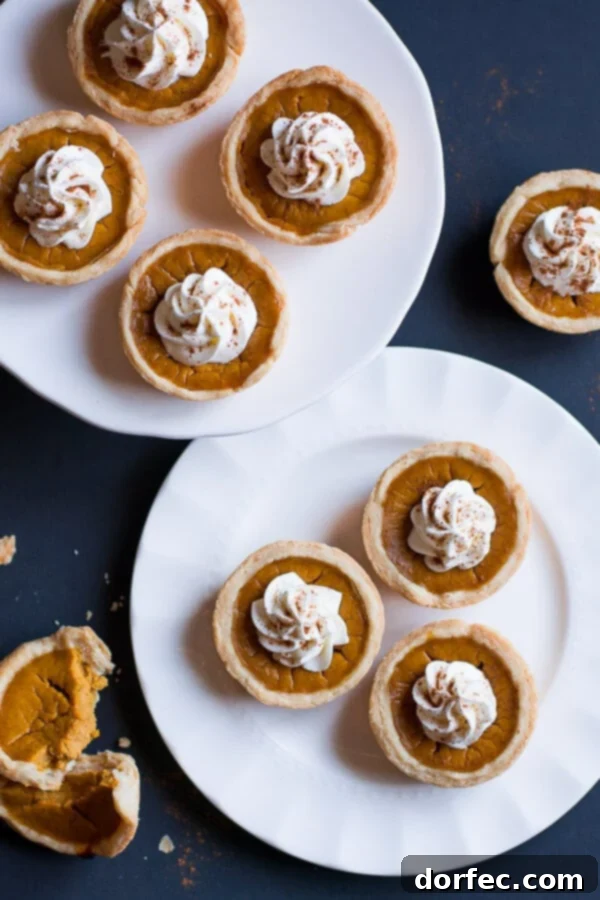
Step-by-Step Guide: How to Make Mini Pumpkin Pies
Crafting these delicious mini pumpkin pies is a surprisingly simple process, divided into two main components: the homemade pie crust and the luscious pumpkin pie filling. Both elements are quick to prepare, making this recipe accessible even for novice bakers. Follow these detailed steps to create perfectly baked individual pumpkin pies that are sure to impress.
- **Prepare the Pie Crust:** Begin by combining your dry crust ingredients—flour and salt. Gradually cut in the shortening using a pastry blender or your fingertips until the mixture resembles coarse crumbs. Then, add cold water one tablespoon at a time, mixing gently with a fork until the dough just comes together. Be careful not to overmix. Form the dough into a disc, wrap it tightly in plastic wrap, and chill in the refrigerator for at least 30 minutes. This chilling period is crucial for a flaky crust.
- **Prepare the Pumpkin Pie Filling:** While the dough chills, whisk together all the pumpkin pie filling ingredients in a separate bowl until smooth and well combined. Set this mixture aside.
- **Roll and Cut the Dough:** Once the dough is chilled, lightly flour your work surface and roll out the pie dough. Aim for a thickness of a few millimeters, ensuring it’s as thin as possible without tearing. Use a 3.5 to 4-inch round biscuit or cookie cutter to cut out circles from the dough. Gather any scraps, gently press them together, and re-roll to cut out additional circles until all the dough is used.
- **Form the Mini Crusts:** Carefully press each dough circle into the wells of a standard muffin tin. Gently mold the dough to fit the contours of the tin, creating a sturdy base for your filling.
- **Fill the Crusts:** Pour the prepared pumpkin pie filling into each mini crust, filling them almost to the top. Depending on the size of your muffin tin and how thin you rolled your dough, you may have a small amount of leftover filling.
- **Bake to Perfection:** Preheat your oven to 425°F (220°C). Bake the mini pumpkin pies for 10 minutes at this higher temperature to set the crust, then reduce the oven temperature to 350°F (175°C) and continue baking for another 15-20 minutes. The pies are done when a knife inserted into the center of a pie comes out clean.
- **Cool and Serve:** Let the pies cool in the muffin tin for about 10 minutes before carefully transferring them to a wire rack to cool completely. Once cooled, garnish with whipped cream and a sprinkle of cinnamon or pumpkin pie spice, if desired.
Making Pumpkin Puree from Fresh Pumpkin
While canned pumpkin puree is convenient, making your own from fresh pumpkin is surprisingly easy and adds a wonderful depth of flavor to your pies. You can absolutely substitute fresh pureed pumpkin for canned pumpkin puree in equal amounts (1 cup fresh puree for 1 cup canned). Here’s how to create your own fresh pumpkin puree for these delightful mini pumpkin pies:
- **Clean and Prepare:** Begin by cleaning your sugar pumpkin (or other suitable pie pumpkin) thoroughly under cool running water. Dry it well with a clean towel.
- **Halve and Seed:** Carefully cut the pumpkin in half and scoop out all the seeds and stringy fibrous bits.
- **Cook the Pumpkin:** You have a few options for cooking:
- **Baking:** Place the pumpkin halves face down on a baking sheet and bake at 350ºF (175ºC) until the flesh is tender when pierced with a fork (typically 45-60 minutes, depending on size).
- **Boiling:** Cut the pumpkin into smaller, manageable pieces and boil them gently in water until tender, usually around 20 minutes.
- **Steaming:** Steam the pumpkin pieces for about 20 minutes until soft.
- **Cool:** Once tender, remove the pumpkin pieces and place them on a flat surface to cool slightly until they are comfortable to handle but not completely cold.
- **Peel and Scoop:** Peel the skin off the pumpkin pieces and scoop out the soft, cooked pumpkin flesh.
- **Puree:** Transfer the pumpkin flesh to a food processor, a food mill, or use a hand-held blender to puree until perfectly smooth.
Fresh pumpkin naturally contains a significant amount of moisture. Before using or storing your homemade puree, it’s advisable to drain it. Line a fine-mesh sieve or colander with cheesecloth or a coffee filter and set it over a deep bowl. Allow the pumpkin puree to drain for about 2 hours, stirring occasionally. This step helps ensure your pie filling isn’t too watery, leading to a perfectly set pie. Once drained, your fresh pumpkin puree is ready to be transformed into these incredible mini pumpkin pies!
Important Storage and Freezing Tips for Mini Pumpkin Pies
Ensuring your delicious mini pumpkin pies stay fresh and safe to eat is important. Here are some key guidelines for refrigeration and freezing:
Does Pumpkin Pie Need to Be Refrigerated?
Absolutely, yes! All homemade pumpkin pies, including these adorable mini versions, must be refrigerated. Because the filling contains eggs and milk, these pies are considered perishable and should not be left out at room temperature for more than two hours. Always store them promptly in the refrigerator to maintain freshness and prevent bacterial growth.
How Long Do Mini Pumpkin Pies Last?
When stored properly in the refrigerator, loosely covered, these mini pumpkin pies will retain their delicious flavor and texture for up to 4 days. While they are safe to eat for this duration, they are often at their very best within the first 2-3 days after baking.
Can Pie Dough Be Frozen?
Yes, pie dough freezes exceptionally well, making it a fantastic make-ahead option! You can prepare the dough in advance, press it into a ball or disc, and wrap it tightly in plastic wrap, then place it in a freezer bag. When you’re ready to bake, simply thaw the dough completely in the refrigerator before rolling it out and using it in your recipe. Alternatively, you can roll out the dough, press it into your muffin tins (or pie dish for a full-sized pie), and then freeze the unbaked crusts. Once frozen solid, remove them from the tins, wrap them individually, and store in a freezer bag. When ready to use, thaw completely before filling and baking as normal.
Can You Freeze Baked Pumpkin Pie?
Certainly! Freezing baked pumpkin pie is a great way to preserve it for later enjoyment. To freeze, ensure the pies are completely baked and then allow them to cool thoroughly on a wire rack. Once cooled, wrap each mini pie tightly in plastic wrap, then place them in a freezer-safe bag or airtight container. They can be frozen for up to 2 months. To thaw, simply transfer them from the freezer to the refrigerator overnight. You can enjoy them chilled or gently warm them in a low oven for a few minutes before serving.
Essential Tips for Making Perfect Mini Pumpkin Pies
Achieving perfectly flavored and textured mini pumpkin pies is easy with a few key considerations. Pay attention to these important tips to ensure your pies turn out wonderfully every time:
- **Pure Pumpkin Puree vs. Pumpkin Pie Filling:** This is critical! Always make sure to purchase pure pumpkin puree, not canned pumpkin pie filling. Canned pumpkin pie filling is pre-sweetened and already spiced, and using it would make your mini pumpkin pies excessively sweet and alter the intended flavor profile. Always double-check the label!
- **Evaporated Milk vs. Sweetened Condensed Milk:** Another common mistake is confusing these two. You need evaporated milk for this recipe. Evaporated milk is unsweetened and has a much thinner consistency than sweetened condensed milk, which is very sweet and thick. Using sweetened condensed milk will drastically change the sweetness and texture of your filling.
- **Adjusting Spices to Your Liking:** The recipe provides a balanced blend of spices, but your palate might prefer something different. If you enjoy a more intensely spiced pumpkin pie, feel free to add a bit more cinnamon than the recipe calls for, or incorporate additional pumpkin pie spice to the filling. Trust your best judgment and taste preference!
- **Don’t Overwork the Crust Dough:** When preparing the pie crust, mix the ingredients just until they come together. Overworking the dough develops the gluten too much, resulting in a tough, rather than flaky, crust.
- **Chill the Dough Properly:** The 30-minute chilling time for the dough is not optional. It allows the shortening to firm up, which contributes significantly to the flakiness of the crust. Cold dough is also easier to roll and handle.
By following these simple but crucial tips, you’ll be well on your way to baking a batch of delightful mini pumpkin pies that are both flavorful and beautifully presented.
Discover More Easy and Delicious Pie Recipes:
Looking for more dessert inspiration? Don’t forget to explore our wide array of Thanksgiving Recipes and other sweet treats while you’re here!
- Easy No-Bake Chocolate Pie
- Apple Cream Pie
- Simple Blueberry Pie
- Sweet Potato Pie with Cheesecake Filling
- Dulce de Leche Banana Cream Pie
- No-Bake Oreo Pie
- Homemade French Silk Pie
- …All of Our Pie Recipes!
Mini Pumpkin Pies
Ingredients
For the Crust:
- 2 Cups All-Purpose Flour
- 1 teaspoon Salt
- 3/4 Cup Shortening, + 2 Tablespoons
- 5-6 Tablespoons Cold Water
For the Filling:
- 1 Can Pumpkin Puree, 15 ounce
- 1 Can Evaporated Milk, 12 ounce
- 2 Eggs
- 1/3 Cup Brown Sugar
- 1 teaspoon Cinnamon
- 1/2 teaspoon Salt
- 1/4 teaspoon Ginger
For the Topping:
- Whipped Cream
- Cinnamon or Pumpkin Pie Spice
Instructions
-
Mix flour and salt together and then use a pastry blender to mix in the shortening until you form pea-size crumbs.2 Cups All-Purpose Flour, 1 teaspoon Salt, 3/4 Cup Shortening
-
Add 1 tablespoon cold water at a time, gently mixing with a fork after each addition.5-6 Tablespoons Cold Water
-
When the dough begins to come together and form a loose ball, stop adding water.
-
Press dough together into the shape of a dish and wrap in plastic wrap.
-
Chill for 30 minutes.
-
Preheat oven to 425 degrees F (220°C).
-
Mix filling ingredients together and set aside.1 Can Pumpkin Puree, 1 Can Evaporated Milk, 2 Eggs, 1/3 Cup Brown Sugar, 1 teaspoon Cinnamon, 1/2 teaspoon Salt, 1/4 teaspoon Ginger
-
Roll out the dough onto a lightly floured surface (dough should look marbled from the shortening). Roll as thin as possible (a few millimeters thick).
-
Use a 3 1/2 to 4 inch diameter cookie cutter, biscuit cutter, or cup to cut dough.
-
Press the scraps together and repeat.
-
Press each circle of dough into the wells of a muffin tin.
-
Fill each crust to the top with pie filling (about 3 tablespoons). (Depending on how thin you rolled your dough and how high you pushed it up the sides of each well, you might have leftover filling.)
-
Bake for 10 minutes and then lower the temperature to 350 degrees F (175°C) and bake for another 15-20 minutes until a knife inserted comes out clean.
-
Cool in pan for 10 minutes and then remove onto a wire rack to finish cooling.Whipped Cream, Cinnamon or Pumpkin Pie Spice
Recipe Notes
Nutrition
Nutrition information is automatically calculated, so should only be used as an approximation.
Connect with Melanie:
Blog| Facebook| Twitter| Pinterest| Instagram