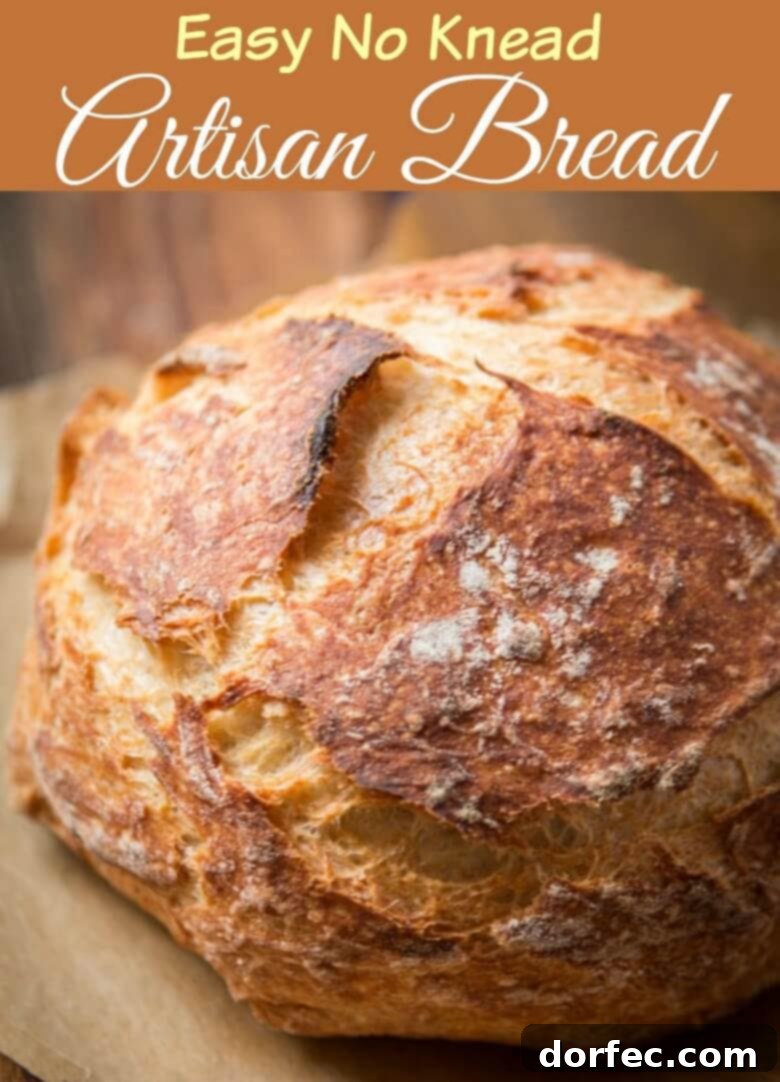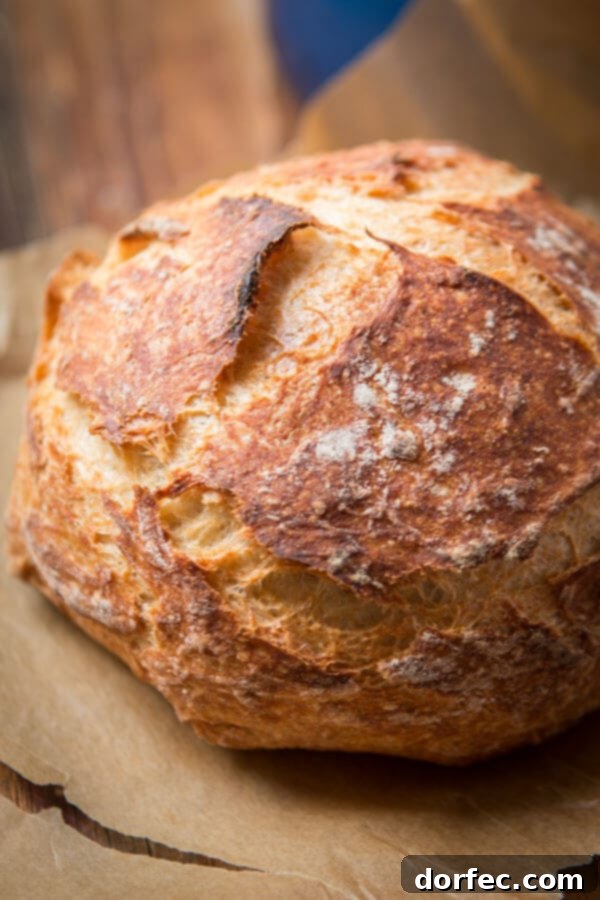
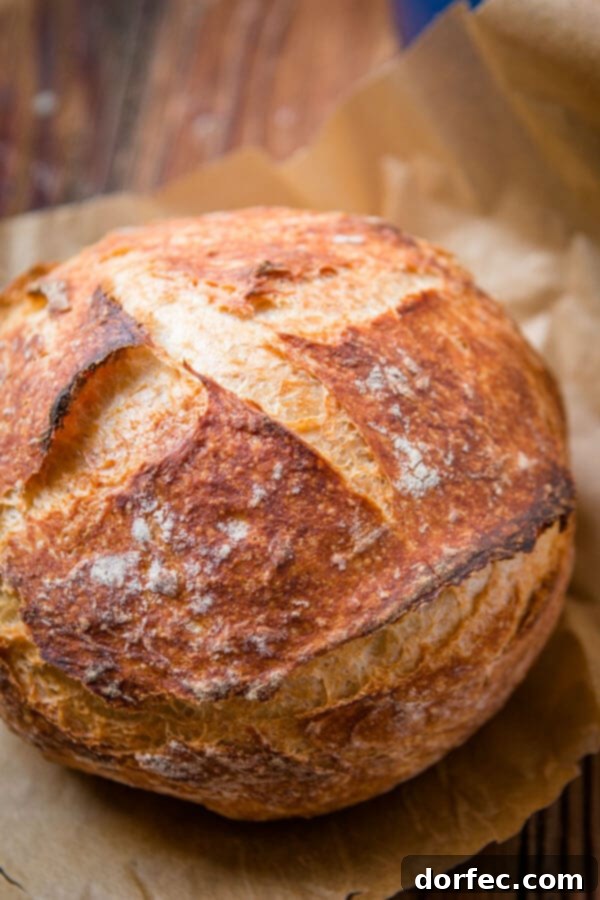
Unlock the secrets to baking a truly exceptional loaf of No-Knead Artisan Bread right in your own kitchen. Imagine a golden-brown, irresistibly crusty exterior giving way to a wonderfully soft and airy interior – a bread so flavorful, it rivals your favorite local bakery. While the journey to this perfection begins a day ahead, the process is surprisingly simple and requires minimal hands-on effort, making it ideal for both novice bakers and seasoned pros.
This easy no-knead artisan bread recipe promises a delightful sensory experience. Picture the moment it emerges from the oven, filling your home with an intoxicating aroma reminiscent of the finest bakeries. Its robust crust makes it perfect for dipping into a hearty bowl of soup, while its tender crumb is ideal for soaking up every last drop of sauce from a plate of rich lasagna. With our comprehensive guide, you’re just a few simple steps away from enjoying this crusty, flavorful masterpiece.
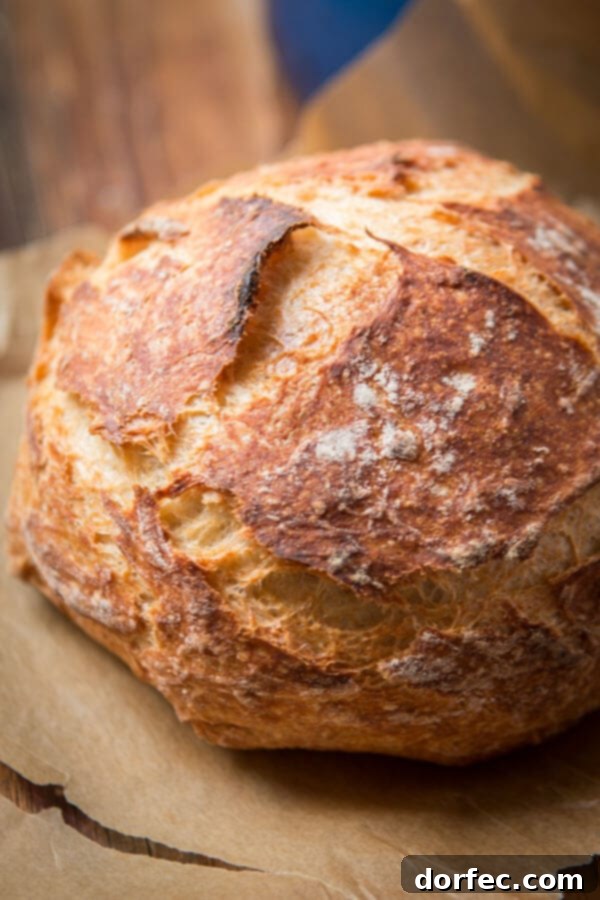
The enchanting aroma of freshly baked bread holds a special place in our hearts. Years ago, while strolling along the San Francisco boardwalk, the intoxicating scent of warm, yeasty bread wafted through the air, creating a truly memorable experience. It’s a simple pleasure, yet profoundly comforting – that beautiful, golden, crispy crust, the soft, pillowy inside, and a fragrance that evokes a sense of peace. This memory sparked a desire to recreate that artisanal magic at home, leading us to discover the incredible simplicity and rewarding results of no-knead bread.
While we cherish making classic homemade sandwich bread, sometimes the occasion calls for something more, something with a distinctive character – artisan bread. Many believe achieving this quality requires professional skill or specialized equipment, but this no-knead bread recipe proves otherwise. With just about five minutes of active preparation time, you can set the stage for a spectacular loaf that develops its flavor and texture overnight, transforming your home into a personal bakery.
What Defines Artisan Bread?
If you’re new to baking, you might wonder what makes “artisan bread” so unique and coveted. Contrary to popular belief, there isn’t a single, strict definition. However, the essence of artisan bread lies in its traditional approach, focusing on quality ingredients, minimal processing, and often a longer fermentation period. For us, true artisan bread is crafted using only fundamental ingredients – flour, water, salt, and yeast – free from preservatives, artificial flavorings, or unnecessary additives. The magic largely happens during a slow, overnight fermentation, which develops a complex, slightly nutty flavor, a robust structure, and a loaf that’s often easier to digest. This extended resting time allows the dough to build strength and develop its signature irregular crumb and chewy texture, culminating in that irresistible crusty finish.
Essential Ingredients for No-Knead Artisan Bread
One of the most appealing aspects of this Dutch oven no-knead bread is its minimalistic ingredient list. You only need five pantry staples to create a masterpiece:
- Flour: Simple all-purpose flour is all you need for fantastic results. While bread flour can be used for an even chewier crumb, all-purpose flour offers an excellent balance of texture and accessibility.
- Sugar: A small amount of sugar acts as a catalyst, providing a little “food” for the yeast. This subtle addition helps activate the yeast, promoting a more vigorous rise and contributing to a slightly fluffier, more tender interior. In a pinch, it can be omitted, but we recommend including it for optimal texture.
- Salt: More than just a seasoning, salt is crucial for enhancing the bread’s overall flavor profile and regulating yeast activity. It also strengthens the gluten structure, contributing to a better crumb.
- Yeast: This living organism is responsible for the bread’s rise, creating those beautiful air pockets and giving the loaf its light, airy, and fluffy texture.
- Water: Warm water is essential for hydrating the flour and activating the yeast. It binds all the ingredients together, forming the dough and facilitating gluten development, even without kneading.
You’ll find precise measurements for each ingredient in the detailed recipe card at the conclusion of this article, ready for you to save or print.
Effortless Method: How to Make No-Knead Artisan Bread
The beauty of this no-knead bread recipe lies in its simplicity and minimal hands-on time. The magic happens during an extended, overnight rise on your countertop, where the dough develops its incredible flavor and texture. While this takes more passive time than a traditional quick bread, your active effort is dramatically reduced. Here’s how we achieve perfect no-knead artisan bread at home:
- Combine Dry Ingredients: In a large mixing bowl, thoroughly whisk together the flour, salt, sugar, and yeast. This ensures even distribution of all components before liquids are added.
- Add Water and Mix: Pour in the warm water and mix everything with a wooden spoon or sturdy spatula until all the dry ingredients are fully incorporated and a shaggy, wet dough forms. There’s no need for vigorous kneading; simply ensure there are no dry pockets of flour remaining. The dough will be sticky and loose, not smooth like traditional kneaded dough.
- Overnight Rest (Fermentation): Cover the bowl tightly with plastic wrap to prevent the dough from drying out. Leave it to rest at room temperature on your kitchen counter for 12 to 18 hours, or overnight. This long, slow fermentation is key to developing its deep flavor and characteristic texture.
- Preheat Oven & Dutch Oven: The next day, about 30 minutes before you’re ready to bake, place your Dutch oven (without its lid) into your cold oven. Preheat the oven to 450°F (232°C). Allowing the Dutch oven to heat up with the oven is crucial for achieving that amazing crust.
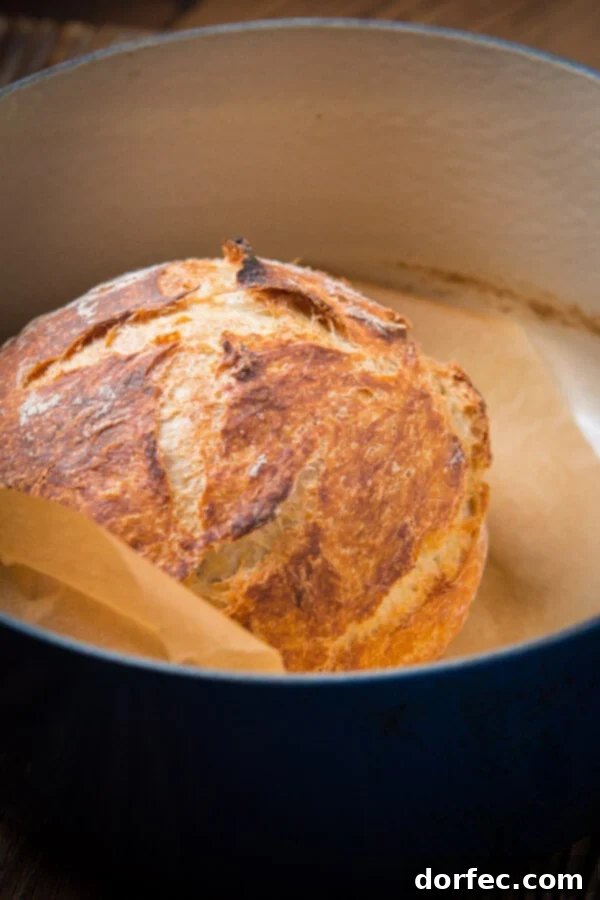
- Shape and Transfer: Once the Dutch oven is fully preheated, carefully remove it from the oven using oven mitts. Gently turn the risen dough out onto a lightly floured surface. Shape it into a round ball with minimal handling, tucking the edges underneath to create tension on the surface. Carefully place a piece of parchment paper into the bottom of the hot Dutch oven, then gently transfer the dough ball onto the parchment paper. Cover the Dutch oven with its lid.
- Bake with Lid On, Then Off: Place the covered Dutch oven back into the preheated oven. Bake with the lid on for 30 minutes. The trapped steam in this initial phase is vital for creating a soft, chewy interior and preventing the crust from forming too quickly. After 30 minutes, carefully remove the lid and continue baking for another 10-15 minutes, or until the bread achieves a deep golden-brown, crusty finish.
- Cool Completely: Remove the Dutch oven from the oven and carefully lift the bread out using the parchment paper. Transfer it to a wire rack and allow the artisan bread to cool for at least an hour before slicing. This cooling period is essential for the internal structure to set and for the flavors to fully develop. Slicing too early can result in a gummy texture.
For your convenience, all these detailed instructions are also available in the recipe card below, where you can easily save or print the recipe.
Creative Variations & Flavor Enhancements
While this basic no-knead loaf is unbelievably delicious on its own – especially with a smear of butter, pure heaven! – it also serves as a fantastic canvas for various flavor additions. Don’t be afraid to experiment and personalize your artisan bread. Here are some ideas to inspire you:
- Herb Infusion: Add 1-2 tablespoons of finely chopped fresh herbs like rosemary, thyme, oregano, or a mix of Italian herbs to the dry ingredients. Rosemary and garlic is a particularly delightful combination.
- Cheesy Goodness: Incorporate 1/2 to 1 cup of shredded or cubed cheese such as sharp cheddar, nutty Gruyere, Swiss, Asiago, or Parmesan. Add it during the initial mixing stage, ensuring it’s evenly distributed.
- Garlic Lover’s Dream: Mix in 2-3 cloves of minced fresh garlic, or 1-2 teaspoons of garlic powder, with the dry ingredients for a fragrant loaf. Roasted garlic cloves mashed into the dough can also provide an incredible depth of flavor.
- Sun-Dried Tomato & Olive: Chop 1/2 cup of sun-dried tomatoes (oil-packed, drained) and a handful of pitted olives (Kalamata or black olives) and add them to the dough for a Mediterranean twist.
- Everything Bagel Seasoning: Sprinkle 1-2 tablespoons of everything bagel seasoning on top of the dough just before baking for a savory, textural crust. You can also mix some into the dough itself.
- Spicy Kick: For a bit of heat, add diced jalapeños (fresh or pickled) along with some cheddar cheese.
Remember to adjust the moisture slightly if adding wet ingredients like fresh herbs or sun-dried tomatoes to maintain the desired dough consistency. The possibilities are truly endless!
Choosing the Best Dutch Oven for Artisan Bread
Since we first shared this Dutch oven no-knead bread recipe, many of you have asked about our preferred Dutch oven and the ideal size for baking bread. A good Dutch oven is arguably the most critical piece of equipment for achieving that bakery-quality crust at home.
The magic of baking bread in a Dutch oven comes from its ability to trap steam. In the initial baking phase, this trapped steam keeps the dough’s surface moist, allowing it to expand fully before a crust forms. Once the lid is removed, the dry heat of the oven then crisps up the crust beautifully, resulting in that perfectly golden, crackly exterior. Furthermore, cast iron’s superior heat retention ensures even baking and consistent results.
We absolutely adore our Cobalt Blue Le Creuset 5 1/2 Qt Dutch Oven. It’s an investment, but its versatility and durability make it a kitchen workhorse. We use it for everything from our Perfect Pizza Sauce and Favorite Homemade Spaghetti Sauce to Cade’s Poblano Braised Beef Tacos and, of course, incredible bread.
If you’re not quite ready for a Le Creuset, the Lodge Enameled Cast Iron Dutch Oven is an excellent, more budget-friendly alternative that still delivers fantastic results. A 5 to 6-quart Dutch oven is generally ideal for a standard loaf of bread. While we mostly use our 5 1/2 quart for our family, a slightly smaller one might be handy for smaller households or if you prefer a taller, more compact loaf.
FAQs: Demystifying Yeast for Successful Baking
Yeast often seems intimidating to new bakers, but it’s a remarkably simple ingredient to work with once you understand its basic needs. In this section, we’ll break down common questions about yeast to help you feel confident and successful in your bread-making endeavors. Remember, practice makes perfect!
What is Instant Yeast?
Instant Yeast, also known as Rapid Rise or Bread Machine Yeast, is a popular choice for many bakers. The primary advantage of instant yeast is that it can be added directly to your dry ingredients without prior proofing (dissolving it in warm water first). Its finer granules dissolve quickly and begin working almost immediately, leading to a faster rise time for your dough. This efficiency makes it incredibly convenient, especially for busy bakers. However, even with instant yeast, we often recommend proofing it at least half the time. This simple step serves as a quick quality check, ensuring your yeast is still alive and active, guaranteeing a successful rise for your beautiful loaf.
What is Active Dry Yeast?
Active dry yeast, unlike instant yeast, requires a bit more time and a specific activation process. Before mixing it with your dry ingredients, active dry yeast needs to be “proofed.” This involves dissolving it in warm water (typically around 105-115°F or 40-46°C) and letting it sit for about 5-10 minutes until it becomes foamy. This foaming indicates that the yeast is alive and active. If it doesn’t foam, your yeast might be expired or the water temperature was incorrect (too hot will kill it, too cold won’t activate it). Active dry yeast generally takes longer for the dough to rise compared to instant yeast, so plan on an additional hour or so for fermentation time.
How to Store Yeast
Yeast is a living microorganism, and like all living things, it has a shelf life. Proper storage is key to maintaining its potency. We highly recommend storing larger quantities of yeast in the freezer. For everyday use, keep a smaller, airtight glass jar of yeast in your refrigerator. The colder temperatures significantly extend its viability, preventing it from losing its leavening power too quickly. Always check the expiration date on the package, and if you’re unsure, a quick proofing test (especially with active dry yeast) will confirm its freshness.
Optimal Storage for Your No-Knead Artisan Bread
Artisan breads, with their hearty crusts and open crumb, require a different storage approach than softer sandwich loaves or dinner rolls. Their unique structure benefits from being able to “breathe,” which helps maintain their crustiness while keeping the interior fresh. Here’s how to best store your delicious Dutch oven no-knead bread:
- Room Temperature (Short-Term): For up to 2 days, your best bet is to store the bread in a paper bag. You can also wrap it loosely in a clean linen or kitchen towel. This allows air to circulate, preserving the crust’s texture while protecting the interior from excessive drying. Avoid airtight plastic bags for short-term storage at room temperature, as they can soften the crust.
- Medium-Term (Plastic Bag, No Refrigeration): If you plan to eat the bread within 3-4 days, a plastic bag or an airtight container will help keep the interior softer. However, never refrigerate artisan bread. The cold temperatures of a refrigerator can actually accelerate the staling process, making your bread dry and crumbly much faster.
- Re-crisping Stored Bread: To revive a loaf that has lost some of its crustiness, simply wrap it lightly in aluminum foil and warm it in a 425°F (220°C) oven for about 10-15 minutes. This will heat it through and bring back that wonderful crispy crust.
- Freezing (Long-Term): Freezing is an excellent option for longer storage, and it’s something we do frequently! To freeze your bread, first ensure it’s completely cooled. Then, wrap it tightly in plastic wrap, followed by a layer of aluminum foil. For extra protection against freezer burn, you can place the wrapped loaf into a freezer-safe plastic bag. Properly stored, frozen artisan bread can last for several weeks, or even up to 1-2 months.
Expert Tips for No-Knead Artisan Bread Success
Achieving a perfect loaf of no-knead artisan bread is straightforward, but a few key tips can elevate your results from good to truly exceptional:
- Room Temperature Matters: Yeast activity is highly sensitive to temperature. If your yeast is fresh but your dough isn’t rising as expected, check your kitchen temperature. A colder environment will significantly slow down the fermentation process. Ideally, your kitchen should be around 68-75°F (20-24°C) for optimal rising.
- Feed Your Yeast: A tiny bit of sugar added to the warm water (especially when proofing active dry yeast) gives the yeast a readily available food source. This encourages more robust activity, leading to a better rise and a lighter crumb. Even with instant yeast, this can provide an extra boost. Always proof yeast if you’re unsure of its freshness.
- Salt and Yeast Separation: While essential for flavor and structure, salt can inhibit or even kill yeast if they come into direct, concentrated contact. When mixing your dry ingredients, ensure the salt and yeast are initially placed on opposite sides of the bowl or are well-distributed with the flour before adding water.
- Proper Dough Coverage: During the overnight rise, cover your dough with plastic wrap, not just a kitchen towel. Plastic wrap creates an airtight seal that prevents the surface of the dough from drying out and forming a tough skin, which can hinder its rise and affect the final texture.
- Don’t Overmix: Remember, this is a “no-knead” recipe! Overmixing after adding water can actually work against the gentle gluten development fostered by the long fermentation. Mix just until all dry ingredients are incorporated.
- Preheat Thoroughly: Ensure your Dutch oven and oven are fully preheated to the specified temperature for the entire 30 minutes. A scorching hot Dutch oven is crucial for creating that initial burst of steam and a beautifully crusty bottom.
Perfect Pairings: What to Eat with No-Knead Artisan Bread
A fresh loaf of homemade artisan bread is incredibly versatile and pairs wonderfully with a wide array of dishes. Its crusty texture and soft, flavorful interior make it an ideal companion for many meals. Here are some of our favorite ways to enjoy it:
- Instant Pot Chili: The sturdy crust is perfect for scooping up thick, hearty chili, while the soft interior soaks up all the rich flavors.
- My Favorite Lasagna: Use slices of warm artisan bread to sop up every last bit of savory meat sauce and melted cheese.
- Cheesy Southwestern Chicken Tortilla Soup: A rustic loaf provides a delightful contrast to the creamy, spicy flavors of this comforting soup.
- Chicken Pesto Lasagna: The subtle flavors of the bread complement the aromatic pesto and chicken beautifully.
- Best Chicken Tortilla Soup: Whether dipped or crumbled, artisan bread adds a satisfying element to this flavorful soup.
Beyond these, it’s fantastic simply with a good quality olive oil for dipping, or as a base for bruschetta and open-faced sandwiches. Learn how to make delicious, crusty artisan bread with this easy no-knead recipe. It’s truly perfect for beginners or anyone looking for a quick and incredibly tasty homemade bread option.
More Delicious Bread Recipes You’ll Love:
- Herbed Focaccia Bread
- Easy Hoagie Rolls
- Best Potato Rolls
- Homemade Naan
- Garlic Parmesan Focaccia
- French Bread
- Buttermilk Biscuits
- Skillet Cornbread
- One Hour Rolls
- 7-Up Biscuits
- All our BREAD RECIPES here!
Easy No-Knead Artisan Bread
Ingredients
- 3 Cups All Purpose Flour
- 1 1/2 teaspoons Salt
- 1/2 teaspoon Sugar
- 1 teaspoon Instant Yeast
- 1 1/2 Cups Warm Water
Instructions
-
In a large bowl, whisk together the flour, salt, sugar and yeast, then pour in the warm water.3 Cups All Purpose Flour, 1 1/2 teaspoons Salt, 1 teaspoon Instant Yeast, 1/2 teaspoon Sugar, 1 1/2 Cups Warm Water
-
Stir with a wooden spoon until completely combined.
-
This is a no knead recipe so the dough will not be smooth.
-
Once combined, cover the bowl tightly with plastic wrap and let it sit on the counter overnight.
-
When the dough is done rising, preheat the oven to 450 degrees F with a dutch oven inside, without the lid.
-
On a lightly floured surface, shape into a round ball.
-
Allow the dough to rest while you preheat the oven and the pot. The pot needs to heat for 30 minutes.
-
After the dutch oven has preheated, line the bottom with parchment paper and place ball of dough in the center of the dutch oven and cover with the lid.
-
Bake at 450 degrees F for 30 minutes.
-
After 30 minutes, remove lid and bake for an additional 10-15 minutes until done.
-
Bread will be golden in color.
-
Remove from oven and allow to cool before slicing or tear the bread if you want to eat it hot.
Recipe Notes
Nutrition
Nutrition information is automatically calculated, so should only be used as an approximation.